
How to Clean Wooden Cutting Boards Naturally Without Damaging the Wood

A wooden cutting board can last for years if you clean it the right way. The trick is simple: use as little water as possible, clean promptly after use, and let the board dry completely before putting it away. For everyday messes, warm water, a small amount of dish soap, and a soft sponge are enough. For odors, stains, or raw meat cleanup, a few household ingredients can help without beating up the wood.
The goal is not to make the board look sterile. The goal is to remove food residue, reduce odor, and keep moisture from soaking into the grain. That is what protects the board from warping, cracking, and lingering smells.
Quick Answer: The Safest Natural Way to Clean a Wooden Cutting Board
If the board only has light residue, wash it with warm water and a little dish soap, rinse it well, and dry it immediately with a clean towel. Then stand it upright or prop it so air can circulate on both sides.
If the board handled raw meat, poultry, or fish, clean it first, then use a sanitizing step before you cut anything ready-to-eat on it again. A vinegar-based spray or a manufacturer-recommended food-safe sanitation method can help, but a board with deep grooves or damage may need replacement instead of repeated rescue attempts.
The biggest rule is this: wood should never stay wet. Water sitting on the surface or soaking into the board is what causes most of the problems home cooks want to avoid.
Clean vs. Sanitize: What Your Board Actually Needs
These two words are not interchangeable.
- Cleaning removes visible food, grease, and residue.
- Sanitizing lowers the risk from germs after higher-risk foods like raw meat, poultry, or fish.
- Disinfecting is a stronger process than sanitizing and is generally not the goal for a food board.
For a board used only with bread, herbs, fruit, or sandwiches, routine cleaning is usually enough. For a board that touched raw chicken or fish, cleaning alone is not the whole job. That board needs extra attention before it goes back to produce, cheese, or anything that will not be cooked.
This is why a quick rinse is not a real solution after raw animal foods. It may remove crumbs and some residue, but it does not address the contamination risk well enough for a busy kitchen.
For a broader look at how board material affects food prep, see this comparison of plastic vs. wooden cutting boards.
What You Need: Simple Natural Ingredients and Tools
You do not need a cabinet full of specialty products. A practical setup is usually enough:
- Warm water: loosens residue without shocking the wood.
- Mild dish soap: handles everyday grease and food film.
- Soft sponge or cloth: cleans without scratching the grain.
- White vinegar: useful for odor control and light deodorizing.
- Lemon: helpful for fresh smells and surface freshness.
- Coarse salt: adds gentle abrasion for stuck-on bits.
- Baking soda: good for odor control and mild scrubbing.
- Food-grade mineral oil: conditions dry wood and helps slow moisture absorption.
- Beeswax board conditioner: adds a protective finish after oiling.
A practical note on “natural” ingredients: natural does not automatically mean better for every job. Vinegar is useful, but it is not a miracle cleaner. Lemon smells fresh, but it is not the best choice for every stain. Baking soda is gentle, but it will not erase deep knife marks. Matching the ingredient to the problem saves time and protects the board.
How to Clean a Wooden Cutting Board Step by Step
For routine cleaning, keep the process short and controlled.
1) Scrape off loose food first
Use a bench scraper, spatula, or the dull side of a knife to remove stuck bits. This keeps food scraps from turning into paste when you add water.
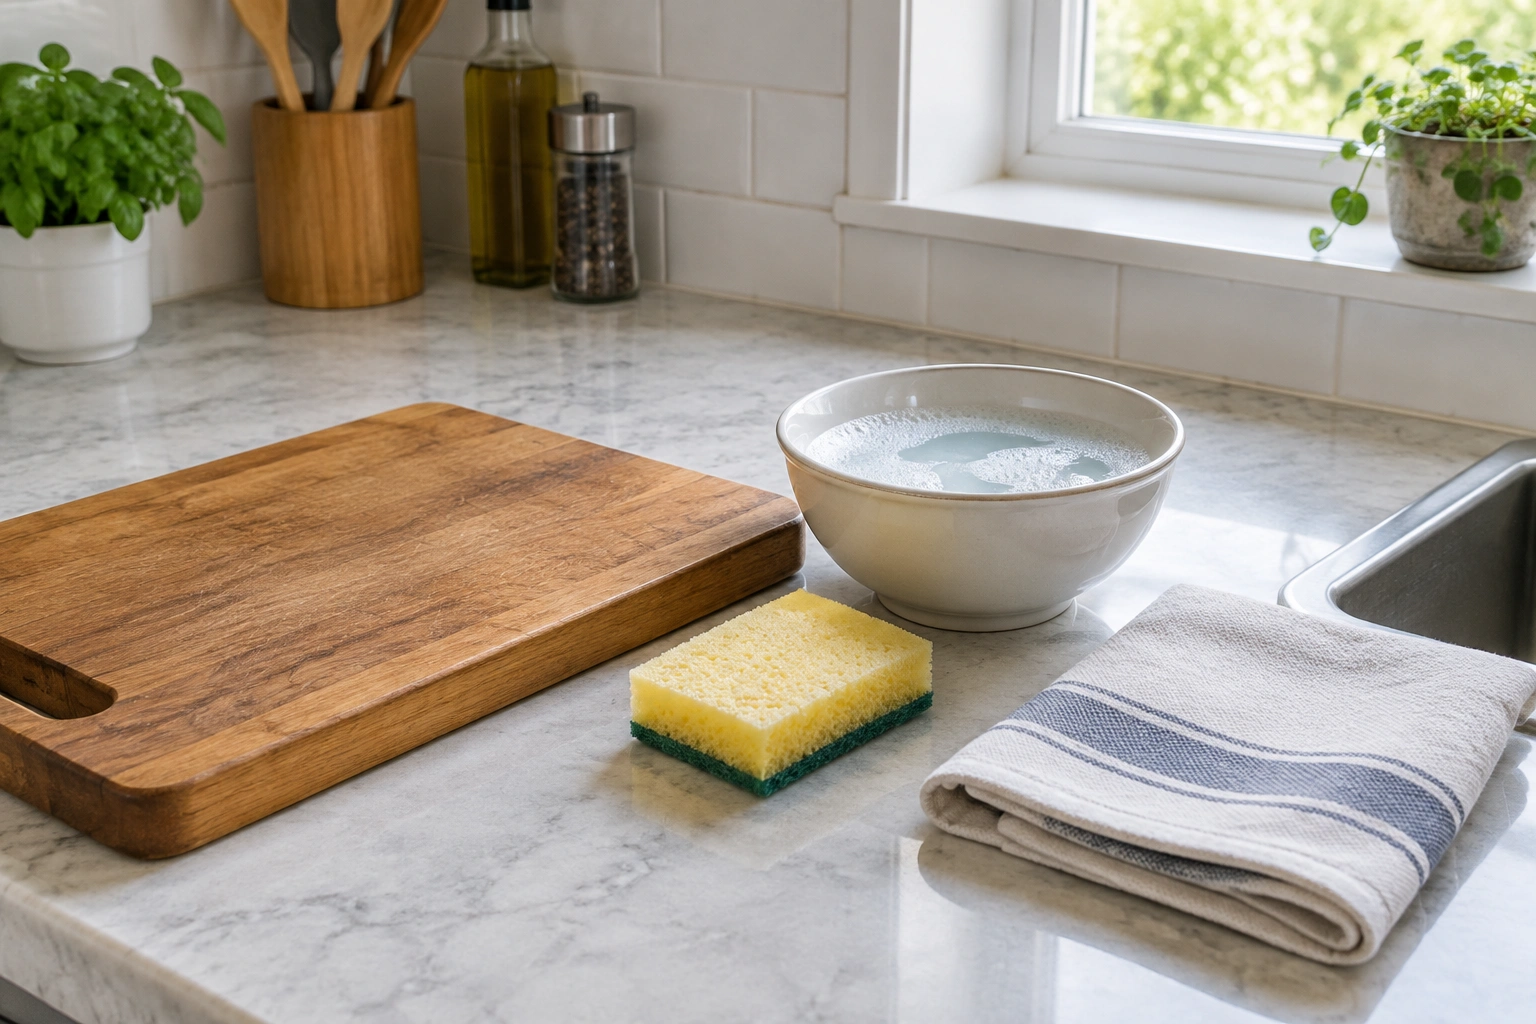
2) Wash with warm water and a small amount of soap
Use a soft sponge with a few drops of dish soap. Clean both sides if one side got wet or contaminated, even if you only used one face for cutting.
3) Rinse quickly
Rinse off the soap without lingering under running water. The less time the board spends wet, the better.
4) Dry immediately
Pat the surface with a clean towel. Then stand the board on edge or lean it so air reaches both sides.
5) Let it finish air-drying
Do not stack it flat while damp. That traps moisture underneath and can leave one side drying slower than the other.
For a board that sees daily meal prep, this routine is usually enough after vegetables, bread, herbs, and cooked foods.
How to Sanitize a Wooden Cutting Board After Raw Meat, Poultry, or Fish
If the board touched raw animal foods, treat it as a higher-risk cleanup.
First, wash away visible residue with warm water and a small amount of soap. Then use a sanitizing step that is suitable for wood.
A practical natural approach is this:
- Wash the board first with warm water and mild dish soap to remove food and grease.
- Rinse well so no soap or loose residue remains.
- Apply white vinegar to the surface, either with a spray bottle or a clean cloth, so the board is evenly damp but not soaking.
- Let it sit briefly for deodorizing and surface maintenance.
- Rinse lightly if needed, then dry immediately with a clean towel.
- Stand the board upright and let it air-dry completely.
- Oil the board only after it is fully dry if it looks thirsty or dull.
This method can help with odor and routine post-use care, but it is not a substitute for common-sense food safety. Vinegar is helpful, yet it is not a guarantee that every germ issue is solved, especially on a heavily used or damaged board.
If a board has deep grooves, cracks, or a damaged surface, sanitizing becomes less reliable because residue can hide in the cuts. In that case, replacement is often the safer choice.
Is a Wooden Cutting Board Safe to Keep Using After Raw Meat?
Yes, a wooden cutting board can still be safe to use after raw meat, poultry, or fish if it is cleaned promptly, sanitized appropriately, and allowed to dry fully before its next use.
It becomes a better candidate for replacement when:
– the board has deep knife grooves that are hard to clean
– cracks or splits keep opening
– the surface is rough or splintering
– odors return quickly after washing
– the board warps so much that it no longer sits flat
A few stains are not a reason to throw a board away. Damage that traps food or makes the board hard to clean is the bigger problem.
Natural Ingredients for Odor, Stains, and Stuck-On Food
Different problems call for different tools. Here is the quickest way to choose.
| Problem | Best natural choice | Why it helps | Trade-off |
|---|---|---|---|
| Light odor | White vinegar | Helps reduce lingering smells and refreshes the surface | Best for odor control, not heavy scrubbing |
| Fresh food smell | Lemon | Leaves a cleaner scent and can help with mild freshness | Better for light odor than deep buildup |
| Stuck-on residue | Coarse salt | Adds gentle abrasion without harsh chemicals | Can feel scratchy if rubbed too aggressively |
| Odor plus light residue | Baking soda | Helps with both mild scrubbing and smell control | Needs a little patience and elbow grease |
| Greasy film | Mild dish soap | Removes oil better than dry scrubs alone | Soap still needs a careful rinse |
Vinegar vs. lemon
Use vinegar when the board smells stale or has absorbed strong food odors. Use lemon when you want a fresher smell and only need light surface help. Vinegar is usually the stronger odor tool; lemon is the gentler, more pleasant-smelling option.
Baking soda vs. salt
Use baking soda when odor is the main issue. Use coarse salt when you need a little more scrubbing power on stuck-on bits. If the board has a tomato stain or dried sauce, salt often works well as the first pass. If the board smells like onion, garlic, or fish, baking soda is usually the better first choice.
How to Remove Odors, Stains, and Stuck-On Food Naturally
For odors
Sprinkle baking soda over the board, add a few drops of water to form a paste, and gently rub it over the surface. Rinse and dry well. This is a practical choice for garlic, onion, or fish smells that linger after normal washing.
For stains
Rub the stained area with coarse salt and a cut lemon, or use a baking soda paste for a gentler approach. Let the paste sit briefly, then scrub lightly with a soft sponge and rinse.
For stuck-on residue
Use coarse salt as a scrub aid, but keep the pressure light. The goal is to lift the residue, not grind it deeper into the grain.
If the board still holds odor after cleaning, that often means the surface is dry and porous. In that case, conditioning the board after it is fully dry can help reduce future absorption.
How to Dry and Store the Board So It Does Not Warp
Drying matters as much as washing.
A wooden board should be towel-dried right away, then left where air can reach both sides. Upright storage is ideal because it reduces trapped moisture. Flat storage can be fine only if the board is completely dry and the surface underneath is dry too.
Do not tuck a damp board into a cabinet right after washing. That creates a humid pocket around the wood and slows drying. If one side dries faster than the other, the board can start to cup or warp.
A practical habit for meal preppers: wash the board first, then move on to other kitchen tasks while it air-dries upright. That gives the wood time to release moisture without extra effort from you.
When and How to Oil a Wooden Cutting Board
Wood dries out after frequent washing, and conditioning helps protect it. A food-safe conditioner can help keep the board from looking dry and absorbing moisture too quickly.
Use food-grade mineral oil or a food-safe board conditioner. A beeswax blend can add a second layer of protection after oiling.
Oil the board when:
- the surface looks pale or dull
- water soaks in quickly instead of beading
- the board feels dry to the touch
- you notice more odor absorption than usual
Practical oiling schedule
- Weekly: for boards used every day or washed often
- Monthly: for normal home use
- As needed: if the wood looks dry, feels rough, or stops beading water
Basic oiling approach
Make sure the board is fully clean and completely dry. Apply a thin coat of mineral oil with a clean cloth or paper towel, working it into the grain and edges. Let it absorb, then wipe off any excess before using the board again.
Do not use cooking oils that can go rancid. That creates a smell problem instead of solving one.
Mistakes to Avoid When Cleaning Wooden Cutting Boards
These are the habits that shorten a board’s life fastest:
- Soaking the board in water: wood swells, softens, and can warp.
- Putting it in the dishwasher: the heat, hot air, and pressure are rough on wood.
- Using bleach or harsh chemical cleaners: they can be too aggressive for wood and may leave unwanted residue.
- Using abrasive scrubbers or steel wool: harsh pads can damage the grain.
- Leaving it wet before storage: trapped moisture encourages damage.
- Exposing it to prolonged heat: hot ovens, heaters, or direct high heat can dry and stress the wood unevenly.
- Skipping oiling for too long: dry wood becomes more fragile and absorbent.
- Treating a raw-meat board like a vegetable board: that raises cross-contamination risk.
Keep cleaning tools gentle and controlled. A soft sponge or cloth is usually enough, and it is much safer for the board than anything scratchy or overly strong.
When a Wooden Cutting Board Needs Deeper Cleaning or Replacement
Some boards can be cleaned and maintained. Others are simply too far gone.
Consider replacement if you see:
– deep cracks that keep opening
– heavy warping that makes the board rock
– grooves that are difficult to clean thoroughly
– persistent odors that return quickly after washing
– rough, splintering areas that keep shedding wood
A few surface stains are not a reason to throw a board away. Deep cuts, split seams, or a board that never seems fully dry are different. Those are signs the board may no longer be a dependable food-contact surface.
Natural Cleaning Methods vs. Commercial Cutting Board Cleaners
Household ingredients are usually enough for routine care. They are cheap, easy to find, and good for everyday maintenance.
Commercial cutting board cleaners can be convenient if you want a ready-made spray or conditioner, especially for regular oiling. The trade-off is cost and the fact that many of the basic jobs can already be handled with soap, vinegar, baking soda, and food-safe oil.
If your board is healthy and only needs normal maintenance, natural methods are usually sufficient. If you want a one-step product for convenience, a reputable board cleaner or conditioner can save time, but it should still be used according to the label and paired with proper drying.
Frequently Asked Questions
Can I use vinegar on a wooden cutting board?
Yes, vinegar is commonly used for deodorizing and light cleaning. Use it carefully and do not soak the board. Afterward, rinse and dry it thoroughly.
Is lemon safe for wooden cutting boards?
Yes, lemon is useful for fresh odors and light surface cleanup. It works best on mild smells, not heavy buildup.
Should I use baking soda or salt?
Use baking soda for odor control and salt for a little extra scrubbing power on stuck-on residue. If you are not sure, baking soda is the gentler first try.
Is soap okay on wood?
Yes. A small amount of mild dish soap is fine for routine cleaning, especially when the board is greasy or soiled. The key is to rinse well and dry immediately.
How do I sanitize a wooden cutting board after raw meat?
Wash it first, then use a food-safe sanitizing step that is appropriate for wood, such as a vinegar-based surface treatment for maintenance and odor control. If the board has deep grooves or damage, replacement may be the safer option.
How often should I oil my cutting board?
Oil it weekly if you use it heavily, monthly for normal home use, or anytime the wood looks dry, pale, or stops beading water.
Can I use coconut oil?
Some people do, but food-grade mineral oil is the more dependable choice for board care because it is designed for this job and will not go rancid the way many cooking oils can.
When should I stop trying to save the board?
If the board has deep cracks, persistent odors, or warping that keeps it from sitting flat, it may be time to replace it.
A wooden cutting board is easy to keep in good shape once you build a simple routine: clean it promptly, dry it completely, and condition it before it gets brittle. If you use the board for raw meat, the key extra step is a real sanitizing pass before the next ready-to-eat task, and if the surface is badly damaged, replacement is the safer call.