How to Calibrate a Home Oven for Baking So Your Results Stop Surprising You
Your oven has one job: hold the temperature you set. Most of them don’t, at least not exactly.
A residential oven is a metal box with a thermostat, a heating element or burner, and a switch that cycles heat on and off. The number on the display is a target, not a measurement. The gap between what you set and what the oven actually does is why one batch of cookies browns evenly and the next scorches on the bottom rack.
Calibration closes that gap. It tells the oven’s control board or thermostat that its internal idea of 350°F is wrong — and by how much. Done well, it takes one variable out of your baking. Done carelessly, it makes things worse.
This guide covers how to test your oven properly, interpret what you find, and adjust it. It also covers the cases where calibration isn’t the answer at all.
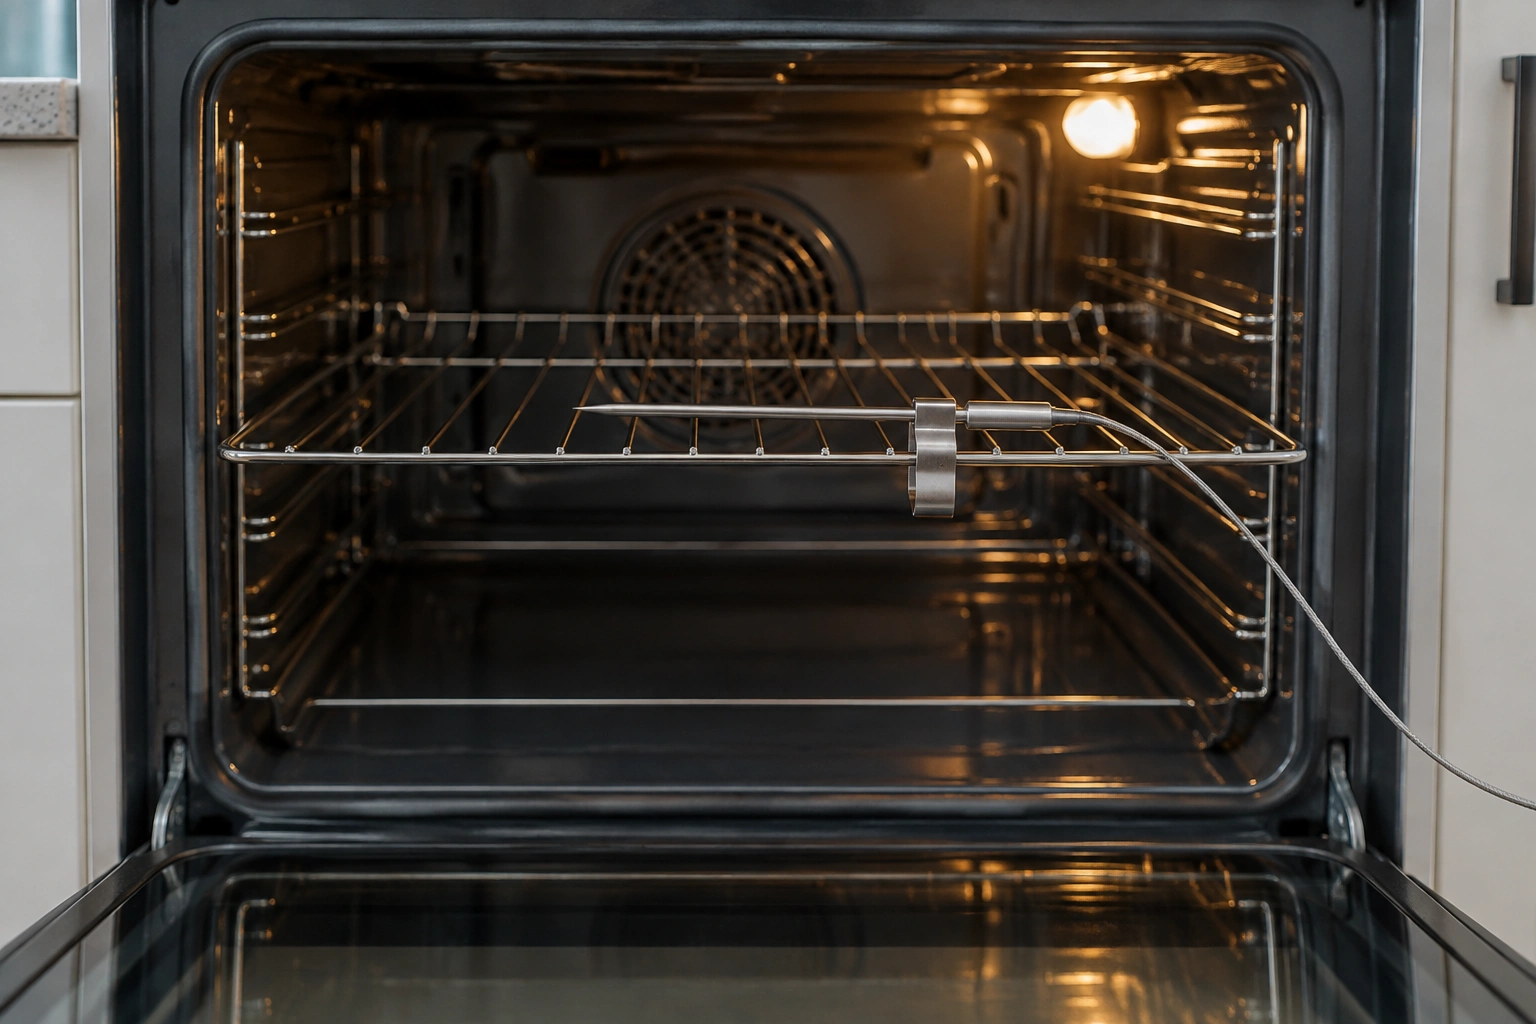
IMAGE_1_HERE
What Oven Calibration Can—and Cannot—Fix
Calibration shifts the oven’s average temperature. That’s the entire scope of it. It’s a single correction applied across the whole bake cycle.
What it fixes:
- A consistent offset. The oven is reliably 25°F hot at every setpoint you bake at. The oven is reliably 20°F cold.
- A drift that appeared gradually after years of use.
- A new range that was never accurate from the start.
What it does not fix:
- Hot spots. One corner of the pan browns faster than the other three.
- Wide temperature swings. The oven overshoots to 390°F, drops to 310°F, and repeats. The average may be perfect while the ride is miserable.
- Slow preheating. The oven beeps at 350°F but the walls and racks are still cold.
- Mode differences. Bake mode is accurate; convection mode runs 30°F hot.
Here’s the decision rule that matters most: if the average temperature is close to correct but your bakes brown unevenly, calibration is the wrong tool. Reach for rack position, pan rotation, and lighter bakeware instead. If the average is off by roughly 25°F or more and the error shows up consistently across multiple tests, calibrating is worth doing.
Signs Your Oven Is Running Hot, Cold, or Uneven
Symptoms are useful clues, but they overlap with technique problems, so treat them as hypotheses to test — not verdicts.
Running hot: cookie bottoms darken before the tops set. Meringues brown in the first ten minutes. Cakes form a hard crust while the center stays liquid. Pie crusts scorch at the edges. Anything with sugar caramelizes faster than the recipe predicts.
Running cold: baked goods come out pale when the timer says they’re done. Cakes sink in the middle. Bread has weak oven spring. Custards and cheesecakes take noticeably longer to set. Roasted vegetables steam instead of browning.
Uneven, average correct: one side of a sheet pan is darker. Rotating the pan mid-bake fixes it. The thermometer reads on target.
Before you blame the thermostat, rule out the usual suspects. A dark nonstick sheet pan absorbs far more radiant heat than a light aluminum one. A pan placed on the lowest rack gets direct bottom heat. Parchment traps moisture. Opening the door to check progress drops the temperature several degrees each time. A baker who reports “my cookies always burn on the bottom” often finds an oven that’s perfectly calibrated and a dark pan sitting one rack too low.
Choose and Use an Oven Thermometer for Accurate Testing
You cannot diagnose an oven with the oven’s own display. You need an independent measurement.
Oven-safe dial thermometers. Inexpensive, hang from a rack or stand on it. Bimetallic coils respond slowly, and budget models can drift. Adequate for a rough sanity check, weak for precision diagnosis.
Digital air or probe thermometers with a grate clip. This is the tool for the job. A thin probe clipped to the middle of the center rack reads air temperature directly and updates fast enough that you can watch the oven cycle. ThermoWorks publishes a full oven calibration procedure built around exactly this setup.
Infrared thermometers. These measure surface temperature, not air temperature. Pointing one at the oven wall tells you how hot the metal is, which is a different number from the air your cake bakes in. Useful for checking a baking stone or a pan’s surface; not useful for calibrating an oven.
Leave-in meat probes. Designed for food, not air. Some have an air-probe accessory; most don’t read accurately in open air.
One more layer of caution: a thermometer can be wrong too. If your readings look bizarre, cross-check the thermometer itself — many probe-style instruments can be verified in an ice bath, where a properly functioning probe should read near the freezing point of water.
Placement matters as much as the instrument. Center rack, center of the rack, away from the back wall, the door glass, and any heating element. A thermometer resting on the oven floor near the bottom element will read wildly high and send you chasing a problem that doesn’t exist.
How to Test Oven Temperature Accurately
This is a standard air-temperature test, and it takes about 45 minutes.
- Start with the oven off and completely cool.
- Set one rack in the center position and clip the air probe to the middle of that rack.
- Set a high-temperature alarm to 350°F (177°C).
- Start a count-up timer so you can see how long preheating actually takes.
- Set the oven to 350°F (177°C) and close the door. Do not open it while the test runs.
- Note the time when the alarm sounds. That’s the preheat signal. Now keep going — this is the part most people skip.
- Record the temperature every two to three minutes for 30 to 40 minutes. You’re watching the oven cycle, not just hit a peak.
That extra half hour matters because the preheat beep reflects the air near the thermostat sensor, not the entire cavity. Oven walls, racks, and especially a baking stone or pizza steel are still absorbing heat. A stone can add many minutes to true stabilization, which is why a baker who preheats a stone for ten minutes gets a pale bottom crust.
If your oven beeps at 350°F and the thermometer sits at 300°F for another twenty minutes before climbing, you don’t have a calibration problem. You have a preheat stabilization issue — and the fix is simply waiting longer before loading the oven.
Once you have clean data at 350°F, repeat the test at a second setpoint you bake at often, such as 425°F. Offsets are not always linear; an oven can run hot at moderate temperatures and land accurately at high heat, or the reverse.
Interpreting Results: Average Offset, Normal Cycling, and Hot Spots
Discard the first few minutes after the oven reaches temperature, then average the rest of your readings.
Cycling is normal. A residential oven doesn’t hold a single degree. The element or burner runs until the cavity climbs slightly above the setpoint, shuts off, and waits until it falls slightly below before firing again. A swing of tens of degrees around the setpoint is not unusual, and the exact range depends on the model. What matters is the mean and the shape of the wave.
Calculate your offset. Average reading minus setpoint equals your offset. Thirty readings averaging 375°F against a 350°F setpoint means the oven runs 25°F hot. The correction is a −25°F shift. Conversely, an average of 325°F means a +25°F shift.
Judge the swing. If the oven drops 70°F below the setpoint before recovering, calibration won’t help — you’re looking at a failing thermostat, a weak element, or a door seal problem.
Check for hot spots. With the air probe still in place, you can also spot-check with a second thermometer moved to the four corners of the rack. If one corner consistently reads hotter while the center is on target, that’s a distribution problem, not a calibration problem.
A 25°F error is a real baking problem: it will push a delicate custard toward curdling and turn a light golden crust dark. A 10°F error is much harder to notice, and many experienced bakers simply absorb it in their timing. Use your own results to decide where the line is.
In short: an average that’s consistently off is an offset you can correct. An average that’s fine but a wild swing or a hot corner means calibration isn’t your tool — look at the hardware or change your technique.
IMAGE_2_HERE
How Temperature Offset, Thermostats, and Calibration Limits Work
An offset setting tells the control board: when I select 350°F, actually aim for 325°F. The oven then cycles around that new target as if nothing changed.
Direction conventions vary by brand, and this trips people up. On GE ranges and wall ovens, entering a negative number makes the oven bake cooler and a positive number makes it bake hotter — the numbers describe a shift, not the oven’s current error. Other manufacturers phrase the same setting differently. Read your model’s instructions before you type anything, and when in doubt, make a small change and retest.
Limits are real. Many digital ovens cap user adjustment at about ±35°F. That ceiling is generous enough for most drift, but a 50°F error can’t be fully corrected through the panel — which pushes you toward recipe compensation or a technician.
Some ovens hide the offset in a service menu rather than a consumer-facing settings screen. Others don’t expose it at all. Before entering a service menu, photograph or write down every value you see. Service menus contain settings that affect how the appliance runs, and changing the wrong one creates a problem you didn’t have.
One more limit worth knowing: offsets typically apply to bake mode. Non-bake modes such as proof and warm often run on their own control logic, and many ovens expose no adjustment for them at all — so if you rely on those modes, verify them with the same thermometer test and treat what you measure as fixed rather than correctable.
How to Calibrate a Digital or Electronic Oven Control
Find your model number — usually inside the door frame or on the back panel — and pull the owner’s manual from the manufacturer’s site. Manufacturer procedures differ enough that guessing wastes time, and control-panel sequences change across model years.
The general shape of the workflow is consistent even when the buttons aren’t:
- Enter the offset or calibration mode. On many ovens that means holding two pads down at once; on others it’s a settings menu. A short code may appear in the display.
- Read the current value. It’s usually 0 from the factory, but not always — write down whatever you find before you change it.
- Adjust in 1-degree increments using the + and – pads. Many digital ovens cap the total adjustment at about ±35°F.
- Confirm and save the change, then retest at the same setpoint using the same procedure as before.
GE and Whirlpool controls are commonly described this way, but exact pad combinations, menu labels, and display codes vary by model and model year. Treat your own manual as the authority rather than any generic sequence, including this one.
Two habits make this safer and more useful. First, record the original value — usually zero, but not always — so you can undo a change that made things worse. Second, change the offset by the amount you actually measured. If your tests averaged 25°F hot, enter −25. Don’t stack a 25°F correction on top of a 15°F correction from last year; check the current setting before you edit it.
How to Calibrate an Analog Dial or Mechanical Thermostat
Older electric ovens and many gas ranges use a mechanical thermostat with a calibration screw concealed behind the temperature knob. The physical adjustment is small and the effect is large.
The general procedure, on models that expose an adjustable screw:
- Remove the oven temperature knob and turn it over. There should be one or two screws on the back of the knob.
- If the oven runs hot, turn the screw(s) clockwise. If it runs cold, turn counterclockwise. Direction conventions vary by brand, so confirm against your manual before committing.
- Adjust gradually — an eighth of a turn at a time. Even a slight turn can produce a large temperature change.
- Retest and repeat as needed.
Because a fraction of a turn moves the temperature so much, this is a job for patience rather than force. Make one adjustment, run the full test again, and only then decide whether another turn is warranted.
Safety and practicality notes:
- For anything beyond removing the external knob, cut power at the breaker for an electric oven. If your oven is gas, the manufacturer’s guidance governs — do not open panels, touch gas lines, or disturb sealed components.
- Allow the oven to cool completely before making any mechanical adjustment.
- Some gas thermostats are sealed or non-adjustable by design. If you don’t see a screw, don’t improvise. Stop and check the manual.
- Check whether your oven is under warranty before adjusting anything. A DIY thermostat adjustment may affect coverage.
Gas vs. Electric and Digital vs. Analog: Which Path Fits Your Oven
| Oven type & control | Likely calibration method | Typical adjustment range | Key cautions |
|---|---|---|---|
| Electric, digital touchpad | Built-in offset in Settings menu (e.g., OFSt) | Often up to ±35°F, model-dependent | Must confirm/save; record original value |
| Electric, analog dial | Calibration screw behind the knob | Small — about ⅛ turn per adjustment | Unplug or cut power; adjust gradually |
| Gas, digital touchpad | Built-in offset, if the model offers one | Model-dependent; many gas ranges omit it | Absence of the setting is normal, not a fault |
| Gas, mechanical dial | Thermostat calibration screw on some models | Small increments | Sealed thermostats exist; never force one |
| Convection mode (any oven) | Verify separately; usually no dedicated offset | Varies | Convection behaves differently from bake mode |
Two conclusions fall out of that table. Electric ovens with digital controls give you the most precise, reversible, and safest adjustment. Gas ovens with mechanical thermostats give you the least — and the greatest reason to stop and read the manual before touching anything.
If Your Oven Has Hot Spots or Uneven Browning
When the average is fine and the browning isn’t, calibration has nothing to offer. These changes do.
Move to the center rack if you’re baking on the lowest position. Radiant heat from the bottom element is intense down there, and it’s the single most common cause of scorched cookie bottoms.
Rotate the pan 180 degrees partway through the bake. Front-to-back asymmetry is nearly universal in home ovens because the door is a weak point in the insulation.
Switch to lighter-colored aluminum bakeware. Dark and nonstick finishes brown faster and more aggressively. Glass and dark metal both run hotter than the recipe assumes.
Leave space between pans. Crowding blocks airflow and turns one uneven oven into two.
Be cautious with convection for delicate items. The fan improves evenness in some ovens and intensifies hot spots in others, particularly near the fan itself. If convection consistently browns one side first, verify bake mode separately and treat the two modes as different ovens.
Consider a baking stone or steel if you want steadier bottom heat. Just budget extra preheat time — the thermal mass that makes it effective also makes it slow to reach temperature.
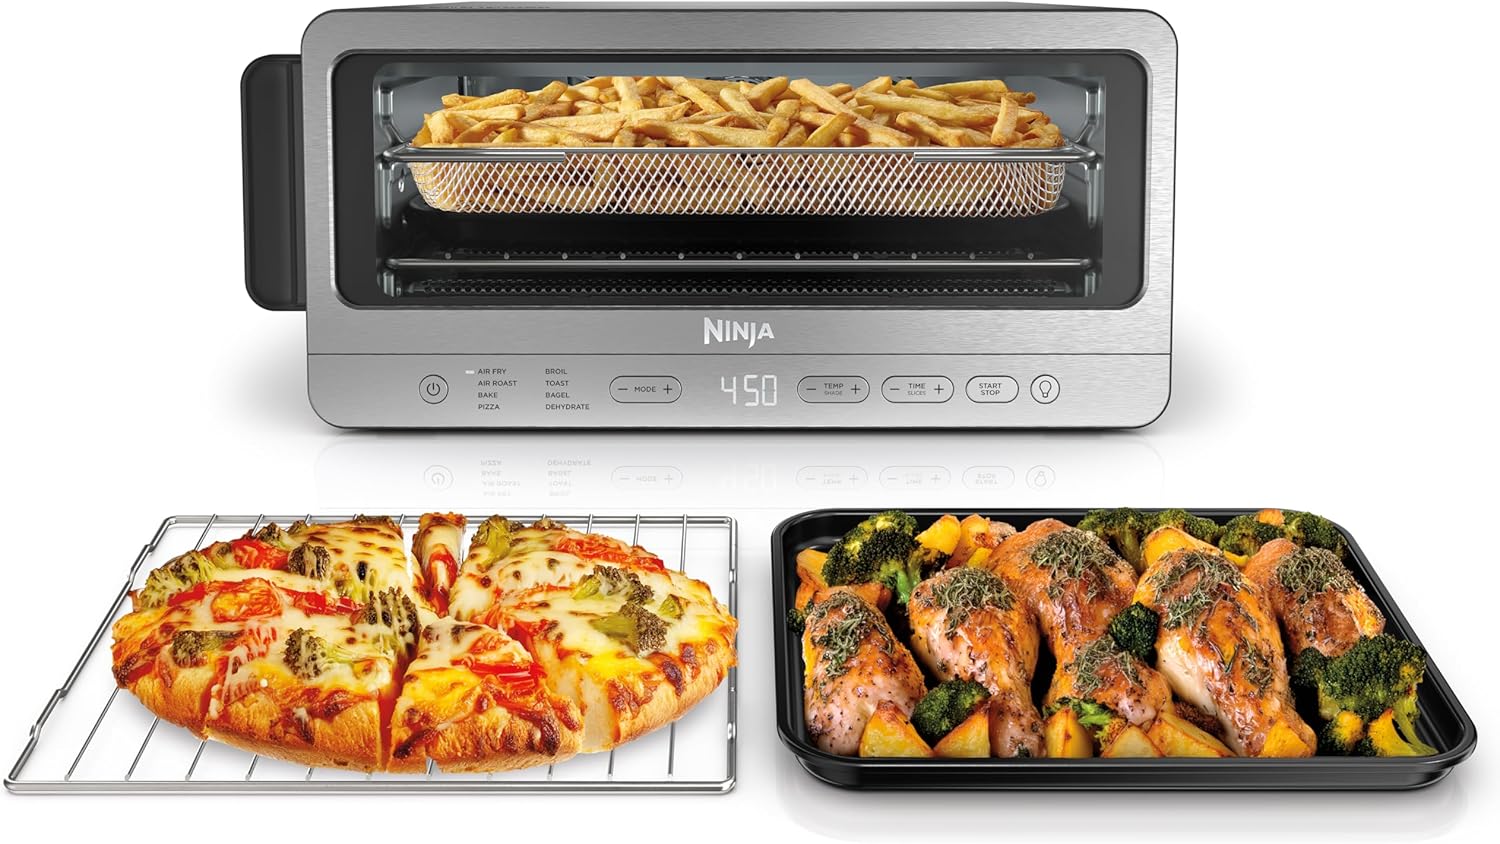
Aside — a backup oven, not a fix: If a small second oven would help you work around a main oven you can’t tame, a countertop oven with independent temperature control is one option to look at. It changes what you bake in, not how your main oven behaves, so it doesn’t replace calibration or compensation.
When Calibration Isn’t Possible or Enough
Some ovens won’t let you adjust anything. Some let you adjust, but not far enough. Either way, you still have options.
Keep a thermometer in the oven and compensate in the recipe. If your oven runs 375°F when set to 350°F and you can’t shift the offset, set it to 325°F and let the error cancel out. Write the adjustment on your recipe card so you don’t have to re-derive it.
Adjust time rather than temperature for forgiving bakes. Cookies, muffins, and quick breads tolerate a modest temperature error if you watch color and texture instead of the clock.
Calibrate only the mode you use most. Bake mode is what most home baking relies on. Verify it, correct it if you can, and treat convection or proof settings as separate questions.
Accept the gap if it’s small. A 10°F error that produces results you’re happy with is not a problem that needs solving. Chasing precision you can’t perceive burns time.
The trade-off is straightforward: built-in calibration fixes the problem permanently but is limited by what your oven allows. External compensation works on any oven but requires you to remember it every single time you bake. If your oven is 30°F off and the offset range is ±35°F, calibrate. If it’s 50°F off, calibrate as far as you can and compensate for the remainder.
Verify, Document, and Maintain Your Calibration
An adjustment isn’t finished until you’ve confirmed it.
Retest under identical conditions: same setpoint, same rack position, same thermometer, same wait time after the preheat signal. If the average now lands within a few degrees of the setpoint, you’re done.
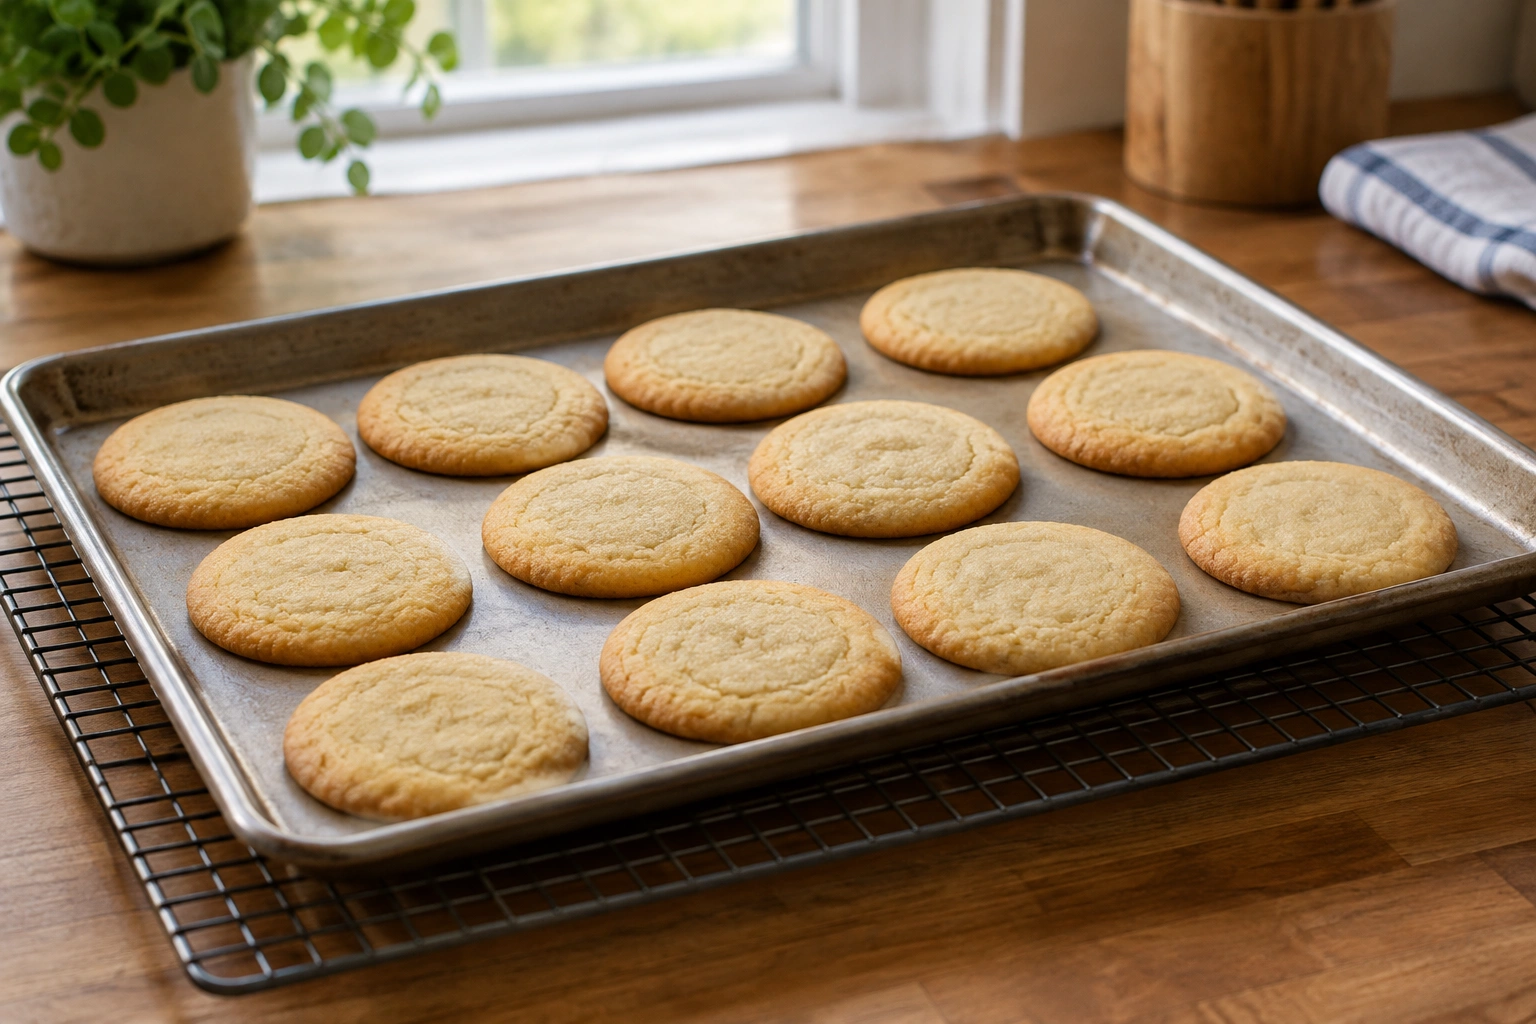
Then bake a control batch. A plain sheet of sugar cookies or a simple butter cake tells you more about real-world performance than any number on a screen, because it accounts for pan material, rack position, and airflow all at once.
Document three things in your manual or on a note taped inside a cabinet door: the final offset value, the date, and the thermometer you used. Six months from now, that note tells you whether the oven has drifted further or whether a new problem has appeared.
On timing: annual retesting is a reasonable baseline. Retest sooner after moving the oven, after any repair or control board replacement, or when your results suddenly change. There’s no fixed interval that fits every appliance — the pattern of your baking is the best indicator.
When to Call an Appliance Technician
Some situations justify professional help rather than more experimenting:
- The oven has a sealed gas thermostat and no accessible adjustment.
- The measured error exceeds your oven’s maximum offset range by a wide margin.
- The oven won’t hold temperature at all, or swings so widely that no average is meaningful.
- One mode is wildly wrong while others are fine, suggesting a control or sensor fault.
- You smell gas, see sparks, notice damaged wiring, or see any sign of electrical distress — stop and call immediately.
- The oven is under warranty, and DIY adjustments could void it.
For a gas appliance specifically, the line is simple: control-panel settings and external knobs are fair game if your manual documents them. Anything involving the gas valve, burner assembly, or sealed thermostat belongs to a qualified technician.
An oven that runs 25°F hot is not a broken oven. It’s a known oven. Measure it, correct it if you can, and adjust if you can’t — that removes one of the most common sources of unpredictable results in home baking.
IMAGE_3_HERE
Frequently Asked Questions
How do I know if my oven is running hot or cold?
Test it with an independent oven thermometer rather than trusting the display. Clip a probe to the center rack, set the oven to 350°F, and record readings for 30 to 40 minutes after the preheat signal. Average the stable readings. If the average is above the setpoint, the oven runs hot. Below, it runs cold.
Can I calibrate a gas oven myself?
Sometimes. Gas ranges with digital controls often offer a built-in offset setting you can change from the keypad, which is safe and reversible. Gas ranges with mechanical thermostats may have a calibration screw behind the temperature knob — but many are sealed or non-adjustable. If you don’t find a documented adjustment for your model, call a technician rather than improvising.
How often should I recalibrate?
There’s no universal schedule. Annual retesting is a sensible baseline, plus retesting after a move, a repair, or a sudden change in baking results. If your results have been consistent for years, your oven probably hasn’t drifted.
Should I use an infrared thermometer to test my oven?
No. Infrared thermometers measure surface temperature, not air temperature. They’re useful for checking a baking stone or pan surface, but the air temperature your batter experiences requires a probe or oven-safe air thermometer.