
How to Clean a Garlic Press Easily Without Damaging It

A garlic press is one of those tools that saves time in the kitchen and then asks for a little attention afterward. The good news: if you clean it promptly, the job is usually quick and low-effort. The real trouble starts when garlic dries in the tiny holes or settles into the hinge.
The easiest routine is simple. Rinse the press right after use, clear the holes while the pulp is still soft, then wash and dry it completely. That small habit prevents most of the scraping, soaking, and lingering smell that can make garlic presses feel annoying to own.
Quick Answer: The Easiest Way to Clean a Garlic Press
If you want the fastest practical method, do this as soon as you finish pressing garlic:
- Open the press and rinse off loose pulp under warm water.
- Use a fork, toothpick, or small cleaning brush to push out the bits stuck in the holes.
- Wash with warm water and a little dish soap.
- Rinse well.
- Dry it fully before putting it away.
That sequence works because fresh garlic is soft. Once it dries, it becomes tacky and harder to dislodge. Bon Appétit notes that presses with hinged, flip-out baskets or removable plates tend to be easier to clean because you can pop the pulp out instead of digging it out of every crevice. If your press has that kind of design, use it to your advantage. Bon Appétit’s garlic press cleanup notes
What to Do Right After Using the Garlic Press
The best cleanup happens before the garlic has time to set.
As soon as you finish pressing, tap the press gently over the trash or compost to knock out the loose pulp. Then rinse the chamber and the underside under warm running water. If garlic is still soft, a quick rub with your fingers or a cloth may be enough to remove most of it.
This is also the moment to check the hinge. Garlic often collects where the moving parts meet, not just in the holes. If you wait until later, residue can harden there and make the press feel sticky the next time you use it.
A small habit helps here: rinse the press before you move on to the rest of dinner cleanup. That one minute now can save several minutes later.
How to Remove Garlic from the Tiny Holes and Hinge
The holes are where garlic presses earn their reputation for being fussy. You do not need a special gadget to clean them, but you do need something that reaches into the openings without bending the metal.
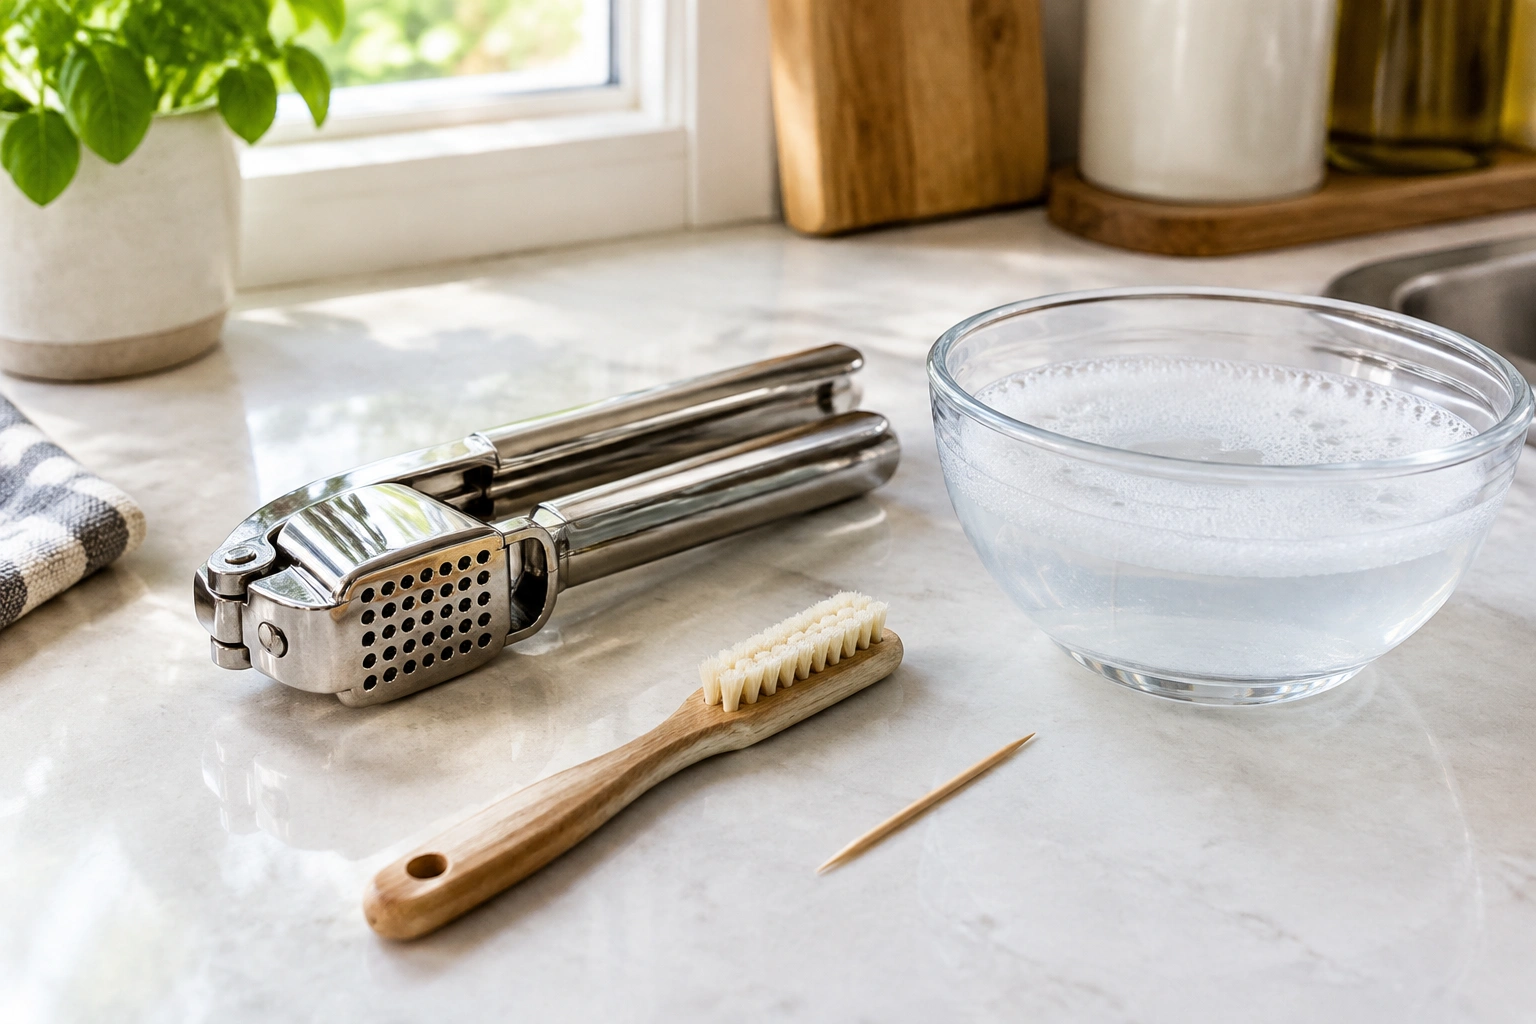
Best tools for the job
- Fork: Good for dislodging larger clumps before washing. Jerry James Stone recommends using a fork to push out the pressed clove before cleaning. How to use a garlic press
- Toothpick or skewer: Useful for individual clogged holes.
- Soft brush: Gentle on finishes and useful for grooves and the hinge.
- Small cleaning tool that came with the press: Some models include one, and that is often the most convenient option because it fits the design.
A simple step-by-step method
- Hold the press under warm water.
- Use a fork to lift out the bulk of the garlic pulp.
- Run a toothpick through the clogged holes if any bits remain.
- Brush around the hinge and the edges of the basket.
- Rinse again to check for leftover residue.
After rinsing, wipe the hinge area with a damp cloth or use an old toothbrush to loosen any garlic that is still tucked into the moving parts. Use light pressure. You want to clear the holes, not widen them or scratch the finish. Avoid knives, metal skewers, or anything sharp enough to gouge the press or cut your hand.
Why a soft brush usually wins for routine cleaning
A brush is slower than a quick rinse, but it is safer for regular use. It reaches into grooves without scraping away coatings or leaving scratches that can trap even more residue later. If your press has a lot of crevices, a brush is the least risky middle ground between “just rinse it” and “scrub it hard.”
Should You Soak It First?
Soaking can help, but it is not always the best first move.
A short soak in warm soapy water is useful when garlic has started to cling to the holes or hinge. Even a few minutes can loosen residue enough that a brush or toothpick finishes the job quickly. That said, soaking is not something to do blindly with every press.
When soaking helps
- The garlic has begun to dry on.
- The hinge feels sticky.
- You pressed several cloves and the holes are packed.
When to be careful
- The press is aluminum or coated.
- The manufacturer says not to soak it.
- You are tempted to leave it in water for a long time and “come back later.”
Long soaking can be hard on some materials, especially if the finish is delicate. A short soak is a cleanup aid, not a storage method. If you are unsure, keep it brief and move on to brushing and rinsing.
Hand-Washing vs. Dishwasher Cleaning
Here is the practical comparison most readers need.
| Cleaning choice | Best for | Pros | Trade-offs |
|---|---|---|---|
| Hand-washing | Fresh garlic, quick cleanup, delicate finishes | Fast for spot-cleaning, lets you target the holes and hinge | Requires a few minutes of attention |
| Dishwasher | Dishwasher-safe models, low-effort cleanup | Convenient, especially after meal prep | May not remove every trapped bit from the holes; not safe for every press |
Most presses are dishwasher-safe or can be hand-washed, according to Jerry James Stone. But “most” is not the same as “all,” so check the manufacturer’s instructions before you send one through a cycle. Garlic press care guidance
When the dishwasher makes sense
Choose the dishwasher if the press is clearly labeled dishwasher-safe and you want the easiest low-touch option. This is especially handy after a bigger cooking session, when you are already loading other utensils.
When hand-washing is the safer bet
Hand-wash if the press has a coated finish, if the label is unclear, or if you notice residue still stuck in the holes after a cycle. A dishwasher can clean the surface, but it may not fully clear the tiny openings, so a quick post-cycle inspection is still recommended.
How to Clean Different Garlic Press Materials Safely
Material matters more than many people realize. The same cleaning method that works fine on stainless steel may be too rough for aluminum or a coated press.
| Material | Cleaning approach | Watch for |
|---|---|---|
| Stainless steel | Usually handles routine washing well; hand-wash or dishwasher if labeled safe | Dry it fully to avoid water spots or corrosion on low-quality parts |
| Aluminum | Gentle hand-washing is safer | Scratching, discoloration, and corrosion from harsh cleaners or long soaking |
| Coated press | Use soft tools and mild soap | Scrubbing that can wear the coating or expose the base metal |
Stainless steel
Stainless steel is generally the most forgiving choice for repeated washing. If your model is dishwasher-safe, that can be a real convenience. Still, even stainless steel benefits from a quick inspection after washing, especially around the hinge and holes.
Aluminum
Aluminum needs a gentler touch. Avoid aggressive scrubbing pads and long soaks. Those can dull the surface or encourage corrosion. If you own an aluminum press, hand-washing and immediate drying are the safer habits.
Coated presses
Coated presses can be easy to use but less forgiving to clean. Once a coating gets scratched, residue can cling more easily, and the finish may wear unevenly. Stick with warm water, mild soap, and soft tools.
How to Clean Dried-On Garlic Buildup
Dried garlic is the version that makes people swear off garlic presses for a week. The fix is patience, not force.
First, soak the press briefly in warm soapy water to soften the buildup. Then use a fork or toothpick to lift out the loosened bits from the holes. Finish with a soft brush around the hinge and basket.
If the garlic has really hardened, repeat the soak instead of scraping harder. Hard scraping can bend parts or scratch the finish, and that makes future cleanups worse.
A useful rule: if the residue is not moving after a gentle pass, go back to soaking rather than increasing pressure. That usually saves the tool.
How to Remove Garlic Smell and Prevent Buildup
Garlic smell lingers when residue lingers. The best odor control is thorough cleaning, especially around the hinge and the perforations.
If the press still smells after washing, check whether any pulp remains trapped. The smell often comes from leftover bits, not from the metal itself. Wash again with warm soapy water, then rinse well.
To prevent buildup in the first place:
- Clean the press immediately after use.
- Do not let it sit in the sink with food residue on it.
- Open the press fully while drying so air reaches the hinge.
- Store it only after it is completely dry.
A clean, dry press is less likely to carry a strong garlic smell into the next meal.
Drying and Storing the Garlic Press Properly
Drying matters as much as washing. A press put away while damp can develop rust on vulnerable parts, corrosion on aluminum, or a stale odor that comes back every time you open the drawer.
After washing, dry the press with a towel, then leave it open on a drying rack or dish mat for a bit longer if needed. That extra air exposure helps moisture escape from the hinge and the holes.
If your press has a removable basket or plate, dry each part separately before reassembling. That small step prevents water from hiding inside the moving parts.
Common Mistakes to Avoid
These are the cleaning errors that cause most of the frustration:
- Letting garlic dry in the press. Fresh residue is much easier to remove.
- Using sharp metal tools. They can scratch the press and injure your hand.
- Scrubbing too hard. That can bend parts or wear down coatings.
- Soaking aluminum too long. Gentler cleanup is safer.
- Assuming every press is dishwasher-safe. Check the label or manufacturer guidance first.
- Putting it away wet. Moisture is what leads to odor and damage.
If you avoid those mistakes, garlic press cleanup becomes a short routine instead of a chore.
A Simple Decision Rule for Busy Kitchens
If the garlic is fresh, rinse and brush it right away.
If the residue is sticking, use a short soak, then brush.
If the press is labeled dishwasher-safe and you still want to check it afterward, run it through the dishwasher and inspect the holes before putting it away.
That’s the whole system: clean early, use gentle tools, and dry thoroughly.
When to Ask a Food Safety Expert
If your garlic press has a damaged coating, visible rust, or a material label that is unclear, check the manufacturer’s care instructions before using it again. If you are unsure whether a specific finish or detachable part can handle soaking or machine washing, a food equipment retailer or the manufacturer’s support team can usually clarify the safest care method.
FAQs
Can I put a garlic press in the dishwasher?
Often yes, but only if the manufacturer says it is dishwasher-safe. Some presses do fine in the dishwasher, while others need hand-washing to protect the finish or moving parts.
What is the fastest way to clean garlic out of the holes?
Rinse immediately, then use a fork, toothpick, or soft brush while the garlic is still soft. That is usually faster than waiting until it dries.
Is soaking a garlic press safe?
A short soak in warm soapy water can help loosen stuck garlic. Avoid long soaking unless the manufacturer says it is okay, especially for aluminum or coated presses.
How do I keep my garlic press from smelling?
Remove all trapped residue, rinse well, and dry it completely. Odor usually comes from garlic left in the holes or hinge.
What if garlic has already dried in the press?
Soak it briefly, then use a fork or toothpick to loosen the buildup. Repeat the soak if needed instead of forcing the residue out.
Which garlic press material is easiest to clean?
Stainless steel is usually the most forgiving. Aluminum and coated presses need a gentler approach to avoid damage.