How to Cream Butter and Sugar Without a Mixer: A Practical Hand Method for Light, Fluffy Baking
Creaming butter and sugar is one of those baking steps that sounds more technical than it really is. At its core, it means working softened butter with sugar until the mixture looks lighter, feels smoother, and holds more air. That air matters because it helps cakes rise and keeps cookies and quick breads tender.
If you do not have a mixer, you can still do this successfully by hand. The process takes more effort, but it is absolutely workable with a bowl and a sturdy tool. The standard to aim for here is not perfection, but a well-aerated mixture that will support the rest of the recipe.
What It Means to Cream Butter and Sugar by Hand
Creaming is not just stirring. When you cream butter and sugar, you are pressing, smearing, and beating the butter so the sugar cuts into it and creates tiny air pockets. Those pockets help baked goods rise and give them a softer crumb.
By hand, the motion is a little different from a mixer. Instead of relying on a blade or paddle to do the work, you are using pressure and repetition. Think of it as combining three actions:
- mashing the butter to loosen it
- rubbing sugar through it to lighten the texture
- scraping and folding so everything stays even
That matters most in recipes that depend on structure from the creaming step, such as many butter cakes and classic drop cookies. If the butter and sugar never really come together, the batter can stay dense and the finished bake may feel heavy.
How Soft the Butter Should Be Before You Start
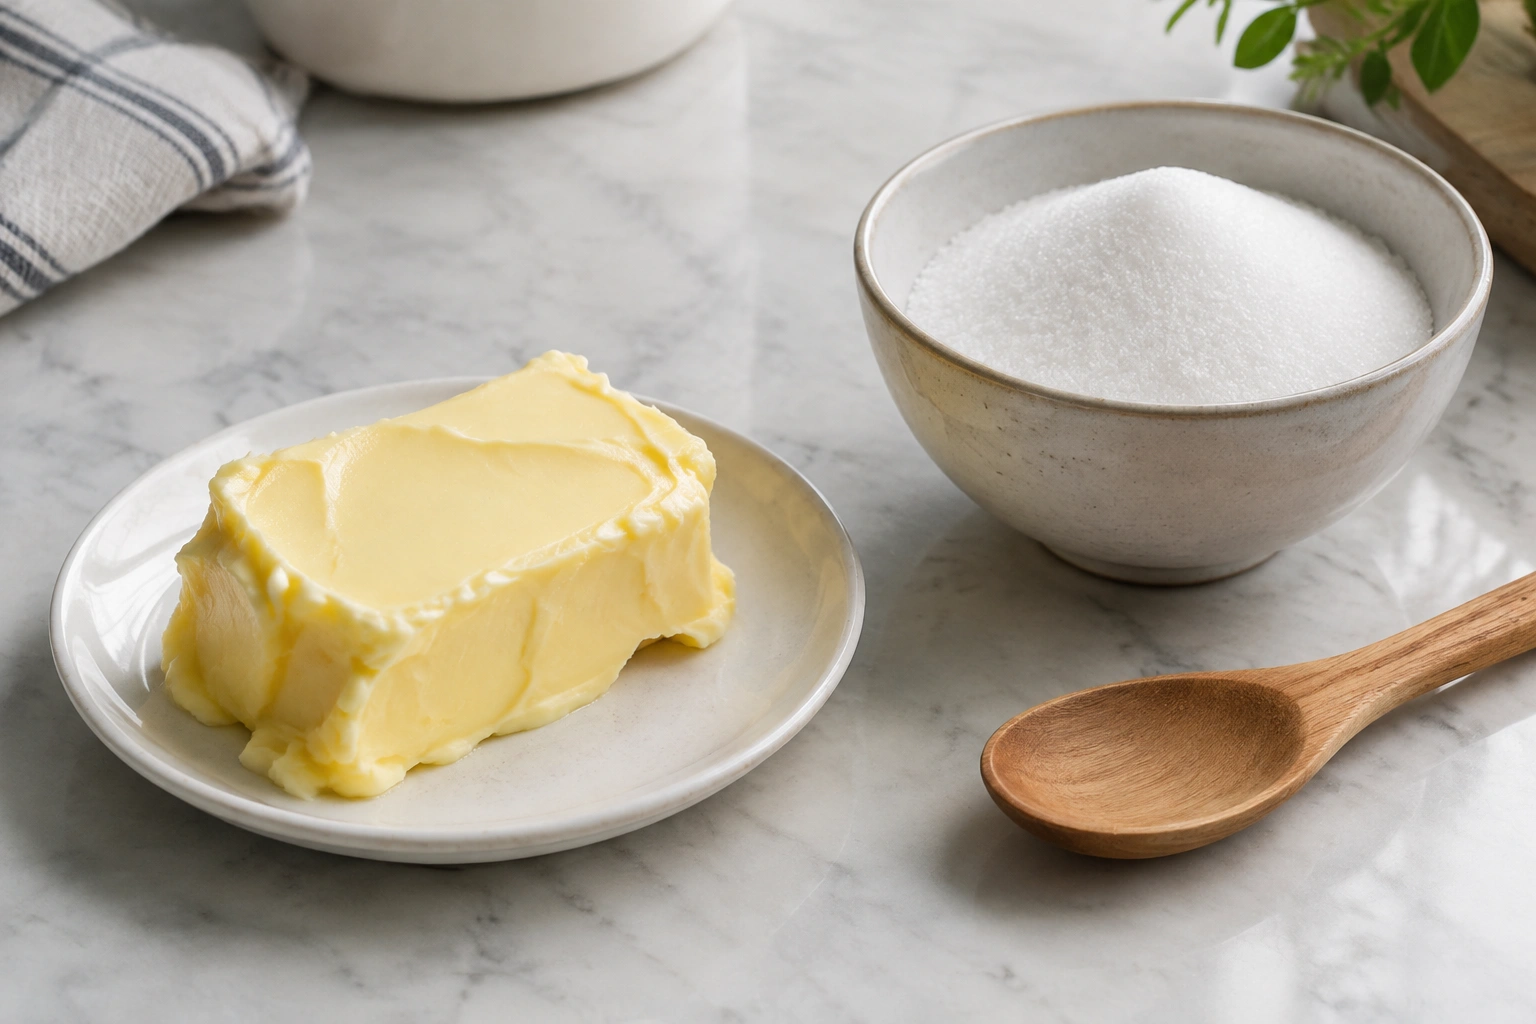
Butter should be soft enough to press easily, but not so warm that it looks oily or begins to slump. In practical terms, you want butter that yields when you press it with a finger, yet still holds its shape in the bowl.
That distinction is important. Butter that is too cold resists the sugar and stays in hard pieces. Butter that is too warm loses the structure you need for aeration and can turn greasy instead of fluffy.
A simple decision rule helps:
- Too cold: it feels firm, cuts instead of smears, and stays in chunks
- Ready: it presses easily and smears without melting
- Too warm: it looks shiny, soft, or greasy and may not hold air well
If your butter is too cold, let it sit briefly at room temperature. If you need a faster fix, cut it into smaller pieces so it softens more evenly. For a fuller guide on bringing butter to the right state, see how to bring butter to room temperature safely.
Best Tools for Creaming Butter and Sugar Without a Mixer
You do not need a special tool, but some tools work better than others.
Wooden spoon
A wooden spoon is usually the most useful backup tool. It gives you leverage, and the broad bowl of the spoon helps press the butter against the side of the bowl. That pressing action is what makes hand creaming effective.
Best for: medium to larger batches
Trade-off: it takes effort, especially at the beginning, but it gives good control
Rubber spatula
A sturdy rubber spatula can work if the butter is already quite soft. It is useful for scraping the bowl and folding the mixture together, but it does not mash as efficiently as a spoon.
Best for: finishing the mixture and cleaning the bowl
Trade-off: less force, so it is slower for the actual creaming step
Fork
A fork is the least efficient option, but it can work in a pinch, especially for a small amount of butter. It is best used to break up cold spots before switching to a spoon.
Best for: very small batches or extremely limited equipment
Trade-off: slower and more tiring than a spoon
If you only have one tool, choose the wooden spoon. If you have two, use the fork to break up cold spots and the spoon to finish the creaming.
Step-by-Step: How to Cream Butter and Sugar by Hand
Here is the most reliable hand method for a small kitchen.
1. Use a roomy mixing bowl
A bowl with enough space makes a bigger difference than people expect. If the bowl is too small, the butter and sugar will smear around the sides without enough room to move. A medium or large bowl gives you space to press the mixture against the side and gather it back together.
2. Add softened butter and sugar together
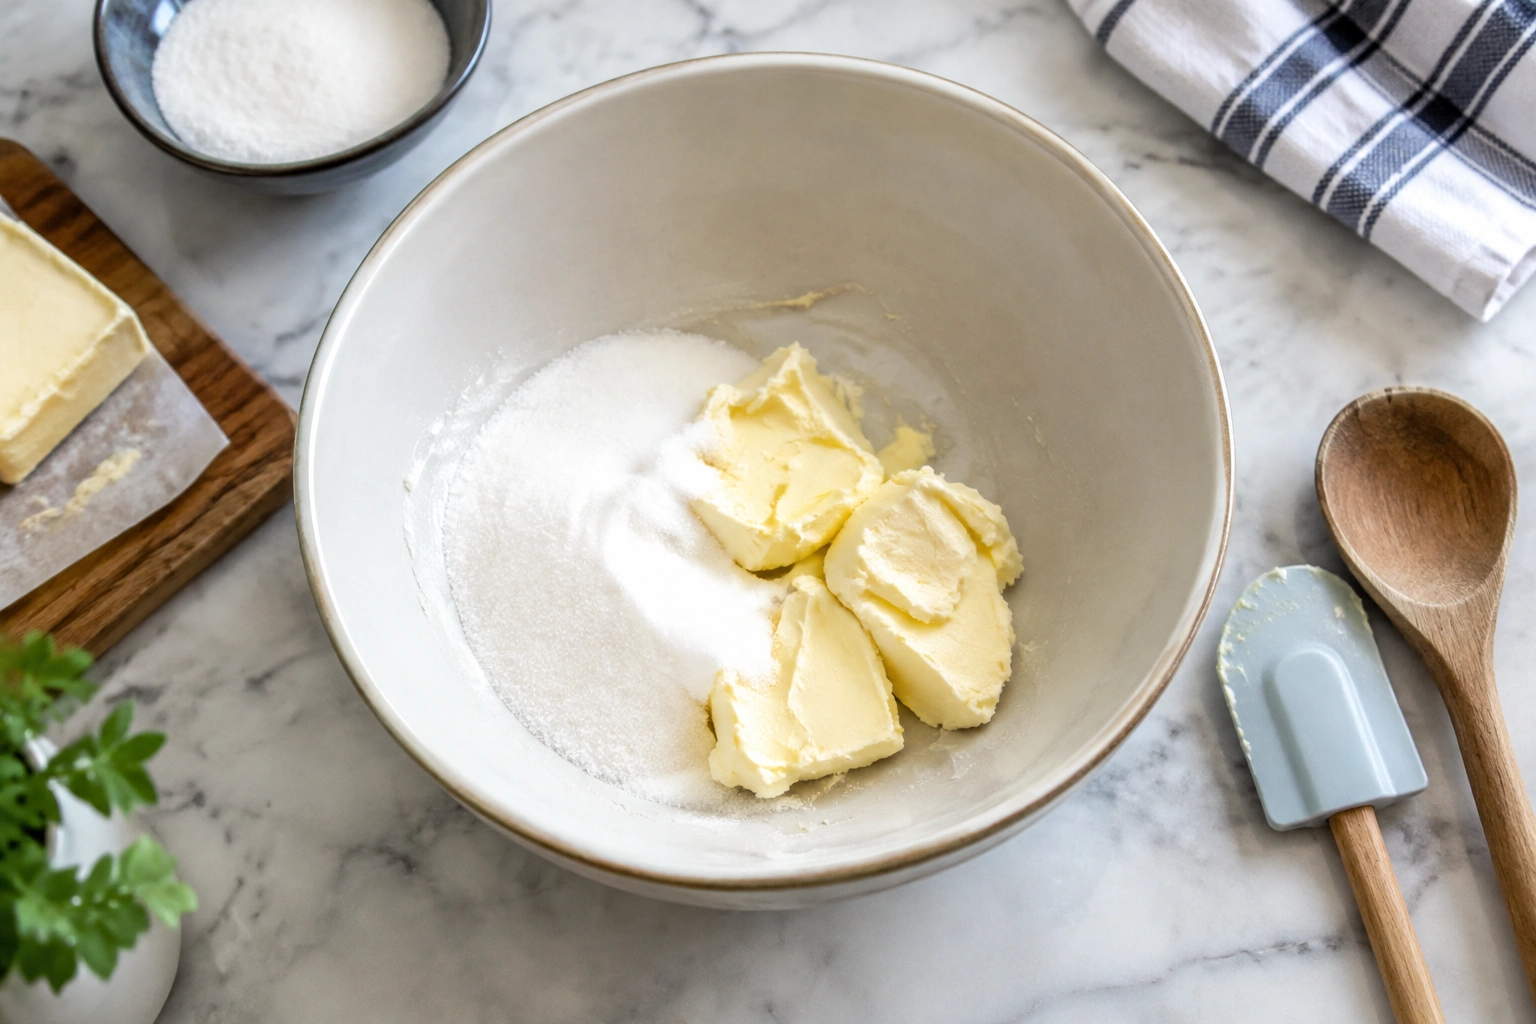
Put the softened butter and granulated sugar in the bowl at the same time. Granulated sugar is the standard choice for creaming because its crystals help aerate the butter as you work it. Powdered sugar behaves differently and will not give the same texture.
3. Mash the butter first
Use the back of a fork or the spoon to press the butter into the sugar. At this stage, you are breaking up the butter so the sugar can start distributing through it.
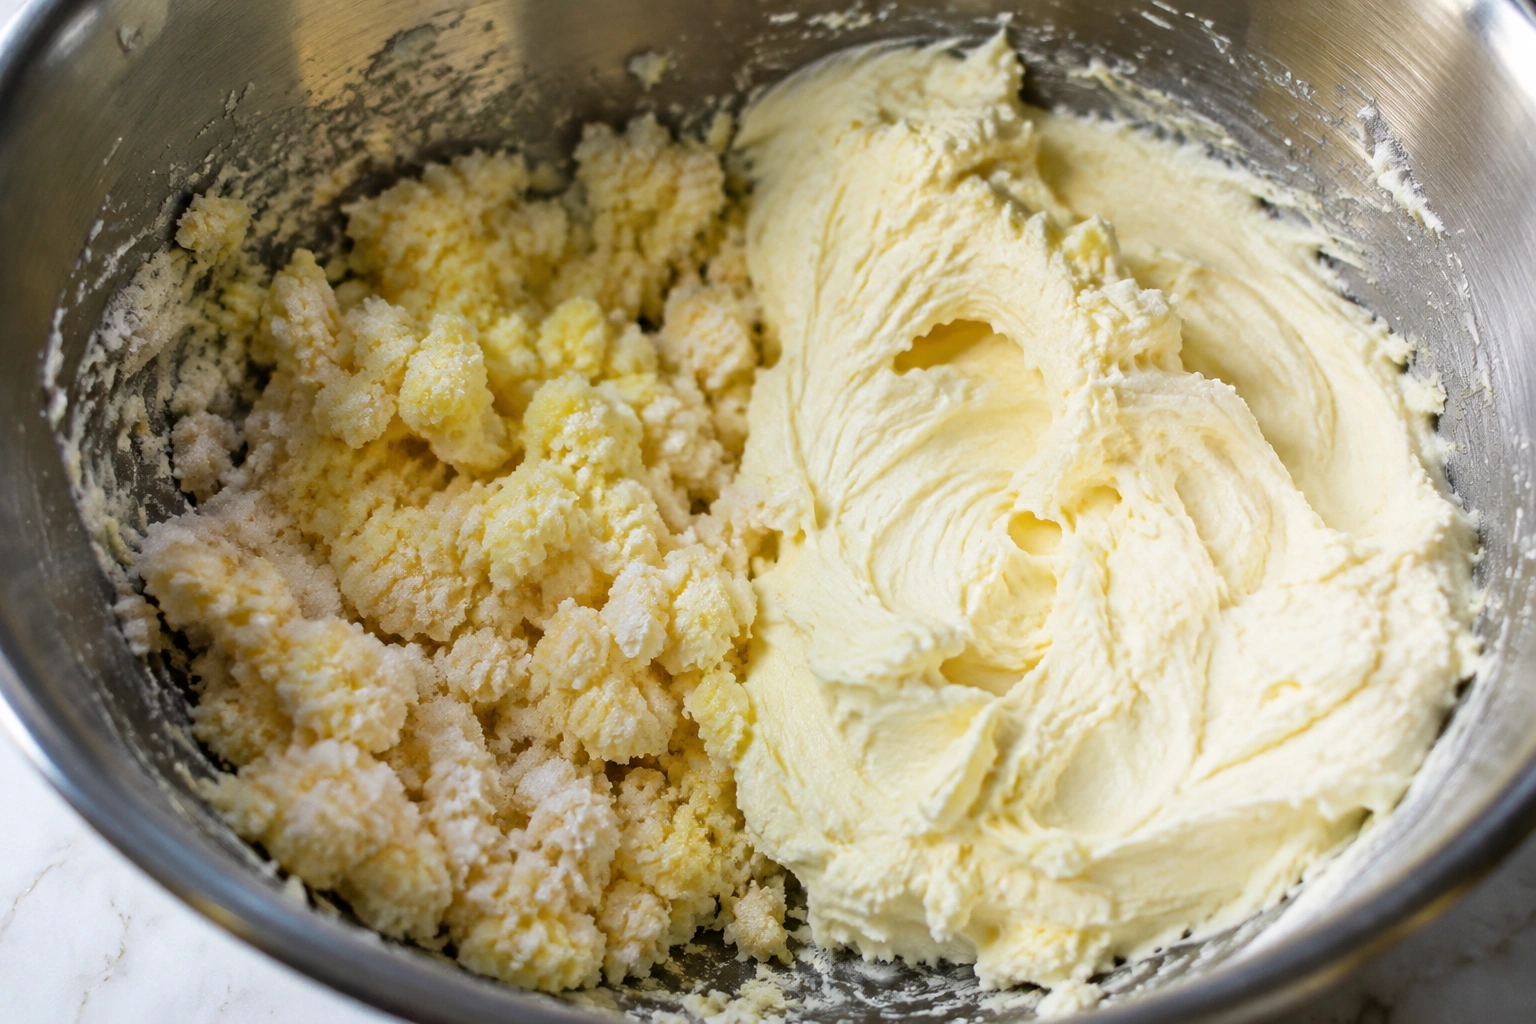
Expect the mixture to look rough at first. That is normal. The goal is to move from separate butter and sugar to a thick, grainy paste.
4. Smear the mixture against the bowl
Once the butter is mostly broken up, press it against the side of the bowl with the spoon. Smear, lift, and gather it back into the center. This motion is more effective than just stirring in circles.
5. Scrape the bowl often
Butter likes to hide in the corners. Scrape the sides and bottom every so often so you do not leave unmixed pockets behind. Uneven mixing here can show up later as streaks in the batter.
6. Keep working until the color lightens
As air gets worked in, the mixture should look paler and feel less dense. You are not waiting for a perfect whipped texture, but you do want a noticeable change from the starting point.
What Properly Creamed Butter and Sugar Looks and Feels Like
Do not judge by time alone. Judge by texture, color, and how the mixture behaves on the spoon.
Properly creamed butter and sugar is usually:
- pale yellow rather than deep yellow
- lighter in color than when you started
- visibly increased in volume
- smooth and fluffy or whipped-looking
- thick but spreadable
- able to hold a little shape when lifted
It should not look oily or separated. It should not feel like dry sugar sitting in soft butter either. You want a unified mixture with some body to it.
A useful comparison: if the mixture still looks like wet sand, keep going. If it looks glossy and greasy, the butter has likely warmed too much and you should pause before continuing.
How Long Hand Creaming Usually Takes
Hand creaming is slower than using a mixer. That is normal. A realistic time range is about 5 to 10 minutes for a small batch, though larger batches can take longer. The exact time depends on the softness of the butter, the size of the batch, and the tool you use.
A fork usually takes the longest. A wooden spoon is more efficient. A small amount of butter creams faster than a full batch. Butter temperature matters too: properly softened butter creams much more quickly than butter that is still cool or firm.
What matters most is that you keep going until the mixture lightens and becomes more uniform.
If you are working by hand, taking short breaks is reasonable. Let the butter soften slightly if your arm gets tired before the mixture is ready. That is better than stopping too early.
Troubleshooting: Cold, Greasy, or Grainy Mixtures
Hand creaming is forgiving, but a few common problems come up again and again.
If the butter is too cold
Cold butter is the most common obstacle. It will stay in chunks and resist the sugar.
Fix it by:
– letting it sit a little longer at room temperature
– cutting it into smaller pieces
– mashing it first with a fork before switching to a spoon
Do not microwave it until it melts. Melted butter will not trap air the same way softened butter does.
If the mixture looks greasy
This usually means the butter is too warm. The mixture may look shiny, loose, or slick instead of fluffy.
Fix it by:
– pausing for a few minutes
– moving the bowl to a cooler spot
– resuming once the butter firms slightly
If the butter is excessively soft, more mixing will not solve the problem. It needs a little structure back before it can cream properly.
If the mixture stays grainy
Some graininess is normal early on, but if the sugar still feels prominent after thorough mixing, keep working the mixture against the bowl. The sugar crystals need time and pressure to distribute through the butter.
If it still seems sandy, check your butter first. Very cold butter can make the sugar feel unmixed even when you are mixing correctly.
If the mixture is uneven
Uneven texture usually means the bowl was not scraped enough or the butter was added in large cold pieces. Break the mixture up, scrape the sides, and work in a steady rhythm until the texture evens out.
Does Hand Creaming Work for Cookies and Cakes?
Yes, it works well for many cookies and cakes. The final texture may be a little less airy than what you would get from a stand mixer, but plenty of recipes still turn out well by hand.
This method is especially useful for:
– simple butter cookies
– drop cookies
– pound-style batters
– basic cake batters that begin with creamed butter and sugar
It is less forgiving when a recipe depends heavily on maximum aeration, such as some very light cakes. Even then, hand creaming can still work if you are careful with butter softness and mixing.
The key trade-off is simple: hand creaming gives you control and flexibility, but it asks for more effort. If the recipe is sturdy and not overly delicate, you are usually in good shape.
Common Mistakes to Avoid When Creaming by Hand
A few small errors make hand creaming much harder than it needs to be.
Using melted butter
Melted butter will not create the same structure. It may combine with sugar, but it will not trap air the way softened butter does.
Stopping too early
The mixture often looks rough before it looks right. If you stop as soon as the butter and sugar are merely combined, you miss the lighter texture that helps the recipe.
Using a flimsy tool
A weak spoon or thin spatula makes the job harder. Choose something sturdy enough to press the butter against the bowl.
Working in a cramped bowl
If the bowl is too small, you end up smearing instead of creaming. You need room to press, gather, and repeat.
Ignoring the butter temperature
Butter that is too cold will fight you. Butter that is too warm will go greasy. Getting the butter into the right condition is half the job.
A Simple Rule of Thumb for Better Results
If you remember only one thing, remember this: softened butter plus steady pressure equals better creaming by hand.
That does not mean you need a perfect setup. A bowl, a wooden spoon, and a little patience are enough for many recipes. Keep the butter soft but not melted, work the mixture against the bowl, and watch for the color and texture to change. That is the point where the recipe starts to benefit from your effort.
Frequently Asked Questions
Can I cream butter and sugar without a mixer?
Yes. A wooden spoon, fork, or sturdy spatula can do the job if the butter is softened properly and you mix long enough.
What is the best tool if I only have one?
A wooden spoon is usually the most effective single tool for hand creaming because it gives you more leverage than a fork or spatula.
Can I use powdered sugar instead of granulated sugar?
Not if you want the same creaming effect. Granulated sugar is the standard because its crystals help aerate the butter.
What if my butter is too cold?
Let it soften a little more, cut it into smaller pieces, or mash it with a fork first. Avoid melting it.
How do I know when I am done?
The mixture should look paler, feel smoother, and seem less sandy. It should also look fluffier and slightly increased in volume, and it should no longer look greasy or separated.
Does this method work for cakes and cookies?
Yes, especially for many butter-based cookies and cakes. Very delicate cakes may be less forgiving, but hand creaming still works in many home kitchens.
If you want to make baking work with limited equipment, this is one of the most useful skills to learn. Once you understand what the mixture should look and feel like, the process becomes much less mysterious and much more repeatable.