
How to Measure Sticky Ingredients Without a Mess: Clean, Accurate Methods for Home Bakers
Sticky ingredients are where a lot of otherwise solid baking habits fall apart. Honey clings to the spoon. Peanut butter stays in the measuring cup. Molasses drips down the side of the bowl. And by the time you scrape everything into the mixing bowl, you may have lost some of the ingredient, added extra cleanup, or both.
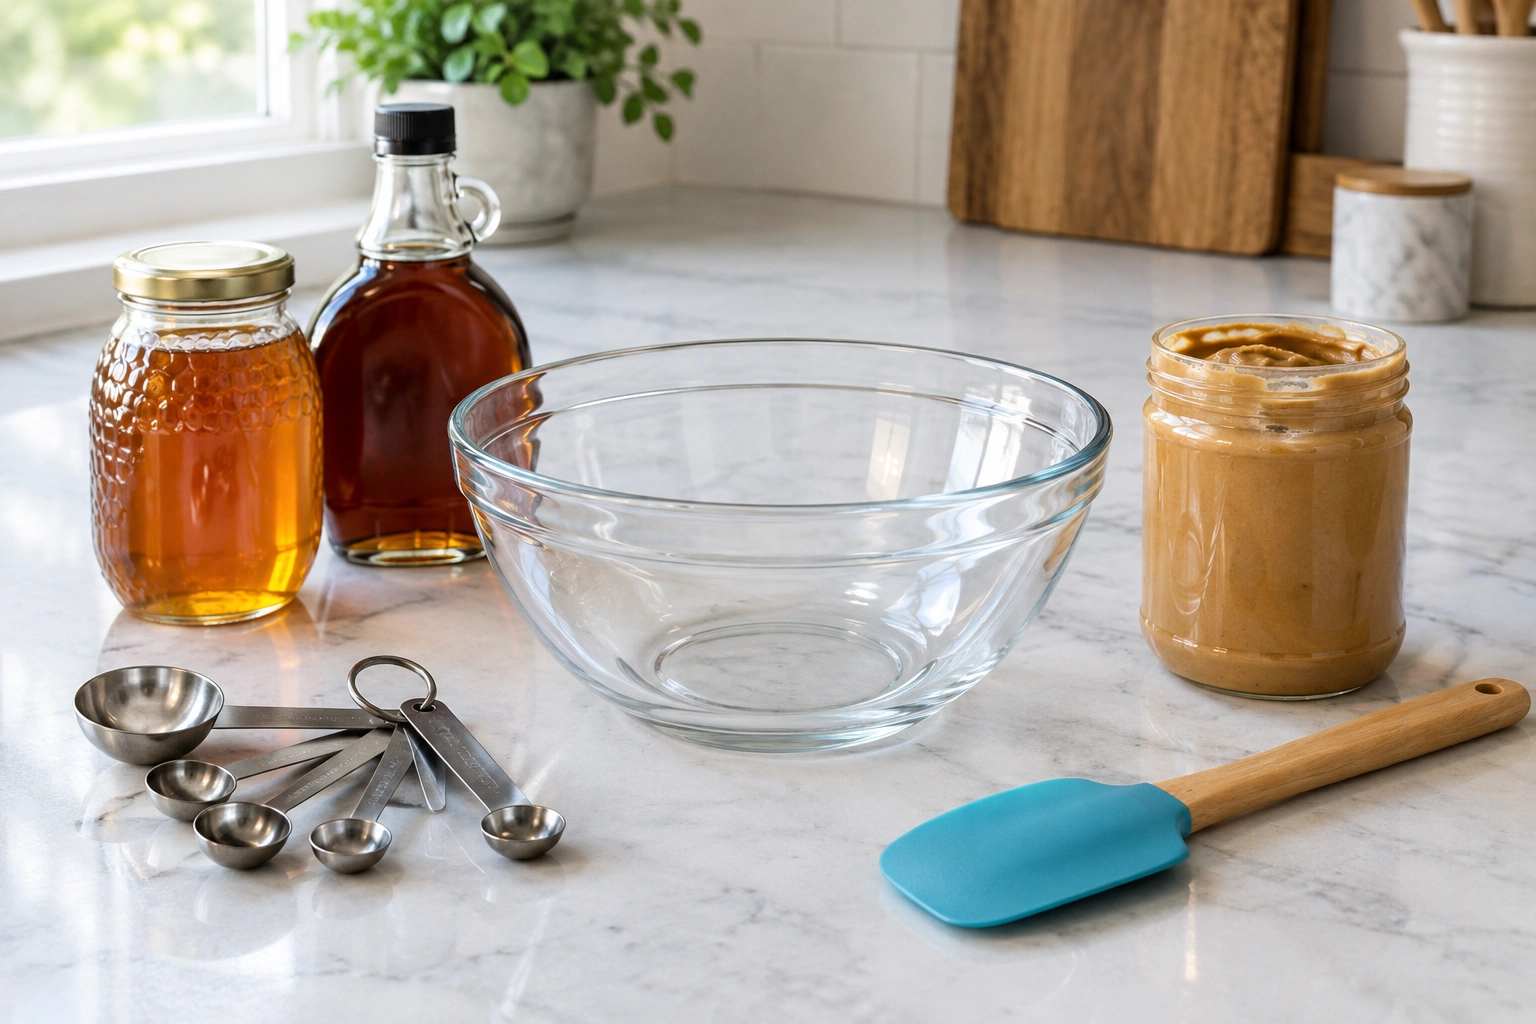
The fix is not one single trick. The cleanest method depends on whether the ingredient pours, scoops, or spreads. Once you match the tool to the ingredient, measuring becomes faster, neater, and more consistent.
Why sticky ingredients are hard to measure cleanly
Sticky ingredients create two problems at once: they adhere to the measuring tool, and they are easy to mis-measure when you try to force them out.
With dry ingredients, you can level the top and move on. Sticky ingredients behave differently. If some of the ingredient stays behind in the cup, the recipe gets less than intended. If you keep scraping and packing to make up for the residue, the amount can become inconsistent from one batch to the next.
That matters most in recipes where the ingredient plays a structural role. Honey and syrup add sweetness and moisture. Peanut butter and shortening affect texture and richness. Nutella and marshmallow creme bring both flavor and body. In other words, the measurement is not just about neatness; it affects how the recipe behaves.
Best tools for measuring sticky ingredients
The best tool depends on the ingredient’s texture.
Use a liquid measuring cup for pourable sticky ingredients
A liquid measuring cup works well for ingredients that flow, even if they flow slowly. Honey, maple syrup, and molasses are the classic examples. The clear sides let you check the fill level at eye level, which is easier than trying to level a sticky liquid in a dry measuring cup.
Use a dry measuring cup for thick spreads and very firm fats
A dry measuring cup is usually better for thick, scoopable ingredients such as peanut butter, shortening, marshmallow creme, and Nutella when you are measuring by volume. These ingredients are too thick to behave like liquids, but they can be packed into a cup and leveled off.
Use this as the default when the ingredient is too thick to settle on its own. A dry cup gives you a defined volume, and the straight rim makes it easier to level or scrape the top. If the ingredient is even firmer and does not move well in a liquid cup, the dry cup is still the better volume-measuring choice.
Use a kitchen scale when accuracy and cleanup matter most
If you want the cleanest method, weighing is often the most practical option. You can place a bowl on the scale, tare it to zero, and add the ingredient directly into the bowl until you reach the target amount. That avoids packing, leveling, and transferring from one measuring vessel to another.
It is especially useful for honey, peanut butter, Nutella, and other ingredients that stick to every surface they touch. If a recipe gives gram measurements, use them. If it does not, a scale is still the neatest default for sticky ingredients when you want consistency from batch to batch.
For a broader refresher on accurate kitchen measuring, this guide to measuring flour without a scale is helpful because the same precision habits apply here too.
Measure by weight when you want the cleanest, most accurate result
Weighing sticky ingredients is simple once you get used to it.
- Set a bowl on the scale.
- Press tare or zero.
- Add the ingredient directly into the bowl.
- Stop when you reach the recipe amount.
That method keeps the ingredient in one place instead of coating a spoon, cup, countertop, and spatula. It also reduces the chance that you underfill a sticky cup because some of the ingredient stayed behind.
A scale is especially useful for ingredients like peanut butter or Nutella, where the amount left in the measuring tool can vary depending on how warm the ingredient is, how hard you packed it, and how much you scraped out. Weight removes most of that guesswork.
If you bake often, a scale also helps when you move between recipes. One baker’s “heaping spoonful” is another baker’s underfilled spoon. Weight keeps the result consistent.
When to use a liquid measuring cup vs. a dry measuring cup
Both cups have a place, but they are not interchangeable.
Choose a liquid measuring cup for pourable ingredients
Use a liquid measuring cup for honey, maple syrup, molasses, and similar ingredients that move slowly but still pour. The spout helps transfer the ingredient into the bowl without sending it down the side of the cup. The clear markings make it easier to see the level accurately.
This works best when the ingredient is fluid enough to settle on its own. If it is so thick that it mounds up or refuses to level, a liquid cup becomes less helpful.
Choose a dry measuring cup for thicker spreads and very firm fats
Use a dry measuring cup for peanut butter, shortening, marshmallow creme, and Nutella when you are measuring by volume. These ingredients are too thick to behave like liquids, but they can be packed into a cup and leveled off.
The key is consistency. Pack the ingredient the same way each time, then level the top with a straight edge or spatula. If you scoop loosely one time and firmly the next, the measurement changes even though the cup size is the same.
A simple rule of thumb
If it pours, use a liquid cup. If it scoops, use a dry cup. If exactness matters most, use a scale.
That rule is not perfect, but it keeps you from fighting the ingredient with the wrong tool.
How to grease or coat measuring tools lightly
A very thin coating of oil or cooking spray can make sticky ingredients release more cleanly. The goal is not to slick the cup heavily; it is to create just enough slip so the ingredient lets go.
This is a convenience trick, not the default for every recipe. If a recipe is sensitive to added fat, or if you are measuring a small amount where even a little extra oil matters, skip the coating and use a scale or a clean dry cup instead.
A clean, practical method
- Lightly coat the inside of the measuring cup or spoon with vegetable oil or cooking spray.
- Wipe away any visible excess with a paper towel.
- Fill the cup or spoon.
- Scrape it level if needed.
- Transfer the ingredient to the bowl and use a silicone spatula to clear the tool.
This works well for molasses, honey, peanut butter, shortening, and marshmallow creme. It can also help with Nutella if the ingredient is especially thick or cool.
The trade-off is small but worth noting: if you overdo the oil or spray, you may add more fat than intended, and the tool can become slippery to handle. Keep the coating very light so it stays useful without changing the recipe more than necessary.
Step-by-step methods for common sticky ingredients
Honey
Honey is easiest when it is slightly warm and measured in a liquid cup or by weight. If you are using volume, lightly coat the cup first if you want easier release.
For a cleaner transfer, let the honey sit in the measuring cup for a moment so it settles, then pour it into the bowl and scrape the last thin film out with a silicone spatula. If it is cold and very thick, weighing it into a bowl is usually less frustrating.
Maple syrup
Maple syrup is usually the simplest sticky ingredient to measure because it pours readily. A liquid measuring cup is the best match.
Pour slowly, check the level at eye height, and let the syrup settle before deciding whether you need a tiny adjustment. Because it flows well, you usually do not need to grease the cup unless the recipe calls for a very small amount and you want every drop to release cleanly.
Molasses
Molasses is thicker and more stubborn than maple syrup, so it benefits from a little extra care. A liquid measuring cup works, but a greased measuring spoon or a lightly oiled cup can help it release more cleanly.
If you need only a spoonful, coat the spoon lightly, fill it, and use a silicone spatula to push the molasses into the bowl. If you are measuring a larger amount, a scale is often the least messy route.
Peanut butter
Peanut butter is one of the best candidates for weighing. It sticks to everything, and the amount you lose in a measuring cup can be annoying.
If you measure by volume, use a dry measuring cup and pack it consistently. For easier release, lightly coat the cup with oil or spray first. Then level the top and scrape it out with a spatula. A second utensil helps more than shaking or tapping the cup, which usually just smears the peanut butter around.
Shortening
Shortening is usually best handled with a dry measuring cup. It can be packed into the cup, then leveled with a straight edge or spatula.
If the shortening is very firm, let it soften slightly so it presses into the cup without cracking or leaving large gaps. If you want a cleaner release, a very light coating of oil on the cup can help, though it is not always necessary. For pie dough or biscuits, consistency matters more than speed.
Marshmallow creme
Marshmallow creme is famously sticky and stretchy, so a greased spoon, greased cup, or scale can save a lot of frustration. Parchment paper is also useful here because it gives you a surface the creme can slide off more easily than a bare spoon.
If you are transferring it from the jar, use a silicone spatula and work in one direction rather than stirring it around the bowl. That keeps the ingredient contained instead of stringing across every surface it touches.
Nutella
Nutella behaves more like a thick spread than a pourable ingredient. A scale is the neatest option, especially if the recipe gives grams.
If you measure by volume, use a dry measuring cup and pack it the same way each time. A lightly oiled cup can help it release, but the cleaner approach is usually to weigh it into the bowl and avoid scraping residue from the cup altogether.
How to scrape, level, and transfer sticky ingredients without waste
The final transfer matters as much as the measuring step.
A silicone spatula is the most useful tool here because it flexes around the sides of a cup or spoon. An offset spatula can also help when you need to level the top of a packed ingredient or clean the rim of a shallow cup.
For very sticky ingredients, try this sequence:
- Fill or scoop the ingredient.
- Level it if the recipe calls for volume.
- Hold the receiving bowl close to reduce drips.
- Use the spatula to sweep the ingredient out in one or two clean motions.
- Scrape the measuring tool immediately before the residue sets.
If you are working with marshmallow creme or Nutella, a piece of parchment can help transfer the ingredient from the tool to the bowl with less sticking. It is a small trick, but it cuts down on waste when the ingredient resists the spatula.
How temperature affects sticky ingredients
Temperature changes how sticky ingredients behave, but the best approach depends on the ingredient and how exact the measurement needs to be.
Slightly warming can help honey, maple syrup, and molasses flow more easily, especially if they have thickened in a cool pantry. For example, honey that has stiffened in the jar is often easier to spoon or pour after it sits at room temperature for a bit. Keep the warming gentle so the ingredient does not become hot or runny beyond what the recipe expects.
Cooler ingredients can sometimes be easier to scoop cleanly, especially if they are very soft at room temperature. Peanut butter is a common example: if it is loose and oily, it may smear more, while a firmer texture can hold its shape better in a dry measuring cup. But if the ingredient becomes too firm, you may end up packing it unevenly or tearing it apart as you try to measure.
The practical goal is not to make everything warm or cold. It is to choose a texture that lets the ingredient move without turning the measurement into a fight.
Common mistakes that make sticky ingredients messier
A few habits cause most of the frustration.
Using the wrong cup
A dry cup for a pourable ingredient can be awkward. A liquid cup for peanut butter can be worse. Match the tool to the texture.
Packing inconsistently
If you pack peanut butter lightly one time and firmly the next, the volume changes. Keep the method consistent if you are not weighing.
Overfilling and then trying to fix it later
Once the ingredient is over the rim, it gets messy fast. Fill more carefully than you think you need to, then level once instead of repeatedly adding and removing.
Leaving residue to harden
Sticky residue gets harder to remove the longer it sits. If you can, clean the measuring tool right away or at least rinse it before the ingredient sets.
Skipping tare on the scale
If you weigh into a bowl and forget to zero the scale, the number is useless. Tare first, then add the ingredient.
Cleanup-friendly tips for faster cleanup
A few small habits make the whole process easier.
Keep a silicone spatula nearby before you start. It is much easier to scrape a cup clean when the tool is already in your hand. If you are measuring several sticky ingredients in one recipe, line up the bowls and tools first so you are not hunting for a spatula with one hand and holding a dripping spoon with the other.
Rinse measuring cups and spoons soon after use. Even a quick soak in warm water helps loosen honey, syrup, and molasses before they dry into a sticky film. For peanut butter, shortening, and Nutella, a wipe with a paper towel before washing can prevent the sink water from turning greasy.
If you use a light coating of oil or spray, remember that the cleanup is still easier than scrubbing hardened residue. The small amount of extra prep usually pays off when you are measuring several sticky ingredients in one baking session.
Quick comparison table: which method works best?
| Ingredient type | Best tool | Best measuring method | Notes |
|---|---|---|---|
| Honey | Liquid measuring cup or scale | Pour or weigh | Slight warming can help if it is thick |
| Maple syrup | Liquid measuring cup | Pour | Usually the easiest sticky ingredient to measure |
| Molasses | Liquid cup, greased spoon, or scale | Pour or weigh | Greasing helps release from spoons |
| Peanut butter | Dry measuring cup or scale | Pack or weigh | Scale is usually cleaner |
| Shortening | Dry measuring cup | Pack and level | Keep the method consistent |
| Marshmallow creme | Dry cup, greased spoon, or scale | Scoop or weigh | Parchment can help transfer |
| Nutella | Scale or dry measuring cup | Weigh or pack | Weighing is the neatest option |
FAQs
Is it better to measure sticky ingredients by volume or by weight?
Weight is usually cleaner and more consistent, especially for ingredients that cling to the measuring tool. Volume still works well for pourable ingredients like syrup and molasses, but a scale is often the easiest path for peanut butter, Nutella, and similar spreads.
Should I grease a measuring cup before using it?
A light coating can help sticky ingredients release more cleanly. Use it sparingly. It is a convenience trick, not the default for every recipe, and it is best skipped when the recipe is sensitive to added fat.
Can I use a dry measuring cup for honey or syrup?
You can, but a liquid measuring cup is usually easier for pourable sticky ingredients. The spout and clear markings make the measurement and transfer cleaner.
How do I get sticky residue off measuring spoons?
Rinse the spoon right away with warm water, or soak it briefly before washing. Once honey, molasses, or peanut butter dries on the metal or plastic, it takes more scrubbing to remove.
What is the cleanest way to measure peanut butter?
Weigh it in a bowl if the recipe allows. If you need to measure by volume, use a dry measuring cup and a very light coating of oil or spray to help it release.
Can I warm sticky ingredients to make them easier to measure?
Yes, slightly warming can help ingredients like honey, maple syrup, and molasses flow more easily. Keep it gentle, though, because too much warming can make the measurement less reliable or change the texture more than you want.
Measure sticky ingredients with less frustration
Sticky ingredients do not need to turn baking into a cleanup project. Once you match the texture to the right tool, the process becomes much easier: pourable ingredients go into a liquid cup, thick spreads and very firm fats go into a dry cup or onto a scale, and a light coating of oil or spray can help when release is the problem.
For home bakers, the biggest improvement usually comes from weighing more often and scraping more intentionally. Those two habits save time, reduce waste, and make recipes more reliable.

