
How to Plan a Weekend Baking Schedule Without Running Out of Time
If you want to bake several items in one weekend, the goal is not to do everything at once. The goal is to organize the work so each recipe supports the next one. That means thinking in stages: prep, mix, bake, cool, finish, and store.
A weekend baking plan works best when you treat time as a limited ingredient. Once you can see the full path from Friday night to Sunday evening, it becomes much easier to decide what belongs on the menu and what should wait for another weekend.
Start With Your Weekend Goal and Deadline
Before you pick recipes, define exactly what needs to be finished and when. Are you baking for a Saturday brunch, a Sunday dinner, a school event, or a freezer stash for the month? The deadline determines everything else.
Work backward from the serving time. If something must be ready by Sunday afternoon, ask:
- What needs to be fully baked?
- What needs chilling overnight?
- What needs to cool completely before decorating?
- What can be packed the day before?
This simple reverse-planning step helps you avoid the most common mistake: building a menu around what sounds good instead of what actually fits.
For example, a loaf cake, cookies, and dinner rolls can fit into one weekend if you spread the work across two days. But if you add a laminated dough, a frosted layer cake, and a custard-filled tart, the schedule becomes much tighter because each one brings extra resting, chilling, or finishing time.
Choose Recipes That Fit Your Time, Equipment, and Skill Level
A realistic weekend plan usually includes a mix of easy, medium, and time-sensitive items. The best menu is not the one with the most recipes. It is the one that matches your oven space, pans, mixer capacity, and energy level.
Use this quick filter before you commit:
| Recipe factor | Ask yourself | Why it matters |
|---|---|---|
| Oven temperature | Can these recipes share a temperature, or will I need multiple changes? | Frequent temperature swaps slow the day down. |
| Active work | Does the recipe require constant attention or just occasional checks? | High-attention recipes are harder to pair with other tasks. |
| Rest/chill/proof time | Will the recipe sit for hours before baking? | Long waits can be useful, but they also affect timing. |
| Cooling needs | Does it need a rack, a pan release, or full cooling before finishing? | Cooling can become the hidden bottleneck. |
| Equipment | Do I have enough pans, bowls, mixer space, and racks? | Limited equipment can force you to bake in waves. |
| Finish work | Does it need glaze, frosting, filling, or assembly? | Decorating often takes longer than expected. |
A smart weekend menu often includes one item that is mostly hands-off, one item that needs moderate attention, and one item that can be finished later. That mix keeps the schedule moving without overwhelming you.
As a simple rule of thumb, a beginner usually does best with about one to three recipes in a weekend, or roughly 3 to 6 active hours total, depending on how much mixing, shaping, and finishing is involved. If you are also learning new techniques, stay on the lower end and leave room for cleanup and cooling.
For a helpful planning companion, you may also want a baking prep checklist for parties so your shopping, equipment, and make-ahead list are all in one place.
Map Each Recipe Into Prep, Bake, Cool, Rest, and Finish Stages
One of the best ways to plan a weekend baking schedule is to stop thinking in terms of “recipe order” and start thinking in terms of “task stages.” A recipe is rarely one block of time. It is usually several separate blocks.
Break each recipe into these parts:
Prep
This includes gathering ingredients, measuring dry ingredients, greasing pans, lining trays, and setting out tools.
Mix
This is the active combining stage: creaming, whisking, kneading, folding, or beating.
Rest, chill, or proof
Many doughs and batters need time before baking. This is often where schedules become easier, because one recipe can wait while you work on another.
Bake
This is only the oven time, not the full recipe time.
Cool
Cooling is not optional. Cakes, breads, bars, and cookies often need different cooling windows before they can be moved, frosted, sliced, or packed.
Finish
This includes glazing, filling, dusting, piping, stacking, or packaging.
When you map recipes this way, you can see where one recipe creates space for another. For example, if a dough needs to proof, that may be the perfect time to mix brownie batter or portion cookie dough.
For most home bakers, the preferred approach is to plan by task stage, not by recipe order. Recipe order is useful only after you know the stage sequence. In practice, stage-based planning gives you a clearer view of bottlenecks, especially when several items need the oven, the mixer, or the cooling rack at different times.
Decide What to Prep the Night Before
Friday night prep can make Saturday feel much calmer. The key is to prepare items that stay safe and useful overnight without hurting quality.
Good make-ahead tasks usually include:
- Measuring dry ingredients into labeled containers
- Combining spice mixes, streusel, or crumb toppings
- Toasting nuts or coconut if a recipe calls for it
- Lining pans and sheet trays
- Clearing refrigerator space for doughs or fillings
- Writing down the order of recipes and oven temperatures
- Setting out cooling racks, spatulas, and storage containers
You can also pre-portion some doughs or batters if the recipe supports it, but only when the method allows for it. If a dough is meant to rest or chill, that can work well overnight. If a batter depends on immediate leavening, splitting the process across days may hurt the texture.
The practical rule is simple: prep ahead the pieces that save time, but keep the steps that affect rise, structure, or freshness close to baking day.
Build a Saturday-Sunday Baking Timeline
A useful weekend schedule is flexible, not minute-perfect. You want clear blocks, not a rigid script that falls apart the moment one tray bakes a little longer than expected.
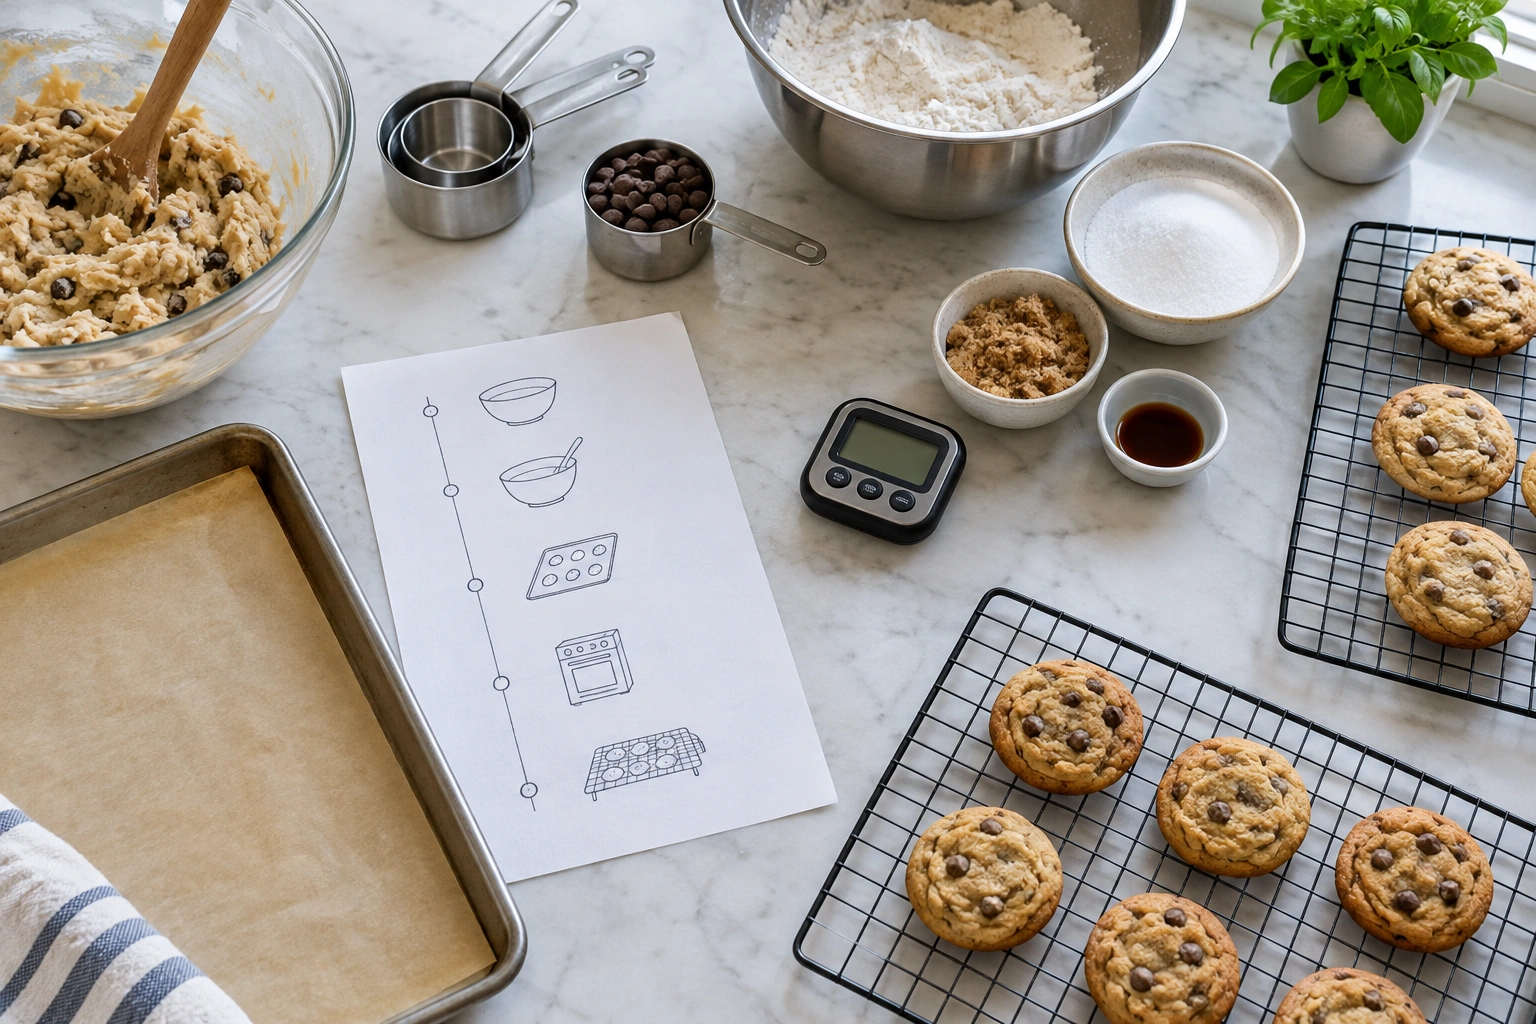
Here is a sample structure you can adapt:
Friday evening
- 6:00–6:30 p.m.: Choose recipes and confirm deadlines
- 6:30–7:00 p.m.: Check pans, mixer bowls, racks, and storage containers
- 7:00–7:30 p.m.: Pre-measure dry ingredients for one or two recipes
- 7:30–8:00 p.m.: Clear refrigerator and freezer space if needed
- 8:00–8:15 p.m.: Write your oven temperature order
- Buffer: leave 15–20 minutes open in case shopping, cleanup, or labeling takes longer than expected
Saturday morning
- 8:00–8:30 a.m.: Start the recipe that needs the longest rest, chill, or proof
- 8:30–9:00 a.m.: Prep the next recipe while the first one waits
- 9:00–10:00 a.m.: Mix and bake the item with the most time-sensitive rise or shape
- 10:00–10:30 a.m.: Move finished items to cooling racks as soon as recipe instructions allow
- Buffer: use 20–30 minutes for an unexpected proofing delay, a pan that needs extra cooling, or a quick kitchen reset
Saturday afternoon
- 1:00–1:30 p.m.: Use cooling time to make the next dough or batter
- 1:30–3:00 p.m.: Bake items that share the same oven temperature
- 3:00–3:30 p.m.: Clean bowls and tools between batches before the mess piles up
- 3:30–4:00 p.m.: Store fully cooled items in the right container
Sunday morning
- 9:00–9:30 a.m.: Finish anything that needs frosting, filling, glazing, or assembly
- 9:30–11:00 a.m.: Bake the final item if it depends on fresh texture
- 11:00–11:30 a.m.: Recheck labels, packaging, and serving trays
Sunday before serving
- 1:00–1:30 p.m.: Do final touch-ups
- 1:30–2:00 p.m.: Bring out chilled items with enough time to lose the refrigerator chill if the recipe benefits from it
- 2:00–2:15 p.m.: Pack leftovers promptly
A schedule like this gives you room to respond if one recipe runs long. It also keeps the most fragile items, such as frosted cakes or filled pastries, closer to the serving time.
Sequence Recipes to Avoid Oven and Equipment Bottlenecks
When you are baking multiple items, the oven is usually the biggest bottleneck. So is the mixer, if you only have one bowl or one stand mixer.
A practical sequence often looks like this:
- Start with recipes that need the longest resting or chilling period.
- Bake items that share the same oven temperature back-to-back.
- Group recipes that share equipment, such as the mixer or loaf pans.
- Save delicate finishing work for after the baked goods are fully cool.
If two recipes need different oven temperatures, use this decision rule:
- If one recipe is much hotter and much shorter, bake it first, then lower the oven for the longer, cooler item.
- If one recipe needs a long uninterrupted bake and a long cool-down, prioritize it first even if the temperature is lower.
- If the recipes are close in temperature, choose the one with the tighter timing, then keep the second recipe waiting in prep or chill stage.
The deciding factor is usually not the temperature itself. It is the combination of bake time, cooling time, and deadline.
For example, if cookies and a loaf cake both need the oven on the same day, you may bake the loaf cake first because it needs a longer uninterrupted bake and longer cooling time. Then you can use the remaining oven window for cookies, which are easier to batch and cool quickly.
Use Waiting Time Efficiently Without Overloading the Schedule
Waiting time is useful only if you use it with intention. A dough that is proofing or chilling gives you a chance to move the plan forward, but it does not mean you should stack too many tasks into the gap.
Good “in-between” tasks include:
- Cleaning mixing bowls
- Setting up the next recipe
- Loading the dishwasher
- Measuring the next set of ingredients
- Preparing pans or parchment
- Labeling storage containers
- Checking cooling progress
Avoid filling every pause with a new project. If you do that, a recipe that finishes early can leave you scrambling. You also increase the risk of overproofing dough, forgetting a timer, or missing a cooling checkpoint.
A useful rule: if a recipe is waiting, use the time for support tasks, not for a third major bake.
Keep Baked Goods Fresh Between Weekend Baking Sessions
If you are spreading work across Saturday and Sunday, freshness matters. The way you cool and store items can affect texture just as much as the baking itself.
General workflow guidance:
- Let baked goods cool as the recipe directs before sealing them.
- Store fully cooled items in airtight containers when appropriate.
- Refrigerate perishable fillings, creams, or frosted items if the recipe requires it.
- Keep crusty breads and delicate cookies in the storage method that best protects their texture.
- Freeze components only when the recipe and texture hold up well after thawing.
The main mistake to avoid is sealing warm baked goods too soon. That traps steam, which can soften crusts and make cakes or cookies soggy. It can also create condensation inside the container.
A simple between-days rule of thumb:
- Room temperature: sturdy items such as cookies, bars, quick breads, unfrosted cakes, and crusty breads that the recipe says can stay out overnight.
- Refrigerator: items with dairy-based fillings, custards, cream cheese frosting, fresh fruit fillings, or anything the recipe says should be chilled.
- Freezer: doughs, unfilled baked layers, and fully cooled items that freeze well and do not lose much texture after thawing.
If you need to hold something overnight, choose the storage method based on the recipe’s own guidance and the filling or topping involved. For food safety, follow the recipe and trusted guidance from sources such as the USDA.
Adjust the Plan When Something Runs Late
Even with a good schedule, one recipe may run behind. The answer is not to panic. It is to switch to a backup order.
Use these fallback rules:
- If a dough is slow to rise, move to a quicker recipe while it waits.
- If the oven is delayed, prep the next batch instead of standing idle.
- If cooling takes longer than expected, postpone finishing work rather than forcing it.
- If a decorated item is not ready, shift simple items first and leave fragile finishing for later.
This is why a written timeline matters. When the schedule slips, you want to know which recipe can move and which one cannot.
A good weekend plan has one or two flexible pieces built in. That might be a cookie dough that can chill longer, or a bar cookie that can be baked after the more time-sensitive bread is done. Flexibility keeps the whole weekend from unraveling.
Sample Weekend Baking Schedules You Can Adapt
Here are three practical examples to show how the framework works.
Example 1: Cookies, sandwich rolls, and a loaf cake
Friday night: Measure dry ingredients, line pans, and set out containers.
Saturday morning: Start the sandwich roll dough first because it needs proofing.
Saturday midday: Bake the loaf cake while the dough rests.
Saturday afternoon: Bake cookies in batches and cool them on racks.
Sunday morning: Bake the rolls, then finish any glazing or packaging.
Why this works: the dough gets its rest time, the loaf cake cools before slicing, and the cookies fill the shorter oven windows.
Example 2: Muffins, brownies, and frosted cupcakes
Friday night: Make labels, prep pans, and clear fridge space for frosting.
Saturday morning: Bake brownies first because they are easy to cool and store.
Saturday afternoon: Bake muffins, then cool completely.
Sunday morning: Bake cupcakes, chill frosting if needed, and decorate closer to serving time.
Why this works: the frosted item stays freshest when finished last, and the simpler bakes are done before the decorating work begins.
Example 3: Two recipes with different oven temperatures
If one recipe needs a hotter oven and the other needs a lower one, group by total workflow, not just by temperature. Bake the recipe with the longer cooling or resting needs first if it also takes more time to finish. Then adjust the oven once and move to the next item.
This reduces unnecessary back-and-forth and keeps you from using the oven inefficiently.
Weekend Baking Planning Checklist
Before you begin, confirm these points:
- I know exactly what needs to be ready and when.
- I have chosen recipes that fit my oven, pans, mixer, and storage space.
- I have broken each recipe into prep, bake, cool, rest, and finish stages.
- I know which ingredients and tools can be prepped ahead.
- I have written a Saturday-Sunday timeline with buffer time.
- I have grouped recipes to reduce oven changes and equipment conflicts.
- I have a plan for proofing, chilling, and cooling windows.
- I know how each item will be stored between baking sessions.
- I have a backup order if one recipe runs late.
- I have reserved time for cleanup and final packaging.
FAQ
How many recipes should a beginner bake in one weekend?
A beginner usually does best with one to three recipes, depending on how much mixing, shaping, and finishing each one requires. If you are trying a new technique, start with fewer items and leave extra time for cooling and cleanup.
Should I plan by recipe or by task stage?
Plan by task stage. Breaking each recipe into prep, mix, rest, bake, cool, and finish gives you a more accurate schedule and makes it easier to spot bottlenecks. Recipe order comes after that.
What if my recipes need different oven temperatures?
Choose the order based on total workflow, not temperature alone. Bake the item with the tighter timing, longer bake, or longer cool-down first, then adjust the oven once and move to the next recipe.
Can I leave baked goods out overnight?
Only if the recipe says the item is safe at room temperature and the texture will hold up. Sturdy cookies, bars, quick breads, and some unfrosted cakes are often fine; items with custard, cream, or other perishable fillings usually need refrigeration.
What is the easiest way to avoid running out of time?
Keep the menu small, leave buffer time, and make sure at least one recipe is flexible enough to wait if another one runs long.
For most home bakers, the solution is not more pressure or more detail. It is a clearer plan. Once you map the work by stage, choose a realistic menu, and leave room for cooling, storage, and cleanup, a weekend baking schedule becomes manageable.

