
How to Shape a Sandwich Loaf for a Soft, Evenly Baked Pan Bread

If you’ve ever baked a loaf that rose lopsided, split at the side, or came out with a dense band through the middle, the problem may not have been the recipe. More often, it’s the shaping.
Shaping is the moment when dough goes from “fermented mass” to a loaf that can hold gas, rise upward in the pan, and bake into neat slices. For sandwich bread, that means building enough tension to support a tall shape without squeezing out all the life in the dough. That balance is the whole game.
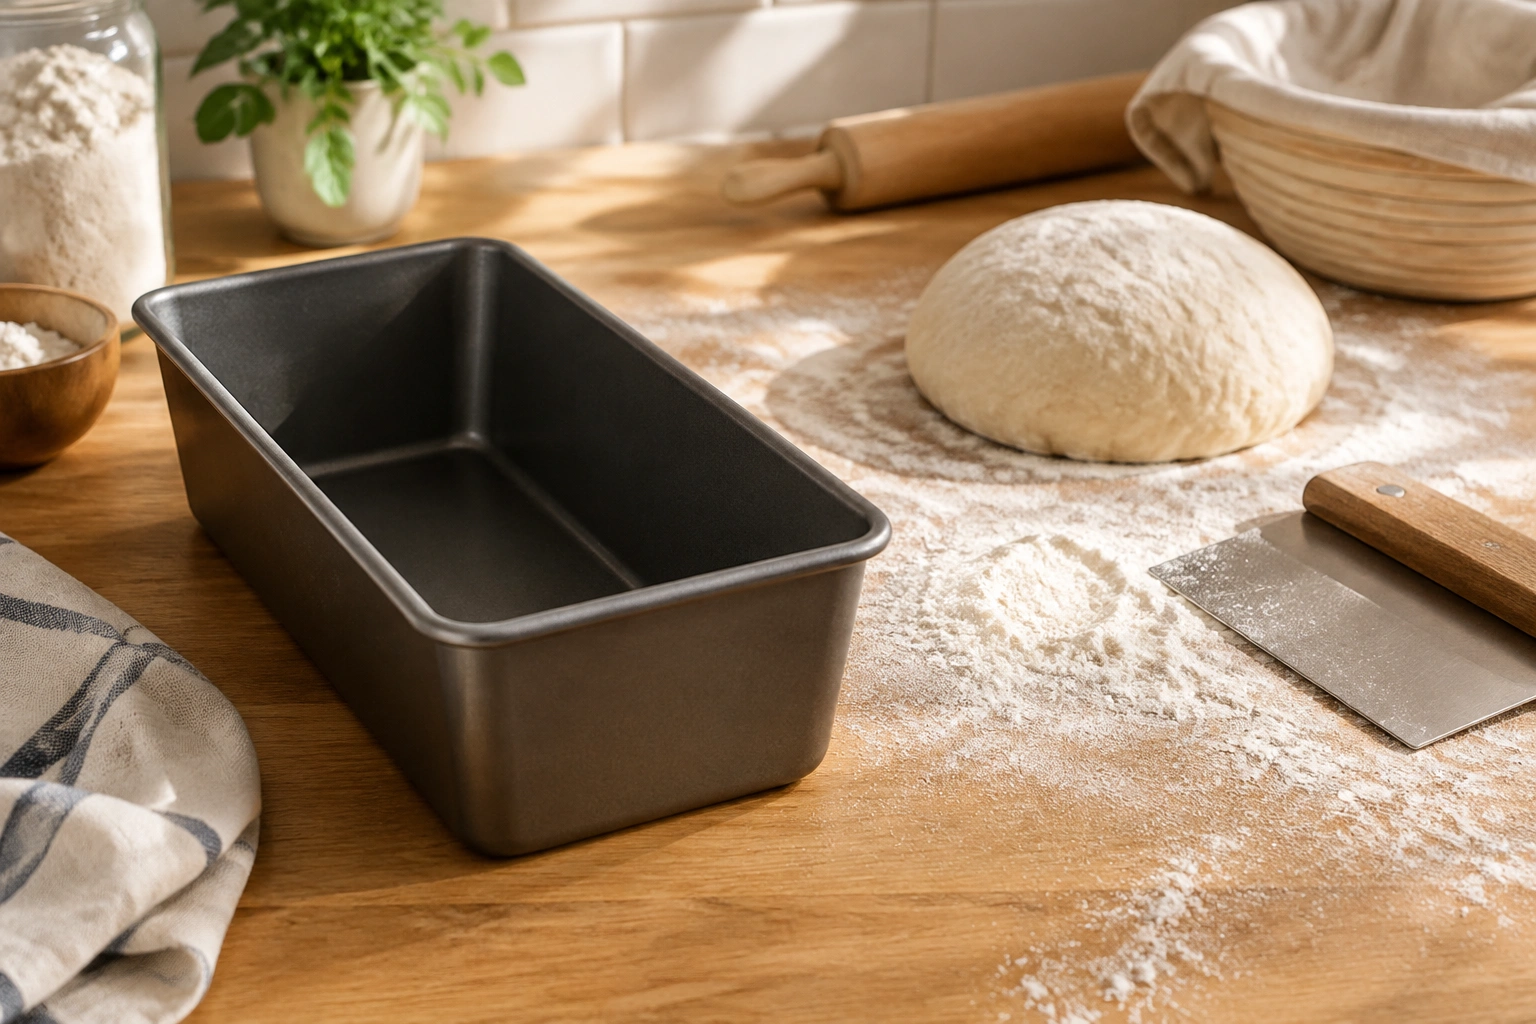
In this guide, I’ll walk you through how to shape a sandwich loaf step by step, plus how to tell whether your dough is ready, how much to degas it, and what to do when the dough fights back. We’ll also compare a few shaping approaches so you can choose the one that fits your dough and your loaf pan.
What You Need Before Shaping a Sandwich Loaf
Before your hands touch the dough, check three things: fermentation, bench rest, and pan size.
A sandwich loaf should be shaped after bulk fermentation, when the dough has risen and feels airy but still has enough strength to hold form. If you shape too early, the loaf may be tight and underdeveloped. Shape too late, and the dough can become slack, fragile, and harder to organize into a clean cylinder.
You also want the dough to have had a bench rest if it feels elastic or resistant. That short pause lets the gluten relax so the dough can stretch without snapping back. Think of it as giving the dough a chance to “settle” before the final form.
Finally, match the dough amount to the pan. A shaped loaf should sit in the pan with the dough filling roughly about half to two-thirds of the pan before final proof, leaving enough room for the loaf to rise above the rim without overflowing. If the dough is too large, it may mushroom over the sides or bake with a heavy center. If it’s too small, the loaf may rise weakly and leave a shallow, uneven top.
A few practical tools make the job easier:
- a clean work surface
- a loaf pan
- a bench knife or dough scraper
- a light dusting of flour for the surface
Where Shaping Fits in the Bread-Making Process
Shaping sits between bulk fermentation and final proof.
Here’s the sequence in plain terms:
- Mix and develop the dough.
- Let it bulk ferment until it has expanded and feels aerated.
- Pre-shape if needed.
- Rest the dough briefly on the bench.
- Final shape the loaf.
- Place it in the pan seam-side down.
- Proof until ready to bake.
That order matters because shaping is not just about appearance. It organizes the gluten network so the dough can expand upward rather than spreading sideways. In a pan loaf, that’s especially important because the pan is doing part of the structural work for you. Your shaping job is to help the dough cooperate with the pan, not fight it.
Pre-shaping is optional for a dough that is already smooth, evenly fermented, and easy to organize. It becomes more useful when the dough feels irregular, slack, or sticky, or when you want a more even final shape in a sandwich loaf. In those cases, a quick pre-shape gives the dough structure before the final roll.
For a deeper look at the broader bread-making process, it helps to pair this technique with a solid sandwich bread formula and proofing rhythm. If you want that bigger picture, this guide to making sandwich bread is a useful companion.
How to Pre-Shape and Gently Degas the Dough
Degassing means pressing out excess gas before the final shape. The goal is not to flatten the dough into a dead sheet. You want to release large bubbles while keeping enough gas to support a soft crumb.
A practical rule: press just enough to remove obvious pockets and uneven balloons, especially near the edges. If you see a large bubble, pop it or press it out now. If you flatten every bit of air out of the dough, the finished loaf can turn tight and dense.
A useful visual cue: properly degassed dough still looks puffy and alive, just more even. Over-degassed dough looks noticeably deflated, matte, and compact, and it often feels dense or rubbery instead of soft and airy.
A bench rest helps here. If the dough springs back as soon as you touch it, let it rest for a few minutes before continuing. That pause makes the dough easier to shape evenly and reduces the urge to overwork it.
For sandwich bread, pre-shaping is usually worthwhile if the dough feels irregular, slack, or sticky. You’re not trying to create the final loaf yet. You’re just gathering the dough into a manageable form so the final shaping is cleaner.
Step-by-Step: Shape the Dough into a Tight Sandwich Loaf
This is the core method I’d teach most home bakers first because it’s simple, reliable, and easy to troubleshoot.
1) Lightly flour the surface
Use just enough flour to keep the dough from sticking. The surface should feel lightly dusted, not powdered. Too much flour can prevent the dough from gripping itself during the seal, and that weakens the loaf.
2) Flatten the dough into a rectangle
Press the dough into a rectangle with the short end slightly shorter than the length of your loaf pan. That sizing makes the final roll easier to fit into the pan without stretching the ends too much.
If the dough keeps shrinking back, let it rest for a few minutes and try again. That resistance usually means the gluten needs time to relax.
3) Fold the dough and seal it firmly
Fold the dough halfway back, then press firmly with a flat open hand to make a seal. Don’t be timid here. The seal is what helps the loaf hold its shape during proofing and baking.
Use the heel of your hand if needed to secure the seam. You want a confident press, not a slap. The motion should compress and join the layers, not tear them.
4) Pull the outer corners toward the center
Bring the outer corners in and make another seal with a flat open hand. This step helps organize the dough and reduce loose edges that can create weak spots later.
5) Fold back halfway again
Fold the dough back halfway once more and secure the seal with the heel of your hand. At this stage, the dough should begin to feel more like a unified loaf and less like a flat piece of dough.
6) Roll into a cylinder
Continue shaping by rolling the dough into a tight cylinder. The pressure should be even along the length of the loaf. You’re aiming for a smooth outer skin with no obvious gaps or trapped folds.
A tight roll gives the loaf a cleaner structure, but don’t overdo it. If you pull too hard, the dough can tear or compress into a dense center. The sweet spot is firm enough to create shape, gentle enough to keep the dough elastic.
7) Tuck the ends
Tuck the ends under so the loaf has a neat, even profile. This keeps the loaf from flaring out at the ends and helps it sit evenly in the pan.
8) Place seam-side down in the pan
Set the shaped loaf seam-side down in the loaf pan. That placement helps keep the seam closed during proofing and baking, which lowers the chance of the loaf splitting open along the side.
For a standard pan loaf, this is one of the most important details in the whole method. A centered loaf is more likely to rise straight. An off-center loaf often leans, domes unevenly, or bakes with one side taller than the other.
Single-Roll vs Letter-Fold Shaping: Which Should You Use?
There’s more than one way to shape a pan loaf, and the best method depends on the dough and the result you want.
| Method | Best for | Strengths | Trade-offs |
|---|---|---|---|
| Single-roll shaping | Simple sandwich doughs, especially when you want a straightforward, fast method | Easy to learn, good for standard loaves, quick to repeat | Can be less uniform if the dough is very soft or irregular |
| Letter-fold-and-roll | Softer or more extensible doughs, or when you want a more organized interior structure | Helps organize layers before rolling, can improve evenness | Slightly more complex and takes extra handling |
| Tighter shaping | Loaves that need height and a straighter profile | Better support, more upward rise | Too much tension can tear the dough or create a tight center |
| Looser shaping | Very delicate or enriched doughs | Gentler on soft dough | May spread more and bake with less height |
A useful decision rule: if the dough feels sturdy and cooperative, a single-roll method is usually enough. If it feels soft, slack, or hard to organize, a letter-fold-and-roll approach can give you more control.
For a pan loaf, one reliable approach is to lightly flour the top of the relaxed dough, flip it over, fold the bottom up to the middle, and then fold each side over to form an open envelope before rolling. That extra structure can help the loaf bake more evenly. The Perfect Loaf has a helpful visual guide to this style of shaping a pan loaf.
How to Fit the Shaped Dough into the Loaf Pan
A shaped loaf should sit in the pan with room to expand upward, not jammed so tightly that it can’t proof properly.
Here’s what to check:
- The loaf should sit centered from end to end.
- The seam should be on the bottom.
- The dough should occupy the pan evenly, not twist to one side.
- The ends should be tucked so they don’t jut out or splay.
If the loaf is too long, gently compress the ends inward rather than stretching the center thinner. If it’s too short, you may have rolled it too tightly or not organized the dough enough during shaping.
Pan size matters here. A dough shaped for a standard 9 x 5-inch pan will not behave the same way in a smaller pan. A pan that’s too large can make the loaf look squat and underfilled. A pan that’s too small can force the dough into an awkward dome or cause it to overproof against the lid of the pan shape.
What Properly Shaped Dough Should Look and Feel Like

Well-shaped sandwich dough has a few clear signs.
Visually, it should look smooth on the outside, with a continuous surface and no obvious seams opening up. The loaf should look like one unified piece, not a bundle of folds.
Tactilely, it should feel snug but not rigid. If you touch the surface lightly, it should have tension without feeling like it might tear. If the dough feels extremely tight, you may have over-rolled it. If it feels soft and loose, it probably needs a little more organization.
The seam should feel closed. If you can see an open line along the bottom or side, press and seal again before the final proof.
During proofing, the loaf should expand in a controlled way. A properly shaped loaf usually rises more evenly and holds its sides better than one that was rolled loosely or placed off-center. As a practical cue, the dough is usually ready to bake when it has risen to just above the rim of the pan or sits a little over the top edge, depending on the loaf style and recipe.
Common Sandwich Loaf Shaping Mistakes and How to Fix Them
Rolling too loosely
A loose roll often leads to gaps in the crumb or a loaf that spreads instead of rising. The fix is simple: tighten the roll slightly and make sure each fold is sealed before you continue.
Rolling too tightly
This can compress the dough and create a dense band through the center. If the dough feels stretched thin or starts to tear, ease off. Roll with enough tension to shape the loaf, not enough to squeeze out its structure.
Weak seam closure
If the seam opens during proofing, the loaf may split or leak sideways in the oven. Press the seam more firmly with a flat hand or heel of the hand, and make sure the dough is not dusted with too much flour where the seam meets.
Off-center placement
A loaf placed off-center in the pan often rises unevenly. Before proofing, take a second to align the dough lengthwise and center it between the pan ends.
Wrong pan size
If the pan is mismatched to the dough quantity, shaping alone won’t fix the problem. Too much dough in a small pan creates crowding; too little dough in a large pan can leave the loaf shallow. Match the pan to the batch before you shape.
Troubleshooting Sticky, Slack, or Springy Dough
Sticky dough usually needs only a light touch of flour and a bench scraper, not a heavy dusting. Too much flour changes the dough’s ability to seal and can leave dry seams.
Slack dough benefits from a brief rest before shaping. If it keeps spreading, pre-shape it first, let it rest, and then return for the final shape once the gluten has had time to tighten.
Springy dough that keeps snapping back is telling you the gluten is tense. Stop fighting it. Pause for a bench rest, then continue. That little break often makes the difference between a clean loaf and a misshapen one.
If the dough is very soft, use gentler shaping motions and avoid overhandling. Try lifting and folding it with a bench scraper instead of gripping it with your fingers, and use only enough flour to keep it from sticking. Soft dough can still make a beautiful sandwich loaf, but it rewards patience more than force.
How to Adapt Shaping for Enriched Sandwich Doughs
Enriched doughs with milk, butter, eggs, or sugar tend to be softer and more delicate than lean doughs. They can also feel stickier and less elastic during shaping.
That softness is part of the appeal. It’s what helps produce a tender sandwich crumb. But it also means you should handle the dough with a lighter touch.
For enriched dough:
- use a slightly gentler pre-shape
- avoid excessive bench flour
- give the dough a little more rest if it feels elastic
- shape with enough tension to support the loaf, but not so much that you squeeze out softness
If the dough feels very sticky or slack, lightly oil your hands or the bench scraper instead of dusting on more flour. You can also pause for a short rest if the dough is spreading too quickly; enriched dough often firms up enough to handle after a few minutes. The trade-off is straightforward: more gentle handling preserves tenderness, while firmer shaping improves structure. With enriched dough, aim for the middle ground. You want a loaf that holds its shape in the pan but still bakes into a soft crumb.
Practical Examples: How I’d Approach Different Sandwich Loaves
A standard white sandwich loaf
For a typical white dough, I’d use the single-roll method. It’s efficient, the dough usually handles well, and the shaping goal is simple: a neat cylinder with a sealed seam and even ends.
A rich dough with milk and butter
For a softer enriched dough, I’d use a lighter hand and consider the letter-fold-and-roll approach if the dough feels loose. The extra fold can help organize the dough without forcing it.
Dough that keeps springing back
This is a bench-rest problem more than a shaping problem. Pause, let the dough relax, and return when it stretches with less resistance. Trying to force it now usually makes the final loaf tighter and less even.
A Final Check Before Proofing
Before the loaf goes into its final proof, ask yourself three questions:
- Is the loaf centered in the pan?
- Is the seam closed?
- Does the dough look smooth, organized, and evenly tensioned?
If the answer is yes, you’re in good shape. The dough should now be ready to proof into a loaf that rises straight, bakes evenly, and slices cleanly.
For the baking stage itself, it helps to pair this shaping method with good pan management and proofing cues. If you want the next step, this guide to baking bread in a loaf pan picks up exactly where shaping ends.
FAQs
How much should I degas sandwich loaf dough?
Just enough to remove large bubbles and uneven pockets. You want to keep enough gas in the dough for a soft crumb, not flatten it completely.
Should I shape the loaf tightly or loosely?
Tighter shaping usually helps a sandwich loaf rise more evenly and hold its form in the pan. But if the dough is very soft or enriched, too much tension can tear it or make the center dense.
Should the seam go on the bottom?
Yes, for most sandwich loaves, seam-side down is the best choice. It helps the loaf stay closed during proofing and baking.
What if my dough keeps shrinking back while I shape it?
Let it rest. That’s usually a sign the gluten needs time to relax before it can stretch cleanly.
Why does my sandwich loaf come out lopsided?
The most common causes are uneven shaping, off-center placement in the pan, or a pan that doesn’t match the dough size.
Can I use the same shaping method for enriched dough and lean dough?
Mostly yes, but enriched dough usually needs a gentler touch. It tends to be softer and more delicate, so less pressure and a little more patience often work better.
What should properly shaped dough look like before proofing?
It should look smooth, evenly tensioned, and neatly sealed, with no open seams or obvious folds showing on the outside.
Shaping a sandwich loaf is really about control: enough to organize the dough, not so much that you crush it. Once you learn to read the dough’s texture, the process becomes less mysterious and much more repeatable.