
How to Use a Citrus Zester for Cleaner, Fresher Flavor in Everyday Cooking

A citrus zester is one of those small tools that earns its keep fast. If you cook at home, prep meals ahead, or bake on a budget, it lets you add bright lemon, lime, orange, or grapefruit flavor without buying extra ingredients or wasting fruit. The trick is using it with enough control to remove only the colorful outer peel, not the bitter white layer underneath.
Used well, a citrus zester gives you fine, fragrant zest for muffins, marinades, dressings, glazes, and quick weeknight meals. Used carelessly, it can shave off too much peel, leave you with bitter bits, or make the fruit slippery and awkward to handle. This guide keeps the process simple: what the tool does, how to hold it, how to stop at the right point, and how to clean it up afterward.
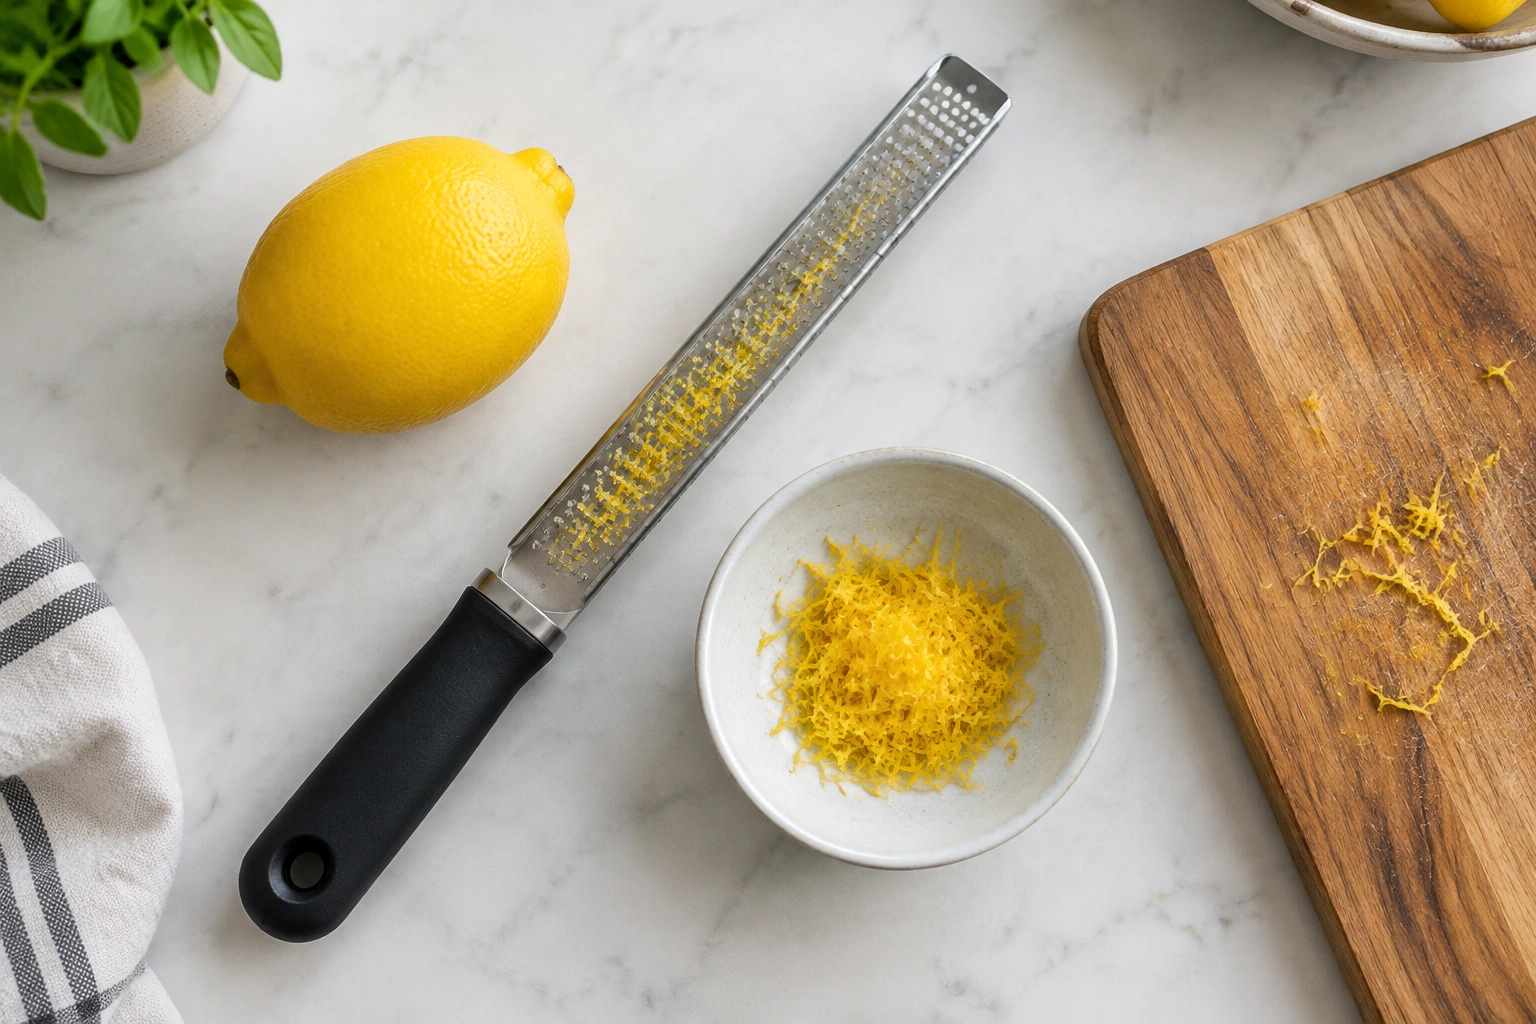
What a Citrus Zester Does and When to Use One
A citrus zester removes very thin shavings from the colored outer skin of citrus fruit. That outer layer carries the strongest aroma, which is why a little zest can make a plain batter, sauce, or marinade taste more vivid.
This tool is best when you want fine zest, not big strips of peel. Think lemon in a cake, lime in taco seasoning, or orange in a quick glaze. If a recipe asks for “zest,” this is usually the kind of tool you want to reach for.
A citrus zester also helps reduce waste. Instead of peeling away a large section of fruit, you can remove just enough skin to flavor the dish and still keep the rest of the fruit useful for juice, slices, or wedges.
If you are choosing between a citrus zester and a microplane, the simplest rule is this: use a citrus zester when you want a more deliberate, controlled pull across the peel; use a microplane when you want very fine zest quickly and do not mind a grater-style motion. A microplane can often do the same job in many kitchens, but it tends to cover more surface faster, which can make it easier to over-zest if you are new to the task. A citrus zester is often the better beginner choice if you want a slower, more guided feel.
Zest vs. Pith: How to Get Flavor Without Bitterness
The part you want is the colorful outer peel. Under it is the white pith, which has a much harsher, more bitter taste. The goal is to remove the colored layer and stop before the white part becomes visible in any meaningful amount.
A useful visual cue: once the peel looks noticeably lighter and the bright color is thinning out, slow down. If you see white showing through in the spot you just passed over, that area is done.
Another cue is tactile. Fresh zest comes off as thin, delicate flakes or narrow shavings. If the tool starts catching, dragging, or shaving off thicker, pale material, you are pressing too hard or revisiting the same spot too many times.
For best results, work in short passes and rotate the fruit as you go. That keeps you from grinding into one area and helps preserve more usable peel for the next recipe.
Choose the Right Tool for the Job
Not every “zesting” tool gives the same result. Here is a practical comparison.
| Tool | Best for | What it makes | Main trade-off |
|---|---|---|---|
| Citrus zester | Fine zest for baking, seasoning, and garnishes | Small shavings or narrow strips | Less useful if you want larger peel pieces |
| Microplane grater | Very fine zest and fast coverage | Soft, fluffy zest | Can remove too much quickly if you rush |
| Vegetable peeler | Cocktails, candied peel, long strips | Wide peel strips | Usually too coarse for recipes needing fine zest |
For most home cooks, a citrus zester or microplane is the better fit when the recipe calls for zest. A vegetable peeler makes sense only when you specifically want broad strips of peel.
If you already own a microplane, it can do the same job as a citrus zester in many kitchens. The difference is mostly in feel and control. Some cooks prefer the more deliberate motion of a zester; others like the speed of a microplane. The best tool is the one you can use without digging into the pith.
How to Use a Citrus Zester Step by Step
A clean, steady motion matters more than force. The process below works well for lemons, limes, oranges, and grapefruits.
- Wash and dry the fruit first.
- Hold the fruit firmly in one hand.
- Hold the zester in the other hand with the sharp side facing the peel.
- Set the blade shallow against the colored part of the peel, then pull it toward you in short, controlled strokes. One reliable technique is to use light pressure and a smooth motion rather than sawing back and forth.
- Rotate the fruit a little after each pass so you do not keep hitting the same spot.
- Stop when you have enough zest or when the white pith begins to show.
A practical rule: use a light touch first. If the tool is sharp, it should remove the colored skin without much effort. If you have to press hard, the tool may be dull, the fruit may be dry, or you may be angling too deeply.
If you want to collect the zest neatly, zest over a small bowl or saucepan. That keeps the tiny shavings from scattering across the counter and makes it easier to add them directly to your recipe.
How to Hold Citrus Safely and Prevent Slipping
Citrus gets slippery fast, especially after washing. The safest grip is one that keeps your fingers away from the sharp edge while still giving you control.
A simple setup works well: hold the fruit near the top half, keep your thumb and fingers out of the path of the tool, and use slow, fluid passes. If the fruit feels unstable, set it on a cutting board and work from the top down instead of trying to hold it in midair.
A few small habits make a big difference:
- Dry the fruit after washing so it does not slide in your hand.
- Keep your free hand behind the fruit, not in front of the blade path.
- Stop and reposition the fruit instead of reaching awkwardly.
- If the peel is very small or the fruit is awkwardly shaped, work over a board for more stability.
The goal is not speed at any cost. A controlled pace is usually faster in the end because you avoid slips, wasted peel, and uneven zest.
How Much Zest to Remove for Common Recipes
You rarely need as much zest as you think. A small amount carries a lot of aroma, so it pays to begin with less and add more only if the recipe needs it.
For a single batch of muffins, a cake, or a quick glaze, one medium fruit is often enough. For dressings, marinades, or seasoning blends, even a small amount can be enough to brighten the whole dish.
Here is a practical way to think about it:
- Mild citrus note: use a light dusting from part of one fruit.
- Noticeable citrus flavor: use zest from one whole fruit.
- Stronger citrus presence: use zest from more than one fruit, especially in batters or marinades.
If you are meal prepping, zesting one lemon or lime at a time is usually the most efficient approach. It gives you enough flavor for a sauce or seasoning mix without leaving you with a pile of unused zest that can dry out before you need it.
How Different Citrus Fruits Change the Technique
Not all citrus behaves the same under the tool.
Lemons and limes
These usually have thinner peels and are the easiest for beginners. The colored layer is thin enough that light pressure works well. If you press too hard, you will reach the pith quickly.
Oranges
Orange peel is thicker and a little more forgiving. That can make it easier to get zest without cutting too deeply, but it also means you may need slightly more passes to collect the same amount of flavor.
Grapefruits
Grapefruit peel is often thicker still, so it can feel sturdier under the tool. Because the fruit is larger, it can be tempting to keep going and over-zest a section. Rotate it often and treat each pass as intentional.
A practical decision rule: if the peel is thin, use lighter pressure and shorter passes. If the peel is thick, keep the pressure light anyway and let the extra thickness work in your favor.
Should You Zest Before or After Juicing?
In most home kitchens, zesting before juicing is easier. A whole fruit is simpler to hold, and the peel stays taut and stable under the tool.
If you juice first, the fruit becomes harder to grip cleanly, and the softened shape can be awkward to control. That does not make it impossible, but it usually slows you down and raises the chance of slipping.
So the workflow is straightforward: zest first, juice second. That order gives you better control and helps you get the most from the fruit with less mess.
What to Do With Fresh Zest After You Collect It
Fresh zest is strongest when used soon after grating. If your recipe is ready, add it right away to the bowl, pan, or dressing so the aroma goes where you want it.
For meal prep, you can collect the zest in a small container and use it later the same day for a marinade, seasoning blend, or batter. Keep it covered so it does not dry out or lose fragrance too quickly.
A few useful ways to use it:
- Stir it into vinaigrette for a brighter finish.
- Add it to muffin batter or quick bread.
- Mix it into a spice rub for chicken or fish.
- Combine it with sugar or salt for a flavored finishing blend.
If you are prepping multiple meals, zest one fruit into a small bowl, then divide it into portions for the recipes you plan to cook that day. That keeps the workflow tidy and helps you avoid overdoing one dish.
How to Clean and Maintain a Citrus Zester
Clean the tool right away. Tiny bits of zest dry fast and can cling to the blades or holes, which makes the next use harder.
Rinse it under warm water, then use a brush or sponge carefully to remove trapped peel from the cutting holes or teeth. A soft-bristled brush works well for this, and it is safer than trying to scrape out the bits with your fingers. Be mindful of the sharp edges while cleaning. If the tool is dishwasher-safe, follow the manufacturer’s instructions; if not, hand-wash it and dry it promptly.
A dull zester is less pleasant to use and more likely to tear the peel instead of removing fine shavings. If you notice that you have to press harder than usual, check whether the tool needs a better clean or replacement.
Store it where it will stay dry and easy to reach. A clean, ready tool gets used more often, which matters when you are trying to cook efficiently during a busy week.
Common Citrus Zesting Mistakes to Avoid
The most common errors are easy to fix once you know what to watch for.
Pressing too hard
This is the fastest way to scrape into the pith. Let the sharp edge do the work.
Zesting the same spot repeatedly
Repeated passes in one area waste peel and increase bitterness. Rotate the fruit instead.
Using a dull tool
A dull zester tends to tear rather than shave. If the peel looks ragged or the motion feels forced, the tool may need cleaning or replacing.
Holding the fruit loosely
Slipping fruit is a safety issue and a control issue. Dry the fruit and brace it well before you begin.
Waiting too long to clean the tool
Dried zest clogs the surface and makes cleanup harder later. Rinse it soon after use.
When to Ask a Food Safety Expert
If you are unsure whether a citrus fruit is clean enough to use, or you are handling fruit that has visible damage, mold, or unusual odor, it is worth asking a food safety expert or checking a trusted food safety resource before using it. For general home food handling guidance, FoodSafety.gov and the FDA’s food safety section are reliable places to start.
FAQ: Citrus Zester Basics
Can I use a citrus zester on any citrus fruit?
Yes, lemons, limes, oranges, and grapefruits all work. The peel thickness changes how much pressure you need, but the basic motion is the same.
Do I need to wash citrus before zesting?
Yes. Washing helps remove surface residue, and it can also make the peel easier to work with.
Is a citrus zester the same as a microplane?
Not exactly, but they overlap. Both can produce fine zest. A microplane often feels more like a fine grater, while a citrus zester is usually used with a more deliberate pulling motion.
How do I know when to stop?
Stop when the peel looks lighter and the white pith starts to show. If the tool begins catching or the shavings look thicker and paler, you have gone too far.
Can I zest after juicing?
You can, but it is usually harder to hold the fruit securely. Zesting first is the easier workflow for most home cooks.
How much zest should I use?
Use less than you think, then adjust. A small amount can add strong citrus flavor, especially in baking and dressings.
Final Takeaway
If you remember only one thing, make it this: use light pressure, keep the fruit moving, and stop as soon as the colored peel gives way to white. That one habit protects flavor, reduces waste, and makes zesting feel easy enough to use in ordinary weeknight cooking.