
How to Pre-Shape Bread Dough for Better Structure and Loaf Shape

Pre-shaping is one of those bread-making steps that feels small until you skip it. Then suddenly the dough is harder to manage, the final shape looks uneven, and the loaf may spread more than you wanted. In artisan baking, pre-shaping sits between bulk fermentation and final shaping. It gives the dough a first pass at organization before the final shape locks everything in place.
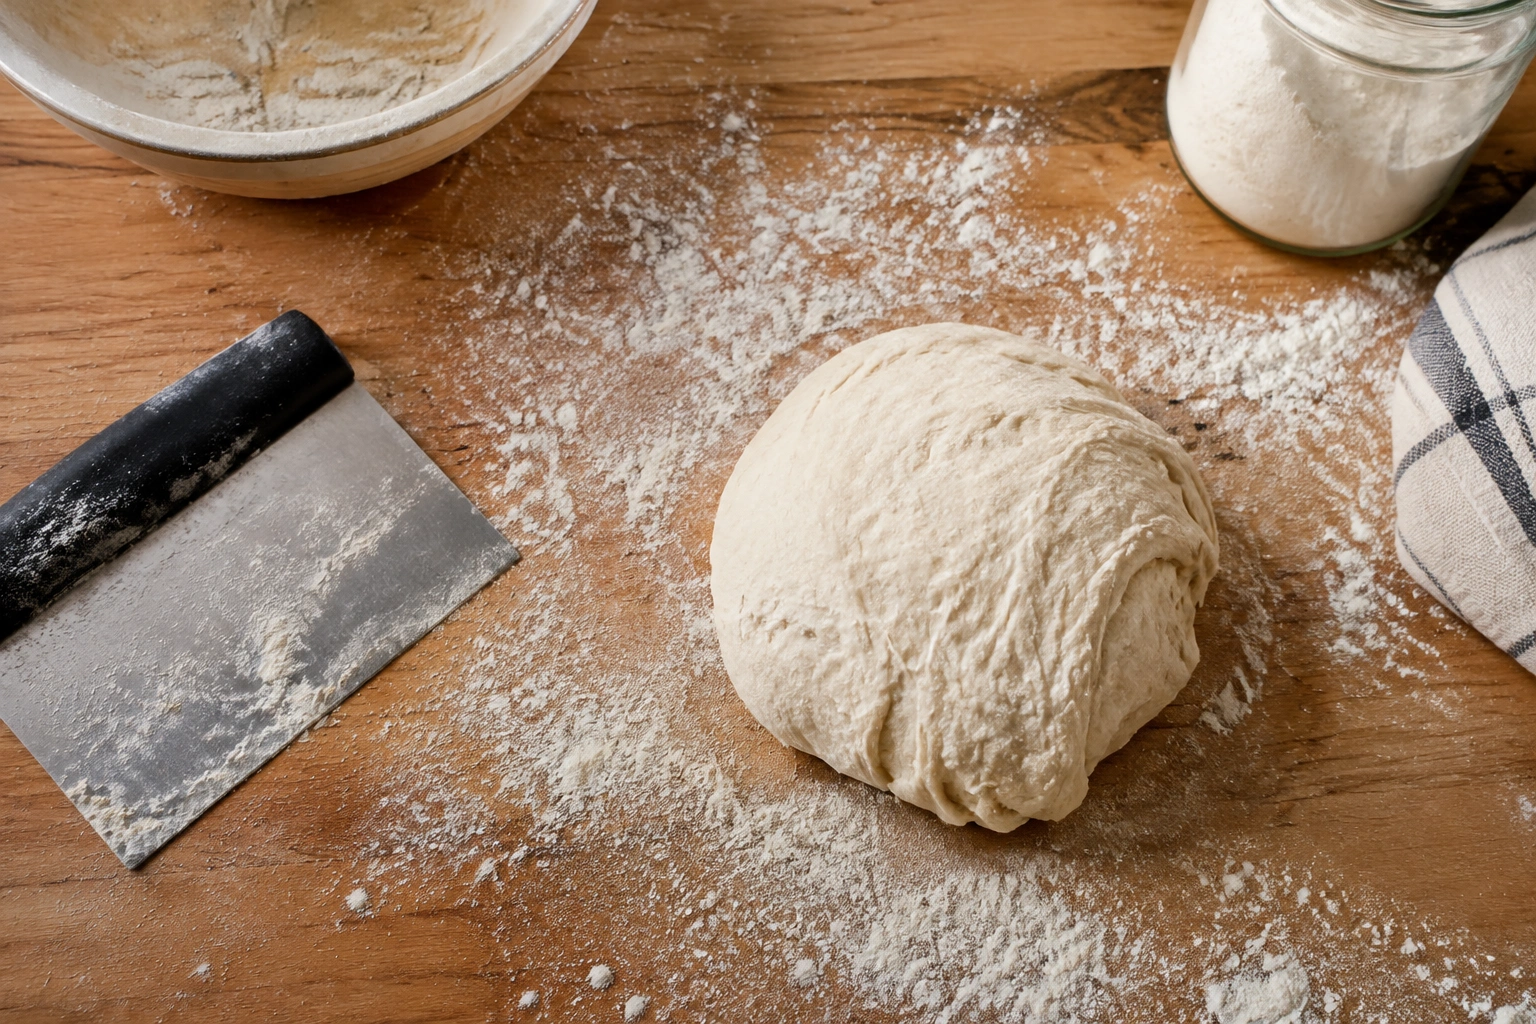
As Ethan Baker, I like to think of pre-shaping as the moment you gently gather the dough after fermentation and remind it what it’s supposed to become. You are not finishing the loaf yet. You are setting the stage so the final shaping is cleaner, tighter, and more predictable.
What Pre-Shaping Bread Dough Means
Pre-shaping is the step where divided dough pieces are loosely formed into a round or oval before the final shape. It usually happens after bulk fermentation is complete and before the dough gets a bench rest.
That “loose” part matters. The goal is not to make a perfect loaf right away. Instead, you are giving the dough a preliminary shape that helps organize the gluten and surface so it behaves better during final shaping. In practical terms, pre-shaping helps turn a soft, uneven mass into something smoother and easier to handle.
A helpful way to picture it: bulk fermentation builds flavor and gas, division breaks the dough into portions, pre-shaping gathers those portions into workable forms, and final shaping creates the loaf you’ll proof and bake.
Why Pre-Shaping Matters for Structure and Loaf Shape
Pre-shaping is worth the extra step because it does several jobs at once.
First, it evens out the dough after division. Once a large batch is cut into pieces, the dough often looks ragged or slightly compressed. Pre-shaping helps restore a more uniform structure.
Second, it creates a little surface tension. That tension helps the dough keep its form during the bench rest and final shaping, so it can expand upward more evenly in the oven instead of spreading outward too quickly.
Third, it makes final shaping easier. A dough that has been pre-shaped and rested usually feels more cooperative than one that goes straight from division to final shaping. That can matter a lot with sticky or highly hydrated dough.
A practical way to think about it is this: pre-shaping gives the dough a cleaner outer “skin,” which helps you score more decisively later and gives the loaf a better chance to open well in the oven. If the dough is organized before final shaping, the slash is more likely to expand where you want it to.
When to Pre-Shape Dough After Bulk Fermentation
Pre-shape after bulk fermentation and after dividing the dough into portions. The dough should feel aerated, elastic, and manageable, not dense and cold from under-fermentation and not collapsing from over-fermentation.
Here’s the practical decision rule I use:
- If the dough still feels tight, under-expanded, and hard to stretch, it likely needs more bulk time before pre-shaping.
- If the dough feels fragile, slack, and starts spreading immediately when turned out, it may be over-fermented and should be handled especially gently.
- If the dough has visible bubbles, a lighter feel, and some extensibility, it is usually ready for pre-shaping.
Time alone is not the best guide. Two doughs fermented for the same number of hours can behave very differently depending on room temperature, flour strength, and hydration. Read the dough, not the clock.
Tools, Surface Prep, and Dough Readiness Checklist
You do not need a complicated setup. A bench scraper or dough scraper, a lightly floured work surface, and your proofing basket or pan for the final shape are usually enough.
Challenger Breadware’s technique page lists a bench knife, a small amount of flour for dusting, and dough that has completed bulk fermentation as part of the process. That’s a good reminder that pre-shaping is a bench technique, not a special machine-driven step.
Before you begin, check these points:
- The dough has completed bulk fermentation.
- Your work surface is clean and lightly floured.
- Your scraper is nearby for moving sticky pieces.
- Your proofing basket or pan is ready for the final shape.
- You can handle the dough without rushing.
Use only enough flour to prevent sticking. A light dusting is usually enough for firmer doughs, while sticky or highly hydrated dough may need a little more on the bench and on your hands. The goal is friction control, not a dry coating. Too much flour can keep the dough from gripping the bench, while too little can make it drag, tear, or smear.
How to Pre-Shape Bread Dough: Step-by-Step
The exact hand motion changes a little depending on the dough, but the basic process stays the same.
1. Divide the dough cleanly
Use a bench scraper to divide the dough into portions of equal size if you are making multiple loaves. Clean, decisive cuts help keep the dough organized.
2. Turn each piece onto the bench
Place the dough cut-side up or as it naturally lands on the bench. Let it settle for a moment before shaping. If the dough is very slack, give yourself a little more space between pieces so they do not merge.
3. Gather the dough into a loose shape
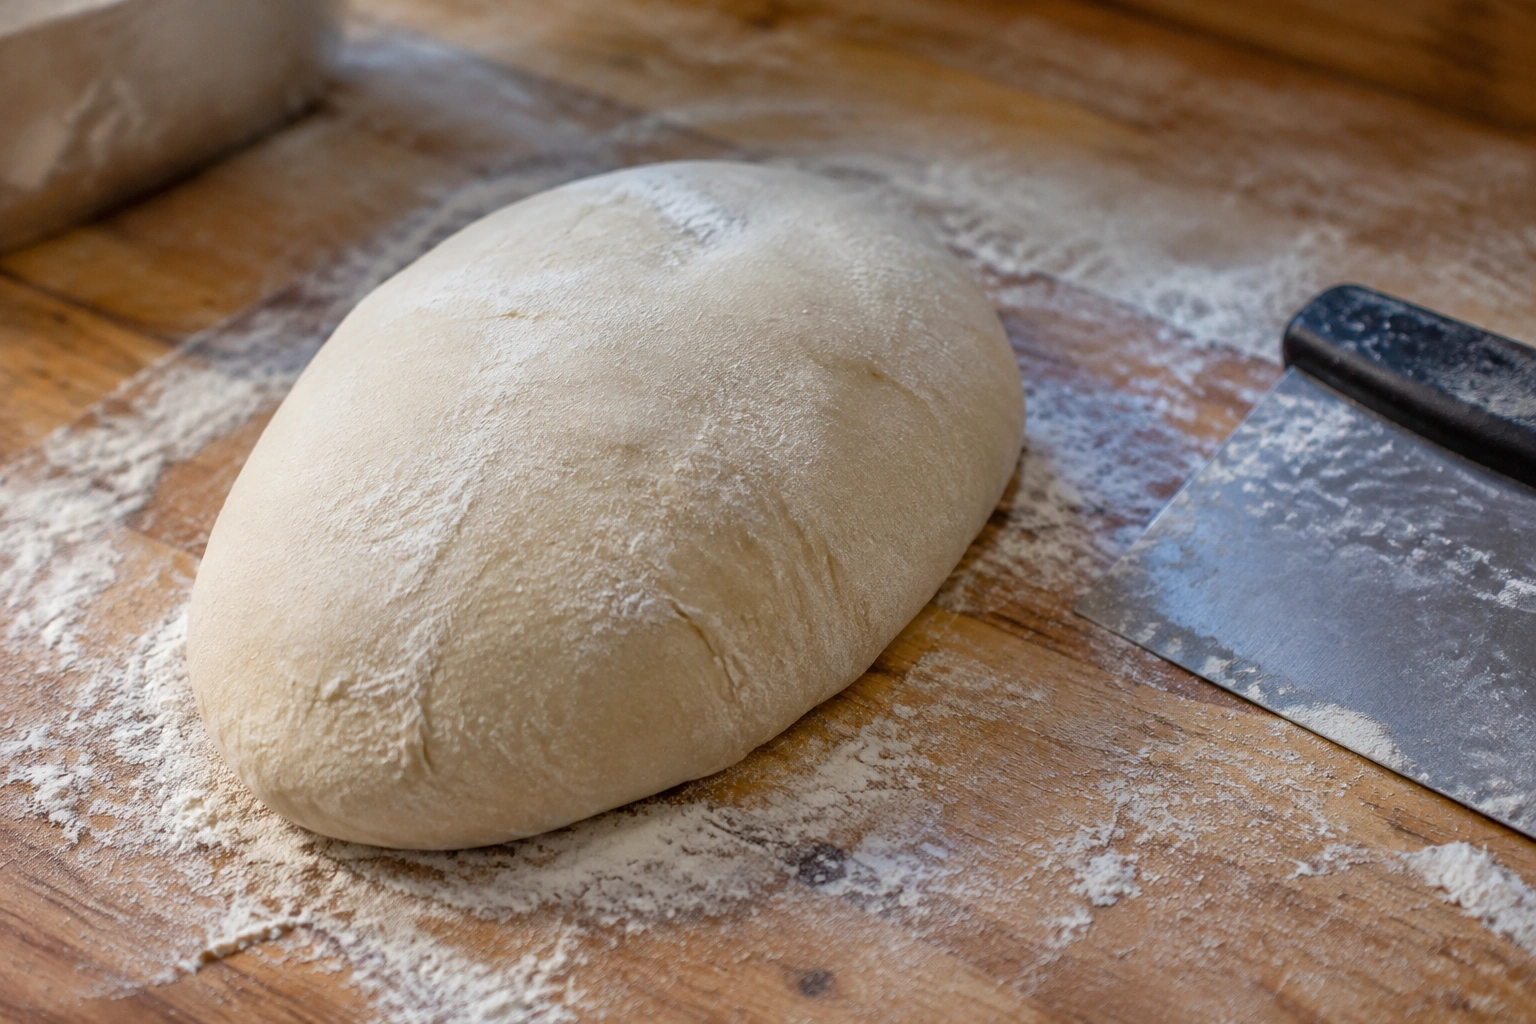
For a round loaf, use your hands and scraper to tuck the edges under and pull the dough into a rough round. For an oval loaf, nudge it into a short, gentle oval instead of forcing a round shape that will later need to be reworked.
4. Build light surface tension
Use a gentle cupping motion with both hands or one hand and the scraper to pull the dough toward you, then rotate it a quarter turn and repeat. The movement should be smooth and deliberate: cup, drag slightly, rotate, and tuck. You are trying to tighten the outside just enough that the dough holds together, not so much that the skin becomes stretched thin.
If the dough is sticking, use a small amount of bench flour rather than yanking it free. If it is tearing, reduce pressure and let the dough slide a little more. The dough should feel smoother and a bit firmer by the end of this stage, but still soft and pliable.
5. Stop before the dough becomes tight
King Arthur Baking’s advice is useful here: stop when the top is smooth, without creases, and relatively uniform all around. If you keep tightening past that point, you can make final shaping harder and risk a denser loaf.
6. Let it rest
Move the pre-shaped dough to bench rest before the final shape. That pause allows the gluten to relax so the dough can be shaped more cleanly a second time.
How to Pre-Shape Boules, Bâtards, and Smaller Portions
The pre-shape should support the final loaf you want.
Boules
For a boule, pre-shape into a loose round. This gives you a balanced base for building the final circular tension. The goal is a compact but relaxed ball, not a golf ball-tight sphere.
Bâtards
For a bâtard, aim for a loose oval. That makes final shaping more natural because the dough already matches the elongated direction of the finished loaf. If you pre-shape a bâtard too round, you may spend extra effort correcting the form later.
Smaller portions
For rolls or small divided pieces, keep the pre-shape very gentle. These smaller doughs can tighten quickly, so overworking them is easy. A light tuck into a rough round is often enough.
Round vs. oval pre-shape
| Decision point | Round pre-shape | Oval pre-shape |
|---|---|---|
| Best for | Boules, round banneton loaves | Bâtards, sandwich-style loaves |
| Main benefit | Even tension in all directions | Easier lengthwise final shaping |
| Common risk | Over-tightening into a dense ball | Making the ends too thin |
Bench Rest: How Long to Let Dough Relax Before Final Shaping
Bench rest is the pause after pre-shaping and before final shaping. It gives the dough time to relax after being handled and divided.
There is no single universal rest time that fits every dough, because temperature, flour strength, and hydration all affect how quickly the dough relaxes. What matters more is the feel.
A dough that is ready for final shaping after bench rest will usually feel:
- slightly more relaxed
- easier to stretch without snapping back
- smoother on the surface
- still able to hold some shape on the bench
If it feels too tight, give it more rest. If it spreads too much and loses form, it may have rested too long for that dough type.
How to Tell If the Dough Is Ready for Final Shaping
Think of final shaping as the moment when the dough is relaxed enough to stretch, but still strong enough to hold a structured form.
A good readiness check:
- The dough has softened slightly after pre-shaping.
- It still holds a loose round or oval shape.
- It stretches without fighting you.
- It does not collapse into a puddle when touched.
If the dough springs back aggressively, it likely needs more rest. If it feels floppy and hard to lift, it may have gone too far and needs very gentle handling.
Pre-Shaping vs Final Shaping
These two steps are related, but they are not the same job.
| Step | Purpose | Level of tension | What it should look like |
|---|---|---|---|
| Pre-shaping | Organize the dough and begin surface tension | Light to moderate | Loose round or oval |
| Final shaping | Create the finished loaf form | More deliberate and structured | Tight, purposeful loaf shape |
Pre-shaping is the rehearsal. Final shaping is the performance. If you try to make the pre-shape do all the work, the dough often becomes too tight too soon.
How Hydration and Dough Type Change the Technique
Dough behavior changes a lot with hydration and enrichment.
High-hydration dough
Sticky, wet doughs benefit from a light touch and a scraper. Use minimal flour so the dough still grips the bench enough to develop shape. Too much flour can make the outside slippery and harder to seal.
Low-hydration dough
Firmer doughs are easier to pre-shape, but they can be tightened too aggressively. Because they already have more body, the danger is not stickiness—it is over-tightening the surface before the dough has relaxed. Use a gentler cupping motion and less dragging force so you do not make the outer skin too rigid.
Enriched dough
Doughs with butter, eggs, or sugar often feel softer and less elastic. Handle them more gently than a lean dough. They may need a softer pre-shape because their structure is naturally more delicate. If the dough feels slippery or weak, keep the motion short and avoid forcing a lot of tension.
Sticky or slack dough
If the dough spreads quickly, use the scraper more than your fingers. Think of guiding the dough rather than grabbing it. A bench flour dusting can help, but heavy flouring is usually a mistake because it can prevent the dough from sealing later. For very sticky dough, a slightly more generous dusting is fine as long as the dough still has some grip; for firmer dough, keep the flour light so the surface can tighten properly.
Common Mistakes When Pre-Shaping Bread
A few errors come up again and again.
Over-flouring the bench
Too much flour prevents sticking, but it also reduces friction. Without enough friction, the dough can slide instead of tightening, and seam closure becomes harder later.
Over-tightening the dough
A very tight pre-shape can tear the outer skin or make the final shape feel resistant. King Arthur Baking warns that being too aggressive can lead to a denser loaf.
Skipping the bench rest
If you move straight from pre-shape to final shape, the dough may fight back. That can lead to tearing, uneven surface tension, or a loaf that spreads more than you wanted.
Handling too roughly
Tearing or squeezing the dough can push out too much gas. The loaf may still bake, but the structure often becomes less even.
Troubleshooting Sticky, Slack, Tight, or Overproofed Dough
If the dough is sticky
Use a scraper and just enough flour to keep it moving. Resist the urge to bury it in flour. Sticky dough often improves more from calm handling than from extra dusting.
If the dough is slack
Pre-shape it into a slightly tighter form and shorten the bench rest. You want enough organization to help it hold together, but not so much that it tears.
If the dough feels too tight
That usually means it needs more rest. Letting it relax before final shaping often solves the problem better than forcing it.
If the dough is overproofed
Handle it with care. Overproofed dough can collapse easily, so the pre-shape should be minimal and gentle. Focus on preserving what structure remains.
Practical Examples: From Sourdough Boule to Sandwich Loaf
A sourdough boule often benefits from a round pre-shape followed by a bench rest, then a tighter final shape before going into a banneton. That sequence helps keep the loaf symmetrical and easier to score.
A bâtard for a sandwich-style loaf usually does better with an oval pre-shape. That makes the final shaping more efficient because the dough already has the correct direction.
A very wet dough may need the scraper to do more of the work than your hands. In that case, the aim is not to create a perfect round on the first pass. The aim is to make the dough coherent enough to rest and shape later.
If you want to see how this connects to a finished round loaf, my guide on shaping a boule for better oven spring shows how pre-shaping flows into the final shape.
Can You Skip Pre-Shaping?
Sometimes, yes. But skipping it is usually a trade-off, not a free shortcut.
A good rule of thumb is that pre-shaping is optional when the dough is firm, already well organized, and easy to handle straight from division. In that case, you may be able to move directly to final shaping without much downside.
Pre-shaping is strongly recommended when the dough is soft, divided into multiple pieces, or needs extra organization after bulk fermentation. It is especially important for sticky or highly hydrated dough, because that dough benefits from an early pass that builds a little surface tension before the final shape.
If you skip pre-shaping, the final shape may still work, but you are asking the dough to go from bulk fermentation straight into its finished form. That can make handling less predictable and can reduce how cleanly the loaf opens during scoring and oven spring.
When to Consult a Master Baker
If your dough repeatedly tears during pre-shaping, spreads flat no matter what you do, or behaves inconsistently from batch to batch, it may be worth asking a master baker or instructor to watch your handling. Sometimes the issue is not the shaping motion itself, but fermentation level, flour strength, or dough development earlier in the process.
FAQ
What does pre-shaping bread dough actually do?
It organizes divided dough into a loose round or oval, adds a little surface tension, and makes final shaping easier.
Do all doughs need to be pre-shaped?
Not always. But many lean artisan doughs benefit from it, especially when the dough needs better organization after bulk fermentation.
How do I know if I pre-shaped too tightly?
If the surface tears, the dough resists final shaping, or the loaf feels overly dense later, the pre-shape may have been too tight.
How long should dough rest after pre-shaping?
Rest until the dough relaxes enough to shape again without snapping back too strongly. The exact time depends on the dough, so feel matters more than the clock.
Can I pre-shape sourdough and yeasted dough the same way?
The basic motion is similar, but sourdough often needs more attention to fermentation and dough feel. Yeasted dough may behave a little more predictably, but both still benefit from gentle handling.
What if my dough is too sticky to pre-shape?
Use a bench scraper, keep the flour light, and work quickly but calmly. Excess flour can cause more problems later than it solves now.
Is pre-shaping the same as final shaping?
No. Pre-shaping is the first, looser form; final shaping is the more deliberate step that creates the finished loaf.
Pre-shaping is one of those techniques that rewards patience. Once you learn to read the dough, it stops feeling like an extra chore and starts feeling like the point where the loaf begins to come together.