
What Is Autolyse in Bread Making? A Practical Baker’s Guide

If you’ve ever mixed a dough that felt stubborn, tight, or hard to shape, autolyse may be the quiet fix you were looking for. In bread making, autolyse is a rest period after flour and water are combined, but before salt, yeast, or starter are added. That pause gives the dough time to hydrate and begin building structure on its own, which can make mixing easier and the finished dough more cooperative.
I’m Ethan Baker, and I think of autolyse as one of those techniques that looks simple on the surface but changes the whole feel of a dough. It won’t rescue every formula, and it’s not a magic trick. But when used well, it can make a real difference in handling, strength, and the final crumb.
What Is Autolyse in Bread Making?
At its most basic, autolyse means mixing flour and water, then letting that mixture rest before adding the rest of the ingredients. In strict terms, a true autolyse includes only flour and water. Some bakers use the word more loosely, but if salt, yeast, or starter are already in the bowl, you’re moving into a different method.
That distinction matters because the resting period is doing specific work. The flour absorbs water more completely, and the dough often becomes smoother with less effort from the mixer or your hands. KitchenAid describes autolyse as a simple process that lets combined flour and water rest before other ingredients are added, which is the cleanest way to think about it in practice. KitchenAid’s explanation of autolyse
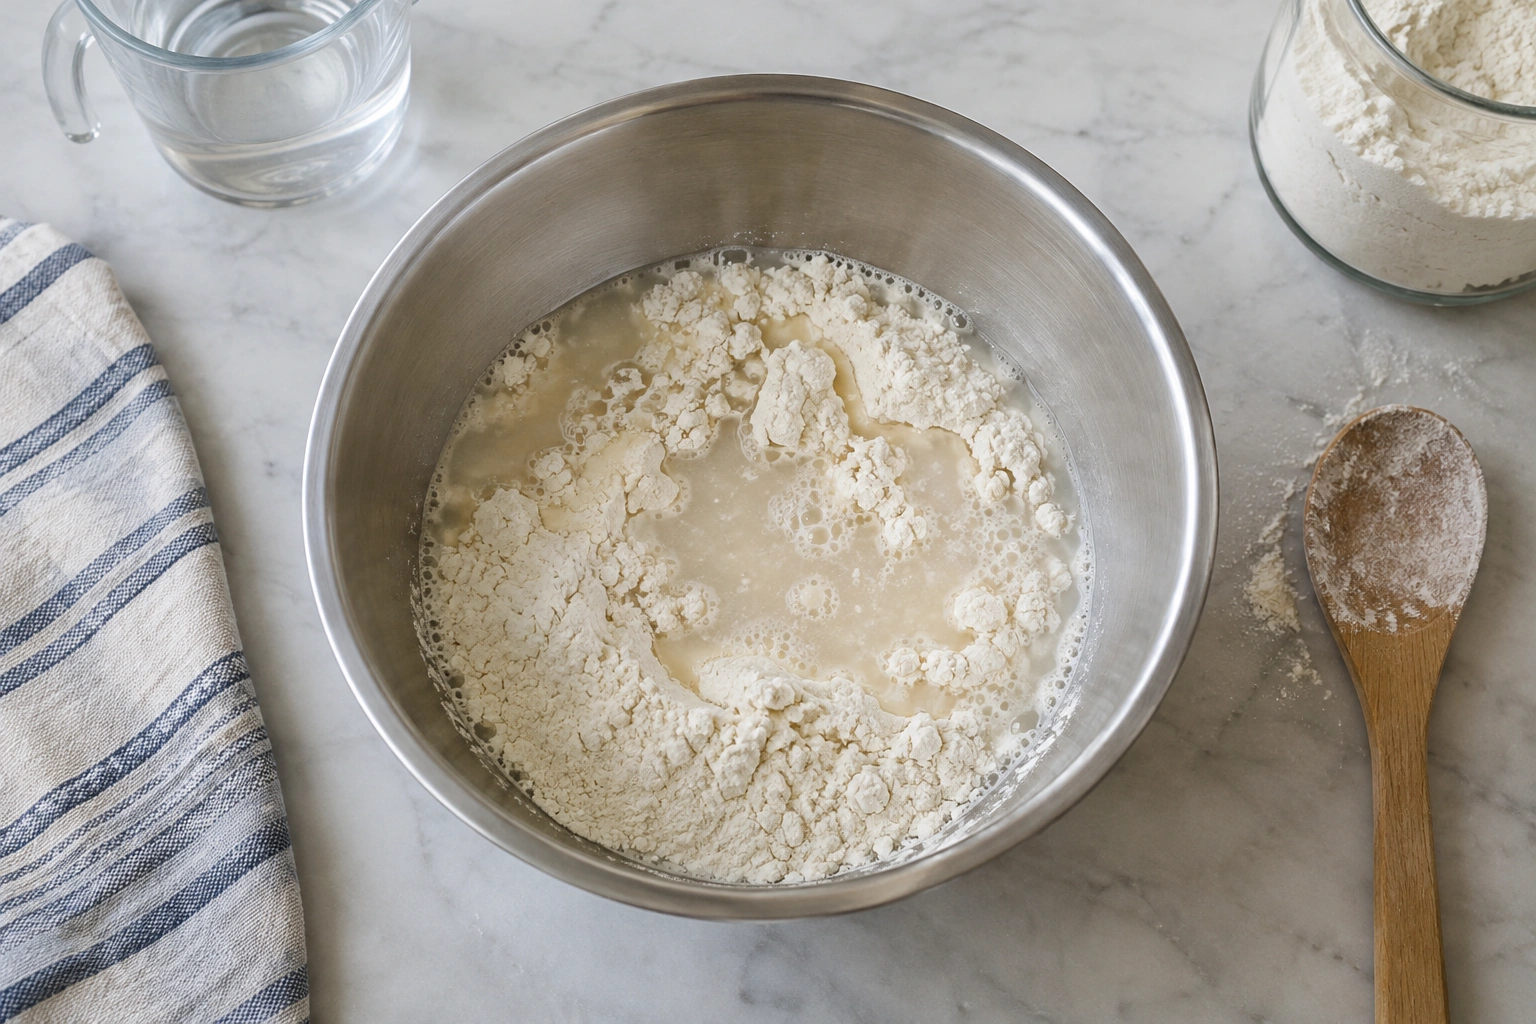
A useful way to picture it: autolyse is not the whole bread-making process. It’s the opening move that sets up the rest of the dough.
How Autolyse Works: What Happens to Flour and Water
Once flour and water meet, two important things begin right away.
First, the flour hydrates. Dry flour particles need time to absorb water evenly, and that hydration changes the dough from rough and shaggy into something more cohesive. This is one reason dough often feels less sticky and more manageable after a rest.
Second, gluten development begins naturally. Gluten forms when the proteins in flour absorb water and start linking into a network. During autolyse, that network starts with less mixing, so you may need less kneading later. The Perfect Loaf notes that gluten bonds begin forming during autolyse and the dough tends to become smoother and stronger overall. The Perfect Loaf’s autolyse guide
There’s also enzyme activity at play. In simple terms, enzymes in the flour continue working once water is present, which can support dough extensibility. That’s baker language for “the dough stretches more easily without tearing.” This is one reason autolyse can be especially useful for doughs that feel tight or resistant during shaping.
A practical example: if you mix a high-hydration country loaf and let it rest for 30 minutes, you may notice the dough shifts from rough and uneven to more elastic and less sticky before you’ve done much of anything else.
Benefits of Autolyse for Dough Texture and Handling
Autolyse earns its place because it improves the dough in ways you can actually feel.
Easier mixing
Because the flour has already absorbed water, the dough often comes together faster once you add salt and yeast or starter. In many recipes, that can reduce the amount of mixing needed.
Better extensibility
Extensibility is the dough’s ability to stretch. A dough that stretches more easily is simpler to shape into boules, batards, baguettes, or sandwich loaves without fighting back. For artisan breads, that matters a lot.
Smoother dough
After autolyse, dough often looks less ragged and feels more uniform. That smoother texture can make the transition into bulk fermentation more controlled.
Better handling in shaping
When the dough is less tight, you can often shape it with less tearing and less frustration. That doesn’t mean it will be weak; it simply means the dough is more cooperative.
The trade-off is worth naming: a longer rest can improve extensibility, but if you push it too far, the dough can become overly slack. That’s why timing matters.
What You Need for a True Autolyse
A true autolyse is refreshingly simple.
Ingredients
- Flour
- Water
That’s it in the strictest sense. Salt is usually held back, and so are yeast and starter. King Arthur Baking describes autolyse as a gentle mixing of flour and water followed by a 20 to 60 minute rest, with the remaining ingredients added afterward. King Arthur Baking on autolyse
Tools
- A mixing bowl
- A spoon, spatula, or your hands
- A cover for the bowl, such as a lid, towel, or wrap
Best setup
Mix only until the flour is evenly moistened. You do not need a smooth, fully developed dough at this stage. Then cover the bowl and leave it alone.
That “leave it alone” part matters. Disturbing the dough repeatedly defeats the point of the rest.
How to Autolyse Dough Step by Step
Here is the method I’d use in a home kitchen or teaching kitchen.
-
Measure your flour and water.
Use the amount called for in the recipe, but hold back salt and any yeast or starter if you’re doing a true autolyse. -
Combine the flour and water only.
Mix just until no dry patches remain. The dough may look rough or shaggy. That’s fine. -
Cover the bowl.
This keeps the surface from drying out and protects the dough while it rests. -
Let it rest.
The dough sits undisturbed for the chosen time, usually between 20 and 60 minutes for many breads. -
Add the remaining ingredients.
Mix in salt, yeast, or starter after the rest, then continue with kneading, folds, or whatever your recipe calls for. -
Proceed with fermentation.
Once the remaining ingredients are incorporated, the dough enters the next stage of the recipe.
A good rule of thumb: if you’re tempted to keep mixing during the autolyse, you probably mixed too much at the beginning.
How Long Should You Autolyse Different Doughs?
There is no single perfect time for every dough, but there are useful ranges.
| Dough type | Typical autolyse time | Why this range works |
|---|---|---|
| White bread flour dough | 20–60 minutes | Enough time for hydration and early dough development without over-softening |
| High-hydration artisan dough | 30–60 minutes | Helps the dough absorb water and become easier to handle |
| Whole wheat dough | 20–40 minutes | Gives bran and germ time to hydrate, but keeps the dough from becoming too loose |
| Very strong bread flour | 30–60 minutes | Can benefit from a longer rest if the dough feels tight |
| Enriched doughs | Often shorter or skipped | Fat, sugar, and dairy can change how the dough hydrates and develops |
The Fresh Loaf suggests a simple 20 to 30 minute rest as a basic starting point, which is a sensible range for many home bakers. The Fresh Loaf lesson on autolyse
A practical decision rule
- If the dough feels tight and resists stretching, try a longer autolyse.
- If the dough is already very soft or delicate, keep it shorter.
- If the flour is very weak or low in protein, keep the rest short or skip it, since a long pause may make the dough too slack to handle well.
- If the formula is rye-heavy, autolyse is usually less useful and can be skipped or kept very short.
- If the dough is enriched or highly processed already, autolyse may add less value.
For a beginner, 20 to 30 minutes is a safe starting point. Once you see how your flour behaves, you can adjust from there.
What to Include and Exclude During Autolyse
This is where many bakers blur the terminology.
In a true autolyse
- Flour
- Water
Usually excluded
- Salt
- Commercial yeast
- Sourdough starter or levain
Why leave out salt? In practice, salt tightens and strengthens dough, and many bakers prefer to delay that effect until after the initial hydration period. Why leave out yeast or starter? Because once fermentation is underway during the rest, the process is no longer a strict autolyse.
When levain is included
If you mix flour, water, and levain together and let them rest, that’s commonly called fermentolyse rather than autolyse. It’s a related technique, but not the same thing.
That difference is not just vocabulary. Fermentolyse starts fermentation earlier, which can change flavor development and dough behavior. It can be useful, but it’s a different tool.
Best Bread Types for Autolyse
Autolyse tends to shine in doughs where hydration and extensibility matter.
High-hydration artisan breads
Think country loaves, bâtards, and open-crumb sourdoughs. These doughs often benefit from a smoother start and easier handling.
Sourdough breads
Sourdough formulas often gain a lot from autolyse, especially when the flour is strong and the dough is relatively wet. The rest can make the dough easier to mix after the levain is added.
Whole wheat breads

Whole wheat flour contains bran and germ, which absorb water differently from white flour. A short autolyse can help the flour fully hydrate before kneading.
Lean doughs
Simple formulas with just flour, water, salt, and yeast are often the clearest candidates because the method is easy to apply and easy to evaluate.
A whole wheat sandwich loaf is a good example of where a short autolyse may help without overcomplicating the formula. The bran gets a chance to soften, and the dough often becomes easier to knead.
Autolyse vs. Fermentolyse, Resting Dough, and Bulk Fermentation
These terms are related, but they are not interchangeable.
| Technique | What’s in the bowl? | When does fermentation start? | Main purpose |
|---|---|---|---|
| Autolyse | Flour + water | Not yet | Hydrate flour and support dough development |
| Fermentolyse | Flour + water + levain/starter | Yes | Combine hydration with early fermentation |
| Resting dough | Varies | Varies | General pause in the process; may or may not be structured |
| Bulk fermentation | Final mixed dough | Yes | Ferment, strengthen, and develop flavor |
The big difference
Autolyse happens before the real fermentation stage begins. Bulk fermentation happens after the dough is fully mixed. A general “rest” might be anything from a short pause to a long fermentation step, so the label alone does not tell you much.
If you’re reading a recipe, the ingredient list tells you whether the pause is a true autolyse or something else.
Common Mistakes When Autolysing Dough
A few errors come up again and again.
Resting too long
A longer rest is not automatically better. If the dough becomes overly slack, it may be harder to shape and hold structure. That’s especially important in doughs that are already soft or high in hydration.
Adding salt too early
If salt goes in from the start, you’re no longer doing a strict autolyse. That doesn’t make the dough unusable, but it changes what the technique is doing.
Expecting autolyse to replace kneading
Autolyse helps, but it does not fully develop every dough on its own. You still need mixing, folds, or kneading to build a usable gluten network.
Treating every flour the same
Whole wheat, white bread flour, and lower-protein flours behave differently. A timing that works beautifully for one may be too long or too short for another.
Confusing any dough rest with autolyse
A dough can rest for many reasons. If you want the benefits of autolyse, be clear about what’s in the bowl and what stage of the recipe you’re in.
Troubleshooting Autolyse Problems
If the dough doesn’t behave the way you expected, the fix is usually simple.
The dough feels too slack after the rest
Shorten the autolyse next time. You can also reduce hydration slightly if the formula is already very wet.
The dough still feels dry or rough
The flour may need a longer rest, especially if it’s whole grain or a thirsty bread flour. Give it a little more time before judging it.
The dough seems weaker than expected
You may have rested too long, especially with a softer flour. Reduce the rest period and rely on folds or kneading for structure.
You don’t notice much difference
That can happen with simple or low-hydration doughs. In those cases, autolyse may be less dramatic, and that’s normal.
When You Should Skip Autolyse
Autolyse is useful, but it is not mandatory.
Skip it or shorten it when:
– The formula already includes a long rest or preferment stage
– The dough is rye-heavy, since autolyse is usually low-value in rye breads
– The dough is very enriched and the benefits are less noticeable
– The dough is already soft enough and doesn’t need extra extensibility
– You’re baking a quick, straightforward loaf and want to save time
That last point is worth emphasizing. Autolyse adds a step. If your dough is simple, stable, and already easy to mix, the extra pause may not be worth the schedule change.
Practical Examples: When to Use Autolyse in Real Recipes
Here are a few realistic scenarios.
1. Sourdough boule with bread flour
This is one of the best candidates. A 30- to 60-minute autolyse can make the dough easier to mix after the levain is added and improve handling during shaping.
2. Whole wheat sandwich bread
A short autolyse, around 20 to 30 minutes, can help the flour hydrate before kneading. That often improves the dough’s feel without making it too loose.
3. Simple white sandwich loaf
Autolyse may help, but the benefit might be modest if the dough is already easy to mix. If you’re short on time, you can often skip it without ruining the bread.
4. Formula with levain already mixed in
At that point, you’re likely working with fermentolyse, not a true autolyse. That may still be a smart method, but it serves a different purpose.
A Final Way to Think About Autolyse
If you remember nothing else, remember this: autolyse is a controlled pause that lets flour and water get acquainted before the rest of the dough steps in. It can make a dough smoother, more extensible, and easier to handle, especially in breads that ask a lot from the gluten network.
Used thoughtfully, it’s one of the simplest ways to improve the quality of your mixing stage without adding much complexity. Used carelessly, it’s just another delay. The skill lies in knowing which doughs want that pause, and how long they should rest.
FAQs
Is autolyse the same as resting dough?
Not exactly. A dough rest can happen at many stages, while autolyse specifically means flour and water resting before salt, yeast, or starter are added.
Does autolyse replace kneading?
No. It reduces the work needed later, but most doughs still need mixing, folds, or kneading to build enough structure.
Can I autolyse sourdough bread?
Yes. Sourdough is one of the most common uses for autolyse, especially in wetter artisan doughs.
Should I add salt during autolyse?
In a true autolyse, no. Salt is usually added afterward.
What is fermentolyse?
Fermentolyse is similar to autolyse, but it includes levain or starter in the initial mix, so fermentation begins during the rest.
How long should I autolyse?
Many doughs do well with 20 to 60 minutes. Whole wheat and softer doughs often do better on the shorter end, while very weak flours, rye-heavy formulas, and enriched doughs often call for a shorter rest or no autolyse at all.
Is autolyse useful for whole wheat flour?
Yes, often. A short rest can help whole wheat hydrate more fully, though it usually needs a shorter time than some white-flour doughs.
When should I skip autolyse?
Skip it when the formula already has a long rest, the dough is rye-heavy or very enriched, or the dough is already easy to handle and you want to keep the process simple.