Baking soda slime is a simple glue-based craft that turns stretchy when mixed with the right activator in small amounts. The key is to measure carefully, knead well, and stop before the batch becomes too stiff.
Baking soda slime is a simple hands-on project that gives kids a stretchy, squishy result with a little kitchen science built in. This recipe for baking soda slime uses common supplies, but the texture depends on careful mixing, small additions, and stopping at the right moment.
- Texture first: Baking soda helps the slime mix more evenly, but the activator controls the final.
- Add slowly: Small increments prevent sticky or rubbery slime.
- Knead to finish: Hand mixing smooths out uneven texture better than extra stirring.
- Use the right products: White school glue and the correct contact solution are the most dependable starting point.
- Store safely: Airtight storage and handwashing help keep play cleaner and longer-lasting.
What Baking Soda Slime Is and Why Kids Love It
Baking soda slime is a variation of classic glue slime that gets its body from an activator reaction. It is popular because it feels soft at first, then turns thicker and more elastic as you mix, knead, and adjust the ratio.
For families who already use baking soda around the house, it is an easy way to turn a familiar pantry ingredient into a sensory activity. If you like learning how baking soda behaves in different mixtures, you may also enjoy our guide to baking soda and vinegar reaction explained simply, which shows how this ingredient changes when it meets another chemical.
How this fizzy, stretchy slime differs from classic glue-based slime
Classic slime usually relies on glue plus an activator such as contact lens solution or borax solution. Baking soda slime adds a dry ingredient that helps the glue base thicken more evenly and can make the finished texture feel a little firmer and smoother.
The result is not truly “fizzy” unless another acid is added, so the main appeal is the stretch and the tactile change. It is less about bubbles and more about a controlled, pliable texture that children can pull, fold, and poke.
Why baking soda matters in the texture and reaction
Baking soda helps change the way the glue mixture behaves by giving the activator more structure to work with. When it is mixed in evenly, it supports a more uniform slime instead of a stringy or wet batch.
Too much baking soda can make the mixture stiff or crumbly, while too little can leave it sticky. That balance is why measuring matters, even in a project that feels casual.
Ingredients, Tools, and Safe Substitutions for a Successful Batch
Before you start, gather everything in one place. Slime is easier to control when you can add ingredients in small amounts instead of searching for supplies mid-mix.
Core ingredients: baking soda, glue, contact lens solution, and optional color
The basic recipe for baking soda slime starts with white school glue, baking soda, and contact lens solution. Many slime recipes also add food coloring, but color is optional and does not change the chemistry much.
Use a contact lens solution that lists boric acid or sodium borate on the label, since that is what helps activate the glue. Do not assume every saline product will work the same way, because formulas vary by brand.
Do not use eye drops, homemade saline, or any contact solution unless the label shows the right ingredients for slime. Product formulas vary, and not every bottle will activate glue reliably.
Measuring tools, mixing bowls, and cleanup supplies
A small measuring spoon or cup helps keep the mixture consistent. A medium bowl is usually easier than a tiny one because the slime needs room to fold and gather.
Keep paper towels nearby and consider lining the work surface with parchment, wax paper, or a washable mat. Slime is easier to manage when cleanup is planned before the first pour.
Kid-safe swaps and allergy-friendly considerations
If a child has sensitive skin, limit direct contact and consider wearing disposable gloves. This is not medical advice, and families with allergy concerns should check product labels carefully and follow guidance from a qualified professional when needed.
For a lower-mess activity, use clear school glue or washable white glue, but expect slight differences in texture. Ingredient brand, humidity, and how you measure can all change the final result.
- Read the labels on glue and contact solution
- Measure ingredients before mixing
- Cover the table or counter
- Set aside paper towels for cleanup
Step-by-Step Recipe for Baking Soda Slime
This version is designed as a practical starting point, not a rigid formula. Small adjustments are normal, because glue thickness and contact solution brands can change how quickly the slime sets.
Pour about 1/2 cup of white school glue into a bowl. If you want color, stir in a few drops of food coloring until the shade looks even.
Sprinkle in about 1/2 teaspoon of baking soda and stir well. Mix until the powder disappears so you do not end up with dry pockets or chalky spots.
Add contact lens solution a little at a time, starting with about 1 tablespoon. Stir after each addition and watch for the mixture to pull away from the bowl.
Once the mixture begins to clump, use clean hands to knead it for 1 to 2 minutes. Stop adding activator when the slime feels stretchy but no longer leaves a heavy wet film on your fingers.
Mixing the glue base for the right starter consistency
The glue should be smooth before the baking soda goes in. If the base is lumpy or partially dried, the final slime can feel uneven and may resist activation.
Think of this stage as building a batter-like foundation. A smooth start usually gives a smoother finish.
Adding baking soda evenly to avoid clumps
Sprinkling the baking soda across the surface helps it disperse more evenly than dumping it in one pile. Stir until the mixture looks uniform and slightly thicker, with no visible dry powder.
If the baking soda sits in clumps, the slime may set unevenly and create hard bits. That is one of the most common texture problems in home slime recipes.
Activating the slime with contact solution in small increments
Add the contact solution slowly. The mixture may look too wet at first, then suddenly tighten as the activator starts linking the glue particles together.
This is the part that benefits from patience. If you pour too much too fast, the slime can go from soft to rubbery before you have a chance to correct it.
Knowing when to stop mixing for the best stretch and bounce
The best cue is feel, not the clock. Stop when the slime lifts cleanly from the bowl, stretches without tearing immediately, and no longer coats the bowl like glue.
A little tackiness is normal at first. After a short knead, the slime often becomes easier to handle and less sticky to the touch.
If the slime is close but still sticky, knead it for another minute before adding more activator. Hands-on mixing often fixes the texture better than a quick extra pour.
Ingredient Roles and the Science Behind the Texture
Slime is a simple example of how ingredients change structure. Glue contains long polymer chains, and the activator helps those chains connect so the mixture becomes stretchy instead of runny.
How baking soda changes the slime’s structure
Baking soda helps prepare the glue for activation and can influence how the finished slime feels. In practical terms, it can make the batch more consistent and slightly firmer, especially when it is mixed in evenly.
Because it is a dry powder, it also affects moisture balance. That matters in a texture-driven recipe, where even a small amount can change the final feel.
What the activator does and why too much ruins the batch
The contact solution is the ingredient that pushes the glue toward slime. It helps the polymer chains begin to connect, which is why the mixture thickens and stops behaving like liquid glue.
Too much activator can over-tighten those connections. When that happens, the slime may become stiff, tear easily, or feel more like putty than stretchy slime.
Small changes in glue brand, room humidity, and how long you knead can all affect slime texture. That is why two batches made from the same recipe can still feel slightly different.
How water, food coloring, and add-ins affect thickness and stretch
Water loosens the base, which can make the slime softer but also harder to activate if you add too much. Food coloring usually has a minor effect, though a large amount of liquid coloring can thin the mixture slightly.
Add-ins such as glitter or foam beads change the feel more than the chemistry. They can make the slime more fun to handle, but they may also reduce stretch if overused.
Common Mistakes That Make Baking Soda Slime Too Sticky, Too Hard, or Too Runny
Most slime problems come from ratio issues, not from the idea itself. If a batch fails, it is usually because one ingredient was added too quickly or the wrong product was used.
The slime stays sticky and clings to hands.
Add a few more drops of contact solution, then knead again. Sticky slime usually means it needs a bit more activation, not more baking soda.
The slime turns stiff, rubbery, or breaks apart.
Too much activator is the likely cause. Try kneading in a tiny amount of glue if the batch is only slightly overdone, but if it is very firm, it may be better to remake it.
Using the wrong glue or an imprecise ratio
Not all glues behave the same way. Washable school glue is the most reliable starting point, while specialty glues can make the texture unpredictable.
Measuring by eye also increases the chance of a runny or hard batch. For best results, use approximate measurements the same way each time so you can adjust with confidence.
Over-activating the mixture and losing elasticity
Once the slime passes the soft stage, every extra drop matters. A batch that is almost right can become too dense in seconds if the activator is added without pausing to stir.
If the slime feels dry and snaps instead of stretching, it has probably been over-activated. At that point, the texture may not recover fully.
Skipping the kneading step and leaving uneven texture
Kneading is not optional if you want a smooth finish. Stirring combines the ingredients, but kneading finishes the reaction by distributing moisture and activator more evenly.
Without kneading, the outside can feel set while the inside stays sticky. That uneven texture is one of the easiest mistakes to avoid.
Creative Variations Kids Can Make at Home
Once the basic batch works, the recipe becomes a starting point for creativity. Keep the changes small at first so you can see how each add-in affects the texture.
Try one color for a simple batch or blend two shades for a marbled look. This is an easy way to match holidays, school events, or party themes.
Fine glitter adds sparkle without changing the recipe much. Use a modest amount so the slime still stretches well and does not feel gritty.
Orange for fall, red and green for winter, or pastel colors for spring make the activity feel fresh. Seasonal colors are especially useful for classroom crafts.
Color themes, glitter slime, and seasonal versions
Color is the easiest variation to control. A few drops of gel food coloring often gives a stronger color than liquid coloring, but the exact result depends on the product.
Glitter can be fun, but it should be added gradually. Too much can make the slime rough and less stretchy.
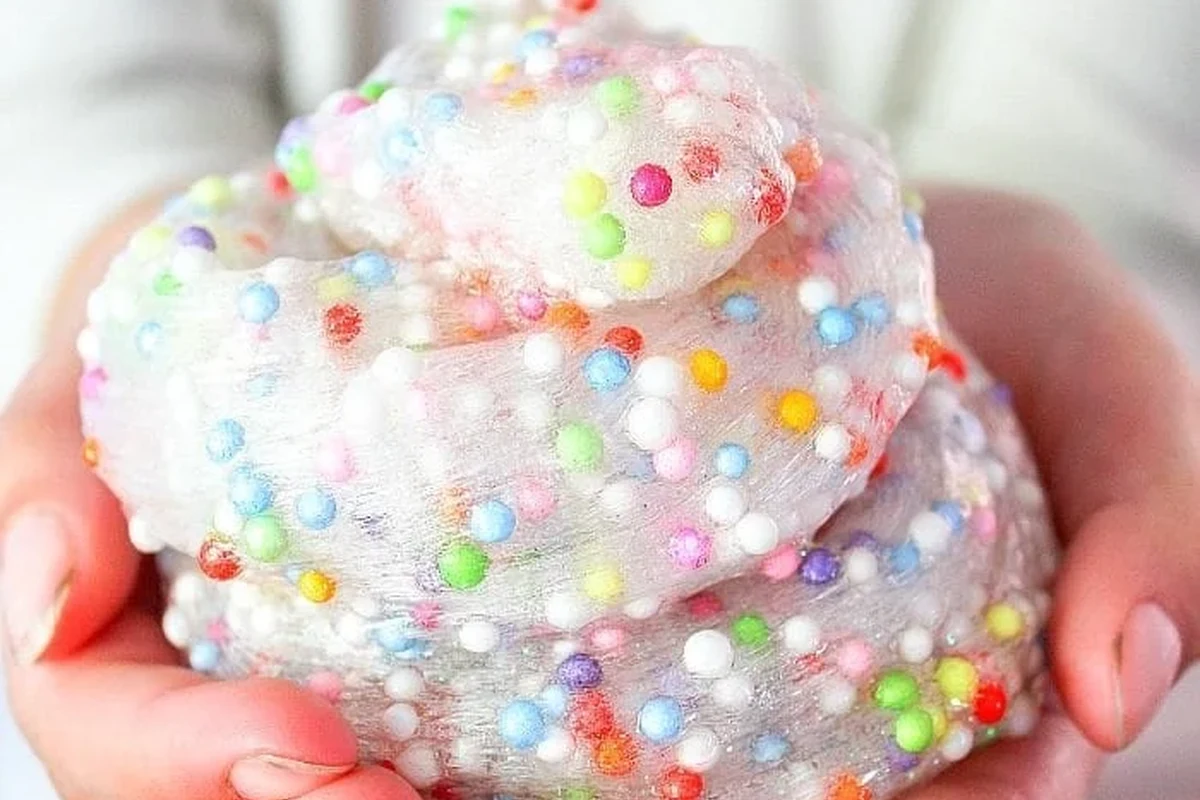
Texture add-ins like foam beads or confetti for sensory play
Foam beads, paper confetti, or small sensory add-ins can make the slime more engaging for older kids. These additions change the feel more than the recipe, so start with a small handful.
For younger children, keep add-ins large enough that they are easy to supervise and not a choking hazard. Adult guidance matters here, especially in group settings.
Adjusting the recipe for larger groups or classroom activities
For a classroom, make one test batch first and scale up only after confirming the texture. A larger batch can be harder to mix evenly, so use a bigger bowl and divide the work if needed.
If you are making slime for several children, pre-measure the ingredients into separate cups. That keeps the process cleaner and helps each child see how the ratio affects the result.
Storage, Cleanup, and Safety Tips for Parents and Teachers
Slime lasts longer when it is stored properly and handled with clean hands. It also stays more pleasant to use when the work area is cleaned right away.
Keep slime materials away from eyes and mouths, and supervise children closely during mixing. Wash hands after play, and stop if anyone has skin irritation or sensitivity to any ingredient.
How to store slime so it stays usable longer
Store the finished slime in an airtight container or sealed bag when it is not in use. This helps slow drying and keeps dust and lint from sticking to it.
If the slime becomes a little stiff after storage, knead it for a minute before deciding to remake the batch. Sometimes the texture just needs warming in the hands.
Surface protection and easy cleanup after play
Use a washable surface, parchment, or a silicone mat if possible. Slime is easier to remove before it dries, so clean spills right away with warm water and soap.
If you want more general cleanup help for baking soda around the home, our article on baking soda vinegar cleaning ovens explains how this ingredient behaves in a different kind of mess. For slime, though, the best approach is still quick wiping and gentle soap.
Supervision, handwashing, and when to avoid skin contact
Adult supervision is important for young children because slime ingredients should not be tasted or rubbed near the eyes. Handwashing after the activity is a simple habit that reduces residue and keeps the play area cleaner.
If anyone has a known sensitivity to glue, preservatives, or contact solution ingredients, do not assume the batch is safe for direct play. Check labels carefully and choose a different activity if needed.
Final Verdict: Is Baking Soda Slime Worth Making?
Yes, baking soda slime is worth making if you want a low-cost, hands-on activity with a clear texture payoff. It works especially well for home play, birthday parties, rainy-day projects, and simple classroom demonstrations.
- Uses common supplies
- Teaches basic ingredient control
- Offers a fun sensory result
- Texture depends on product brand
- Can become sticky or stiff quickly
- Needs supervision and cleanup
Best use cases for home play, parties, and learning activities
This recipe fits best when the goal is play and observation, not perfection. It gives children a chance to see how small ingredient changes affect structure, which makes it useful for both fun and informal learning.
It is also a good project for adults who want a quick activity without special equipment. If you enjoy simple ingredient-based experiments, you may also want to read about whether baking soda can replace baking powder safely, since that topic shows how one ingredient can behave very differently depending on the recipe.
What to expect from the finished slime and when to remake it
Expect a soft, stretchy slime that may feel slightly tacky at first and smoother after kneading. If it stays wet, tears too easily, or turns into a rubbery lump, the batch likely needs a different ratio or a fresh start.
For the most consistent results, keep notes on the glue brand, the amount of baking soda, and how much activator you used. That simple record makes it easier to repeat a good batch next time.
The best recipe for baking soda slime is the one that is mixed slowly, activated in small steps, and kneaded until the texture feels balanced. For parents and teachers, it is a worthwhile activity as long as supervision, cleanup, and ingredient labels are taken seriously.
Frequently Asked Questions
White school glue is usually the most reliable choice. Washable glue often gives the smoothest texture, but brands can vary, so you may need small adjustments.
Not with this recipe, because the activator is what turns the glue into slime. If you change the activator, the texture and measurements will also change.
It usually needs a little more activator or more kneading. Add contact solution in tiny amounts so you do not overdo it.
Too much activator is the most common reason. If the batch is only slightly firm, kneading in a small amount of glue may help, but badly over-activated slime may need to be remade.
Keep it in an airtight container or sealed bag when not in use. This slows drying and helps it stay stretchy longer.
It should be made with close adult supervision and kept away from eyes and mouths. Check ingredient labels for sensitivities and wash hands after play.
