Baking soda experiments are easy, low-cost science activities that show a fast fizzing reaction kids can see right away. With the right setup and supervision, they work well at home or in class and teach simple chemistry through hands-on play.
Kids often learn science best when they can see, hear, and touch the reaction in front of them. Baking soda experiments are simple, low-cost, and easy to adapt for home or classroom use, which makes them a reliable choice for hands-on learning.
- Best starter: The classic volcano is the simplest and most visual option.
- Why it works: Baking soda and acid react to release carbon dioxide gas.
- Better results: Measure carefully and use a tray to control overflow.
- Learning value: Kids practice prediction, observation, and problem-solving.
What Makes Baking Soda Experiments So Fun for Kids?
Baking soda experiments are exciting because they create an immediate visible change. The fizz, foam, and bubbling make the science feel real instead of abstract.
They also use familiar kitchen ingredients, so children can focus on observing what happens rather than handling complicated equipment. If you want a clearer explanation of the chemistry behind the classic fizz, our guide to the baking soda and vinegar reaction is a helpful companion read.
Why baking soda reacts the way it does
Baking soda is sodium bicarbonate, a base that reacts with acids such as vinegar, lemon juice, or citric acid. When the two meet, they release carbon dioxide gas, which is what creates the bubbles and foam.
The reaction is fast because the ingredients dissolve in liquid and mix quickly. More liquid usually means faster movement, while more powder can create a bigger burst if the container can hold it safely.
How these hands-on activities support early science learning
These activities teach children to predict, observe, and compare results. That is the core of early science learning, even before they know the formal vocabulary.
They also build fine motor skills through measuring, pouring, and stirring. For older children, baking soda experiments can lead naturally into lessons about gas, pressure, and cause and effect.
What parents and teachers should expect from a typical experiment
Most experiments will be messy, short, and highly repeatable. That is part of their value: children can watch the same reaction several times and notice how changing one ingredient changes the result.
Expect some spills, stained surfaces, and excited reactions. A tray, towel, or washable surface makes the experience much easier to manage.
Set up each experiment before inviting kids to help. When the ingredients are ready, the reaction is more reliable and the clean-up is much simpler.
7 Easy Baking Soda Experiments Kids Can Try at Home or in Class
These seven ideas use basic ingredients and can be adjusted for different ages. If you are comparing baking soda with other leavening ingredients for kitchen use, see our guide on using baking soda instead of baking powder safely for a practical explanation of when substitutions do and do not work.
Classic baking soda and vinegar volcano
This is the best-known version because it gives an immediate, dramatic eruption. Place baking soda in a small cup or mound, add vinegar, and watch the foam rise.
For a stronger visual effect, add a drop of dish soap and a little food coloring. The soap does not create the reaction, but it helps trap the gas in thicker foam.
Balloon inflation with baking soda and acid
In this experiment, baking soda goes into a balloon and vinegar goes into a bottle. When the balloon is lifted so the ingredients mix, the carbon dioxide inflates the balloon.
This is a good choice for older kids because it shows that gas takes up space. It also teaches patience, since the balloon may inflate gradually instead of all at once.
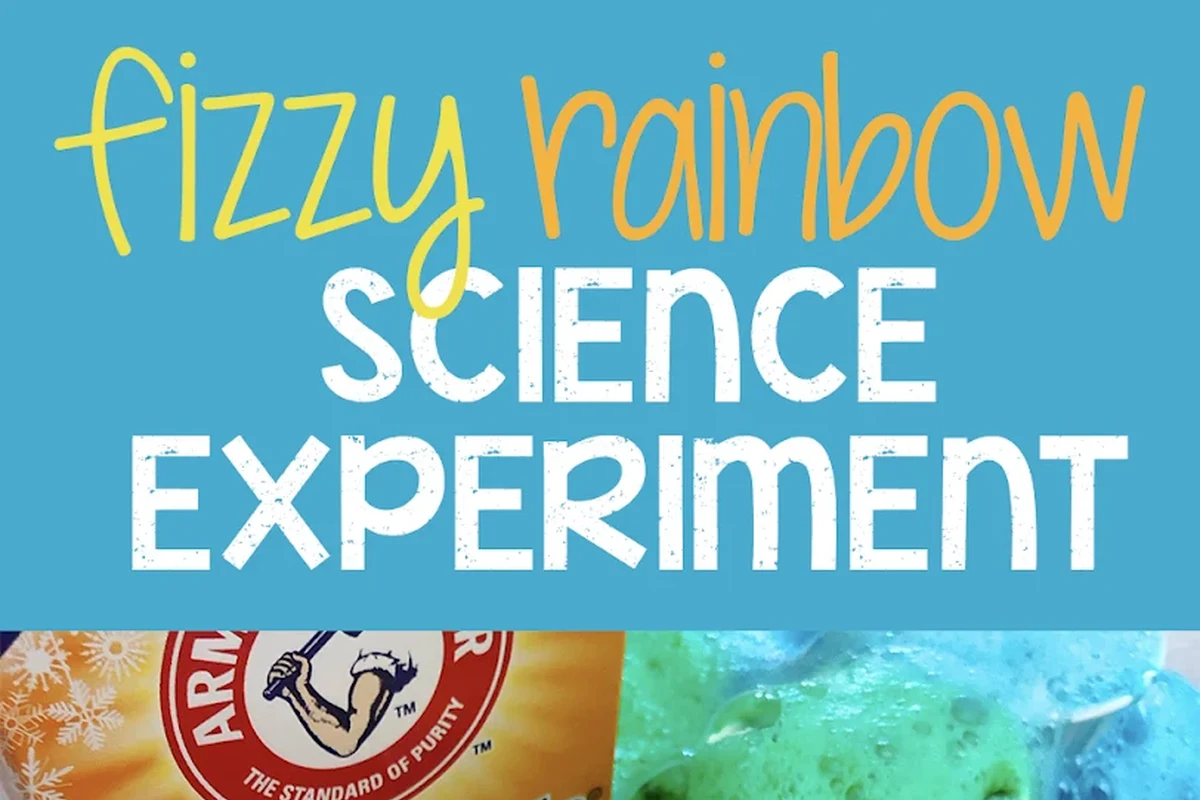
Rainbow foam experiment with food coloring
Use several small cups, each with a different food coloring drop and a spoonful of baking soda. Add vinegar slowly and watch the foam spread in bright color bands.
This version is useful for comparing reactions side by side. Children can see that the color changes the appearance, but not the basic chemistry.
Fizzing ice cubes for sensory play
Freeze colored water with a little baking soda inside ice cube trays, then place the cubes in a tray or bowl. Add vinegar or lemon juice and let kids watch the cubes fizz as they melt.
This experiment is especially good for sensory play because it combines cold, texture, and sound. It also slows the reaction down, which gives younger children more time to observe.
Hidden message experiment with baking soda paint
Mix baking soda with a small amount of water to make a paint-like paste, then write a message on paper and let it dry. Brush or spray vinegar over the paper to reveal the message through fizzing.
This is a simple way to connect science with art and writing. Use plain white paper and avoid soaking it too heavily, or the paper may tear before the reaction finishes.
DIY rocket or erupting bag experiment
Some versions use a sealed bag or small container to build enough gas pressure for a pop or launch effect. These can be fun, but they need very careful supervision and the right setup.
Never seal a hard container tightly if you are unsure how much pressure it can hold. A bag or soft launcher is safer than a rigid bottle because it is less likely to burst unpredictably.
Growing crystal or “magic” reaction variation
Not every baking soda activity is a fast fizz. A slower variation uses a saturated baking soda solution or a related crystal-growth approach to show changes over time instead of instant foam.
These projects are useful when you want children to notice evaporation, residue, or texture. The result is less dramatic, but it supports observation and patience.
Baking soda reacts best when it can dissolve in liquid first. Dry powder by itself will not fizz much until an acid and moisture are present.
Ingredients, Tools, and Safe Setup for Mess-Free Science
Good results start with simple, reliable supplies. You do not need specialty science kits for most baking soda experiments, but you do need enough space and a plan for cleanup.
Choosing the right baking soda, vinegar, and add-ins
Standard grocery-store baking soda is usually enough for these projects. Vinegar is the most common acid because it is inexpensive and predictable, though lemon juice and citric acid can also work.
Add-ins like dish soap, food coloring, and glitter can change the look, but they do not replace the core reaction. If you use craft materials, keep them separate from any food-prep tools.
Measuring cups, bowls, trays, and cleanup supplies
A tray or rimmed sheet helps contain spills and foam. Small cups are better than large bowls for most activities because they make the reaction easier to see and easier to control.
Keep paper towels, a damp cloth, and a trash bowl nearby. If you are doing several rounds, an extra spoon or measuring cup can save time and reduce cross-contamination between colors.
Age-appropriate supervision and allergy or spill precautions
Young children should be supervised closely, especially if vinegar, food coloring, or small loose items are involved. Keep mixtures away from eyes and mouths, and wash hands after the activity.
Important
Do not treat baking soda experiments as edible activities. If children have allergies or sensitivities, check ingredient labels carefully and follow the same caution you would use for any classroom or kitchen project.
How to Get Better Results From Each Experiment
Most “failures” with baking soda experiments come from measurement, container size, or ingredient order. A few small adjustments usually fix the problem.
Correct ratios and why measurement matters
There is no single perfect ratio for every setup because container size, liquid amount, and desired effect all matter. In general, use enough acid to wet the baking soda fully, but not so much that the mixture becomes diluted before it can foam.
Measuring matters because too little liquid can leave powder clumped at the bottom, while too much can make the reaction run thin and weak. For classroom work, it helps to test one batch first and then scale up.
What to do when the reaction is weak, too fast, or too messy
The reaction barely fizzes or stops too quickly.
Use fresher ingredients, check that the baking soda is dry, and make sure enough acid is present to start the reaction.
The foam shoots out before kids can see it.
Use a wider container, add the vinegar more slowly, or reduce the amount of baking soda.
The setup is too messy for the space.
Move the activity onto a tray, lower the liquid amount, and use a smaller batch.
Ways to adjust difficulty for preschoolers, elementary kids, or older students
For preschoolers, keep the experiment short and visual. Let them pour pre-measured ingredients and focus on the fizz, color, and sound.
For elementary students, add prediction sheets and simple comparisons, such as “What happens if we use more vinegar?” Older students can record observations, compare variables, and explain why carbon dioxide forms.
- Pre-measure ingredients for younger children
- Protect the work surface with a tray or towel
- Keep paper towels and water nearby
- Review eye and hand safety first
What Kids Learn From Baking Soda Experiments Beyond the Fizz
The best part of these activities is not just the foam. They help children understand how science works in a way that feels immediate and memorable.
Simple chemistry concepts like acids, bases, and gas
Baking soda is a base, and vinegar is an acid. When they meet, they produce carbon dioxide gas, which is the source of the bubbles.
This is a simple example of a chemical reaction, not just a physical change. The ingredients become something new, even though the starting materials are familiar kitchen staples.
Observation, prediction, and problem-solving skills
Kids learn to watch closely for clues such as bubble size, foam height, and speed of reaction. They also learn that small changes can create different results.
That makes the activity useful for problem-solving. If the reaction is weak, children can ask what changed and try a new measurement or container.
How to turn a fun activity into a mini science lesson
Ask one question before each round and one question after it. For example: “What do you think will happen if we add the vinegar slowly?” and “What did you notice about the foam?”
That simple structure turns play into learning without making the activity feel like a test. You can also connect the lesson to baking, since leavening in the kitchen also depends on gas production, moisture, and timing.
For a kitchen connection, remember that baking soda is not interchangeable with baking powder in every recipe. The amount of acid in the batter or dough changes how well it works.
Common Mistakes That Can Ruin the Reaction
Most problems are easy to avoid once you know what to look for. A few setup errors can make even a good experiment seem disappointing.
Using the wrong container size or too much liquid
A container that is too small can overflow before the reaction is visible. A container that is too large can spread the foam too thin and make the effect look weak.
Too much liquid can also dilute the reaction. Start small, then increase the amount only if the container and cleanup space can handle it.
Mixing ingredients in the wrong order
Some experiments work best when the acid is added last. If the ingredients meet too early, the reaction may finish before the child is ready to watch it.
That is why it helps to stage the setup carefully. For balloon experiments, for example, the ingredients should stay separate until the final release.
Skipping cleanup and safety steps after the experiment
Foam, vinegar, and food coloring can stain or leave sticky residue. Wipe surfaces right away and rinse reusable tools thoroughly.
Keep baking soda experiments away from electrical outlets, open flames, and delicate surfaces. Even simple science can become a slip or spill hazard if the workspace is not prepared.
Best Ways to Store Supplies and Repeat Experiments Later
One advantage of baking soda experiments is that the supplies are easy to keep on hand. With a little organization, you can repeat the activity without starting from scratch.
How to store baking soda, vinegar, and craft add-ons
Store baking soda in a sealed container in a dry place. Moisture can reduce its freshness for both science activities and baking use.
Keep vinegar tightly closed and away from direct heat. Food coloring, soap, and other add-ins should be labeled clearly if they are used for non-food projects.
Keeping reusable tools clean and ready for the next activity
Wash cups, spoons, and trays with warm soapy water after each session. Dry them fully before storing to prevent lingering odor or residue.
If you use plastic tools, check for staining before putting them away. Clear containers are especially useful because they make it easier to see when they are clean.
When to discard leftover mixtures or stained materials
Most leftover baking soda and vinegar mixtures can be poured down the sink with plenty of water, but local rules may vary. If you used glitter, paint, or other craft add-ins, dispose of the mixture according to the material used.
Throw away paper, cardboard, or cloth materials that are too stained or damp to reuse. When in doubt, separate food-related tools from science-only supplies.
Final Thoughts: Which Baking Soda Experiment Should You Try First?
If you want the simplest starting point, the classic volcano is usually the easiest choice. It is fast, visual, and easy to repeat with small adjustments.
If you need less mess, try the balloon inflation or hidden message experiment. If you want a sensory activity, the fizzing ice cubes are a strong option because they slow the reaction down and give children more time to notice details.
Choosing the best experiment based on age, space, and mess level
For preschoolers, choose a tray-based activity with large visual changes and very little setup. For elementary kids, pick an experiment that allows prediction and comparison.
For older students, use the activity to discuss variables, gas production, and how measurement affects the result. The best baking soda experiments are the ones that match the child’s attention span and the space you have available.
When to repeat, modify, or combine experiments for a bigger science day
Repeat an experiment when you want children to notice one change at a time. Modify it when you want to explore a new question, such as how color, temperature, or container shape changes the outcome.
You can also combine several activities into one science day for a fuller lesson. Start with the volcano, move to the balloon, and finish with a hidden message or sensory version so the learning builds naturally from simple reaction to observation and explanation.
Frequently Asked Questions
The classic baking soda and vinegar volcano is the easiest place to start. It is simple to set up, very visual, and easy to repeat with small changes.
Yes, lemon juice can work because it is acidic. The reaction may look a little different depending on the amount of acid and the container you use.
The most common reasons are old or damp baking soda, too little acid, or ingredients that were mixed too early. Try fresh ingredients and measure again in a smaller container.
They can be safe with close supervision and a simple setup. Keep the mixture away from eyes and mouths, and use a tray to control spills.
Use a tray, a small container, and pre-measured ingredients. Adding the liquid slowly can also help control the foam.
No, the reaction happens once and the mixture will not work the same way later. Store the dry ingredients separately and make fresh batches for each experiment.
