
Soap Scum Baking Soda Tricks for a Sparkling Clean Home
Baking soda can help remove soap scum on many bathroom surfaces because it gently scrubs away film without harsh fumes. It works best on light to moderate buildup, with careful rinsing and a spot test on delicate finishes.
Soap scum can make a clean bathroom look dull fast, but baking soda is one of the simplest ways to loosen it without harsh fumes. Used the right way, soap scum baking soda cleaning works best on light to moderate buildup and on surfaces that can handle gentle abrasion.
- Best use: Light to moderate soap scum on tile, tubs, sinks, glass, and chrome.
- Why it works: Mild abrasion and odor control help lift film without strong chemicals.
- Main limit: Heavy mineral scale, natural stone, and delicate finishes may need a different cleaner.
- Best technique: Use a paste or damp sponge, then rinse and dry for a streak-free finish.
Why Soap Scum Forms and Why Baking Soda Helps
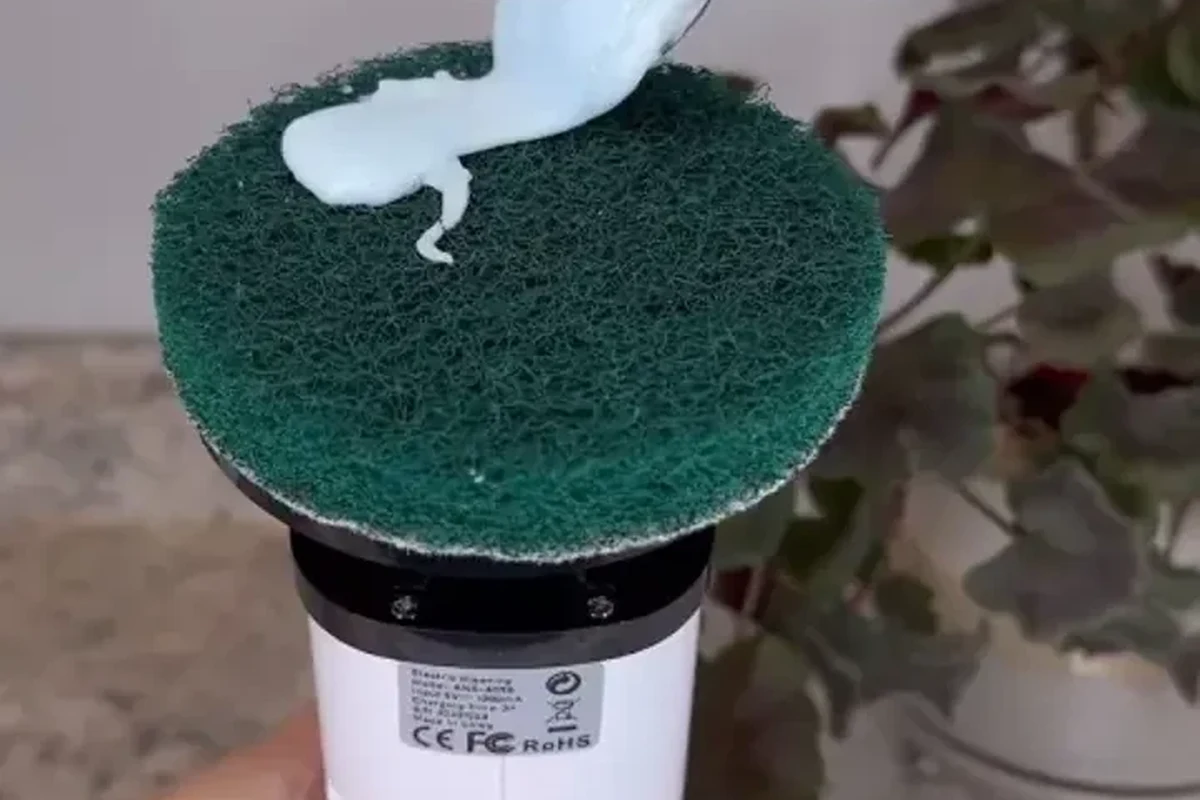
Soap scum is the film that forms when soap residue mixes with minerals in water, especially calcium and magnesium. Add body oils, shampoo residue, and repeated splashing, and the surface can develop a cloudy layer that clings to tile, glass, tubs, and fixtures.
Soap residue, hard water minerals, and bathroom film explained
In plain terms, soap scum is not just “dirt.” It is a sticky combination of leftover cleanser and hard water minerals that dries into a thin coating. The longer it sits, the more it bonds to grout lines, shower doors, and tub walls, which is why a quick wipe is easier than a deep scrub later.
That is also why regular cleaning matters. If you let the film build up, you often need more elbow grease or a stronger cleaner to break it down.
What baking soda does: mild abrasion, odor control, and surface-safe cleaning
Baking soda helps because it is mildly abrasive, so it can lift film without scratching many common bathroom surfaces when used gently. It also helps neutralize odors, which is useful in damp spaces where soap residue can trap smells.
It is not a heavy-duty solvent, so it works best as a cleaner for buildup that is still relatively fresh. For many households, it is a practical middle ground between plain water and harsher chemical cleaners.
Baking soda works best when it has direct contact with the film. A damp paste or gentle scrub gives it more staying power than a quick sprinkle and rinse.
Best Surfaces for Soap Scum Baking Soda Cleaning
Baking soda is most useful on hard, non-porous surfaces that need a gentle scrub. It is a smart choice for routine bathroom maintenance, especially if you want to avoid strong odors and keep cleanup simple.
Tile, grout, glass shower doors, tubs, sinks, and chrome fixtures
It can be used on ceramic tile, many grout lines, glass shower doors, porcelain tubs, bathroom sinks, and chrome fixtures. These surfaces usually handle light abrasion well, especially when you use a soft sponge or microfiber cloth.
For glass doors, the goal is to remove the film without leaving grit behind. For grout, a paste can help target the lines where buildup tends to collect.
Where to avoid or test first: natural stone, delicate finishes, and scratched acrylic
Do not assume baking soda is safe for every bathroom surface. Natural stone such as marble, granite, and travertine can be damaged by abrasive cleaners or by products that disturb the sealant.
Test first on delicate finishes, older acrylic tubs, brushed metals, and any scratched surface. If a finish is already worn, even gentle scrubbing can make it look duller.
Always check the manufacturer’s care instructions before cleaning a specialty surface. If the label says to avoid abrasives, choose a different cleaner or spot-test in an out-of-the-way area first.
How to Use Baking Soda on Soap Scum: Step-by-Step Methods
There is no single best method for every mess. Light film usually responds to a dry sprinkle and damp wipe, while thicker buildup needs a paste that can sit on the surface a little longer.
Dry sprinkle and damp sponge method for light buildup
This is the simplest method for weekly touch-ups. Sprinkle a small amount of baking soda onto a damp sponge or directly onto the surface, then rub in small circles with light pressure.
Work in sections so the powder does not dry out before you wipe it away. Rinse with clean water and dry the area with a microfiber cloth to reduce streaks.
Dampen the tub, sink, or tile so the baking soda can cling instead of sliding off.
Use a light sprinkle or a spoonful on a sponge. More product is not always better.
Move in short circles, then wipe away the loosened film before it dries again.
Baking soda paste for thicker soap scum on tubs and shower walls
For heavier soap scum, mix baking soda with just enough water to make a spreadable paste. It should look like soft frosting, not a runny slurry.
Spread the paste over the film, wait a few minutes, then scrub with a non-scratch sponge or soft brush. The resting time helps loosen the residue so you do not have to press hard.
Baking soda plus vinegar: when the fizz helps and when it does not
The fizz from baking soda and vinegar looks dramatic, but it does not create a stronger cleaner for every job. The reaction is useful for loosening some surface grime and for helping people see where the mixture is spreading, but it quickly neutralizes itself.
That means it can be helpful for certain spot-cleaning tasks, but it is not always the best choice for thick soap scum. If you want the full breakdown of the reaction, see our guide to baking soda and vinegar reaction explained simply.
For many bathrooms, baking soda alone does the real cleaning work. Vinegar can help with mineral-related film in some situations, but the best result usually comes from using the right method on the right surface.
Tools, Ratios, and Application Tips That Improve Results
Small details make a big difference here. The right ratio, the right cloth, and the right amount of pressure can turn a frustrating scrub into a manageable one.
Recommended measurements for small spots versus full shower cleaning
For a small ring around a faucet or a patch on a sink, start with 1 to 2 tablespoons of baking soda. For a full tub or shower wall, you may need several tablespoons or more, depending on surface area and how heavy the buildup is.
Because brands, water hardness, and the age of the residue all vary, treat these amounts as starting points rather than exact rules. If the paste is too dry, it will drag; if it is too wet, it will slide off before it can work.
Best tools: microfiber cloths, non-scratch sponges, spray bottles, and soft brushes
Microfiber cloths are useful for final wiping because they pick up residue well and help reduce streaks. A non-scratch sponge is usually the safest choice for tubs, shower walls, and sinks.
A spray bottle can help you dampen the area evenly, and a soft brush is handy for grout or textured corners. Avoid steel wool and other harsh scrubbers unless the surface is specifically rated for them.
The surface still looks cloudy after scrubbing.
The film may need more contact time, a fresher paste, or a second pass with clean water and a soft cloth. If the residue is very old, soap scum may be mixed with mineral scale and need a different cleaner.
Contact time, scrubbing pressure, and rinse technique for a streak-free finish
Let the paste sit only long enough to soften the film, usually a few minutes for routine cleaning. If it dries hard, it can become harder to wipe away and may leave powdery residue.
Use light to moderate pressure rather than forceful scrubbing. After cleaning, rinse thoroughly and dry the area with a clean cloth so the remaining moisture does not leave spots.
Think of baking soda cleaning like finishing a delicate pastry glaze: gentle application and careful cleanup usually give a better result than aggressive rubbing.
Common Mistakes That Make Soap Scum Harder to Remove
Most soap scum problems get worse because of technique, not because the product failed. A few small mistakes can turn an easy clean into a longer project.
Using too much product or scrubbing too aggressively
More baking soda does not automatically mean better cleaning. A heavy layer can clump, waste time, and leave extra residue to rinse away.
Scrubbing too hard can also damage finishes, especially on acrylic, chrome, or older glazed surfaces. If you need to press very hard, the buildup may be beyond what baking soda can comfortably handle.
Mixing baking soda with the wrong cleaners
Do not mix baking soda with cleaners unless the label or a trusted manufacturer guide says it is safe. Some combinations can reduce cleaning performance, and others may create unsafe fumes if paired with the wrong product.
If you are switching between cleaners, rinse the surface well first. That is especially important around drains, faucets, and enclosed shower spaces.
Skipping rinse, dry-down, or ventilation after cleaning
Soap scum often returns faster when a bathroom stays wet. If you skip the rinse or leave the surface damp, leftover powder and loosened residue can dry into a dull film.
Open a window or run the fan so the room dries faster. Good ventilation also makes the space more comfortable to clean and helps reduce lingering moisture around fixtures.
Wear gloves if your skin is sensitive, and be careful around wet floors and slippery shower surfaces. A quick clean should never create a fall hazard.
Safety, Surface Care, and Cleaning Limitations
Baking soda is popular because it is simple and low-odor, but safe use still matters. Surface care, ventilation, and label checks are part of getting a good result without causing damage.
How to check labels and spot-test before cleaning
Read the care label on tubs, sinks, tile, countertops, and fixtures when available. If the manufacturer recommends non-abrasive cleaners only, baking soda may still be fine in a diluted or gentle form, but a spot test is the safer first step.
Spot-testing should be done in a hidden area and wiped clean after a short contact time. Watch for dulling, scratching, color change, or a sticky finish before using the method on the full surface.
Ventilation, gloves, and safe handling around drains and fixtures
Keep the room ventilated while cleaning, especially if you are also using vinegar or another product in the same session. Gloves can help protect hands from repeated scrubbing and from drying out skin.
Avoid forcing gritty paste into drain openings, and rinse fixtures well so residue does not collect around seams. For electrical safety, keep cleaners away from outlets, chargers, and powered bathroom accessories.
When baking soda is not enough and stronger cleaners may be needed
If the buildup is thick, old, or mixed with hard water scale, baking soda may only remove the top layer. In that case, a product made for soap scum or mineral deposits may work faster.
For specialty surfaces or stubborn buildup, follow the surface manufacturer’s instructions and the cleaner label carefully. When in doubt, start gentle and escalate only if needed.
- Test on a hidden spot first
- Use light pressure and a soft sponge
- Rinse and dry after cleaning
- Scrubbing scratched acrylic aggressively
- Mixing cleaners without checking labels
- Leaving residue on the surface to dry
Real-World Cleaning Routines for Bathrooms, Kitchens, and Fixtures
The best soap scum routine is the one you can repeat. Small, regular cleanups usually beat occasional deep scrubs because they keep residue from hardening.
Weekly maintenance for showers and tubs to prevent buildup
A weekly light scrub with baking soda can keep showers and tubs from developing a thick cloudy layer. Focus on the areas that get the most splash, such as the lower shower walls, the tub line, and around the faucet.
If you clean regularly, you will often need less product and less pressure. That is one reason baking soda fits so well into low-fuss maintenance.
Quick touch-ups for sinks, faucets, and glass doors
For sinks and faucets, a small amount of baking soda on a damp cloth can remove rings, drips, and dull film. On glass shower doors, wipe in overlapping strokes and finish with a dry microfiber cloth to cut streaks.
If you are also dealing with odors in nearby spaces, a separate routine for baking soda for smoke odors can help keep the home smelling fresher while you clean.
How to pair baking soda with routine cleaning to reduce future soap scum
The easiest way to reduce soap scum is to keep moisture and residue from sitting too long. Rinsing shower walls after use, wiping high-splash areas, and drying fixtures can all slow buildup.
For laundry-related residue that can contribute to bathroom grime through towels and cleaning cloths, our guide on baking soda in laundry benefits explains why clean cloths matter more than many people realize. Cleaner towels and microfiber cloths help you avoid spreading old film back onto freshly cleaned surfaces.
- Budget-friendly and easy to find
- Gentle on many common bathroom surfaces
- Helps with odor control as you clean
- May be too mild for heavy mineral scale
- Can scratch delicate finishes if misused
- Requires rinsing and drying for best results
Final Verdict: When Soap Scum Baking Soda Tricks Are Worth Using
Soap scum baking soda methods are worth using when you want a low-cost, low-odor cleaner for routine bathroom upkeep. They are especially useful for light to moderate buildup on tile, tubs, sinks, glass, and chrome when you use gentle pressure and rinse well.
Best use cases for budget-friendly, low-toxicity cleaning
Choose baking soda when the goal is maintenance, not rescue cleaning. It is a good fit for households that prefer simple ingredients and want a practical method they can repeat every week.
When to choose a different product for speed, heavy buildup, or specialty surfaces
If the soap scum is thick, old, or mixed with hard water scale, a specialized cleaner may save time and effort. The same is true for natural stone, delicate finishes, or any surface that the manufacturer warns should not be scrubbed with abrasives.
Used carefully, baking soda is a reliable first step. Used on the wrong surface or with too much pressure, it can create more work than it saves, so always match the method to the material.
For everyday bathroom cleaning, soap scum baking soda tricks are a smart, affordable choice that can keep buildup under control. For severe deposits or sensitive surfaces, start with the surface label and move to a stronger product only when the gentle method is not enough.
Frequently Asked Questions
Yes, baking soda can remove light to moderate soap scum because it gently scrubs away film. Heavier buildup may need more contact time or a stronger cleaner.
You can use them together in some cleaning routines, but the fizz does not make a stronger cleaner for every job. Baking soda alone is often better for scrubbing, while vinegar may help with some mineral-related residue.
It is usually safe on many glass shower doors, porcelain tubs, tile, and sinks when used gently. Always spot-test first on delicate or scratched surfaces.
Avoid or spot-test natural stone, delicate finishes, and scratched acrylic. Check the manufacturer’s instructions before using any abrasive cleaner.
Usually only a few minutes is enough for routine cleaning. If it dries out completely, it can become harder to wipe away.
Rinse shower walls after use, wipe wet areas regularly, and dry fixtures when possible. Weekly light cleaning with baking soda can help prevent heavy buildup.
