
How to Use Silicone Baking Molds in an Air Fryer Without Guesswork
Silicone molds can work very well in an air fryer, but only when the mold is food-grade, heat-safe, and stable enough for the basket or tray you are using. That combination matters more than the material alone. A flexible mold that fits loosely may tip, spill, or cook unevenly, while a properly supported mold can handle muffins, egg bites, mini cakes, and other small portions with good results.
If you want a quick decision rule: use silicone only when the manufacturer says it is safe for high heat, and make sure the mold sits securely with enough space for airflow. If either of those points is unclear, pause and check the product documentation first. The FDA’s guidance on food-contact materials is a useful starting point when you are trying to understand whether a material is intended for food use, but the product label and care instructions still matter most for your specific mold.
Can You Use Silicone Baking Molds in an Air Fryer?
Yes, you usually can, as long as the mold is designed for food use and rated for the heat your air fryer reaches. That sounds simple, but it is the key condition. “Silicone” by itself does not tell you enough. Some molds are made for baking, while others are decorative or low-quality products that may soften, smell, discolor, or lose shape under heat.
A good silicone mold should feel flexible but not flimsy. It should hold its shape when empty and not leave a strong chemical odor when warmed. If the packaging or product page does not clearly mention oven-safe or high-heat use, treat that as a warning sign rather than assuming it is safe.
For a broader overview of silicone accessories in hot-air cooking, you may also find this guide helpful: Is Silicone Safe in an Air Fryer?
How to Tell If a Silicone Mold Is Air-Fryer Safe
The safest way to judge a mold is to check the manufacturer’s instructions. Look for wording such as:
- food-grade silicone
- oven-safe
- heat-resistant to a stated maximum temperature
- dishwasher-safe, if cleaning is part of your concern
- LFGB-compliant or FDA-compliant wording, when it is provided
If the product does not list a maximum heat rating, do not guess. That is especially important with air fryers, because they use concentrated heat and strong circulation. A mold that seems fine in a low oven setting may not behave the same way in a compact air fryer chamber. Food-grade silicone products are often rated for roughly oven-level heat, but the exact limit varies by product, so stay below the specific maximum temperature listed by the manufacturer.
A few warning signs are worth taking seriously:
- a strong plastic or chemical smell when warmed
- sticky or oily residue on the surface
- discoloration after a short test use
- edges that warp or collapse easily
- a surface that feels tacky rather than smooth
Those signs do not automatically mean the mold is dangerous, but they do suggest poor quality or heat breakdown. In practice, that is enough reason to replace it.
A simple at-home check before baking
If the label looks promising but you are still unsure, do a dry fit test first. Place the empty mold in the basket or tray and see whether it sits flat, leaves room around the sides, and can be removed without bending awkwardly. Then warm it briefly according to the product instructions, if available, and watch for odor, softening, or shape change. That test will not prove every safety detail, but it can reveal obvious problems before you put food in it.
Choose the Right Mold Size, Shape, and Thickness
Fit matters as much as heat resistance. An air fryer relies on moving hot air, so a mold that fills the basket too tightly can create uneven cooking. Leave space around the mold whenever possible so air can move across the surface and around the edges.

Size and shape
Shallow molds generally work better than very deep ones when you want more even browning. Muffin cups, egg molds, and small cake molds are practical because they fit most baskets and let the air circulate. A tall loaf-style silicone mold can work too, but it is more likely to need extra time and more careful placement.
If your air fryer basket is round, a round or compact rectangular mold often fits better than a wide pan with wasted corners. If you are baking several portions at once, test one mold first. That small step can save you from discovering too late that the basket lid or drawer will not close properly.
Thickness: thicker vs. thinner silicone
Thicker silicone usually holds its shape better, which helps with stability. Thinner silicone is lighter and may heat through a bit faster, but it is also more likely to flex when filled. For air fryer use, that flexibility is the trade-off to watch.
If you are making something liquid or pourable, such as egg bites or a loose muffin batter, a thicker mold or a mold with a rigid outer support is easier to manage. If the mold is very thin, place it on a tray or inside a sturdier pan before loading it.
How to Keep Silicone Molds Stable in the Air Fryer
This is where many people run into trouble. Silicone is flexible, and air fryer airflow is strong enough to move a lightweight mold if it is not supported. A mold that slides, leans, or balloons slightly with batter can spill or bake unevenly.
One of the easiest fixes is to use a rigid support under the mold when the mold is too flexible to stand on its own. That support can be:
- a small metal pan
- a baking tray that fits your air fryer
- a rack with a flat, stable surface
- a heat-safe dish that supports the mold from below
The goal is not to block airflow completely. It is to give the mold a firm base so it stays level. If the support is too large or covers too much surface area, you may slow circulation and reduce browning. So choose the smallest sturdy base that still keeps the mold secure.
Practical stability rules
- Fill the mold only as high as the recipe allows; overfilling makes movement and overflow more likely.
- Set the mold on the support before adding batter if the mold is very flexible.
- If the mold has multiple cavities, make sure each cavity is evenly filled so one side does not weigh more than the other.
- Use oven mitts carefully when moving the support in and out; a soft mold can shift inside a hot basket if handled too quickly.
For readers comparing accessories, this related article may help: Are Silicone Air Fryer Baskets Safe?
Where to Place the Mold for Best Airflow and Even Cooking
Placement affects both browning and consistency. In most air fryers, the best setup is one that keeps the mold centered, level, and surrounded by some open space.
If your mold is sturdy enough, it can sit directly in the basket. That works best for small, rigid silicone cups or molds that already have a firm base. If the mold feels floppy, place it on a tray or pan that can slide into the basket as one unit. When possible, center the mold in the basket and keep it from touching the basket walls or getting too close to the heating element area above it.
Directly in the basket vs. on a tray
Direct in the basket
– Pros: simpler, often better airflow underneath
– Cons: more likely to tip or deform if the mold is soft
On a tray or pan
– Pros: more stable, easier to transport, better for loose batter
– Cons: may slightly reduce airflow if the tray is too large
For delicate batters like mini cakes or egg bites, stability usually matters more than maximum airflow. For drier items or firmer batters, direct placement may be enough if the mold is rigid.
A sheet of parchment paper can help if you need a little extra cleanup protection or a smoother surface under the mold, but it is usually unnecessary for a stable silicone mold and should never block airflow around the basket.
Temperature and Time Adjustments for Air-Fryer Baking
Air fryers usually cook faster than conventional ovens because the hot air moves more aggressively around the food. That does not mean every recipe needs a dramatic change, but it does mean you should not assume oven settings will transfer perfectly.
When a recipe was written for a conventional oven, use it as a starting point rather than a final answer. A practical rule is to start by lowering the oven temperature slightly for air fryer use, then check early and adjust as needed. Watch for two things: faster browning on top and faster edges around the mold. Silicone may also hold heat a bit differently than metal, so the center can sometimes lag behind the outside even when the top looks done.
A practical starting approach
- Use the recipe’s oven temperature as a reference, but be ready to lower it slightly if the top is browning too quickly.
- Check early, especially for small portions.
- Use a toothpick, skewer, or thermometer where appropriate to confirm doneness rather than relying on color alone.
For muffins or mini cakes, the surface can look ready while the center still needs time. For egg-based dishes, look for set edges and a center that is no longer wet or jiggly. The exact finish point depends on the recipe, so don’t treat browning as the only cue.
Preheating: should you do it?
If your air fryer manufacturer recommends preheating, follow that guidance. Preheating is often helpful because it gives the mold a more consistent cooking environment from the start. That can matter with silicone, since a cold mold may delay setting in the first few minutes and then catch up unevenly later.
If your model does not call for preheating, you can still use a short preheat when a recipe depends on a good rise or a more even start. The important point is to follow the air fryer manual first.
Best Foods to Make in Silicone Molds
Silicone molds shine when you want individual portions that release cleanly. They are especially useful for foods that benefit from a gentle release rather than hard browning.
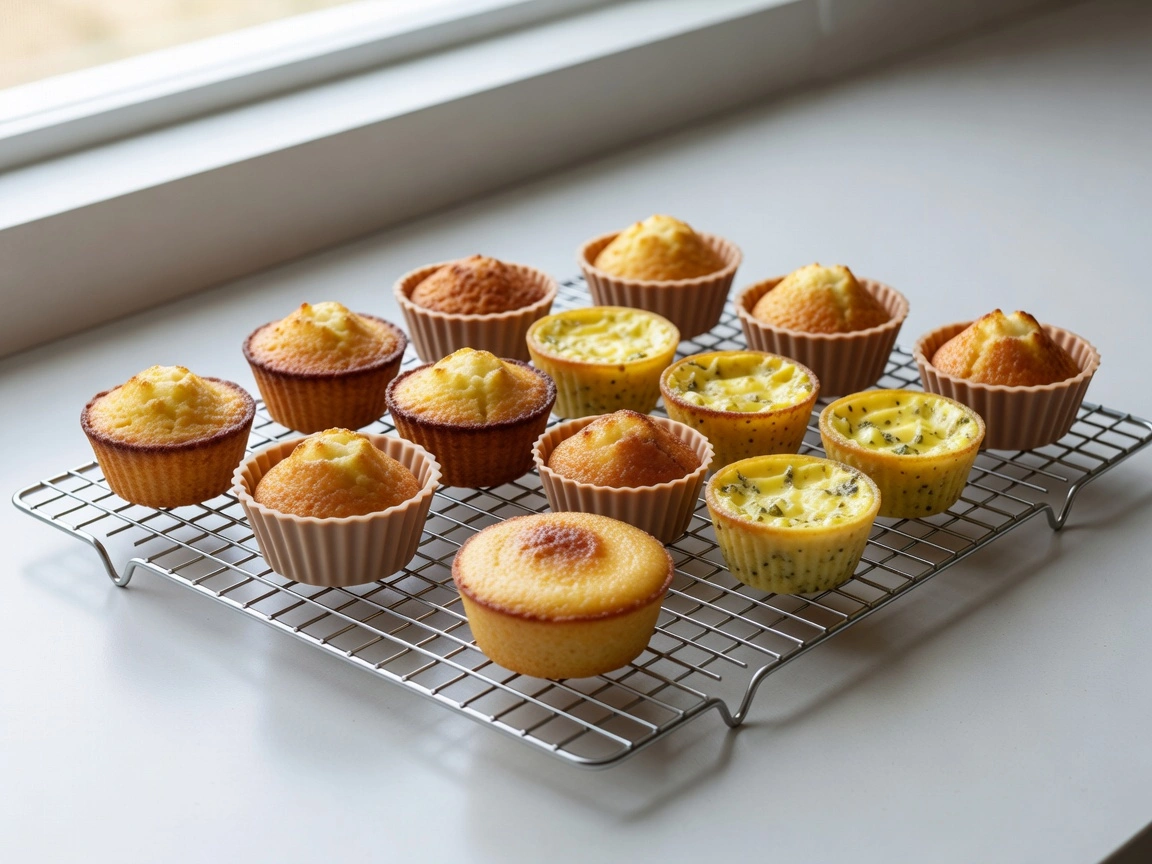
Good candidates include:
- muffins and mini muffins
- egg bites and mini frittatas
- small cakes or tea cakes
- brownies in portioned molds
- custard-style or egg-based bakes
- baked oatmeal cups, if the recipe is suitably thick
A silicone mold is often a better choice than metal when sticking is a concern. For example, egg bites can release neatly from silicone, while a thin metal cup may brown the outside more aggressively and leave the edges harder to remove. On the other hand, if you want a deeply caramelized crust, metal usually gives a stronger result.
That trade-off is worth remembering: silicone favors release and convenience; metal favors browning and structure.
Common Mistakes to Avoid
Most failures come from a few predictable issues.
1. Assuming all silicone is the same
It is not. One mold may be food-grade and heat-safe, while another may be a low-quality item that softens or smells under heat. Always check the product details.
2. Using a loose, unsupported mold
A flexible mold placed directly in a fast-moving air fryer basket can tip or warp. If the mold is not naturally sturdy, give it a base.
3. Overfilling
Air fryer baking is less forgiving than a full-size oven in a large pan. Overfilled molds can spill, puff unevenly, or create a messy top that cooks before the center sets.
4. Blocking airflow
A support pan that is too large can defeat the point of the air fryer. Keep the support compact and leave room around the mold.
5. Pulling the mold too soon
Silicone can stay soft when hot. Let the baked item rest briefly before removing it, especially if it needs to hold its shape. Removing it too early can cause tearing, collapsing, or a misshapen finish.
Cleaning and Caring for Silicone Molds After Air Frying
Let the mold cool before washing it. Hot silicone is flexible, and aggressive handling can distort it. Once cool, wash it according to the manufacturer’s instructions. Many silicone molds are dishwasher-safe, but hand washing is often the best way to remove oily residue and prevent lingering odors.
If a mold picks up a smell after repeated use, wash it thoroughly with warm soapy water and let it air dry completely. Store it flat or in a way that does not crease the material. Repeated folding can leave permanent bends that make the mold less stable next time.
Inspect the mold before each use. If you see cracks, sticky patches, or warping that was not there before, it is time to stop using it for high-heat baking.
When to Consult a Pastry Chef
If you are adapting a recipe that is already sensitive to heat, structure, or timing—such as sponge-style cakes, custards, or very delicate egg bakes—consider asking a pastry professional or recipe developer for guidance. Those formulas can behave differently in an air fryer, especially when the mold shape changes the way heat reaches the center.
Quick Comparison: Silicone vs. Metal in an Air Fryer
| Factor | Silicone molds | Metal bakeware |
|---|---|---|
| Release | Usually easier | Can stick without grease or lining |
| Stability | More flexible; may need support | More rigid and self-supporting |
| Browning | Often gentler | Usually stronger and faster |
| Airflow | Can work well if sized correctly | Often excellent if the pan is not too large |
| Best use | Muffins, egg bites, mini cakes, easy-release portions | Crisp edges, stronger browning, firmer structure |
FAQ
What is the maximum temperature for silicone molds in an air fryer?
It depends on the exact product. Many food-grade silicone molds are rated for oven-level heat, but you should always follow the manufacturer’s stated maximum temperature and keep your air fryer below that limit.
Do I need parchment paper under a silicone mold?
Usually no. A stable silicone mold often does not need parchment paper underneath, and any liner should not block airflow around the basket.
How can I tell if silicone is food-grade?
Look for clear product wording such as food-grade silicone, FDA-compliant, or LFGB-compliant, and be cautious with off-brand items that do not list certification or heat-rating details.
Final Takeaway
The safest rule is simple: use a silicone mold in an air fryer only if it is clearly food-grade, has a stated heat limit, and sits securely with room for airflow. Before you bake, check the max temperature, center the mold, and use support only when the mold needs it. If you remember those three checks, you can use silicone confidently without guesswork.

