
How to Clean Wooden Cooking Utensils Without Damaging the Wood

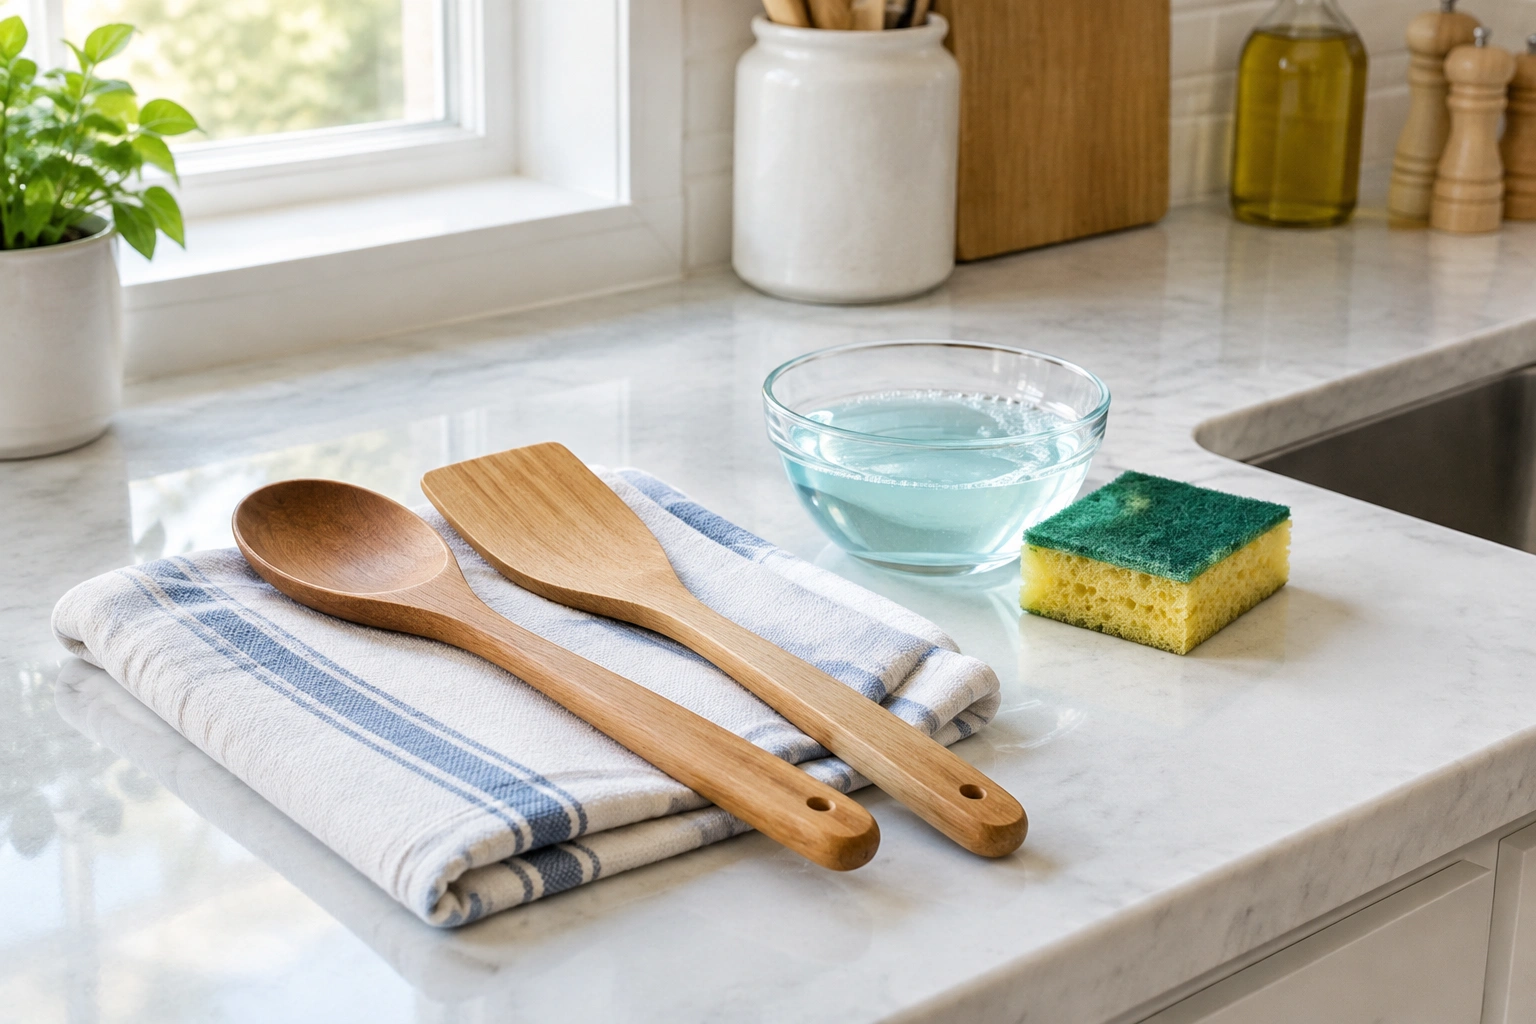
Wooden spoons and spatulas are workhorses in a busy kitchen, but they need a gentler cleaning routine than metal or silicone tools. The safest default is simple: wash by hand with warm water and mild dish soap, rinse well, dry immediately, and let the utensil finish air-drying before you put it away. Avoid soaking and avoid the dishwasher, which can shorten the life of the wood and lead to cracking or warping.
Quick Answer: The Safest Cleaning Method
If your wooden utensil only has normal food residue, this is the routine to use:
- Rinse off visible food under warm running water.
- Add a small amount of mild dish soap to a soft sponge or brush.
- Gently scrub all surfaces, including the handle and bowl or edge.
- Rinse thoroughly so no soap remains.
- Pat dry with a clean towel.
- Leave it out to air-dry completely before storage.
That’s the everyday method. It handles most messes without stressing the wood. For utensils that touched raw meat, have lingering odors, or feel sticky after washing, use the deeper-cleaning steps later in this guide.
Why Wooden Utensils Need Special Care
Wood is porous, which means it can absorb water and hold onto moisture longer than plastic or metal. That matters for two reasons. First, repeated water exposure can cause swelling, roughness, cracks, and splitting. Second, if a utensil stays damp, it can start to smell stale or develop mildew.
Dishwashers are especially hard on wooden tools because they combine high heat, strong water exposure, and a long wet cycle. That is why most care guides and manufacturers advise against them. Handwashing takes a little more effort, but it gives you much better control over moisture.
If you also use wooden cutting boards, the same basic logic applies. A simple care routine protects the surface and helps the tool stay smooth and usable longer. This wooden cutting board care guide covers the same drying and oiling principles in more depth.
Step-by-Step: How to Wash Wooden Spoons and Spatulas by Hand
Use this method after everyday cooking.
1) Remove food promptly
Rinse the utensil under warm running water as soon as practical after use. Waiting until sauce, starch, or egg residue dries makes the job harder and increases the chance you’ll scrub too aggressively later.
2) Wash with mild soap
Use warm water and a small amount of mild dish soap. A soft sponge or brush is usually enough. Some wood-care guides even recommend the scratchy side of a sponge for stubborn residue, but use that gently and only when needed so you do not wear down the surface.
3) Rinse thoroughly
Soap left behind can make the wood feel tacky or dull. Rinse until the water runs clear and the utensil no longer feels slick.
4) Dry right away
Pat the utensil dry with a clean towel. Then set it somewhere with airflow so it can finish drying completely. A few hours is a practical guideline; longer drying can help if the utensil was very wet or used in a heavy cooking session.
That routine is enough for most households most days.
What to Use and What to Avoid on Wood
The easiest way to protect wooden utensils is to keep the cleaning products simple.
Safe everyday choices
- Warm water
- Mild dish soap
- Soft sponge or brush
- Clean towel for drying
Sometimes useful
- Baking soda for stains and odor buildup
- White vinegar for odor control or a light refresh
Avoid
- Dishwasher cycles
- Long soaking in the sink
- Harsh scrubbers that gouge the surface
- Strong cleaners that are not meant for food-contact items
Bleach is not recommended for routine use on wooden utensils. If a stronger sanitizer is ever mentioned for a specific situation, it should only be used with careful dilution and immediate rinsing according to the product directions, but for most wooden utensils, gentle washing is the better default.
How to Remove Stuck-On Food, Grease, Stains, and Odors
Not every wooden spoon needs the same treatment. Use the problem you actually have as your guide.
| Problem | Best first move | Why it helps | Trade-off |
|---|---|---|---|
| Normal food residue | Warm water + dish soap | Cleans without overworking the wood | Takes a few minutes of handwashing |
| Greasy film | Soap, then a second rinse | Soap breaks down oil better than water alone | May need a little more scrubbing |
| Tomato or spice stains | Baking soda paste | Helps lift discoloration and residue | Can be mildly abrasive if overused |
| Lingering food smell | Vinegar rinse or wipe | Useful for odor control | Repeated use can be rough on wood |
| Deep cracks or mold | Replace the utensil | Cleaning may not fix hidden buildup | Costs more than cleaning, but safer |
For greasy buildup
If the utensil feels slick after washing, it likely still has a thin film of oil. Wash it again with warm water and dish soap, then rinse thoroughly. Grease often needs a second pass, especially after sautéing onions, frying eggs, or stirring buttery sauces.
For stains
A baking soda paste is often the simplest option. Mix a small amount of baking soda with just enough water to make a spreadable paste, rub it onto the stained area, and let it sit briefly before rinsing. This is useful for tomato sauce stains, turmeric tint, or darkened spots from repeated cooking.
For odors
White vinegar can help when the main issue is smell, not visible grime. Wipe the utensil with a diluted vinegar solution or a vinegar-dampened cloth, then rinse and dry well. Use vinegar as a spot treatment, not as your daily wash liquid.
If the smell returns after thorough washing and drying, check for cracks or soft spots. Odor that keeps coming back often means food or moisture is trapped where you can’t fully clean it.
Baking Soda vs. Vinegar: Which One Should You Choose?
This is one of the most common decision points, and the answer is practical rather than dramatic.
Choose baking soda when:
- The utensil is stained
- There is sticky buildup
- You want a gentle scrub with a little extra cleaning power
Choose vinegar when:
- The utensil smells stale or smoky
- You want a light refresh after heavy cooking
- You need a simple odor-focused treatment
Don’t overdo either one
Both can be useful, but neither should replace normal washing every time. Baking soda is better for physical residue and discoloration. Vinegar is better for odor control and occasional deeper cleaning. If you use either repeatedly as a default, you may be doing more work than necessary.
When and How to Sanitize Wooden Utensils
Routine washing is enough for most everyday cooking. Sanitizing is a separate step you reserve for situations where the utensil needs extra attention.
That may include:
– Contact with raw meat juices
– A long delay before washing
– A utensil that was left in a sink or prep area longer than it should have been
– A heavy-use cooking day where you want a deeper clean
For wood, the safest approach is to keep sanitizing mild and occasional. Start by washing the utensil with warm water and mild dish soap. If you still want an extra hygiene step, use a gentle food-safe treatment only when needed, then rinse if the product calls for it and dry the utensil completely afterward. The point is to add an extra hygiene step without flooding the wood or stressing it with harsh chemicals.
If you are cleaning tools after raw meat, remember the basics of cross-contamination prevention: wash hands, clean nearby surfaces, and keep the utensil separate from ready-to-eat foods until it has been washed and dried.
For broader food safety guidance on raw meat handling, the USDA’s food safety basics are a solid reference point.
How to Dry and Store Wooden Utensils Properly
Drying is not a minor detail. It is one of the biggest factors in whether a wooden spoon stays smooth or turns rough and tired.
After washing:
– Towel-dry immediately
– Set the utensil where air can reach all sides
– Do not return it to a drawer or utensil crock while it still feels damp
If you store wooden tools while they are still wet, you create the kind of environment that encourages odor and mildew. A dish rack works well if the utensil is laid so air can circulate around it. If the handle sits in a crowded crock, flip or reposition it so trapped moisture can escape.
If your kitchen storage is already crowded, this article on how to store kitchen utensils can help you keep damp tools from getting buried before they are fully dry.
Should You Oil Wooden Utensils?
Yes, in many cases. Food-safe mineral oil can help keep wood from drying out, which reduces the chance of splintering and roughness. It is not a cleaning step; it is maintenance.
When oiling helps
- The utensil looks dull
- The surface feels dry or rough
- Small hairline cracks are starting to appear
- The wood seems to be absorbing moisture too quickly
How often
A practical rule is every few weeks or so for frequently used utensils, especially if they are washed often. If the wood still looks smooth and feels healthy, you may not need oil yet.
Trade-off
Oiling takes a little extra time, but it can extend the usable life of the utensil. Skipping it is fine for a while, but dry wood is more likely to split over time.
Use only food-safe mineral oil or a product specifically made for kitchen wood. Avoid random household oils that can go rancid.
When to Replace a Wooden Utensil Instead of Cleaning It
Some damage is not worth trying to rescue. Replace the utensil if you see any of these signs:
- Deep cracks that trap food or moisture
- Splintering that affects the surface
- Soft or spongy spots
- Mold growth
- A persistent sour, musty, or rotten smell that does not go away after cleaning
- Warping or splitting that makes the utensil hard to use safely
A small stain is usually not a reason to throw a spoon away. A crack that keeps catching food is a different story. Once moisture and residue can hide inside the wood, cleaning becomes less reliable.
Common Mistakes That Shorten the Life of Wooden Utensils
A few habits do most of the damage:
- Putting wooden utensils in the dishwasher
- Leaving them to soak in the sink
- Scrubbing so hard that you rough up the surface
- Storing them before they are fully dry
- Ignoring rough patches until they turn into cracks
- Using them long after mold or deep odor has appeared
These mistakes are easy to make on a busy night, which is why a simple routine matters. Wash, dry, inspect, and store. That sequence prevents most problems before they start.
A Simple Routine for Busy Kitchens
If you want the lowest-effort system that still protects your utensils, use this:
- Wash by hand after cooking
- Dry right away
- Leave out to air-dry fully
- Oil occasionally when the wood looks dry
- Replace the utensil if it cracks, molds, or keeps smelling off
That routine is inexpensive, realistic, and gentle enough for everyday use. It also fits the way busy households actually cook: fast cleanup when dinner is done, then a quick check before the utensils go back in the drawer.
FAQ
Can wooden utensils go in the dishwasher?
No. The dishwasher can expose wood to heat and prolonged moisture, which can cause warping, cracking, or splitting.
What is the safest way to wash wooden spoons by hand?
Use warm water, mild dish soap, and a soft sponge or brush. Rinse thoroughly, then dry right away.
How do I get rid of grease from wood?
Wash again with dish soap and warm water. Grease usually needs a little extra scrubbing and a second rinse.
Can I use baking soda on wooden utensils?
Yes, for stains or sticky buildup. Use it gently as a paste, then rinse well.
Can I use vinegar on wooden utensils?
Yes, sometimes. It can help with odors and light refreshing, but it should not replace normal washing.
How do I dry wooden utensils properly?
Towel-dry them immediately, then let them air-dry completely before storing them.
How often should I oil wooden utensils?
For utensils that get used and washed often, every few weeks or so is a practical general guideline.
When should I throw one away?
Replace it if it has deep cracks, splinters, soft spots, mold, or an odor that won’t go away after cleaning.