
How to Bake Bread for a Crisp, Crackly Crust at Home

There’s a special kind of satisfaction in cutting into a loaf and hearing that faint crackle as the crust gives way. A crispy bread crust is not just about looks; it tells you the loaf baked hot enough, dried properly, and browned deeply enough to develop real flavor.
The good news: you do not need a professional deck oven to get there. With the right dough, a smart oven setup, and a few timing choices, home bakers can make bread with a crust that is thin, blistered, and audibly crisp. The trick is understanding what actually creates that texture, because a crust can go from crisp to soft for several different reasons.
What Actually Makes a Bread Crust Crispy?
A crisp crust is the result of three things working together:
- Surface moisture leaves the loaf quickly
- The exterior browns deeply
- The crust dries and sets before the bread is removed
That first part matters more than many bakers realize. Steam in the early stage of baking keeps the surface flexible long enough for the loaf to expand. Steam helps the starch on the surface become gel-like before hardening into a crackly crust in the oven’s heat. Their crusty bread guide is a helpful reference if you want the science behind that step.
Browning matters too. A pale loaf may be fully cooked inside, but if the crust never gets deep color, it usually won’t have the dry, crisp texture you want. That browning comes from heat-driven reactions on the surface, and it’s one reason lean artisan loaves often bake hotter and longer than soft sandwich breads.
There’s also a texture distinction worth naming:
- Thin, crackly crust: delicate, shattery, and often associated with artisan boules and batards
- Thicker, crunchier crust: more substantial bite, often from longer baking or stronger bottom heat
Neither is “better” in every situation. A rustic country loaf may benefit from a thicker crust, while a baguette-style loaf is usually better with a thinner, more crackly shell.
What You Need Before You Start
You can improve crust texture with basic home equipment, but the setup does change the result.
A useful starting kit looks like this:
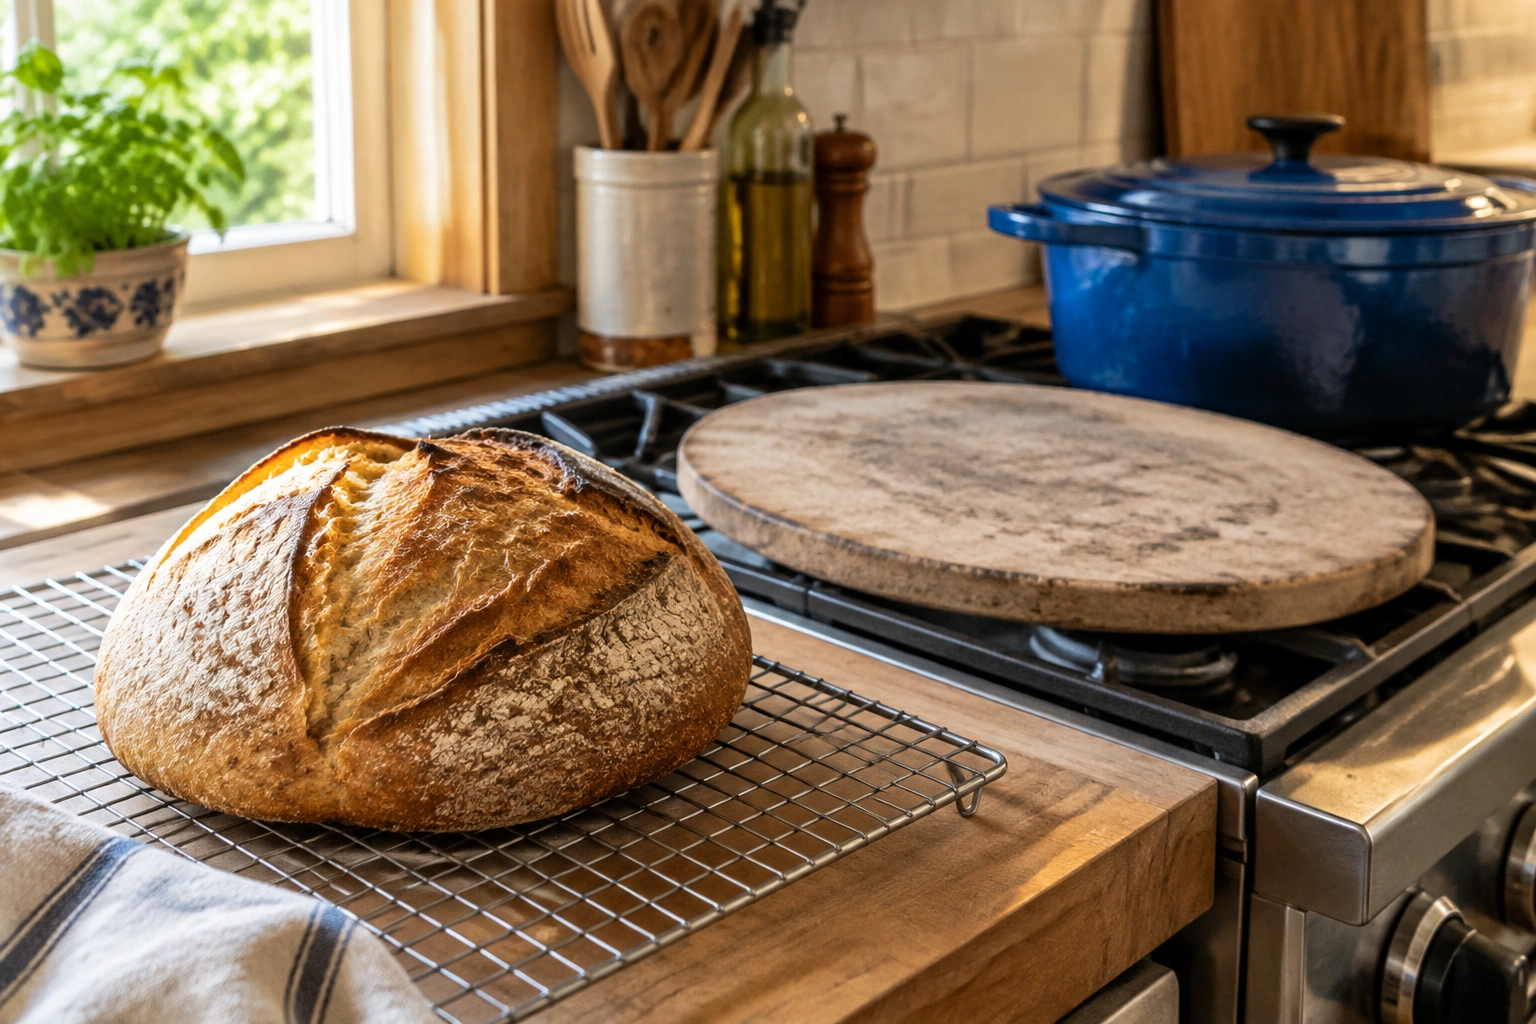
- A well-preheated oven
- One baking surface: stone, steel, Dutch oven, cloche, or sheet pan
- A cooling rack
- A way to create steam if you are not using a covered vessel
- A sharp blade or lame for scoring
Choosing your baking vessel
| Tool | Steam need | Heat retention | Browning speed | Crust result | Best for |
|---|---|---|---|---|---|
| Baking stone | Usually needs added steam | Good | Moderate | Thin, crisp crust with even bake | Artisan loaves, open-crumb breads |
| Baking steel | Usually needs added steam | Very strong | Fast | Strong bottom browning, crisp base | Loaves that need bold oven spring and color |
| Dutch oven | Usually no added steam needed inside the pot | Very strong | Moderate to fast | Excellent oven spring, often very crusty | Home bakers who want a simpler steam environment |
| Sheet pan | Often benefits from added steam | Lower | Slower | Can work, but usually less dramatic crust | Everyday baking, smaller loaves |
If your goal is a deeply browned, crisp crust with minimal fuss, a Dutch oven is the easiest path. If you want more control and a more open, artisan-style result, a stone or steel gives you more flexibility. A sheet pan can still work, but it usually needs more help from preheating and steam.
Choose the Right Dough for a Crisp Crust
The dough itself shapes the crust before the loaf even enters the oven.
Hydration: more water can help, but only to a point
Higher-hydration doughs often bake into a thinner, more open crust when handled and baked well. They also tend to produce a more open crumb, which many bakers associate with artisan bread. But there is a trade-off: wetter dough is harder to shape, and if the loaf is underbaked, the crust can stay leathery instead of crisp.
For practical home baking, these ranges are a useful guide:
- About 60% to 68% hydration: easier to shape, more structured, often a good starting point for crisp crust with moderate oven spring
- About 68% to 75% hydration: common in many artisan-style lean doughs, often gives a thinner, more crackly crust if the dough is handled well
- Above 75% hydration: can produce excellent crust and openness, but usually needs stronger shaping, good steam control, and careful bake time
A lower-hydration dough is easier to handle and often gives you a tighter, more structured loaf. It can still brown well, but it may not develop the same delicate crackle.
A practical way to think about it:
- If you want rustic, crackly artisan bread, lean toward a dough that is moist but still manageable
- If you want easy shaping and predictable structure, use a firmer dough and focus on strong preheat and full baking
Flour type matters
Bread flour generally supports stronger structure, which helps the loaf hold shape while the crust sets. All-purpose flour can still work, especially in lean doughs, but the loaf may spread more and brown a little differently.
Whole grain flours bring more flavor and nutrition, but they also change water absorption and can make the crumb denser. That does not prevent a crisp crust, but it often means you need to be more careful with bake time and moisture release after baking.
Enrichment usually softens crust
Sugar, honey, milk, butter, and oil all influence crust behavior. In many formulas, enrichment helps tenderness, color, and flavor, but it can also make the crust softer or less crackly than a lean dough.
So if your priority is a crisp crust, keep the formula relatively lean. Save richer doughs for loaves where softness is part of the goal.
Step 1: Preheat the Oven and Baking Surface Thoroughly
If the oven and baking surface are not fully heated, the loaf starts baking in a cooler environment. That usually means less oven spring, weaker browning, and a crust that dries too slowly.
For a crisp crust, give the oven and the baking surface enough time to come fully up to temperature. This matters even more for stones and steels, because the surface itself needs to store heat before the loaf lands on it.
Use these practical targets:
- Baking stone or baking steel: preheat the oven to 450°F to 500°F for at least 45 to 60 minutes
- Dutch oven: preheat the oven with the pot inside at 450°F to 475°F for 30 to 45 minutes
- Sheet pan: preheat the oven to 425°F to 475°F for 20 to 30 minutes if the pan is empty, or place the loaf on a fully heated pan if your recipe calls for it
A common mistake is loading the loaf too soon because the oven beeped. The air may be hot by then, but the baking surface often is not. That can leave you with a pale bottom crust and less overall crunch.
If you want a deeper comparison of baking temperatures for different bread styles, the site’s guide on what temperature to bake bread for the best crust and crumb is a useful companion piece.
Step 2: Add Steam at the Right Time
Steam is most useful in the early stage of baking. It delays crust setting long enough for the loaf to expand fully. That extra expansion helps create better oven spring and a thinner, more crackly exterior.
How to create steam at home
There are a few workable methods:
- Dutch oven or cloche: traps moisture released by the dough itself
- Hot pan with water: adds steam to the oven cavity
- Ice cubes in a preheated pan: can create steam, though results vary by oven
- Spritzing the oven walls: less consistent, and not ideal in every oven
The safest and simplest method for many home bakers is a covered vessel. It contains the steam where the loaf needs it most. If you use an open oven setup, be careful when adding water. Hot vapor can burn quickly, and the pan or oven walls will be extremely hot.
How much steam is enough?
You do not need a flood of water. You need enough steam to keep the oven environment humid for the first part of the bake.
- For an open oven with a stone, steel, or sheet pan, use one small preheated pan and add about 1 cup of boiling water at loading time, or use a method that creates a short burst of steam
- For a Dutch oven, the loaf’s own moisture is usually enough; no extra steam is needed inside the pot
When to introduce steam and when to stop it
- Introduce steam immediately when the loaf goes into the oven
- Keep steam in place for the first 10 to 15 minutes
- Then remove the steam source or vent the oven so the crust can dry and brown
For a Dutch oven, that usually means:
- Bake covered for 20 to 25 minutes
- Then remove the lid and continue baking uncovered for 10 to 20 minutes, depending on loaf size and color
For an open oven, once the loaf has expanded and the crust starts to set, remove the water pan or vent the oven briefly so excess moisture can escape. Too much steam for too long can delay browning and leave the crust soft.
When steam helps most
Steam is most valuable when:
- The loaf needs more oven spring
- The crust is setting too early
- You want a thinner, shinier, crackly crust
Steam is less useful once the loaf has already expanded and the crust has begun to set. At that point, the priority shifts toward drying and browning.
Step 3: Score the Loaf So It Can Expand Cleanly
Scoring is more than decoration. It gives the dough a controlled place to expand, which helps the loaf bake evenly instead of tearing in random spots.
That matters for crust texture because uncontrolled tearing can create thick, uneven areas that bake differently from the rest of the loaf. A clean score helps the bread open in a way that supports a more even crust.
A few practical tips:
- Use a sharp blade
- Score confidently rather than timidly
- Give the loaf enough room to open where you want it to
If the cuts are too shallow, the loaf may burst elsewhere. If they are too deep, the structure can weaken. For a standard artisan loaf, one or two well-placed slashes are often enough.
Step 4: Bake Until the Crust Is Deeply Browned and Dry
This is where many home bakers stop too early.
A loaf can look “done” on the outside before the crust has fully dried. If you pull it too soon, the crust often softens as it cools, especially if the interior is still releasing moisture. That is one of the most common reasons a loaf starts crisp and ends up chewy.
What to look for
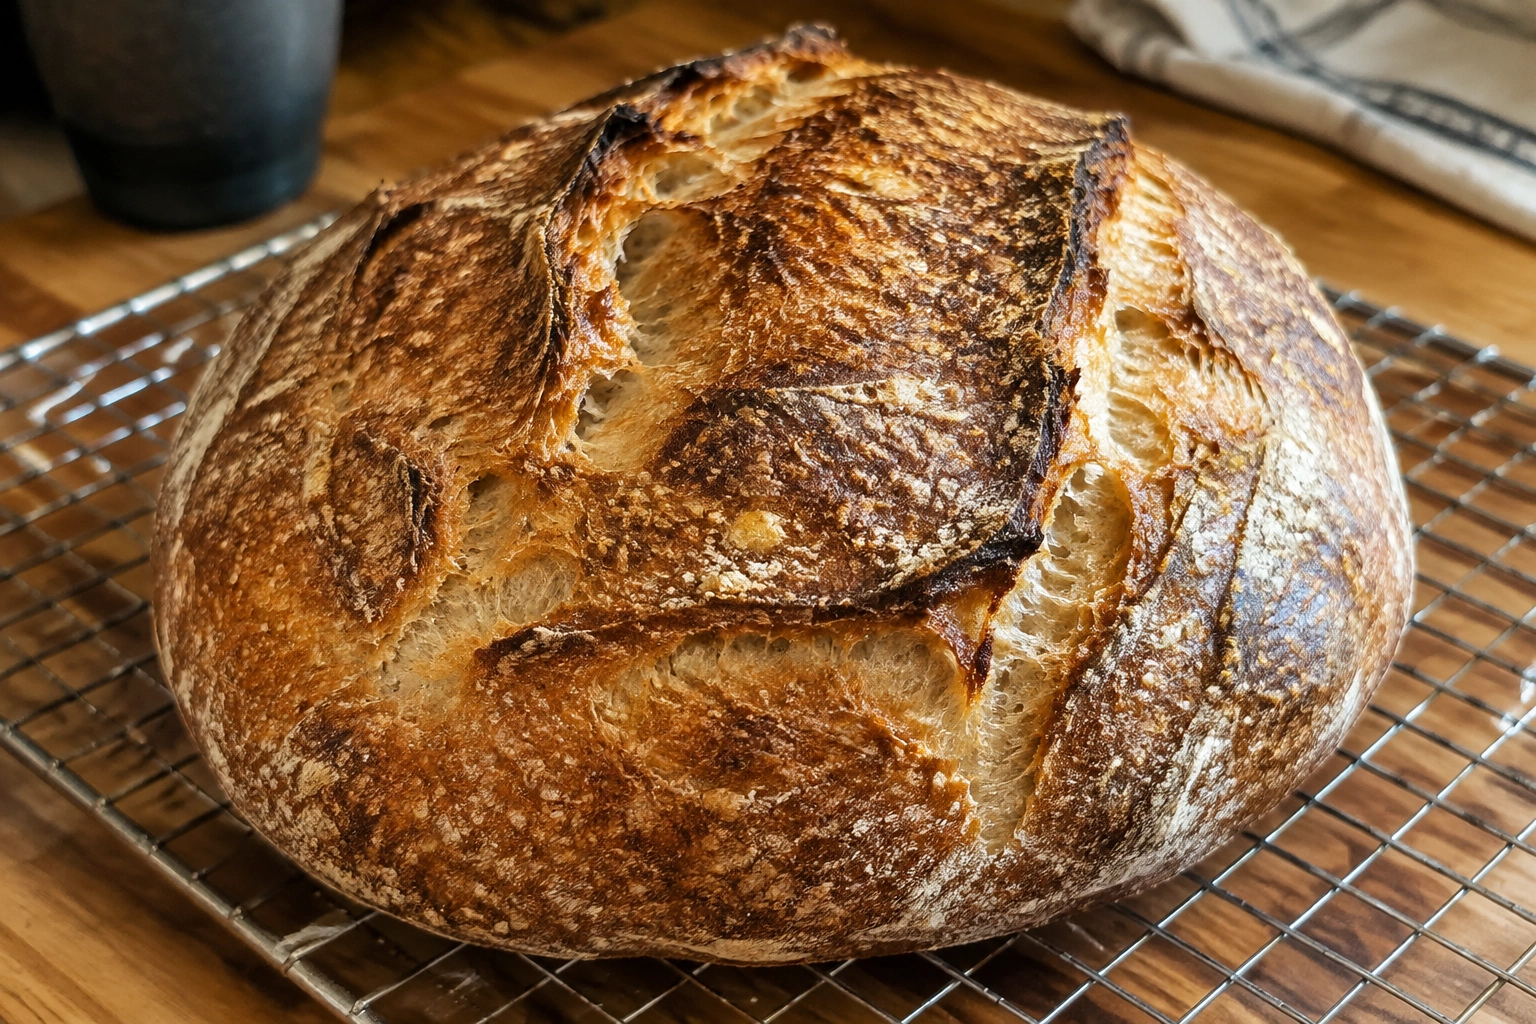
Aim for these visual cues:
- A deep golden to deep brown crust
- A dry-looking surface, not a glossy or damp one
- Good color around the score lines and edges
- A loaf that feels lighter and sounds more hollow when tapped
For a more reliable check, use temperature too:
- Lean artisan loaves: aim for an internal temperature of about 205°F to 210°F
- Enriched breads: often finish a little lower or higher depending on the formula, but many still land around 190°F to 205°F
Approximate bake-time windows, after the loaf is loaded:
- Stone or steel: about 25 to 40 minutes
- Dutch oven: about 30 to 45 minutes total, including the covered phase
- Sheet pan: about 25 to 40 minutes, sometimes a bit longer if the loaf is larger or the oven runs cool
If your bread is pale, the crust is usually underdeveloped. If it is browning too fast before the interior is ready, reduce the heat slightly or shield the loaf partway through the bake.
Trade-off: more color vs more risk
A darker bake usually means better flavor and a crisper crust, but it should still stay within a safe, fully baked range. Push too far, and the exterior can burn before the interior is fully baked. That is especially true with baking steels, which transfer heat aggressively.
If your oven runs hot, check the loaf earlier than you expect. If it runs cool, you may need a longer bake than the recipe suggests.
Step 5: Cool the Bread Correctly
This step matters more than many bakers expect. Even a perfectly baked loaf can lose its crisp crust if it cools in a way that traps steam.
A cooling rack is the simplest fix. It lets air circulate around the loaf so moisture can escape instead of collecting underneath it.
What not to do
- Do not leave the loaf on a flat pan or baking stone
- Do not wrap it while it is still hot
- Do not put it in a closed container right away
Those choices trap steam, and trapped steam softens the crust quickly.
If you want the crust to stay crisp, leave the loaf uncovered until it is fully cool. Slicing too early also releases a burst of steam from the crumb, which can make the crust soften faster. For the best texture, let the loaf cool for at least 1 hour, and for larger loaves, closer to 2 hours before slicing.
How to Keep the Crust Crispy After Baking
The truth is simple: crisp crust and long storage are natural enemies.
If you want to keep the crust crackly, the best strategy is to leave the loaf at room temperature, uncovered or only lightly protected, for as long as practical. Once you seal bread in a bag or container, moisture migrates back into the crust. Many loaves stay crisp right after baking but begin softening within 30 to 120 minutes as residual steam moves from the crumb to the crust.
Best practices
- Cool completely on a rack
- Store cut-side down on a board for short-term holding
- Use a paper bag if you want a little protection without fully trapping moisture
- Re-crisp briefly in a hot oven if needed
Practical re-crisping method
If the crust softens, reheat the loaf in a 350°F to 375°F oven for about 5 to 10 minutes. For a whole loaf, place it directly on the rack or on a preheated baking surface. For slices, a toaster or toaster oven works well.
If the loaf feels slightly stale as well as soft, a brief reheat can restore some crunch, but it will not fully reverse moisture loss from long storage.
What to avoid
- Plastic bags for a loaf whose crust you want to keep crisp
- Airtight containers
- Wrapping while warm
If your household prefers softer bread after the first day, you may need to choose between convenience and crust texture. A sealed container helps preserve tenderness, but it will soften the crust.
Common Mistakes That Lead to a Soft Crust
Here are the most frequent culprits:
1. Too little steam early on
Without early moisture, the crust can set too soon and limit expansion.
2. Weak preheating
A surface that is not fully hot will not brown or crisp properly.
3. Underbaking
If the loaf comes out before the crust has dried, it often softens as it cools.
4. Cooling on the wrong surface
A flat pan or board can trap moisture underneath the loaf.
5. Sealed storage too soon
This is one of the fastest ways to lose crispness.
6. A rich formula for a crusty goal
Butter, milk, sugar, and oil can all make the crust softer than a lean dough would.
Troubleshooting by Symptom
Pale crust
Usually means the oven was too cool, the loaf was removed too early, or the dough lacked enough browning potential. Try a longer preheat and a longer bake.
Chewy crust
Often caused by underbaking, too much trapped moisture, or a loaf that was cooled in the wrong place. Bake a little longer and cool on a rack.
Crust was crisp, then turned soft
This almost always points to trapped steam during cooling or storage. Leave the loaf uncovered longer and avoid sealing it while warm.
Outside browns too fast, inside is still underdone
Your oven may be too hot, or your baking surface may be transferring heat too aggressively. Lower the temperature slightly or move the loaf lower in the oven if needed.
How Different Setups Change the Result
Dutch oven
This is the most forgiving option for many home bakers. It traps steam naturally, which helps with oven spring and crust development. The trade-off is that the crust may be thicker and the bake can be less flexible than an open-oven method. For most loaves, steam is optional in a Dutch oven because the covered pot creates its own humid environment.
Baking stone or steel
These give you strong bottom heat and a more artisan-style result. A steel browns faster and more aggressively; a stone is a little gentler. Both usually need added steam if you want that crackly crust.
Sheet pan
A sheet pan is the simplest setup, but it gives you the least help with heat retention. You can still get good crust, especially if you preheat well and use steam, but the result is usually less dramatic than with a stone, steel, or Dutch oven.
Humid ovens and moisture-heavy kitchens
If your oven tends to hold moisture or your kitchen is very humid, give the loaf a little more time uncovered at the end of the bake. You may also need a longer venting period after the first 10 to 15 minutes so the crust can dry. In a humid oven, a pale or soft crust often means the bake finished before enough moisture escaped.
When to Consult a Master Baker
If you are consistently getting bread that is pale on the outside, dense inside, or crisp only for a few minutes after baking, the issue may be formula balance rather than technique alone. That is especially true if you are working with enriched doughs, high-hydration doughs, or whole grain formulas and trying to force them into the same crust style as a lean artisan loaf.
A master baker can help you adjust hydration, fermentation, shaping, and bake profile together instead of treating each problem in isolation.
Final Thought
A great crust is not one trick. It is a chain of small decisions: a dough that suits the goal, enough heat, the right amount of steam early on, a full bake, and cooling that lets moisture escape. When those pieces line up, the crust does more than look good. It becomes part of the bread’s flavor, structure, and character.