
How to Proof Yeast for Better Bread, Every Time

If you’ve ever stood over a bowl of warm water and yeast, waiting to see whether it wakes up, you’re doing a small but useful baker’s check: confirming that the yeast is alive before you commit flour, time, and effort to the dough.
A healthy yeast mixture should show clear activity—bubbles, foam, and visible expansion—within a reasonable time. That doesn’t mean every recipe requires proofing, but when yeast is old, questionable, or you simply want reassurance, it’s a smart move.
What proofing yeast actually means
Proofing yeast is the simple act of putting yeast into warm liquid and watching for signs that it’s active. In plain language, you’re checking whether the yeast can “wake up” and start eating.
That’s different from proofing dough, which is the fermentation stage after the dough is mixed. Here, you’re only testing the yeast before it goes into the recipe.
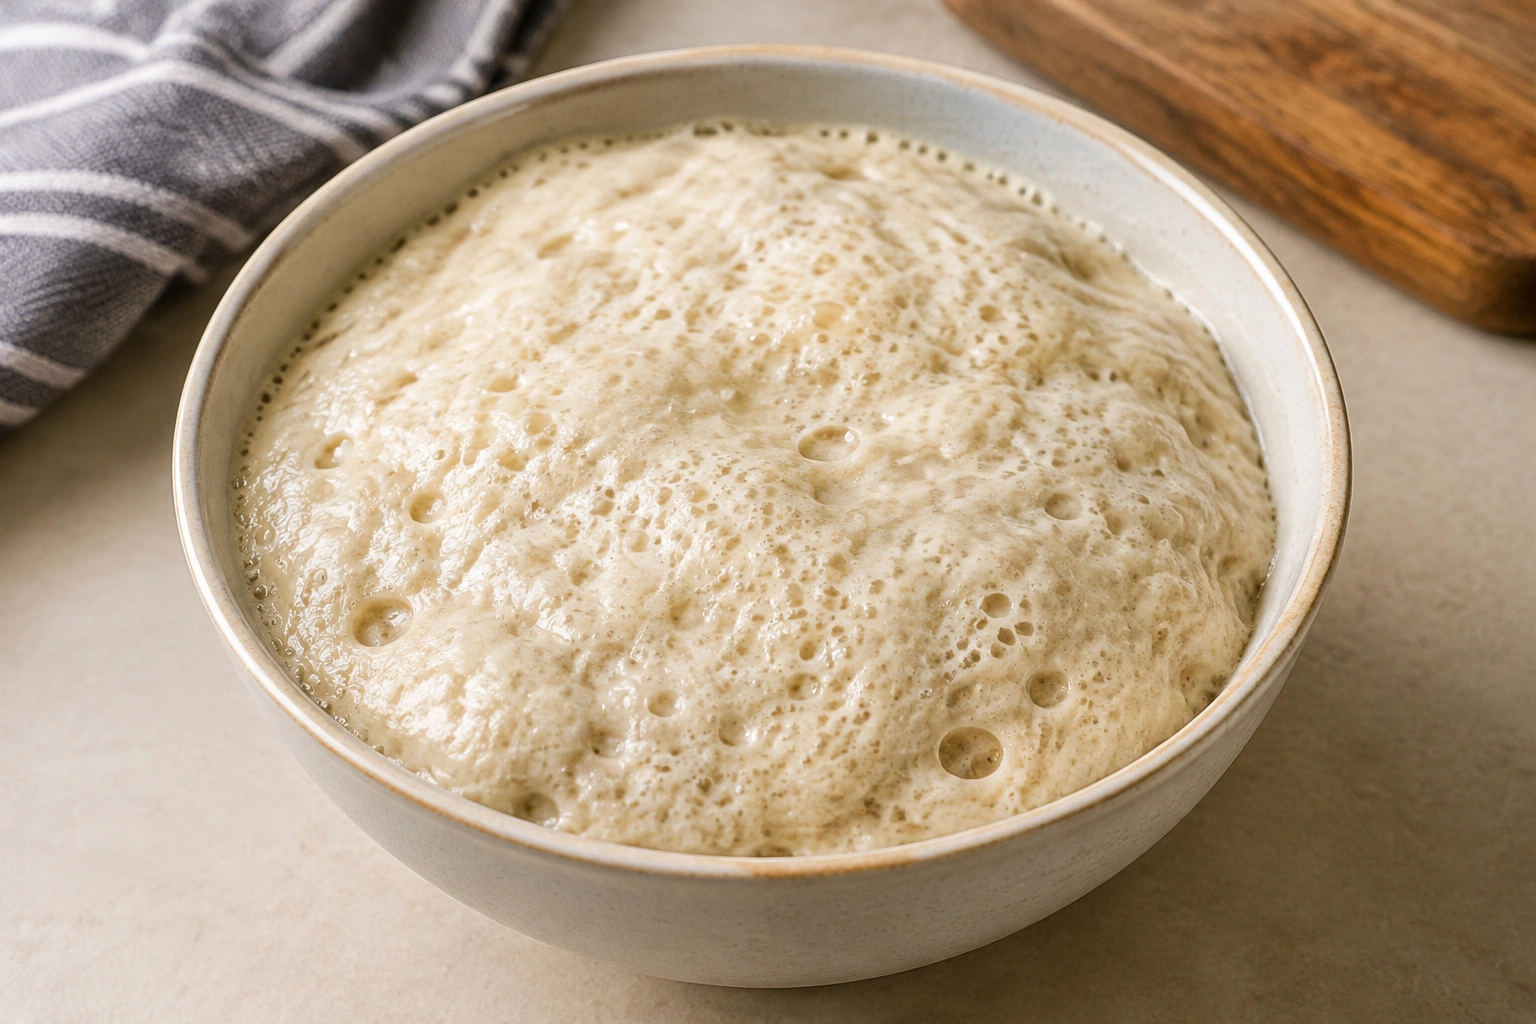
The success signal is visual. If the yeast is alive and happy, you should see the mixture become foamy or bubbly and often expand a bit. If nothing happens, the yeast may be weak, dead, or shocked by the temperature.
For a quick reference on yeast types and how they behave in baking, you may also find our guide to active dry yeast vs instant yeast helpful.
When you should proof yeast
Here’s the practical rule I use:
- Proof yeast when it’s old, been open for a while, or you’re not sure it’s fresh.
- Proof active dry yeast if you want confirmation before baking.
- Skip proofing fresh instant yeast in recipes designed for direct mixing unless you have a reason to check it.
That last point matters. Modern instant yeast is often strong enough to go straight into the dry ingredients. In many recipes, especially newer formulas, proofing is optional rather than required. King Arthur Baking notes that some bakers using instant yeast skip proofing entirely because they trust its freshness and vigor, while active dry yeast is commonly dissolved first and checked before use. King Arthur Baking
The trade-off is simple:
- Proofing adds a few minutes.
- Skipping it saves time.
- Testing is worth it when the yeast is questionable.
If your yeast has been sitting in the pantry for months, I’d rather spend 10 minutes testing than lose a loaf later.
What you need to proof yeast
You only need a few basics:
- Yeast
- Warm liquid
- A little sugar
- A small bowl or measuring cup
- A spoon
- A thermometer, if you want precision
For a standard packet of yeast, a common test uses 1/4 cup warm water and 1 teaspoon sugar for a 1/4-ounce packet. That ratio is a helpful starting point for a typical packet, but it is not a universal rule for every yeast amount or every recipe. King Arthur Baking gives that exact ratio and says the mixture should be bubbly after about 10 minutes if the yeast is alive. King Arthur Baking
Is sugar required?
Not strictly. Sugar helps yeast show activity more clearly because it gives the yeast an easy food source. But the main job of the test is to create a warm, moist environment where live yeast can start working.
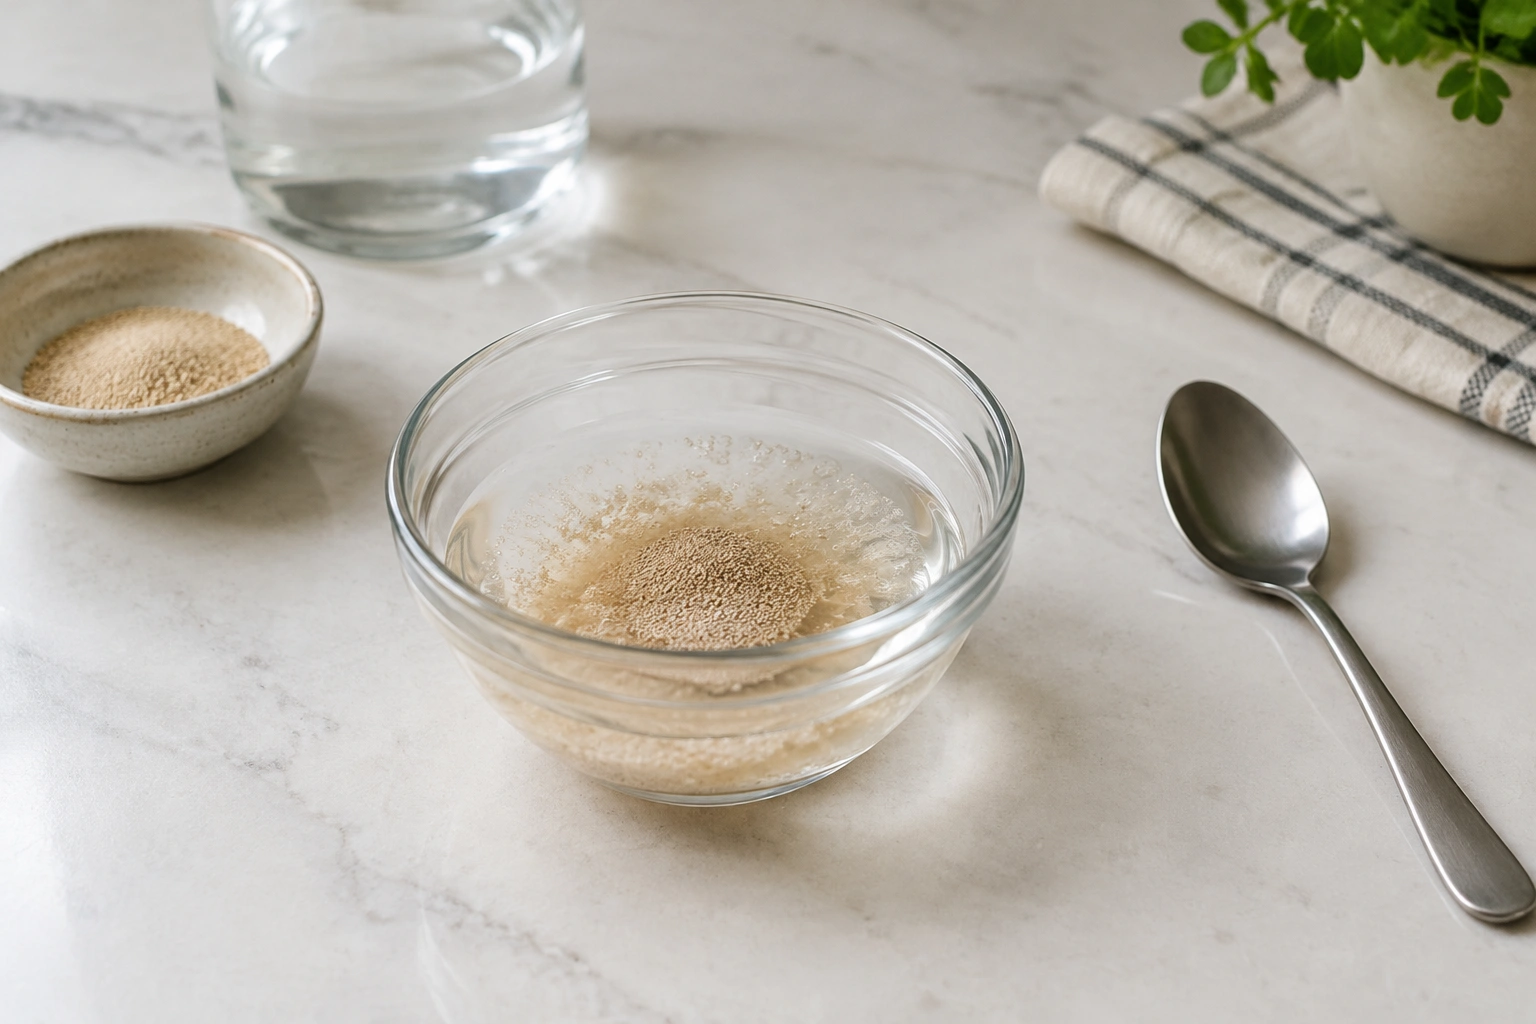
So think of sugar as a helpful signal booster, not magic dust. If you’re making a low-sugar dough, the proofing test can still be useful with a small amount of sugar or even without it, though the response may be less dramatic.
Ideal water temperature and liquid options
The most reliable temperature range I found from trusted baking sources is 100 to 110°F, with some guides recommending 105 to 115°F. The key idea is the same: warm, not hot. Food Network recommends 100 to 110°F and emphasizes that the liquid should feel warm but not hot. Taste of Home recommends 105 to 115°F. Food Network
Why this matters: yeast is living. Too-cool liquid can slow it down and make you think it’s dead when it’s only sluggish. Too-hot liquid can kill it outright. Bob’s Red Mill puts it plainly: yeast likes warm, moist conditions, but liquid that is too hot can kill it. Bob’s Red Mill
Can you proof yeast in milk?
Yes, but only when the recipe calls for milk or another specific liquid. That’s common in enriched doughs like brioche or soft sandwich bread. Just be careful with temperature, because milk can feel warm on the stove and still creep too hot if you’re not watching closely.
If you’re new to testing yeast, water is the easiest liquid to control. Milk is useful, but it adds one more variable.
How to proof yeast step by step
Here’s a straightforward method that works well in home kitchens.
-
Measure the liquid.
Use about 1/4 cup warm water for a standard packet of yeast. -
Check the temperature.
Aim for 100 to 110°F. If you don’t have a thermometer, the liquid should feel warm on your wrist, not hot. -
Add the sugar.
Stir in 1 teaspoon sugar. -
Add the yeast.
Sprinkle the yeast over the surface or stir it in gently. -
Wait without disturbing it too much.
Let it sit in a warm spot. -
Watch for activity.
Look for foam, bubbles, and expansion. -
Judge the result after the full wait time.
Do not decide too early.
How to tell if the yeast passed
A successful proof is more than a few random bubbles. You want to see clear signs of life:
- A foamy layer on top
- Bubbles throughout the mixture
- Noticeable expansion
- A creamy, active look rather than a flat, still liquid
Bob’s Red Mill describes proofing as watching whether the yeast starts working, which is easy to observe with your eyes. Bob’s Red Mill
What counts as a pass?
A strong pass usually means the yeast has produced a visible foam cap or a lively bubbly surface within the expected time. A few scattered bubbles on an otherwise flat surface do not count as a confident pass.
Here’s a practical way to think about it:
- Clear foam cap plus active bubbles and visible expansion: yeast passed
- Only a few scattered bubbles, with little or no rise: questionable
- No visible change: likely failed
How long proofing should take
A common testing window is about 10 minutes. King Arthur Baking says that after dissolving a typical packet in warm water with sugar, the mixture should be bubbly after 10 minutes if the yeast is alive. King Arthur Baking
That said, don’t rush the judgment. If the yeast is a little older or the room is cool, it may move more slowly. Give it the full time before deciding.
When to wait longer
If you see a few bubbles at 5 minutes but no real foam yet, keep waiting until the full window is up. A partial start can mean the yeast is alive but sluggish.
When not to wait forever
If you’ve reached the end of the wait time and the mixture still looks flat, the safest choice is usually to replace the yeast.
Common mistakes that ruin a yeast test
Most failed proofing tests come down to a few predictable errors.
Water that is too hot
This is the big one. Yeast can be killed by heat before it ever has a chance to work. If your liquid is too hot to comfortably touch, it’s too hot for the yeast.
Water that is too cold
Cold liquid won’t necessarily kill yeast, but it can make it slow enough that the test looks failed when it isn’t.
Not waiting long enough
A quick glance after two or three minutes can mislead you. Give the yeast the full time window.
Using stale or poorly stored yeast
Yeast loses strength over time, especially if it’s been exposed to air, heat, or moisture. If a packet has been open for months, proofing is a smart check.
Using too much sugar
A little sugar helps. A lot can distort the test and make the liquid behave differently than your actual dough.
Troubleshooting weak or inconsistent results
Sometimes the yeast doesn’t give you a clean yes-or-no answer. Here’s how I read those in the kitchen.
Only a few bubbles appeared
This can mean one of three things:
- The yeast is alive but weak
- The liquid was a little too cool
- The proofing time was too short
If the bubbles are sparse and the mixture never really expands, I’d be cautious.
The mixture foamed slowly
Slow foaming often points to tired yeast or a cooler-than-ideal liquid. If the yeast is recent and you know the temperature was right, you may still be able to use it, but expect slower fermentation in the dough.
Nothing happened at all
If there’s no foam, no bubbles, and no rise after the full wait time, the yeast likely failed. At that point, replacing it is the safest move.
How proofing fits into your bread recipe
If you proof yeast separately, remember that you’ve already used some of the recipe’s liquid.
King Arthur Baking notes that when you proof a typical packet in 1/4 cup water, you should reduce the recipe water by 1/4 cup to keep the dough hydration balanced. King Arthur Baking
That adjustment matters more than beginners often realize. Too much extra liquid can make the dough softer than intended, which affects handling and structure.
A simple decision framework
- Using active dry yeast and want a check? Proof it.
- Using instant yeast in a modern recipe? You can often mix it straight in.
- Using old yeast or anything questionable? Proof it first.
- Proofed separately? Subtract that liquid from the recipe.
Practical examples from real kitchens
Example 1: A packet that’s been open for months
You find a half-used packet of active dry yeast in the fridge. You proof it in warm water with a little sugar. If it foams within about 10 minutes, it’s usable. If not, replace it.
Example 2: Water that was too hot
You heat the liquid until it feels almost hot to the touch, then add yeast and get no activity. That doesn’t necessarily mean the yeast was bad; the heat may have killed it. Next time, check the temperature before adding the yeast.
Example 3: Instant yeast in a lean dough
Your recipe calls for instant yeast and mixes everything together at once. If the yeast is fresh, proofing is usually unnecessary. If the packet is old or you’re unsure, a quick test can still save the bake.
Example 4: Enriched dough with milk
You’re making a soft roll recipe that uses milk. You can proof the yeast in the milk, but you need to keep the milk warm—not hot—so you don’t damage the yeast before it starts.
Final thoughts
Proofing yeast is one of the simplest ways to protect your bread from avoidable failure. A small bowl, warm liquid, a little sugar, and a few minutes can tell you whether the yeast is ready to do its job.
The real skill is learning to read the result: a clear foam cap and active bubbles mean confidence, while a flat mixture means caution. Once you know that, you can decide whether to bake, wait, or replace the yeast without guessing.
FAQ
Do you need to proof instant yeast?
Not always. If it’s fresh and the recipe is designed for direct mixing, you can usually add it to the dry ingredients. Proof it if the yeast is old or questionable.
What temperature should the water be?
A reliable range is about 100 to 110°F. Some guides allow slightly warmer, but the main point is that the liquid should be warm, not hot.
How much sugar should you use?
For a standard packet, 1 teaspoon sugar with 1/4 cup warm water is a common test ratio.
What if the yeast doesn’t foam?
If it still looks flat after the full wait time, replace it. Weak or dead yeast is not worth gambling on in bread dough.
Can you proof yeast in milk instead of water?
Yes, if the recipe calls for milk or another specific liquid, especially in enriched doughs. Just keep the milk warm, not hot, and watch the temperature carefully.
Should you reduce recipe liquid if you proof yeast separately?
Yes. If you used 1/4 cup liquid to proof the yeast, subtract that amount from the recipe liquid so the dough doesn’t end up too wet.