
Active Dry Yeast vs Instant Yeast: How to Choose, Swap, and Bake with Confidence

If you’ve ever stood in the baking aisle wondering whether active dry yeast vs instant yeast are interchangeable, the short answer is yes — usually. They’re both bread yeasts, but they behave differently enough that your mixing method, rise time, and baking schedule can change.
Here’s the practical takeaway: active dry yeast usually needs to be rehydrated first, while instant yeast can go straight into the dry ingredients. If you’re following an older recipe, active dry yeast may be what the formula was written for, though many older recipes can also work with instant yeast if you adjust the timing. If you want convenience and a faster workflow, instant yeast is usually easier for home bakers.
The good news is that neither one is “wrong.” They just ask for slightly different handling.

Quick Comparison: Active Dry Yeast vs Instant Yeast
| Feature | Active Dry Yeast | Instant Yeast |
|---|---|---|
| Typical use | Traditional recipes, slower start | Faster, more convenient baking |
| Needs proofing before use? | Usually yes | Usually no |
| How it’s added | Dissolved in warm water first | Mixed directly into flour or dough |
| Rise speed | Slower at the beginning | Faster start |
| Best for | Bakers who don’t mind a little extra step | Bakers who want simplicity and speed |
| Substitution | Can usually swap | Can usually swap |
A helpful rule of thumb: active dry yeast is the baker’s “pause and check” yeast, while instant yeast is the “mix and move on” option.
What Each Yeast Is and How They’re Processed
Both are made from the same ingredient: yeast. The difference is in how they’re processed and how they’re meant to be used.
Active dry yeast is made into larger granules and is typically dried in a way that leaves it needing a little help before it fully wakes up. That’s why it’s usually dissolved in warm water first. Some brands and formulas may allow different handling, so it’s worth following the package directions for the product you’re using. Bob’s Red Mill explains the difference.
Instant yeast is processed so it hydrates faster and gets to work more quickly in dough. In practical terms, that means less waiting and fewer steps. It’s also commonly sold as instant, rapid-rise, or quick-rise yeast. Rapid-rise yeast is typically a type of instant yeast, so the labels are often used in a similar way, though brand wording can vary.
For home bakers, the processing difference matters because it changes your workflow. With active dry yeast, you’ll usually build in a short activation step. With instant yeast, you can often combine everything and move straight into kneading.
The Differences That Actually Matter in Baking
A lot of yeast comparisons get stuck on definitions. What matters more is how each one changes the bake.
Proofing and rehydration
Active dry yeast usually needs to be dissolved in warm water before it goes into the dough. That step helps confirm the yeast is alive and gets it hydrated enough to work properly.
Instant yeast generally does not need that step. You can mix it into the flour, then add your liquid as the recipe directs.
That’s why instant yeast feels easier for beginners: fewer steps, fewer chances to misread the instructions, and less waiting before you see action.
Rise speed
Instant yeast typically starts fermenting faster. Active dry yeast starts more slowly, but King Arthur Baking notes that it eventually catches up. That slower start is not a flaw; in some doughs, it can actually be useful because a longer fermentation window can support flavor development. King Arthur Baking’s comparison is especially helpful here.
Dough handling
With instant yeast, dough may feel like it’s “moving” sooner. That can be convenient, but it also means you need to watch the dough rather than assume the clock is the only guide.
With active dry yeast, the early stages may look quieter. That slower pace can be reassuring for bakers who like a more traditional rhythm, but it also means you need to plan ahead.
Flavor trade-off
If you’re chasing convenience, instant yeast wins. If you value a slightly slower fermentation schedule, active dry yeast can fit that style well. The important point is that flavor comes from fermentation time, not from one yeast type being magically better.
Can You Substitute One for the Other?
Yes, in most home baking recipes, you can substitute them for each other.
The safest starting point is to use the same weight when possible. That matters because granule density can differ, so volume is less reliable than weight. After that, adjust the timing rather than the formula. Instant yeast may finish proofing sooner. Active dry yeast may need a little more time to catch up.
Here’s the decision rule:
– Use instant yeast in place of active dry yeast if you want a simpler workflow and are willing to watch the dough closely.
– Use active dry yeast in place of instant yeast if that’s what you have, but give the dough a little more patience.
What usually does not need changing is the overall ingredient ratio. What often does need changing is your schedule.
When a same-weight swap works best
Using the same weight is especially reliable in:
– sandwich bread
– dinner rolls
– pizza dough
– many enriched doughs like cinnamon rolls
When to be more cautious
Be a little more careful with:
– very short same-day schedules
– recipes that depend on exact timing
– doughs that already ferment quickly because of warmth or sugar
If the recipe is old and clearly written for active dry yeast, keep the formula but watch the dough and be open to a small liquid-temperature or proofing-timing adjustment. That matters even more for enriched doughs or cool kitchens. If the recipe is written for instant yeast and you use active dry, expect a slower start and plan accordingly.
How to Use Active Dry Yeast Correctly
If you’re using active dry yeast, don’t skip the hydration step unless the package specifically says otherwise.
What you need
- active dry yeast
- warm water
- your dry ingredients
- a bowl or measuring cup for blooming the yeast
Step-by-step
-
Measure the warm water first.
It should feel warm, not hot. Hot liquid can damage yeast. -
Add the yeast to the water.
Let it sit long enough to dissolve and begin foaming. -
Check for activity.
A successful bloom usually looks foamy, puffed, or visibly active on the surface. If the yeast still looks flat and inactive after about 5 to 10 minutes, it may be old or inactive. -
Mix into the dough as directed.
Once the yeast is active, proceed with the recipe. -
Watch the dough, not just the timer.
Active dry yeast may take longer to show visible rise, especially in cool kitchens.
A useful habit for students: treat the bloom as a quick quality check. If the yeast doesn’t wake up, you’ve saved yourself from wasting flour and time.
How to Use Instant Yeast Correctly
Instant yeast is built for convenience, and that’s where it shines.
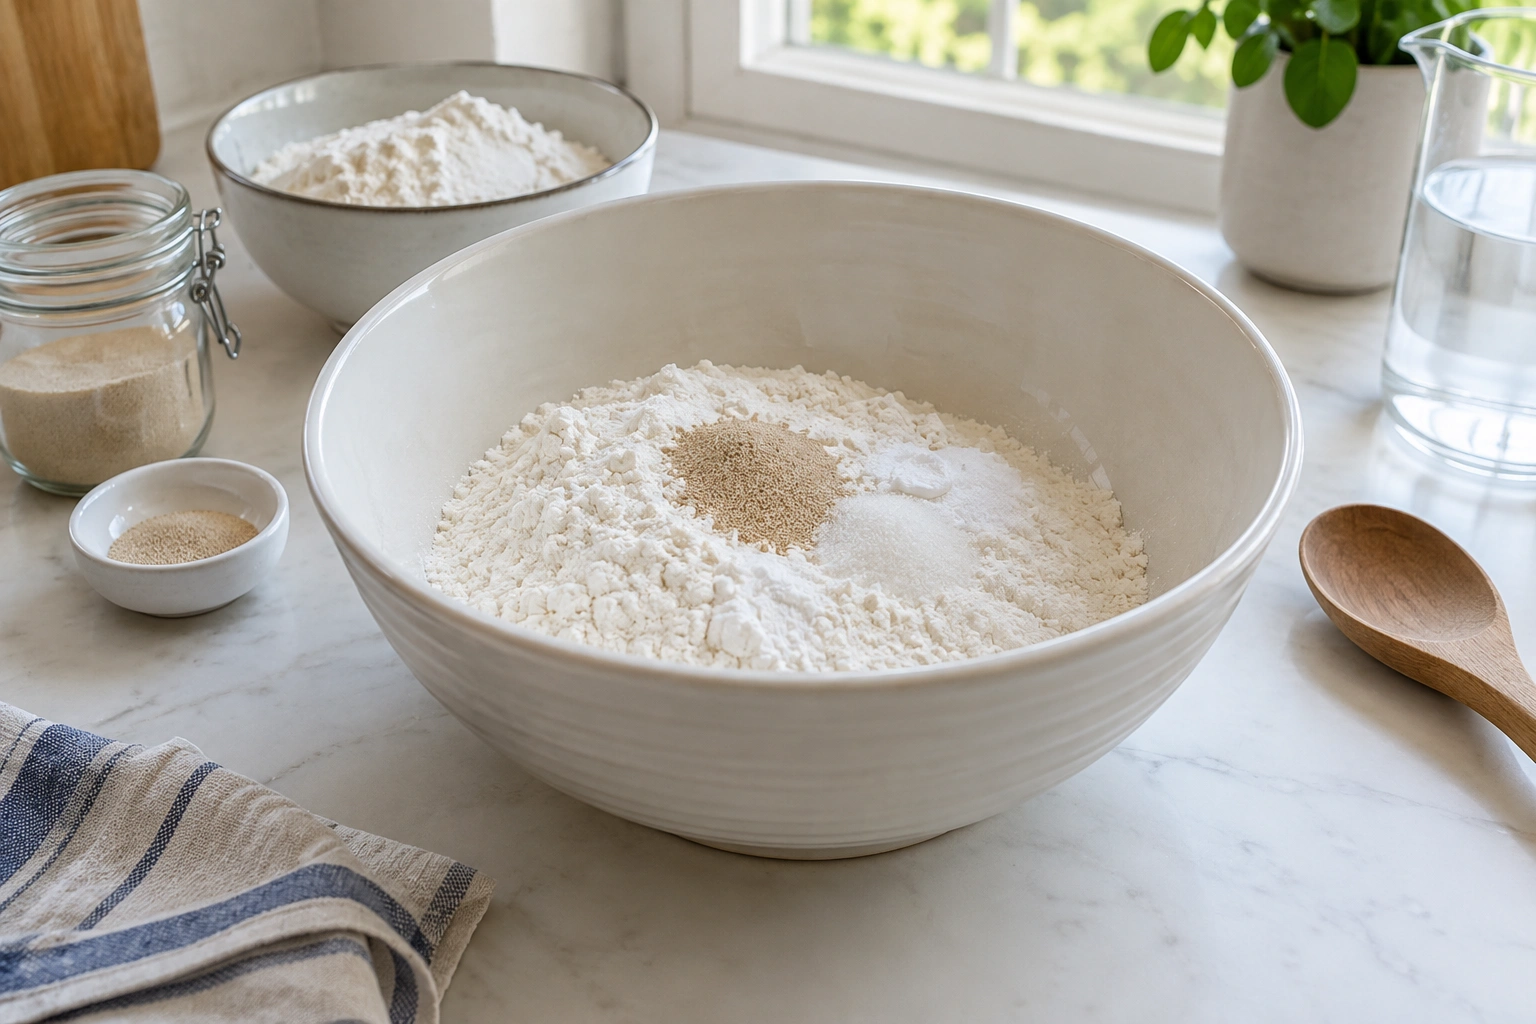
What you need
- instant yeast
- flour and other dry ingredients
- liquid ingredients
- your usual mixing bowl
Step-by-step
-
Mix the instant yeast with the dry ingredients.
This is one of the biggest workflow differences. -
Add the liquids.
Combine and mix as the recipe directs. -
Develop the dough normally.
Knead, fold, or mix based on the recipe style. -
Let fermentation do its work.
Because instant yeast starts faster, check your dough earlier than you might with active dry. -
Use dough cues.
Look for volume increase, softness, and a visibly aerated structure.
A common mistake is assuming instant yeast must be dissolved first. It doesn’t. In fact, that extra step often defeats the point of using it.
How to Adjust Rise Time and Recipe Expectations
This is where many bakers get tripped up: they change the yeast, but keep the same timing.
That can work sometimes, but not always.
If you switch to instant yeast
Expect the dough to move faster at the beginning. That doesn’t always mean the whole bake is dramatically shorter, but it does mean you should be ready to:
– check the dough earlier
– shorten the first rise if needed
– avoid overproofing
If you switch to active dry yeast
Expect a slower start. The dough may need extra time before it looks ready, especially in a cool kitchen.
The smarter rule
Judge the dough by volume, texture, and readiness, not by the clock alone. Time is only a guide. Dough behavior is the real signal.
That matters even more for enriched doughs like brioche or sweet rolls, where sugar, butter, and eggs already slow fermentation.
Best Uses for Each Yeast Type
Both yeasts can make excellent bread. The “best” one is the one that fits your schedule and your comfort level.
Choose active dry yeast when:
- you’re following an older recipe
- you like a more traditional baking rhythm
- you don’t mind proofing first
- you want a slower start that gives you more time to work
Choose instant yeast when:
- you want a faster, simpler method
- you’re baking on a tighter schedule
- you prefer direct-to-dough mixing
- you’re teaching or learning and want fewer moving parts
For many home bakers, instant yeast is the easier everyday choice. For recipe preservation and slower fermentation schedules, active dry yeast still has a real place in the kitchen.
Common Mistakes to Avoid
A few small errors cause most yeast problems.
1. Using water that’s too hot
Hot liquid can damage yeast before it has a chance to work. Warm is the goal, not steaming hot.
2. Skipping proofing when the recipe expects it
If you’re using active dry yeast, the recipe may rely on that activation step.
3. Assuming instant yeast always needs dissolving
It usually does not. Direct mixing is one of its main advantages.
4. Treating both yeasts as identical in timing
They are similar, but not identical. Rise speed can differ enough to affect your schedule.
5. Using old yeast and blaming the recipe
Expired or poorly stored yeast is a very common reason dough fails to rise.
Troubleshooting Slow Rise, Flat Dough, and Overproofing
When dough misbehaves, the yeast type is only one possible cause.
If the dough rises very slowly
Check:
– yeast freshness
– liquid temperature
– room temperature
– whether the yeast was handled correctly
Old yeast and cold dough are frequent culprits.
If the dough stays flat
Possible causes include:
– dead yeast
– liquid that was too hot
– too little time
– overproofing followed by collapse
If the dough never showed signs of life, the yeast may have been inactive from the start.
If the dough rises too fast
This can happen with instant yeast in a warm kitchen. The fix is simple: shorten your proofing windows and watch the dough closely.
If the dough overproofs
Overproofed dough can lose structure and bake up weak or collapsed. If it has expanded too far and feels fragile, move it along rather than waiting for a perfect clock time.
How to Check Freshness and Store Yeast Properly
Yeast is living material in a practical sense, and storage matters.
How to check freshness
If you’re unsure whether yeast is still active, do a small test in warm water and watch for activity. If nothing happens after a reasonable wait, don’t use it for a full batch.
How to store it
Follow the package directions for unopened and opened yeast. In general, unopened yeast is often stored in a cool place, while opened yeast keeps better in a sealed container in the refrigerator or freezer if the brand allows it. After opening, keep it tightly sealed and protected from heat, moisture, and sunlight.
If you bake often, it’s worth paying attention to how the yeast behaves over time. A package that once worked beautifully can weaken if it’s been sitting open too long.
For readers who also care about timing tools in the kitchen, our guide on how to use an instant-read thermometer can help you get more consistent results in bread and beyond.
Practical Example: Converting a Recipe from Active Dry Yeast to Instant Yeast
Let’s say you have a sandwich bread recipe that calls for active dry yeast.
The original method says:
– dissolve the yeast in warm water
– let it bloom
– mix the dough
– allow the first rise until doubled
If you switch to instant yeast:
– use the same amount of yeast by weight when possible
– mix it with the dry ingredients
– add the liquid
– begin checking the dough earlier than the original recipe suggests
What changes most is not the formula — it’s the workflow and timing.
If the dough normally takes a long first rise with active dry yeast, the instant version may be ready sooner. That doesn’t mean you should rush blindly. It means you should start checking for readiness earlier and let the dough tell you when it’s ready.
For bakers who want to understand the broader role of yeast-free methods too, our article on making bread without yeast is a useful companion read.
FAQ
Is rapid-rise yeast the same as instant yeast?
Usually, yes. Rapid-rise is typically a type of instant yeast, though brand labels can vary.
Can I swap active dry yeast and instant yeast in equal amounts?
Usually yes, especially by weight. The main difference is timing, not the ingredient ratio.
Do I always have to proof active dry yeast?
Usually proofing is common and helpful, but follow the package directions. Some products can be used differently depending on the brand and recipe.
Why didn’t my dough rise?
The most common reasons are old yeast, liquid that was too hot, cool room temperatures, or not enough time.
Final Takeaway
If you want the simplest answer: instant yeast is usually easier and faster for home baking, while active dry yeast is a little more traditional and usually needs proofing first. Both can make excellent bread, and both can usually be swapped with a timing adjustment.
Once you understand how each one behaves, yeast stops being confusing and starts becoming a tool you can choose with confidence.