
Neapolitan Pizza Dough at Home: A Practical Guide to the Classic Formula

Neapolitan pizza has a reputation for being simple, but that simplicity is deceptive. When the dough is right, it stretches like silk, bakes fast, and gives you that soft center, puffy rim, and light char that defines the style. When it’s off, the whole pizza fights back: it tears, shrinks, or bakes up dense.
I’m Ethan Baker, and I like Neapolitan dough because it teaches restraint. You’re not trying to force the dough into shape with oil, sugar, or heavy kneading. You’re guiding four ingredients into a dough that is soft, elastic, and alive enough to spring in a very hot oven.
If your goal is authentic-style pizza at home, this guide will walk you through the “why” as well as the “how.”
What Makes Neapolitan Pizza Dough Different
Traditional Neapolitan dough is minimalist by design: flour, water, salt, and yeast. That’s it. No oil. No sugar. No milk. The lean formula matters because the finished pizza is meant to bake quickly at very high heat, producing a crust that is tender, airy, and lightly charred rather than rich or bread-like.
The dough is also intentionally soft. Compared with many American-style pizza doughs, Neapolitan dough usually has higher hydration and less fat, which gives it extensibility. In plain language, it stretches more easily without snapping back. That makes hand-shaping possible and helps the rim puff in the oven.
The style is also defined by the bake. Traditional Neapolitan pizza is cooked in an extremely hot oven, around 840–900°F, and is done in about 60–90 seconds. That heat creates the signature cornicione: a puffy, blistered edge with a thin, tender center. Modernist Cuisine’s Neapolitan pizza guidance is a good reference point for the high-heat, short-bake approach.
Here’s the practical takeaway: if you bake this dough in a standard home oven, you can still make a delicious Neapolitan-style pizza, but it won’t be fully traditional. The oven simply doesn’t match the intensity of a wood-fired oven.
| Dough style | Hydration | Fat/sugar | Texture | Best use |
|---|---|---|---|---|
| Neapolitan | Around 60% | None | Soft, extensible, puffy rim | High-heat, hand-stretched pizza |
| New York-style / regular American pizza dough | Often lower to moderate | Often includes oil and sometimes sugar | More structured, chewier, easier to brown in a home oven | Slices with more chew and a sturdier crust |
Ingredients and Baker’s Percentages
Neapolitan dough is easiest to understand in baker’s percentages, because everything is measured against the flour weight.
Core formula
A classic starting point:
- Flour: 100%
- Water: about 60%
- Salt: 2.5% to 3%
- Yeast: a very small amount, adjusted to fermentation time
That hydration range lines up with common Neapolitan-style formulas and gives you a dough that is soft but still manageable.
What each ingredient does
Flour gives the dough structure.
Water hydrates proteins and starches, allowing gluten to form.
Salt strengthens gluten, improves flavor, and slows fermentation slightly.
Yeast creates gas and flavor through fermentation.
The dough feels simple, but each ingredient is doing more than one job. Water is not just for hydration; it also affects extensibility and oven spring. Salt is not just for taste; it tightens the gluten network enough to help the dough hold shape.
A practical home batch
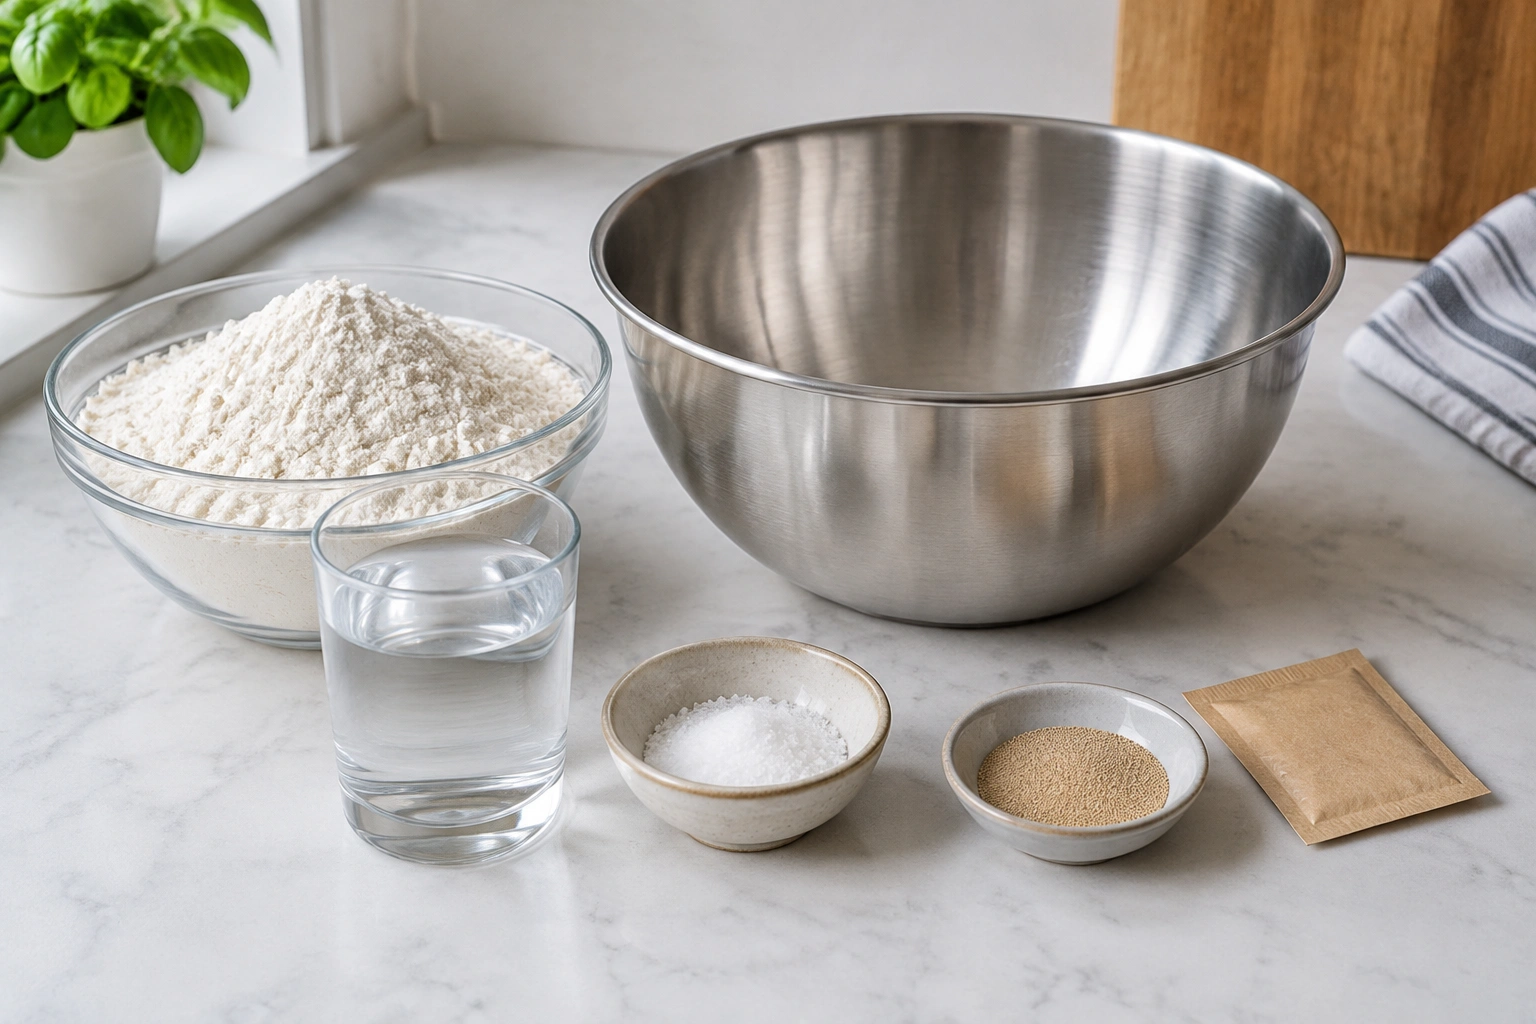
For 4 dough balls at about 250 grams each, use:
- 600 g flour
- 360 g water
- 15 g salt
- 0.5 to 1 g instant yeast, depending on fermentation time
That’s a sensible home-kitchen starting point. If you want a longer fermentation, use less yeast. If you want a same-day dough, use more yeast and keep the dough warmer.
Exact yeast amounts by schedule
For the same 600 g flour batch:
- Same-day dough: about 1 g instant yeast
- 24-hour dough: about 0.5 g instant yeast
- Cold-ferment dough: about 0.2 to 0.3 g instant yeast
These are starting points, not fixed rules. Room temperature, flour strength, and dough temperature all affect fermentation speed, so you may need to adjust slightly.
Scaling the recipe
For 1 pizza, divide everything by four.
For 2 pizzas, divide by two.
For 6 pizzas, multiply by 1.5.
Here’s a quick scaling example using the 600 g flour batch:
| Yield | Flour | Water | Salt | Instant yeast |
|---|---|---|---|---|
| 1 pizza | 150 g | 90 g | 3.75 g | 0.1 to 0.25 g |
| 2 pizzas | 300 g | 180 g | 7.5 g | 0.25 to 0.5 g |
| 4 pizzas | 600 g | 360 g | 15 g | 0.2 to 1 g, depending on schedule |
The key is to keep percentages consistent. If the dough feels right at one scale, it should behave similarly at another scale as long as you mix and ferment it the same way.
Choosing the Right Flour, Yeast, and Water
This is where home bakers often overcomplicate things. The goal is not to find a magical ingredient; it’s to choose ingredients that fit your schedule and oven.
Flour: 00, bread flour, or all-purpose?
00 flour is the classic choice. It’s finely milled and often gives a softer, more extensible dough. If you want the closest feel to traditional Neapolitan dough, this is the easiest path.
Bread flour is the strongest substitute. It has more protein and can handle longer fermentation well, but it may feel a little tighter and chewier. That can be an advantage in a home oven, where you may need a dough that tolerates a longer bake.
All-purpose flour is workable, especially if that’s what you have. The dough may be less elastic and a little less tolerant of a very high-hydration formula, so it helps to reduce hydration slightly. As a practical adjustment, start by lowering the water by about 2 to 4 percentage points. For example, if your Neapolitan formula uses 60% hydration, try 56% to 58% with AP flour.
Here’s the trade-off in one sentence: 00 flour is easier to stretch and closer to the classic style, while bread flour is more forgiving and often easier to source.
For a deeper look at flour selection and strength, King Arthur Baking’s pizza flour guidance is useful because it explains why a finely milled flour can produce a supple dough that still bakes up chewy and crisp.
Yeast: fresh, active dry, or instant?
Traditional standards allow compressed fresh yeast, and some guidance also permits instant yeast. In home kitchens, instant yeast is usually the most convenient because it mixes directly into the flour and stores well.
Use yeast based on your fermentation plan:
- Same-day dough: a little more yeast, warmer dough temperature
- 24-hour dough: moderate yeast
- Cold fermentation: the smallest amount of yeast
If you use active dry yeast, it can work too, but it often needs a little more attention and sometimes a brief bloom in water.
Water: simple, but not irrelevant
Use cool or room-temperature water unless your kitchen is cold and you need to encourage fermentation. Very warm water can speed the dough too much and make timing harder to control. If your flour is very absorbent, you may need a touch more water; if your dough becomes slack and hard to handle, reduce it slightly next time.
Tools and Materials You’ll Need
You can make excellent Neapolitan-style dough with basic equipment.
- Digital scale
- Large mixing bowl
- Bench scraper
- Kitchen thermometer if you want tighter temperature control
- Dough containers or covered bowls
- Pizza peel
- Pizza stone or pizza steel
- Oven with the highest heat setting you can safely use
A pizza steel usually stores and transfers heat more aggressively than a stone, so it can improve bottom browning in a standard home oven. A stone gives a gentler bake. A pizza oven is best for true Neapolitan heat, but it’s not required to make a very good pizza.
If you want to build your dough knowledge beyond this recipe, our guide on how long pizza dough should rise is a helpful companion.
Step 1: Mix the Dough
Combine the flour and most of the water first. Mix until no dry flour remains, then let it sit for a short rest if the dough feels rough. This pause helps the flour hydrate and makes the dough easier to finish by hand.
Add the salt and yeast, then mix until the dough becomes cohesive. You’re not aiming for a perfectly smooth dough at this stage. You’re aiming for an even, shaggy mass with no dry patches.
What it should feel like
A properly mixed Neapolitan dough is soft and slightly tacky, but not soupy. It should hold together when you lift it, though it may still look uneven. That’s normal.
If you add too much flour during mixing, the dough can become stiff before fermentation even starts. That makes stretching harder later, and the pizza may bake up tighter than you want.
Step 2: Knead and Develop Gluten
Neapolitan dough needs enough gluten development to stretch without tearing, but not so much that it becomes rubbery.
You can knead by hand for a few minutes, rest the dough, and knead again. That rest-and-return method is often easier than trying to muscle through one long knead. The dough should gradually become smoother, more elastic, and slightly more resistant.
Readiness cues
Well-developed dough will:
- feel smoother than it did at mixing
- stretch without immediately shredding
- spring back slowly, not violently
- look satiny on the surface
If it feels tight and keeps shrinking, it probably needs more rest, not more force. That’s a common mistake. Overworking the dough can make it difficult to open, especially if you’re using bread flour.
Step 3: Bulk Fermentation and Dough Balling
After mixing and kneading, let the dough ferment as a whole mass or divide it into balls sooner, depending on your schedule.
Bulk fermentation first
Bulk fermentation gives the dough time to relax and build flavor. After the dough has started to rise and feel smoother, divide it into equal portions and shape each piece into a tight ball.
Dough balling
When shaping dough balls, tuck the edges underneath to create surface tension. The top should be smooth, not torn. A smooth dough ball holds gas better and opens more evenly later.
Place the dough balls in covered containers or a dough box so they don’t dry out.
Room temperature or cold?
Both are workable.
- Room-temperature fermentation is closer to traditional timing and often gives a very lively dough in less time.
- Cold fermentation is more convenient for home bakers and can improve flavor development, but it requires planning and a longer schedule.
For a more detailed comparison, see our guide on cold ferment pizza dough.
Step 4: How to Tell When the Dough Is Ready
This is the part many recipes skip, but it matters more than the clock.
Signs the dough is ready
The dough should feel airy and relaxed, not dense or tense. When you press it gently with a fingertip, the indentation should slowly spring back but not disappear instantly.
Look for these cues:
- the dough has increased in volume, often by roughly one-third to one-half
- the surface looks smoother and slightly puffy
- small bubbles may show under the surface or around the edges
- the dough feels light and jiggly in the container when moved gently
- it no longer resists stretching aggressively
Signs it’s underproofed
Underproofed dough feels tight, dense, and difficult to open. It springs back too fast and may tear because the gluten is strong but the dough hasn’t relaxed enough.
Signs it’s overproofed
Overproofed dough can feel fragile, overly gassy, and sticky. It may collapse when handled and tear easily because the gluten has weakened.
If you’re unsure, err on the side of a slightly underproofed dough rather than a collapsed one. You can always give it more time; you can’t easily rebuild a dough that has lost structure.
Step 5: Shape and Stretch Without Tearing
Neapolitan dough should be hand-stretched, not rolled with a pin. Rolling drives out too much gas and flattens the rim, which works against the style.
A simple shaping method
- Lightly flour the bench.
- Place the dough ball in the flour and press the center gently.
- Push the air outward, leaving a thicker rim.
- Lift the dough and let gravity help stretch it.
- Rotate as you go, keeping the center thin and the edge puffier.
The center should be thin enough to bake quickly, but not so thin that it becomes translucent or tears. In practical terms, aim for a center thin enough that you can almost see the color of the bench through it when lifted, while still keeping the rim noticeably thicker.
If the dough keeps shrinking
That means the gluten is still too tight. Put it down and let it rest for 10 to 15 minutes. A short rest often solves the problem better than more flour or more force.
If it tears
Don’t panic. Patch tiny tears by pinching gently, then let the dough rest a little longer before trying again. If the dough is tearing everywhere, it usually needs more fermentation or a gentler mix next time.
Step 6: Top and Bake for Neapolitan-Style Results
Keep the toppings minimal. Too much sauce or cheese adds weight and moisture, which slows baking and weakens the crust.
A thin layer of sauce and a modest amount of cheese are enough. The dough should still be the star.
Baking in a pizza oven
If you have a pizza oven, preheat fully and bake at very high heat. Traditional Neapolitan pizza is baked fast, which helps create a soft center and charred rim.
Baking in a home oven
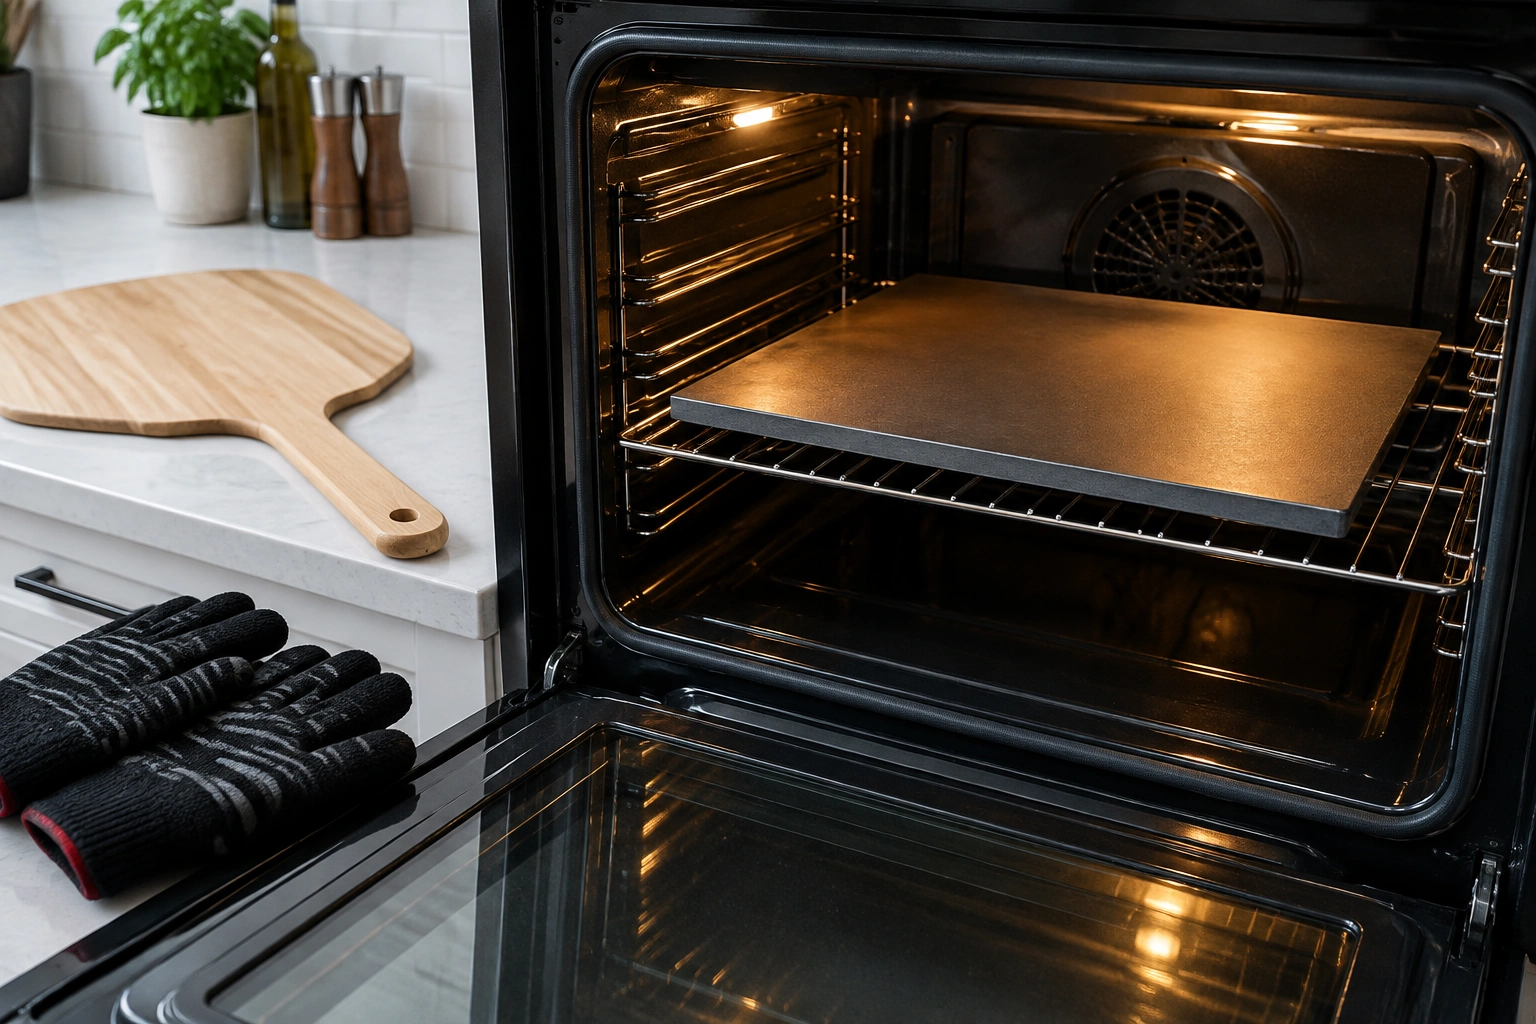
A home oven can still produce excellent Neapolitan-style pizza if you use the hottest setting available and preheat a pizza steel or stone thoroughly.
Home-oven baking checklist:
– Stone vs. steel: use a steel if you want stronger bottom heat; use a stone if that’s what you have.
– Rack position: place the baking surface on the upper-middle rack or as high as your oven safely allows without touching the broiler element.
– Preheat time: preheat for at least 45 to 60 minutes so the stone or steel is fully saturated with heat.
– Optional broiler use: if your oven runs cool on top, use the broiler briefly at the end or switch it on for a short preheat burst if your oven design allows it safely.
A steel often gives stronger bottom heat, which helps make up for the lower ceiling temperature in a home oven.
If you want to compare fermentation methods for home baking, our article on how to cold ferment pizza dough for better flavor, stretch, and browning will help you choose a schedule that fits your oven and timing.
What to expect
A home oven will not give you the same rapid leopard spotting and blistering as a wood-fired oven. That’s not a failure; it’s just physics. Your goal is a soft, extensible crust with good browning and a puffy rim.
Room-Temperature vs. Cold Fermentation
This choice affects flavor, handling, and convenience.
Room-temperature fermentation
Pros: faster, more traditional feel, easy to monitor
Cons: less scheduling flexibility, easier to overproof if your kitchen is warm
Cold fermentation
Pros: better scheduling, often more flavor development, easier to hold for later use
Cons: requires fridge space and advance planning, dough needs time to warm up before stretching
If you want the most forgiving route at home, cold fermentation is often the easier path. If you want to study the classic rhythm of the dough, room-temperature fermentation teaches you more about how it changes hour by hour.
Common Mistakes and How to Fix Them
Dough is too sticky
A sticky dough is not always a bad dough. Neapolitan dough should be soft. But if it’s unmanageable, the likely causes are too much water, underdeveloped gluten, or overfermentation.
Fix: rest the dough, handle it with lightly floured hands, and adjust hydration next time if needed.
Dough is too tight
Usually caused by too much flour, too little fermentation, or overkneading.
Fix: give it more rest time. Tight dough often improves dramatically after 15 to 20 minutes.
Dough tears during stretching
This usually means the dough is underproofed, too cold, or not relaxed enough.
Fix: let it rest longer and stretch more gently from the center outward.
Dough overproofs
If the dough becomes weak, sticky, and fragile, it may have gone too far.
Fix: use it sooner next time, reduce yeast, or ferment at a cooler temperature.
Pizza bakes pale in a home oven
The oven may not be hot enough, or the stone/steel may not have preheated long enough.
Fix: preheat longer and bake closer to the top heat source if your oven setup allows it.
Practical Examples and Scaling the Recipe
One pizza for a weeknight
Use a small batch with instant yeast and a shorter fermentation window. This is the most practical option if you want pizza tonight, not tomorrow.
Two pizzas for a simple dinner
A two-pizza batch is a good middle ground if you want enough dough for dinner without leftovers. Using the same 600 g flour formula, that means:
- 300 g flour
- 180 g water
- 7.5 g salt
- 0.25 to 0.5 g instant yeast, depending on your schedule
Four pizzas for a family meal
Make the standard batch and divide it evenly into dough balls. This is where a digital scale pays off, because uneven dough balls bake unevenly.
A 24-hour batch for better flavor
A 24-hour dough is a practical option for many home bakers because it gives the dough time to relax and develop flavor while still fitting into a manageable schedule.
A bread-flour adaptation
If 00 flour isn’t available, bread flour can still make a strong, workable dough. Expect a slightly firmer chew and possibly a little more resistance when stretching. That’s not a flaw; it’s a different trade-off.
When to Consult a Master Baker
If your dough repeatedly collapses, tears no matter how gently you handle it, or behaves inconsistently despite careful measurements, it may be time to study your fermentation temperatures, flour strength, and mixing method with a more experienced baker or instructor. Persistent dough issues are often a process problem, not a recipe problem.
FAQs
What is Neapolitan pizza dough made of?
Traditional Neapolitan dough is made from flour, water, salt, and yeast. It does not rely on oil or sugar.
Do I need 00 flour?
No, but it is the classic choice. Bread flour and all-purpose flour can work, though the handling and texture will change.
Can I cold ferment Neapolitan pizza dough?
Yes. Cold fermentation is a practical home adaptation and can improve flavor and scheduling flexibility.
How long should it ferment?
A common range is 8 to 24 hours, depending on temperature and yeast amount. Some traditional approaches use even longer or shorter windows.
How do I know when it’s ready to stretch?
It should feel airy, relaxed, and extensible. If it snaps back quickly, it needs more rest.
Do I need a pizza oven?
No. A pizza oven gives the most authentic heat, but a well-preheated stone or steel in a home oven can still make excellent Neapolitan-style pizza.
Why is my dough tearing?
It’s usually underproofed, too cold, or not relaxed enough. Let it rest and try again more gently.
Neapolitan dough rewards patience, not force. Once you learn how it should feel at each stage, the process becomes much less mysterious and a lot more fun.