
How to Cold Ferment Pizza Dough for Better Flavor, Stretch, and Browning

Cold fermentation is one of those pizza techniques that sounds fancy until you do it once and realize it’s mostly patience and good timing. As Ethan Baker, I’d describe it this way: you let the dough rest in the fridge long enough for flavor to deepen, gluten to relax, and the yeast to work slowly instead of racing ahead. The result is usually a dough that’s easier to shape, more flavorful, and better suited to a home baker’s schedule.
That said, cold ferment pizza dough is not just “leave it in the fridge and hope for the best.” The flour strength, yeast amount, hydration, fridge temperature, and whether you ferment in bulk or as dough balls all change the outcome. If those pieces are balanced, you get a dough that handles more gracefully and bakes with better color and texture. If they’re not, the dough can turn slack, sticky, or overproofed.
For a quick visual comparison, here’s the short version: a 24-hour cold ferment is a modest improvement over same-day dough, 48 hours is often a very reliable middle ground for home bakers, 72 hours usually brings more flavor and extensibility, and 96 hours can work well if the formula is built for it. The longer the ferment, the more carefully you need to manage yeast and flour strength.
What Cold Fermentation Is and Why It Helps Pizza Dough
Cold fermentation means letting pizza dough ferment in a cool environment, usually the refrigerator, rather than at room temperature. The yeast still works, but much more slowly. That slower pace gives the dough time to develop flavor without blowing past its peak too quickly.
The practical benefits show up in three places:
- Flavor: Longer fermentation generally allows more complex flavor to develop.
- Texture and handling: The dough often becomes more extensible, meaning it stretches more easily without snapping back as hard.
- Browning and crust character: A well-balanced cold-fermented dough often bakes with better color and a more interesting crust texture.
There’s a science reason behind that, but the home-baker version is simple: time helps. As the dough rests, yeast activity continues at a slower rate, and enzymes keep working on starches and proteins. That combination is part of why a cold-fermented dough often tastes less “raw” and more rounded than a rushed dough.
In practical baking terms, that slower fermentation usually means the dough stretches with less resistance, holds gas more evenly, and tends to brown better in the oven because the long rest gives the dough more time to develop the sugars and fermentation byproducts that support color. It also often improves oven spring, as long as the dough still has enough strength left when it goes into the oven.
Still, cold fermentation is not magic. If the dough formula is too weak, too warm, or too yeast-heavy, extra time can push it into overproofed territory instead of improving it.
Before You Start: Ingredients, Tools, and Dough Formula Basics
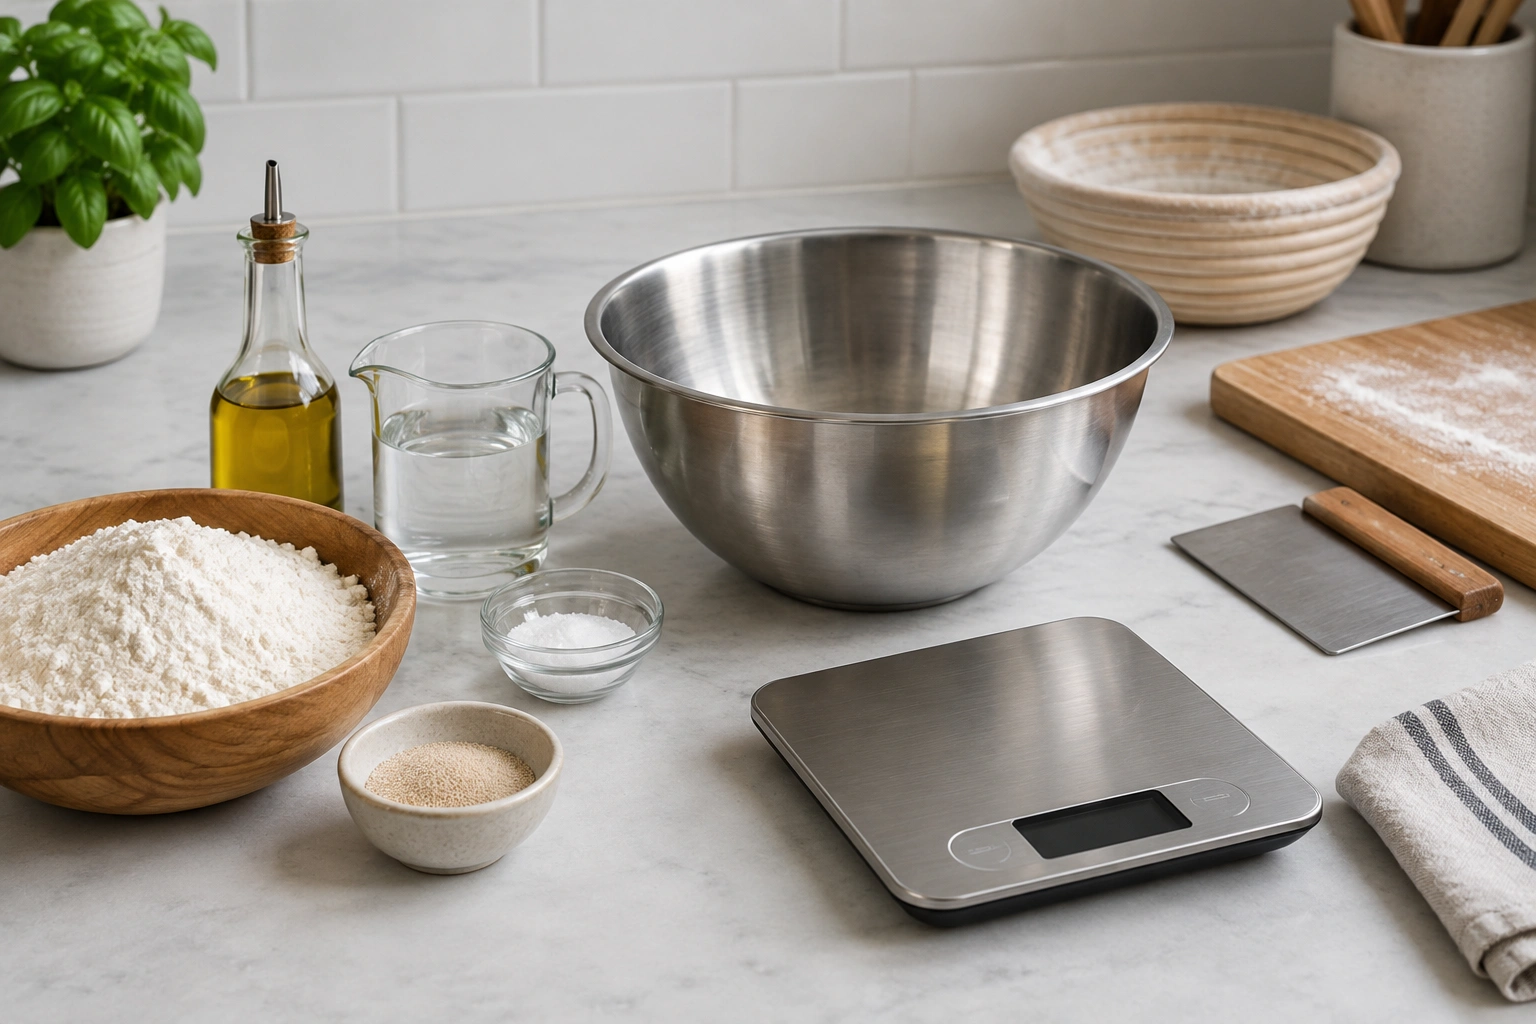
A good cold-fermented pizza dough starts with a formula that can survive the fridge without collapsing.
What works well in the formula
- Flour: Bread flour is usually the safest starting point because it has enough strength to handle a longer ferment. Some bakers prefer a blend of bread flour and all-purpose flour for a slightly softer bite.
- Hydration: A moderate hydration level is easier to manage for beginners. Higher hydration can improve extensibility, but it also makes the dough stickier and more delicate.
- Yeast: Cold fermentation usually needs less yeast than same-day dough. The longer the schedule, the smaller the yeast amount should usually be.
- Salt: Salt matters for flavor and dough strength. It also helps keep fermentation more controlled.
- Oil or sugar: These are optional depending on style. Some formulas include them for tenderness, browning, or a slightly softer crust.
Tools that make the process easier
- Digital scale
- Large mixing bowl
- Dough container or covered tray
- Bench scraper
- Portioning scale if you want equal dough balls
- Refrigerator with stable temperature
A scale is especially useful because small yeast amounts are hard to measure accurately with spoons. Once you start working with cold ferments, tiny measurement errors matter more than they do in a fast dough.
A reliable cold-fermented pizza dough formula
This is a straightforward, dependable starting point for a 72-hour cold ferment. It uses baker’s percentages and exact amounts for two dough balls.
Baker’s percentages
– Bread flour: 100%
– Water: 70%
– Salt: 2.5%
– Instant yeast: 0.2%
– Olive oil: 2%
Exact formula
– Bread flour: 500 g
– Water: 350 g
– Salt: 12.5 g
– Instant yeast: 1 g
– Olive oil: 10 g
Method summary
1. Mix flour, water, yeast, and salt until combined.
2. Add the olive oil and knead until the dough is smooth and elastic.
3. Rest briefly, then refrigerate.
4. Ferment cold for about 72 hours at a stable fridge temperature.
5. Divide if needed, then warm before shaping and baking.
This formula is a good baseline because it is restrained enough for a longer ferment without being so lean that the dough becomes hard to work with. If your fridge runs warm or you want to stretch the schedule toward 96 hours, reduce yeast slightly. If your fridge runs cold, the same formula may need a little more time rather than more yeast.
If you want a fuller foundation on the fermentation side, my guide to cold ferment bread dough covers the same timing logic from a broader baking perspective.
Choose Your Fermentation Plan: 24, 48, 72, or 96 Hours
The best cold ferment window depends on your schedule and how much flavor development you want. There isn’t one perfect number for every pizza. There is, however, a practical range that works well for most home bakers.
A good refrigerator target is about 38 to 40°F (3 to 4°C). At that range, fermentation slows down without stopping. If your fridge runs warmer, the dough will ferment faster and may hit readiness sooner than expected. If it runs colder, the dough will move more slowly and may need extra time. In other words, the same recipe can behave like a shorter or longer ferment depending on the actual fridge temperature.
| Ferment Time | Typical Yeast Level for a 500 g Flour Formula | What You Can Expect | Handling Notes | Risk Level |
|---|---|---|---|---|
| 24 hours | About 0.5% to 0.8% instant yeast | Mild flavor improvement, still fairly close to same-day dough | Usually the easiest to manage | Low to moderate |
| 48 hours | About 0.3% to 0.5% instant yeast | Balanced flavor and good handling for many home ovens | Often a reliable middle ground | Moderate |
| 72 hours | About 0.15% to 0.25% instant yeast | Deeper flavor and more relaxation in the dough | Can be very extensible if formula is balanced | Moderate to higher |
| 96 hours | About 0.1% to 0.15% instant yeast | Maximum make-ahead convenience and deeper fermentation character | Can become slack if flour or yeast are not adjusted | Higher |
A useful rule: the longer you want to ferment, the more you should think about flour strength, fridge temperature, and yeast restraint. For example, a 72-hour dough that works well at 38°F may move too quickly at 42°F, while the same formula in a colder fridge may need more time before it feels ready.
If you’re making pizza for a Saturday night and you’re mixing on Thursday, 48 to 72 hours is usually the most forgiving window. If you only have one day, 24 hours can still be worthwhile. If you’re testing a 96-hour dough for the first time, use a strong flour and keep a close eye on fridge temperature.
Step-by-Step: Mix, Knead, and Start the Dough
A clean start gives the dough the best chance of fermenting evenly.
1. Combine the dry ingredients
Mix the flour, salt, and yeast first so the yeast is distributed evenly. If your formula includes sugar, add it here too.
2. Add the water
Pour in most of the water and mix until no dry flour remains. Hold back a little water if the dough feels too loose early on; you can always add it during mixing.
3. Bring the dough together
Mix until you have a rough, shaggy mass. At this stage, the goal is not perfection. You’re just making sure the ingredients are fully hydrated.
4. Develop the gluten
Knead by hand or with a mixer until the dough becomes smoother and more elastic. For cold fermentation, you do not need to overwork it. You want enough structure to hold gas later, but not such an intense mix that the dough becomes overly tight.
5. Rest briefly before refrigeration
A short room-temperature rest helps fermentation begin and gives the dough a head start. Some formulas go straight into the fridge after mixing, while others allow a short bench rest first. Either can work if the yeast amount and schedule are designed for it.
6. Portion if needed
If you plan to bake individual pizzas, divide the dough into balls before the cold ferment or after the initial bulk stage, depending on your method.
Bulk Fermentation vs. Dough Ball Fermentation
This choice affects both flavor and convenience.
Bulk fermentation
In bulk fermentation, the dough rests as one large mass before being divided into balls later.
Best for:
– Bakers who want a more flexible schedule
– Doughs that need an early strength-building stage
– Larger batches
Trade-off: Bulk dough can be a little less convenient on pizza night because you still need to divide and shape it later.
Dough ball fermentation
In dough ball fermentation, you divide the dough into individual portions early and refrigerate them as separate balls.
Best for:
– Home bakers who want a straightforward bake day
– Smaller batches
– People who prefer each pizza portion to ferment consistently
Trade-off: Dough balls are easier to manage on bake day, but they demand cleaner portioning up front.
For most home pizza routines, dough balls are the simpler default choice. They make it easier to track readiness and to pull out only what you need. Use bulk fermentation when you want more flexibility before dividing, when you’re scaling up a batch, or when a recipe specifically benefits from an initial mass rest before shaping.
If you want a related fermentation technique that builds flavor in a different way, see how to make poolish.
How to Refrigerate and Cold Ferment Pizza Dough Properly
Once the dough is mixed, the fridge becomes your fermentation tool.
Use a covered container
Choose a container with enough room for the dough to expand. Lightly oiling the container or the dough surface can help prevent drying. The goal is to keep the dough protected without sealing it so tightly that it sticks and tears when you remove it.
Keep the fridge temperature steady
A standard refrigerator is usually cold enough for this method, but actual temperatures vary. That matters because a warmer fridge speeds fermentation, while a colder one slows it down. If your fridge runs warm, the dough may move faster than the recipe suggests. If it runs very cold, the dough may need more time.
Leave the dough alone
A good cold ferment is mostly hands-off. Every time you disturb the dough, you risk deflating gas pockets or warming it unevenly.
Don’t crowd the container
If the dough is squeezed into a container that is too small, it can stick, tear, or ferment unevenly. Give it room to expand.
Match the method to the schedule
If you know you’ll be baking in 48 to 72 hours, portion the dough accordingly and refrigerate it right away. If you’re experimenting with a longer window, use a slightly stronger flour and a lean yeast hand.
How to Tell When Cold-Fermented Dough Is Ready
Time is useful, but it should not be the only test. Dough tells you a lot if you know what to feel for.
24-hour dough
At this stage, the dough should look slightly puffier than when it went in, but it may still feel fairly tight. It should have a smoother surface and a faintly aerated feel, but don’t expect dramatic expansion. If it feels dense and springy, it likely needs more time.
48-hour dough
This is often where home bakers start to see a clear difference. The dough should feel noticeably more relaxed and extensible, with a little visible rise and a softer, airier texture. When pressed, it should spring back slowly instead of snapping tight.
72-hour dough
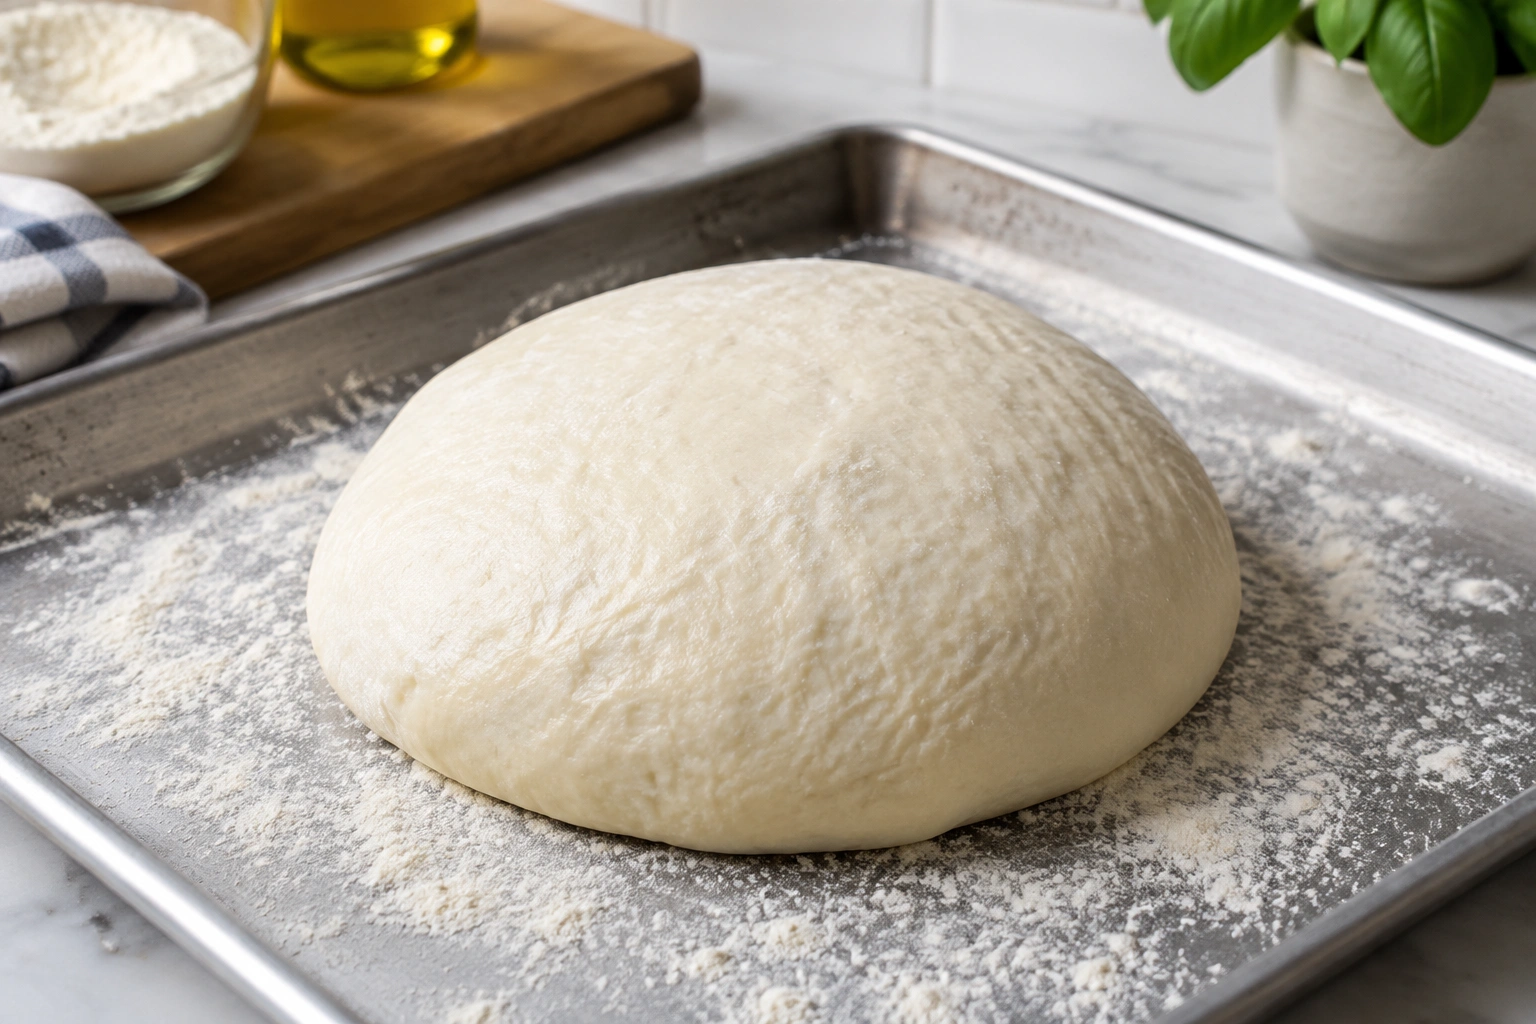
A well-balanced 72-hour dough usually feels puffy, light, and easy to stretch. It should have a more open, aerated look and should hold its shape without feeling stiff. If it feels fragile or overly slack, it may be overfermented; if it still feels tight, it likely needs a longer warm-up or a little more time.
96-hour dough
This window demands the most judgment. The dough should still be coherent, but it may be quite soft and gassy. It should stretch without tearing too easily, yet it should not feel loose enough to slump flat immediately. If it has lost structure or smells overly sharp, it has likely gone too far.
Signs the dough is ready
- It has expanded noticeably, though not necessarily doubled
- The surface looks smoother and slightly aerated
- The dough feels relaxed and extensible
- When gently pressed, it springs back slowly rather than snapping tight
Signs it is under-fermented
- The dough feels dense and resistant
- It springs back aggressively when stretched
- The interior looks tight and under-aerated
- Baking may produce less oven spring than expected
Signs it has gone too far
- The dough feels very slack or fragile
- It may be overly gassy and hard to shape cleanly
- It tears more easily than it stretches
- It can spread out too quickly after shaping
A useful mindset shift: don’t wait for one perfect visual cue like “double in size.” Cold-fermented dough often tells the truth through feel. A dough that is relaxed, puffy, and still coherent is usually in better shape than one that looks dramatically overexpanded and fragile.
How to Warm the Dough Before Stretching and Baking
Cold dough is usually too tight to stretch well straight from the fridge. Give it time to warm up.
A practical approach is to let the dough sit at room temperature until it becomes pliable and easier to stretch. For many home kitchens, that means roughly 1 to 2 hours for smaller dough balls and 2 to 3 hours for larger dough balls, though the exact time depends on dough size, room temperature, and how cold your fridge runs.
Here’s the key balancing act:
- Too little warming: the dough fights back and shrinks as you stretch it
- Too much warming: the dough can become overly slack and harder to shape cleanly
Handle it gently. Press from the center outward, preserve the rim if you want a more defined crust edge, and avoid aggressive degassing unless your style specifically calls for it. If the dough resists, give it a few more minutes rather than forcing it.
Practical Example Schedules for Home Bakers
Here are realistic ways to plan pizza night without guessing.
Next-day pizza
Mix the dough in the evening, refrigerate it overnight, and let it warm before baking the next day. This is the easiest cold-ferment entry point. You’ll usually get a modest flavor boost and better handling than a rushed same-day dough.
48-hour schedule
Mix on Friday evening, refrigerate through Sunday, and bake that night. This is a strong all-around schedule for home ovens because it gives the dough time to develop without becoming too unpredictable.
72-hour schedule
Mix on Wednesday, refrigerate until Saturday, and bake then. This often gives a more developed flavor and a more relaxed dough, but only if your yeast level is restrained enough.
96-hour schedule
Mix early in the week and bake at the end. This is the most demanding option. It can work well, but it asks more from your flour, your fridge consistency, and your yeast measurement.
If you’re new to long cold fermentation, I’d suggest starting with 48 hours. It gives you enough time to see the difference without pushing into the most fragile zone.
Common Mistakes and How to Fix Them
Using too much yeast
This is the fastest way to overshoot a long cold ferment. Fix it by reducing yeast for longer schedules and measuring carefully.
Choosing weak flour for a long rest
If the dough keeps collapsing or tearing, the flour may not be strong enough. Switch to bread flour or a stronger blend.
Letting the fridge do all the work
A fridge slows fermentation, but it doesn’t stop it. If your refrigerator runs warm, your dough may mature faster than expected. Check the actual temperature if your timing feels off.
Stretching the dough too soon
Cold dough resists shaping. Give it more time at room temperature before you start stretching.
Overhandling after refrigeration
Pressing too hard can knock out the gas you spent days building. Handle the dough with a lighter touch and let elasticity work for you, not against you.
Troubleshooting Sticky, Slack, Tight, or Under-Risen Dough
If the dough is too sticky
This may mean the hydration is high, the gluten is underdeveloped, or the dough has fermented too far. Dust lightly, but don’t bury the dough in flour. If it’s only slightly sticky, a short rest can help it tighten up a bit.
If the dough is slack and weak
That usually points to overfermentation or a flour that can’t support the schedule. Next time, shorten the ferment or strengthen the flour. For the current batch, handle it gently and avoid over-stretching.
If the dough is too tight
It likely needs more time at room temperature. Let it rest, covered, until it relaxes.
If the dough isn’t rising much
Check the yeast amount, the fridge temperature, and the mixing stage. Underproofed dough may simply need more time. If the dough is still dense after the cold rest, give it a longer warm-up before baking.
If the dough smells overly sharp or off
A normal fermented aroma is one thing; truly off odors are another. If the smell is unpleasant in a way that suggests spoilage rather than fermentation, discard the dough.
When to Consult a Master Baker
If you’re building a pizza program for culinary study, testing dough for a restaurant-style service, or trying to adapt a long cold ferment to a very specific flour and oven setup, a master baker can help you fine-tune the formula faster than trial and error alone. That is especially useful when you’re scaling the dough, changing flour brands, or trying to match a very specific crust style.
Cold Fermentation FAQs
How long should I cold ferment pizza dough?
Most home bakers do well somewhere between 24 and 96 hours, with 48 to 72 hours being a very practical middle ground. The best choice depends on your flour, yeast level, and fridge temperature.
Can I cold ferment pizza dough for too long?
Yes. Past a certain point, the dough can become slack, sticky, and harder to shape. The risk rises as the ferment gets longer, especially if the yeast level is too high or the fridge runs warm.
What temperature should the fridge be?
A refrigerator set around 38 to 40°F (3 to 4°C) is a practical target for cold fermentation. Warmer fridges speed things up, while colder fridges slow fermentation down and may require more time.
Should I cold ferment the dough as one mass or as dough balls?
For most home bakers, dough balls are easier to manage and are the better default. Bulk fermentation can be useful if you want more flexibility before dividing or if the recipe benefits from an initial mass rest.
How do I know the dough is ready?
Look for a dough that feels relaxed, aerated, and extensible. It should stretch without fighting you hard, but it should still have enough structure to hold shape. For 24-hour dough, expect only slight puffing; for 48 hours, a softer and more open feel; for 72 hours, a noticeably relaxed and puffy dough; and for 96 hours, a soft but still coherent dough that has not collapsed.
Why does cold fermentation improve pizza dough?
Because it slows yeast activity while giving the dough more time to develop flavor and structure. That slower pace often improves extensibility and can help the crust bake with better color and texture.
How should I bring cold dough back to room temperature?
Let it sit covered until it becomes pliable and easier to stretch. For smaller dough balls, 1 to 2 hours is often enough; for larger ones, 2 to 3 hours is a more realistic starting point, depending on room temperature.
Can I use all-purpose flour?
Yes, but bread flour or a stronger blend is often more forgiving for longer cold ferments. All-purpose flour can work, especially for shorter schedules, but it may be less tolerant of extended refrigeration.
Cold fermentation rewards patience, but it also rewards good judgment. Once you learn to read the dough instead of chasing the clock, pizza night gets a lot more predictable—and a lot more satisfying.