
How to Bake Bread Without a Loaf Pan: Practical Methods for Better Shape, Crust, and Rise

If you’ve ever reached the proofing stage and realized there’s no loaf pan in the kitchen, don’t panic. Bread can absolutely be baked without one. The main difference is that the pan no longer gives the dough its shape and side support, so you need to choose a method that matches the dough’s strength and your goal for the finished loaf.
A pan loaf is usually tall, even, and easy to slice for sandwiches. A pan-free loaf tends to bake with more crust, a more rustic shape, and a little more freedom to expand. That can be a good thing if you want a boule, batard, rolls, or a braided loaf. It can also be tricky if your dough is soft or heavily enriched, because it may spread before it sets.
The good news: with the right substitute and a little shaping discipline, you can still get a beautiful loaf. In many cases, the question is not “Can I bake this bread without a loaf pan?” but “Which no-pan method will support this dough best?”
Can You Bake Bread Without a Loaf Pan?
Yes — and in some cases, the bread will actually bake better that way. Many breads are naturally suited to free-form baking, especially boules, batards, rolls, braided loaves, and many soda breads. These styles are often baked directly on a sheet pan because their shape is designed to hold itself up.
What changes when you remove the pan?
- Shape: The loaf spreads outward more unless it has enough structure.
- Crust: You usually get more exposed surface, so the crust browns more deeply.
- Rise: The dough may spring upward more dramatically if it is well-shaped and well-proofed.
- Bake time: A free-form loaf often bakes differently from a pan loaf because hot air reaches more of the surface.
That last point matters. A loaf pan acts like a mold; a sheet pan or open baking surface does not. So if your recipe was written for a pan loaf, you may need to adjust the shaping, proofing, and baking time rather than simply pouring the dough onto a tray and hoping for the best.
Best Loaf Pan Substitutes and When to Use Each One
Not every substitute works the same way. Some give structure. Some improve oven spring. Some are just convenient.
| Substitute | Support level | Best for | Crust result | Difficulty |
|---|---|---|---|---|
| Baking sheet | Low | Boules, batards, rolls, braided loaves | More exposed, often crisper | Easy to moderate |
| Dutch oven | High | Rustic loaves, wetter doughs, round loaves | Excellent browning and steam | Moderate |
| Cast-iron skillet | Medium | Round loaves, rustic breads, some flatbreads | Good browning on the bottom | Moderate |
| Cake pan | Medium | Smaller sandwich-style loaves, enriched doughs | More even sides than a sheet pan | Easy |
| Round or oval pan | Medium to high | Oval loaves, softer doughs, shaped breads | More controlled than a sheet pan | Easy to moderate |
Baking sheet
This is the simplest substitute if you already know how to shape dough well. It works best when the dough has enough strength to hold a round or oval form on its own. The trade-off is obvious: the sheet pan gives you almost no side support, so weak dough can flatten.
Dutch oven
A Dutch oven gives the dough a controlled environment with strong heat retention and trapped steam. That helps a loaf rise upward before the crust fully sets. It is especially useful for wetter doughs that might spread too much on a bare sheet pan. The downside is size and weight; it is not the easiest option to handle safely.
Cast-iron skillet
A skillet is a good middle ground when you want a sturdy baking surface and strong bottom heat. It is useful for rustic loaves and some round breads. Just remember that it still does not provide the tall side walls of a loaf pan.
Cake pan or round/oval pan
If you want a little support without a dedicated loaf pan, a cake pan or other round/oval pan can be a practical compromise. It won’t give you the exact same shape as a standard sandwich loaf, but it can help a softer dough stay contained.
What You Need Before You Start
You do not need special bakery equipment, but a few basics make a big difference:
- parchment paper
- a baking sheet, Dutch oven, skillet, or oven-safe pan
- a bench scraper or spatula for handling soft dough
- flour for dusting hands and work surface
- a kitchen towel, improvised sling, rolled towel, or proofing basket if you have one
- a sharp blade or lame for scoring
If you’re proofing without a pan, a covered bowl, plate, baking sheet, or reusable bowl cover can help keep the dough from drying out. If you do not have a proofing basket, a rolled towel tucked into a bowl or an improvised sling can also provide support while the dough proofs or is shaped.
One more practical point: if your recipe was designed for a loaf pan, check the dough amount before you reshape it. If the recipe specifies a particular loaf pan, use that size. If the recipe simply says “loaf pan,” it helps to treat it as a single-loaf formula and work from there.
Which Breads Work Best Without a Loaf Pan
Some doughs adapt beautifully. Others need more support.
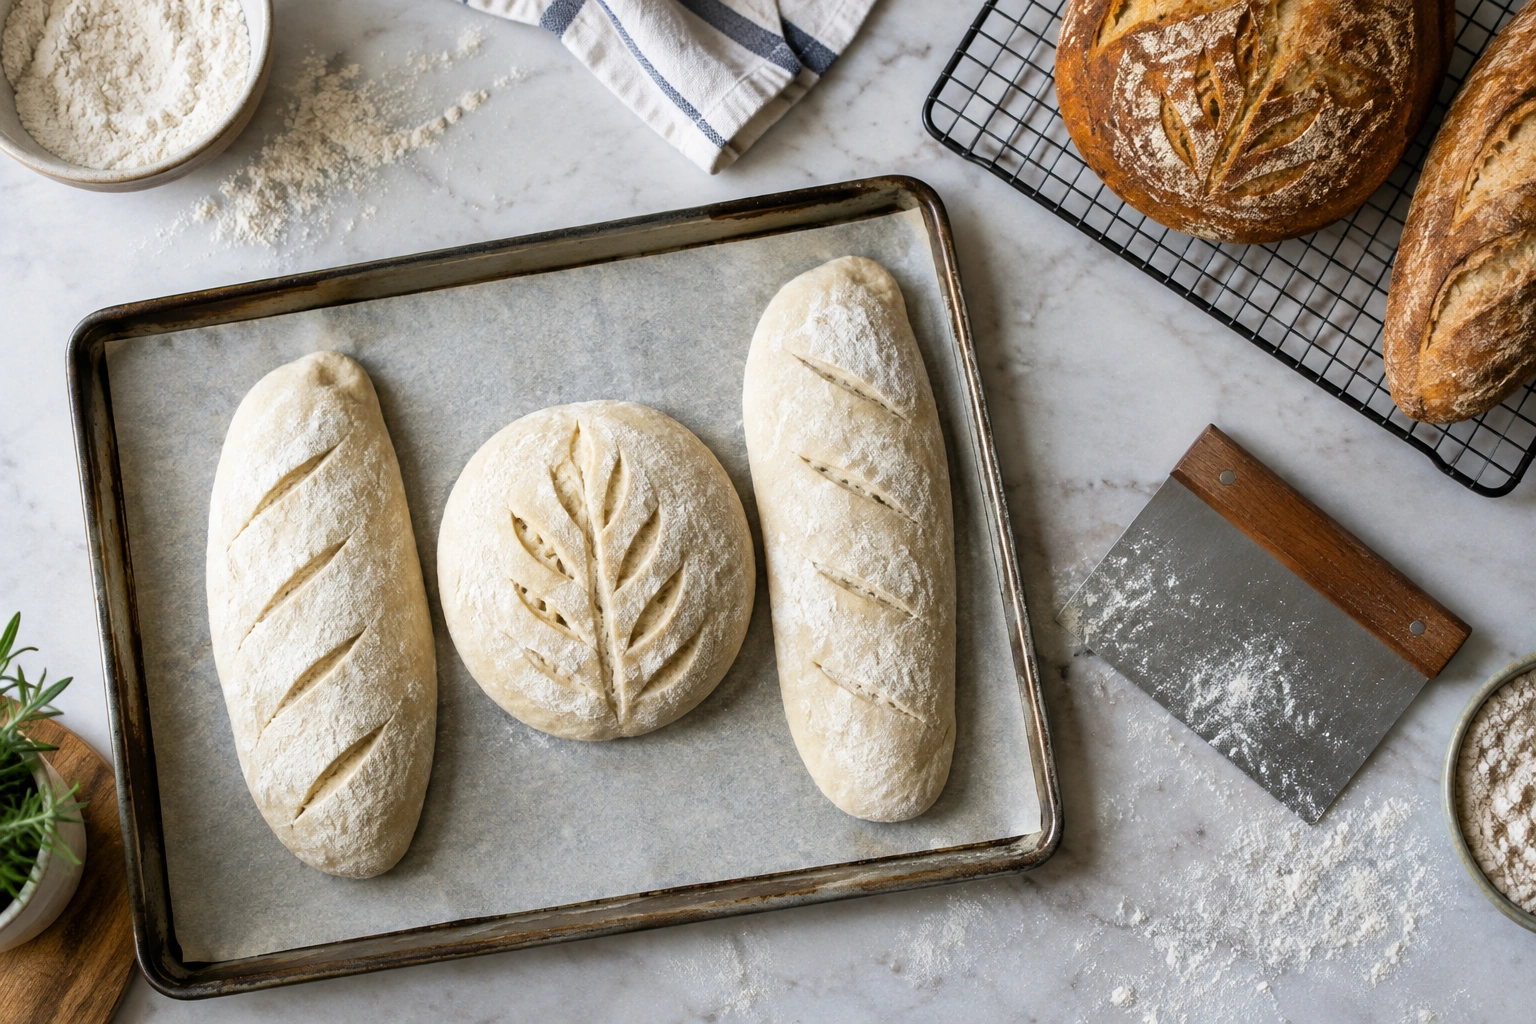
Best candidates
These are usually the easiest to bake pan-free:
- Boules: round artisan loaves that naturally hold shape
- Batards: oval loaves that can be baked on a sheet pan or in a Dutch oven
- Rolls or buns: small pieces are easier to support and bake evenly
- Braided loaves: the braid itself adds structure
- Many soda breads: often baked directly on a sheet pan
Harder to adapt
These can still be baked without a loaf pan, but they need more care:
- very soft sandwich doughs
- enriched doughs with lots of butter, milk, or sugar
- high-hydration doughs that spread easily
- very large loaves that need support during proofing
A useful rule of thumb: the softer and wetter the dough, the more support it needs. If the dough is already strong and elastic, a sheet pan may be enough. If it feels slack, sticky, or delicate, a Dutch oven or a more supportive pan is often the better choice.
How to Shape Bread for Free-Form Baking
Shaping is what gives a panless loaf its backbone. You are not just making it look neat; you are creating surface tension so the dough rises up instead of outward.
A simple shaping method for a round loaf
- Turn the dough out gently onto a lightly floured surface.
- Pat it lightly into a rough round without pressing out all the gas.
- Fold the edges toward the center to tighten the top.
- Turn the dough seam-side down.
- Cup your hands around it and drag it toward you in small motions to tighten the surface.
That final dragging motion matters. It helps the outer skin become taut, which gives the loaf a better chance of standing up during its final proof and first minutes in the oven.
For an oval loaf
If you want a batard, shape the dough into a rectangle, fold the top third down, fold the bottom third up, then roll it gently to seal and tighten. This gives a longer, more sandwich-friendly shape without a loaf pan.
For rolls or buns
Divide the dough evenly, round each piece, and tuck the seams underneath. Smaller pieces are more forgiving, which is one reason rolls are such a reliable no-pan option.
If your dough is very soft, use a light touch. Pressing too hard can knock out the gas you spent time building during fermentation.
Step-by-Step: Bake Bread on a Baking Sheet Without a Loaf Pan
This is the simplest path for most home bakers.
- Shape the dough into a boule or batard. Aim for a taut outer skin.
- Line a baking sheet with parchment. This helps with cleanup and makes loading easier.
- Place the shaped dough seam-side down.
- Proof until puffy, not collapsed. The loaf should look fuller and lighter, but still hold its shape.
- Score the top right before baking. One long slash for a batard or a cross for a boule is usually enough.
- Bake on the sheet pan until deeply browned and fully set.
- Cool on a rack before slicing.
The most common mistake here is overproofing. A loaf that is too airy before baking can spread instead of springing upward. If it looks fragile when you move it, it probably needs less final proof, not more.
For a standard sandwich-bread dough, this method can work well if the dough has enough strength. If it does not, the loaf may still bake, but it may be flatter than you want.
Step-by-Step: Bake Bread in a Dutch Oven, Skillet, or Cake Pan
Dutch oven method
A Dutch oven is the most supportive option for a free-form loaf.
- Shape the dough into a boule or batard.
- Proof it in a basket, bowl, or lined towel if you have one.
- Preheat the Dutch oven if your recipe calls for it.
- Carefully transfer the dough into the hot vessel on parchment if needed.
- Cover and bake for the early stage of oven spring.
- Remove the lid for the final browning stage.
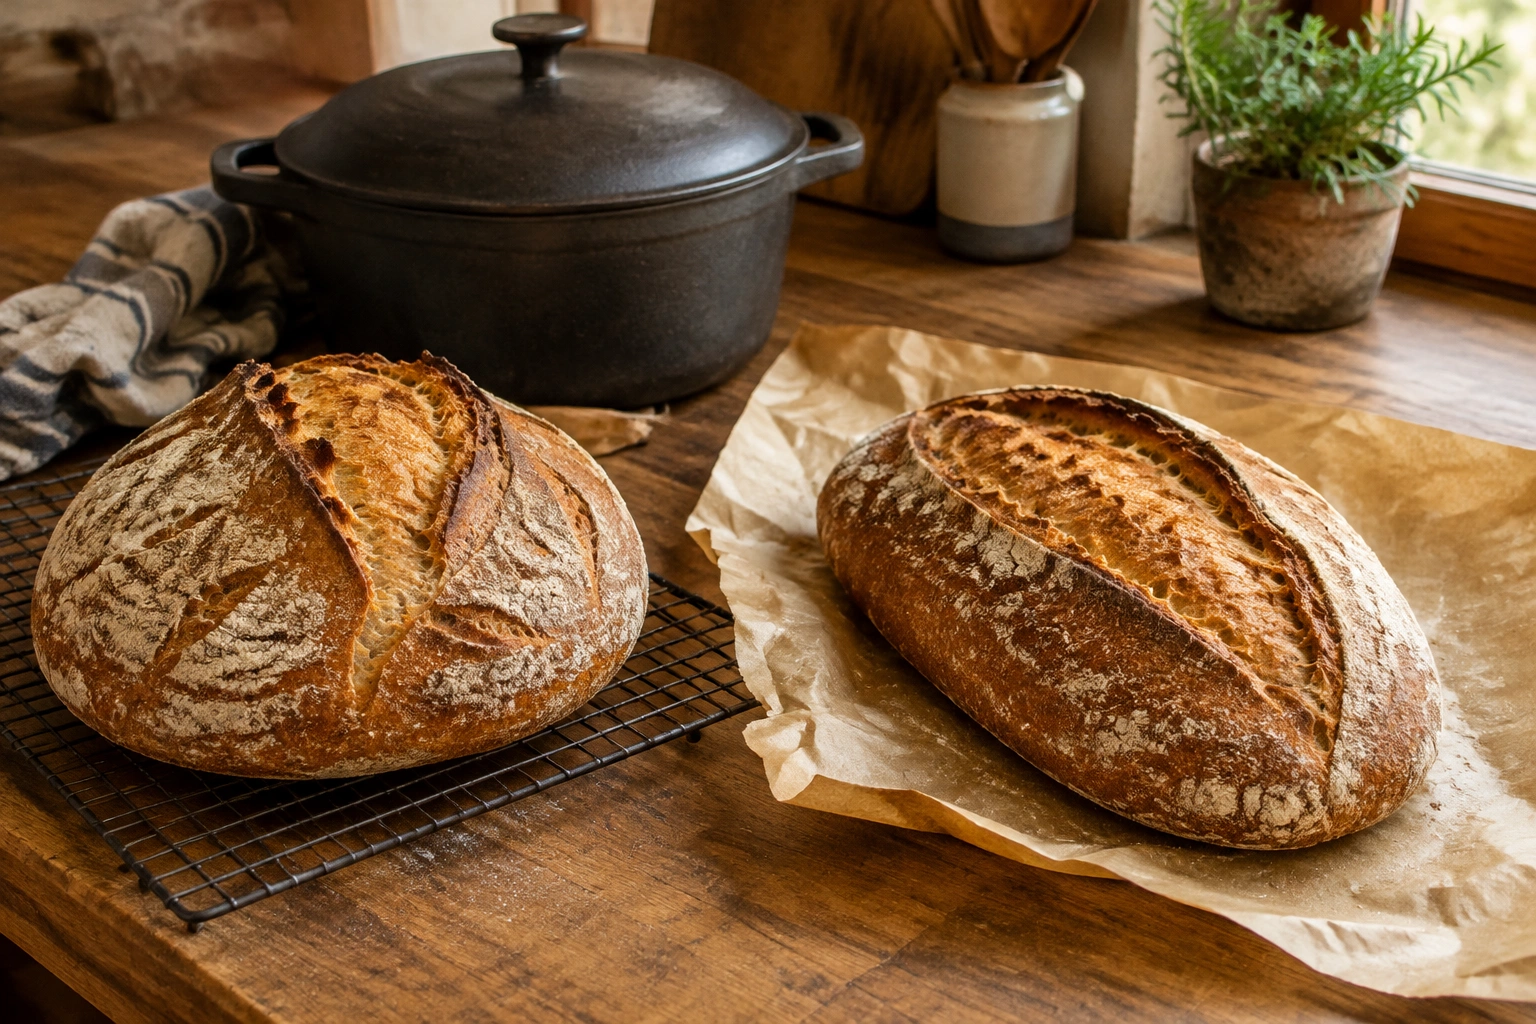
That covered phase helps trap steam, which keeps the crust flexible long enough for the loaf to expand. If you want a more rustic loaf with a strong crust, this is often the best no-pan method.
Skillet method
A cast-iron skillet works well for round loaves and some rustic breads.
- Preheat if your recipe benefits from strong bottom heat.
- Use parchment for easier transfer.
- Watch the bottom crust closely, because cast iron can brown quickly.
Cake pan method
A cake pan gives you more side support than a sheet pan while still being more flexible than a loaf pan.
- Shape the dough into a compact round or oval.
- Proof until it rises visibly but still feels supported.
- Bake until the center is fully done.
This is a smart compromise for softer doughs that need a little help but do not require a true loaf pan.
Proofing, Scoring, and Temperature Adjustments
These three details make the biggest difference once the loaf pan is gone.
Proofing
Without a pan, the dough needs enough structure to hold itself up. Underproofed dough can tear or burst unevenly. Overproofed dough can spread and collapse. The sweet spot is a loaf that looks expanded and airy but still feels elastic and supported.
Scoring
Scoring is more than decoration. It gives the loaf a controlled place to expand. Without it, the bread may burst at the weakest point. For a boule, one deep slash or a simple cross often works well. For a batard, a long diagonal slash is a classic choice.
Temperature
A no-pan loaf often bakes a little differently because more of its surface is exposed. As a rule of thumb, keep the oven temperature close to the recipe’s original setting, but expect the bake time to shift:
- Sheet pan: usually the closest to the original time, though the loaf may brown a bit faster.
- Dutch oven: often similar temperature, but the covered phase can extend the total bake while improving oven spring and crust.
- Cake pan: often close to the original temperature, but the loaf may need a little less time than a deep loaf pan if it is smaller and more exposed.
If you are adapting a loaf-pan recipe, start checking for doneness earlier than the recipe’s full time suggests, then add time as needed. One video demonstration of a soft, fluffy loaf baked without a bread pan used 400°F for 30 minutes, which shows that no-pan bread can bake successfully at a standard home-baking temperature. Still, your own loaf may need more or less time depending on size, dough type, and vessel.
How to Tell When No-Pan Bread Is Done
Do not rely on color alone.
Look for these cues:
– a deep golden to brown crust
– a loaf that feels lighter when lifted
– a hollow sound when tapped on the bottom
– an internal temperature that matches your recipe’s target, if you use a thermometer
The safest practical cue is a combination of crust color and internal texture. If the outside looks done but the center still feels gummy, give it more time. A panless loaf can brown faster than it finishes baking, especially if it is shaped thick in the middle.
Let the bread cool before slicing. Cutting too soon can compress the crumb and make the center seem underbaked even when it is not.
Common Mistakes to Avoid
Using the wrong dough for the method
A very soft dough on a baking sheet may spread too much. If the dough is enriched or slack, use a more supportive vessel.
Skipping tension during shaping
Loose shaping leads to flat bread. Surface tension is what helps the loaf stand tall.
Overproofing
This is one of the fastest ways to lose structure. The dough may look impressive in the bowl, then collapse when moved.
Not adjusting bake time
A panless loaf may brown earlier than a loaf baked in a pan, but that does not always mean it is finished. Check the center.
Forgetting to score
Unscored bread often splits unpredictably, especially when baked free-form.
Troubleshooting: Spreading, Dense Centers, and Uneven Browning
If the loaf spreads too much
- Shape it tighter next time.
- Reduce final proof slightly.
- Use a more supportive vessel, such as a Dutch oven or cake pan.
- If the dough is very wet, consider making smaller loaves or rolls.
If the center is dense or gummy
- Bake longer.
- Let it cool fully before slicing.
- Check that the dough was not underproofed.
- Make sure the loaf was not too thick in the middle.
If the crust browns unevenly
- Rotate the loaf if your oven has hot spots.
- Use parchment to help with even heat transfer.
- If the top browns too quickly, tent it loosely with foil near the end.
If the loaf tears instead of scoring cleanly
That usually means the dough was either underproofed or not shaped tightly enough. A cleaner score is easier when the surface is taut and the dough has had a proper final rise.
Practical Examples of Bread Without a Loaf Pan
A standard sandwich bread dough is usually the easiest to adapt into a batard or compact round on a parchment-lined baking sheet. You lose the straight-sided sandwich shape, but you gain a more rustic crust and a loaf that still slices well once cooled. If the dough is soft or enriched, a cake pan or Dutch oven is often a better fit than a bare sheet pan.
A wetter artisan dough, on the other hand, may do better in a Dutch oven. The vessel gives it the support it needs during oven spring, so the loaf rises higher instead of spreading flat.
If you only have a cake pan, use it as a middle-ground solution for a softer dough. The loaf may not look exactly like a traditional sandwich loaf, but it will usually bake more evenly than it would on a bare sheet pan.
For enriched doughs, shaped buns, braids, or pull-apart styles are often easier to adapt than a tall sandwich loaf, because the dough is supported by its own structure or by smaller portions. If your goal is a classic sandwich shape, a loaf pan substitute with more side support is usually the better choice.
Quick Comparison: Pan-Baked vs Free-Form Bread
A loaf pan gives you:
– straighter sides
– a softer, more uniform shape
– easier sandwich slicing
– more support for weaker dough
Free-form baking gives you:
– more crust
– a more rustic appearance
– more flexibility in shape
– a bigger demand on shaping and proofing skill
If your goal is neat slices for sandwiches, the loaf pan still has an advantage. If your goal is a crustier, artisan-style loaf, baking without a pan can be the better route.
Decision Guide: Which Loaf Pan Substitute Should You Choose?
Use this quick guide to match the substitute to your dough, shape, and equipment:
- Standard sandwich bread dough: choose a cake pan if you want more support, or a sheet pan if the dough is firm enough to hold shape.
- Soft or enriched dough: choose a cake pan or Dutch oven for better containment.
- Rustic boule or batard: choose a sheet pan for simplicity or a Dutch oven for the most support and best steam.
- Round loaf with strong bottom heat: choose a cast-iron skillet.
- Braided loaf, rolls, or buns: choose a sheet pan because the dough pieces support each other.
- No proofing basket available: use a rolled towel in a bowl, an improvised sling, or a lined bowl to help support the dough during proofing.
A simple way to decide is this: the softer the dough and the more sandwich-like the shape, the more support you want. The firmer the dough and the more rustic the shape, the more freedom you have to go pan-free.
When to Consult a Master Baker
If a recipe keeps collapsing no matter how carefully you shape it, the issue may be deeper than the bakeware. Very soft formulas, heavy enrichment, or unusually wet doughs sometimes need recipe-level adjustments rather than just a different pan. That is when a seasoned baker can help you decide whether to strengthen the dough, reduce hydration slightly, or switch to a more supportive loaf style.
FAQs
Can any bread recipe be baked without a loaf pan?
Not exactly. Many can, but some recipes were designed around the support of a loaf pan. Soft sandwich doughs and enriched doughs may need extra structure or a different shape.
What is the easiest way to bake sandwich bread without a loaf pan?
Shape it into a batard or compact round loaf and bake it on a parchment-lined sheet pan. If the dough is soft, a cake pan or Dutch oven may give better results.
Do I need to change the recipe if I use a sheet pan instead of a loaf pan?
Usually not the ingredients, but often the shaping, proofing, and bake time. The dough needs more structure because the pan is no longer holding it up.
Can I use a Dutch oven or skillet instead of a loaf pan?
Yes. A Dutch oven is especially helpful for wetter doughs, while a skillet works well for round rustic loaves. Both provide more support than a sheet pan.
How do I keep bread from spreading when baked free-form?
Build surface tension during shaping, avoid overproofing, and choose a dough that has enough strength for the method. If needed, use a more supportive vessel.
How do I know when bread baked without a loaf pan is done?
Look for a deeply browned crust, a hollow sound when tapped, and a fully set center. If you use a thermometer, confirm doneness with an internal temperature target from the recipe.
What breads are best for pan-free baking?
Boules, batards, rolls, braided loaves, and many soda breads are the easiest. Very soft sandwich loaves are more challenging but still possible with the right support.
Why does my bread look done outside but still feel gummy inside?
That usually means the crust browned before the center finished baking. Give it more time, and let it cool fully before slicing.