
The Best Temperature to Proof Dough for Better Rise, Flavor, and Texture

If you want one practical number to keep in mind, aim for about 75°F to 78°F (24°C to 26°C) for most bread doughs after mixing. That is a solid default proofing and fermentation target for many home bakers, but it is not a one-size-fits-all rule.
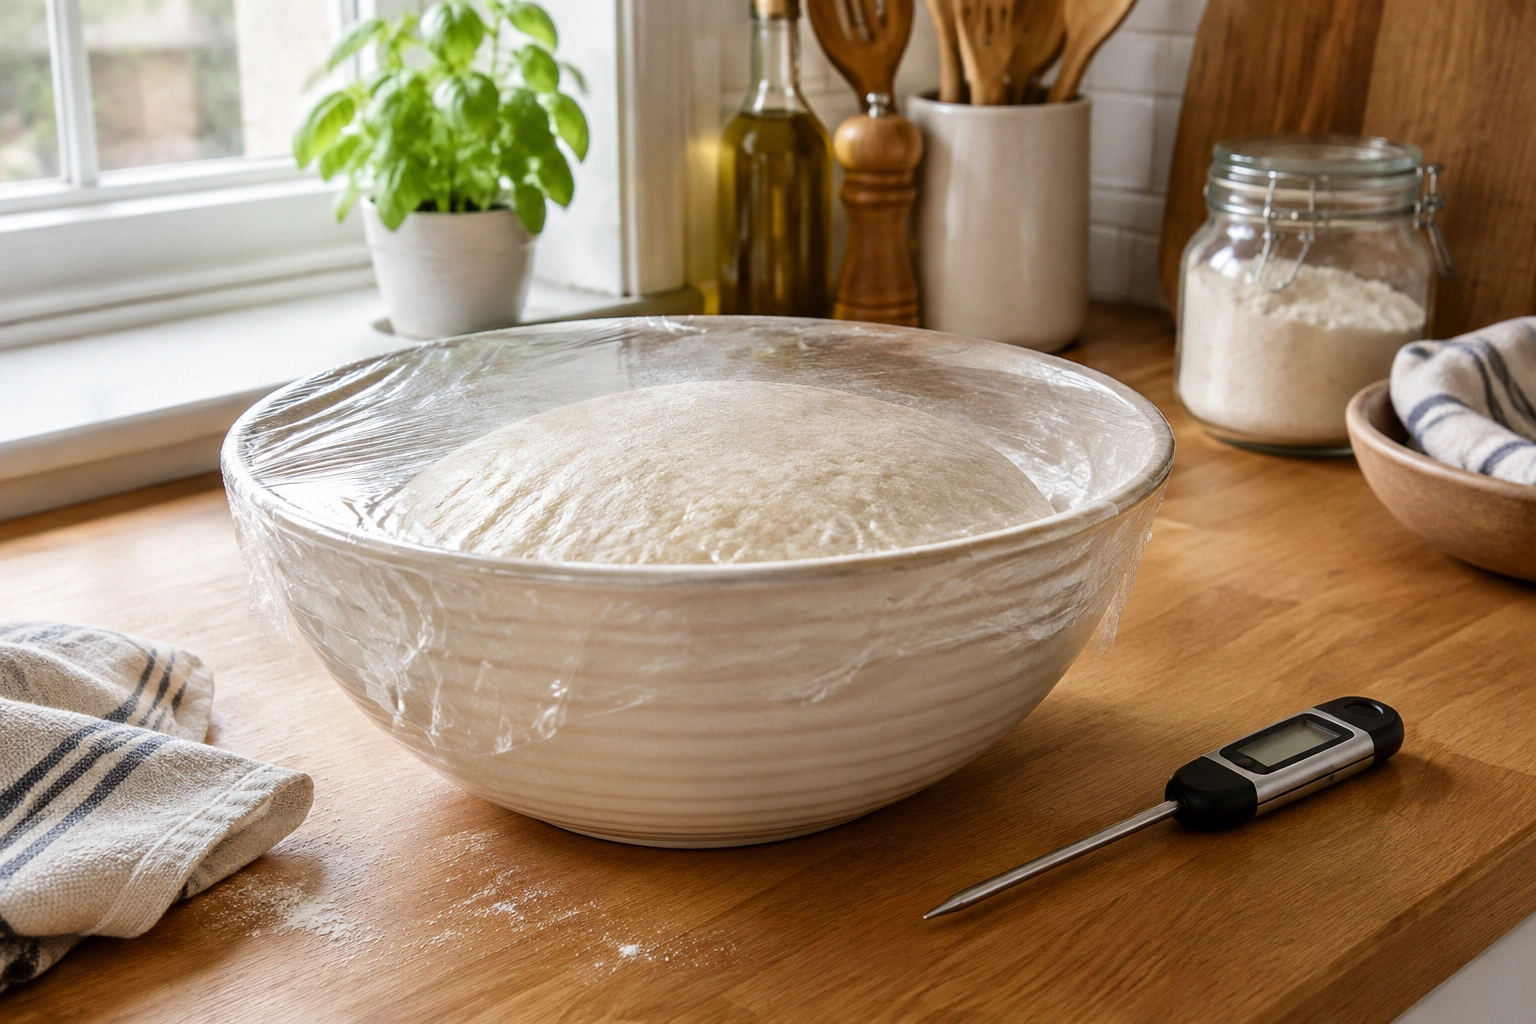
The key distinction is this: proofing temperature is not just the air around the dough. The dough itself has a temperature, and that dough temperature is what really drives fermentation. From there, the ideal range shifts a bit by dough type: lean doughs often do well in that default range, enriched doughs usually like a little more warmth, and sourdough often works well across a wider span depending on strength and schedule.
Quick Answer: The Best Temperature to Proof Dough
There is not one single ideal temperature for all doughs. A good default for many bread doughs is:
- 75°F to 78°F (24°C to 26°C) for many lean yeast doughs
- 78°F to 82°F (26°C to 28°C) for many enriched doughs
- 75°F to 82°F (24°C to 28°C) for sourdough, depending on strength and schedule
- Cooler proofing if you want slower fermentation and more scheduling flexibility
The important distinction is this: proofing temperature is not just the air around the dough. The dough itself has a temperature, and that dough temperature is what really drives fermentation. A warm room can still produce a cool dough if the mixing water and flour are cold. A proofing box can also warm the dough faster than expected if it is set too high.
So when bakers talk about the best temperature to proof dough, they usually mean the environment that helps the dough stay in a productive fermentation range, not just the room thermometer reading.
What Proofing Temperature Actually Controls
Temperature affects four things that matter a lot in bread:
1. Yeast activity
Warmer dough generally ferments faster because yeast works more actively as temperature rises within a safe range. That means gas production increases, the dough expands sooner, and you reach final proof faster.
2. Rise speed
A dough held at a warmer temperature will usually proof more quickly than one left in a cool kitchen. That can be helpful when you want bread the same day, but it also means there is less margin for error.
3. Flavor development
Slower fermentation often gives dough more time to develop flavor. That is one reason some bakers deliberately use a cooler proof or a cold retard in the refrigerator. Faster is not automatically better.
4. Texture and structure
If dough gets too warm for too long, it can become overactive, lose strength, and proof past its best point. The loaf may bake up flatter, with a weaker crumb and less oven spring.
The practical takeaway is simple: temperature is a control knob, not just a convenience. You are choosing both speed and character.
Ideal Proofing Temperature Range for Most Doughs
For a broad range of home bread doughs, 75°F to 78°F is a very dependable target. That is a strong starting point when you want predictable fermentation without pushing the dough too hard.
That does not mean every dough must live there. It means this range is a strong starting point when you want predictable fermentation without pushing the dough too hard.
Ambient temperature versus dough temperature
This is where many bakers get tripped up.
- Ambient temperature = the air in your kitchen, oven, proofing box, or other proofing space
- Dough temperature = the actual temperature of the dough mass
Those two numbers are not the same. If your kitchen is 72°F, your dough may still be cooler or warmer depending on the flour, water, mixing friction, and container.
A practical rule: if you want a dough to ferment in the 75°F to 78°F zone, you need to think about the whole system, not just the room.
A simple comparison of proofing ranges
| Dough type | Practical proofing range | What it does well | Trade-off |
|---|---|---|---|
| Lean yeast dough | 75°F to 78°F | Balanced rise, good structure, reliable timing | Too warm can overproof quickly |
| Enriched dough | 78°F to 82°F | Helps butter, sugar, and eggs rise more willingly | Can feel sluggish if too cool |
| Sourdough | 75°F to 82°F | Supports fermentation without rushing flavor too much | Needs closer attention because starter strength varies |
| Cold proof | 39°F to 46°F | Slows fermentation for scheduling and flavor | Requires longer timing and patience |
How the Best Temperature Changes by Dough Type
Lean dough: the most forgiving starting point
Lean doughs—think basic sandwich loaves, baguettes, or pizza dough—usually do well in the middle of the standard range. Around 75°F to 78°F is a sensible target because the dough rises steadily without becoming too soft or sticky too quickly.
If the dough is very active and your kitchen is warm, even room temperature may be enough. If your kitchen is cool, you may need a warmer environment to keep fermentation moving.
Enriched dough: often likes a little more warmth
Doughs with butter, sugar, eggs, or milk often ferment more slowly than lean doughs. Brioche, challah, and similar enriched breads commonly benefit from a slightly warmer proofing environment, often closer to 78°F to 82°F.
Why? Enrichment can slow yeast activity and make the dough feel heavier. A modest temperature bump helps the dough rise without turning the process into a long wait.
The trade-off is that enriched dough can also become soft and fragile if you overdo the warmth. Warm enough to wake it up, not hot enough to melt the structure.
Sourdough: usually a wider working range
Sourdough is more variable because starter strength, acidity, flour choice, and hydration all matter. A useful working range is often 75°F to 82°F, with many bakers finding that the dough behaves well in the upper end of that span.
Sourdough often rewards patience. If you proof it too warm, it can move quickly but lose some of the nuanced flavor development that makes sourdough special. If you proof it too cool, it may take a long time to become airy and ready.
For a deeper look at judging dough readiness, see our guide on how to proof bread dough.
What You Need Before You Start Proofing
You do not need fancy equipment to proof dough well, but a few tools make life easier:
- A thermometer for checking room or dough temperature
- A covered bowl or container to prevent drying
- Plastic wrap, a lid, or a damp cloth depending on the dough and setup
- A reliable warm spot such as an oven with the light on or a proofing box
- A timer, though not as your only guide
Optional but useful:
– A proofing box for consistency
– A spray bottle if your environment is dry
– A clear container so you can monitor rise more easily
The biggest advantage of a thermometer is not precision for its own sake. It helps you notice when your kitchen is drifting colder in winter or warmer in summer, which is often the real reason bread behaves differently from one week to the next.
How to Proof Dough at the Right Temperature: Step by Step
1. Mix with your target in mind
If you know your dough is starting cold, you can use slightly warmer mixing water to help it land in a better fermentation range. That adjustment is optional, though, and it depends on the dough’s starting temperature. If your kitchen is already warm or your ingredients are warm, you may not need to change the water temperature at all.
2. Choose your proofing environment
Pick one of three broad options:
- Room temperature if your kitchen is already comfortably warm
- A warm proofing setup if you need more speed and consistency
- Cold proofing if you want to slow the schedule down
3. Cover the dough
A covered dough loses less moisture and stays more stable. Dry skin on the surface can interfere with expansion and shaping.
4. Watch the dough, not just the clock
Time is only a rough estimate. A dough at 80°F may be ready much sooner than the same dough at 74°F. The Perfect Loaf’s proofing chart is a helpful example of how much proof time can vary with temperature: about 1 to 2 hours at 80°F, 2 to 4 hours at 74°F to 76°F, and much longer under refrigeration.
5. Check for readiness
Look for the signs of proper proofing:
– The dough looks fuller and slightly domed
– It feels airy, not dense
– A gentle poke springs back slowly, not instantly and not with no resistance at all
6. Bake when the dough is ready
Once the dough is properly proofed, move it to the oven. Waiting too long can erase the work you just did.
How to Proof Dough in a Cold Kitchen
A cold kitchen is one of the most common reasons bread feels stubborn. If your dough is barely moving, the solution is usually not more kneading. It is a better environment.
Useful home methods
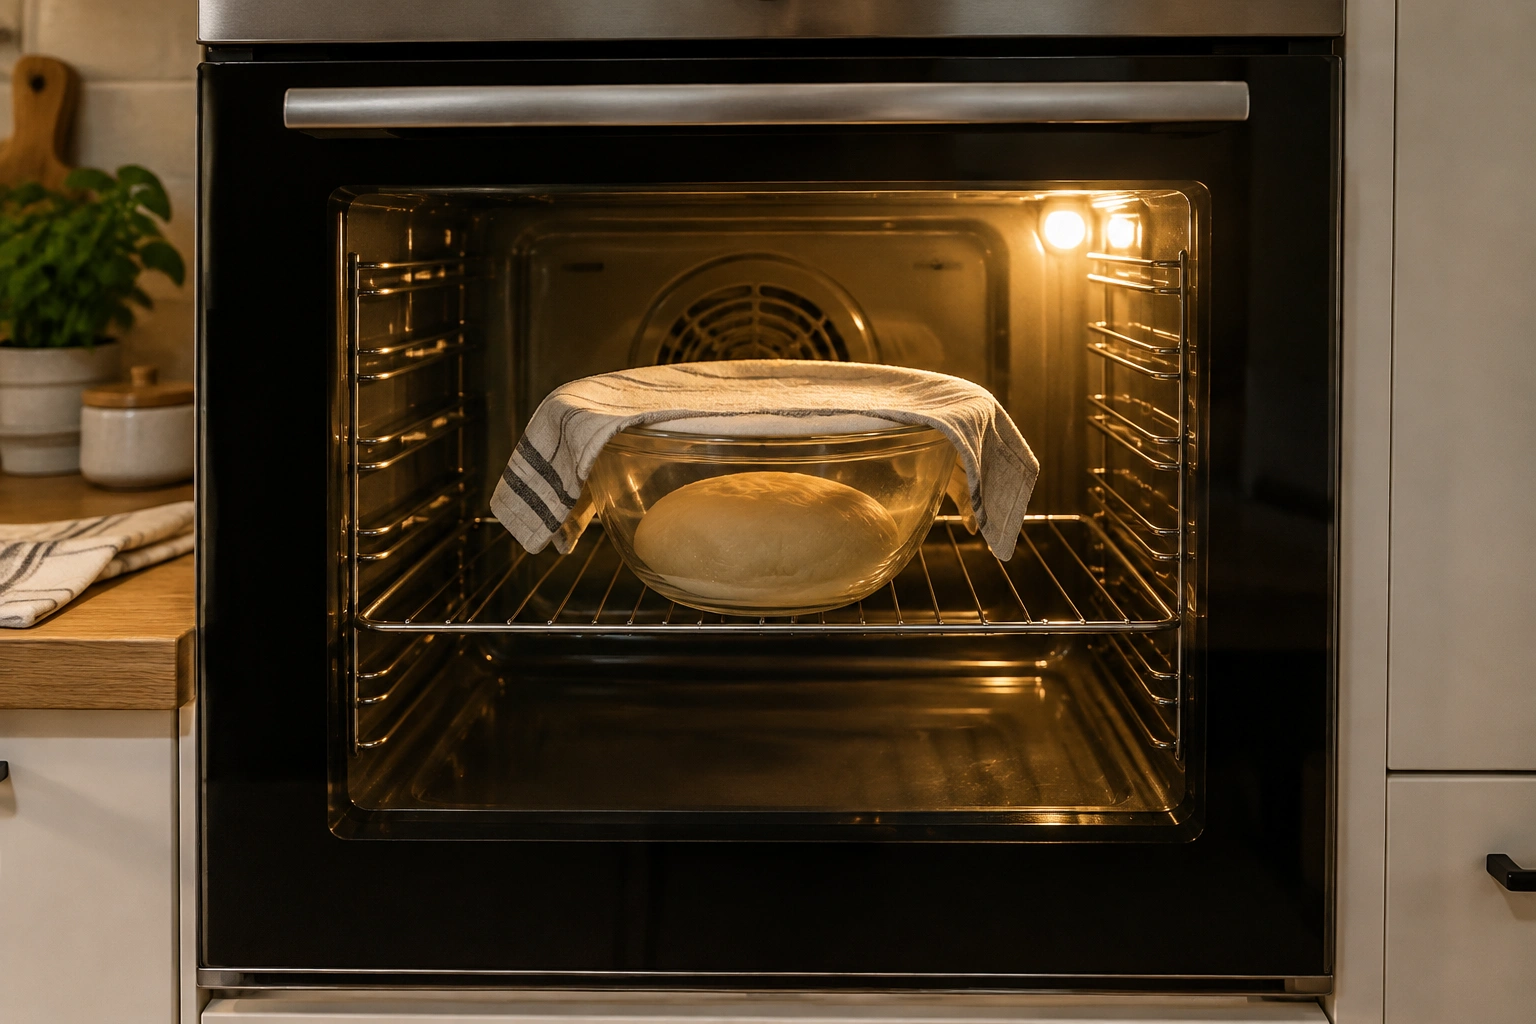
- Oven with the light on: often enough to create a gentle warm space
- Microwave with a mug of hot water: a short-term improvised chamber
- Proofing box: best for consistency if you bake often
A proofing box is the most controlled option, but it is not the only one. For many home bakers, an oven with the light on is the best balance of cost and convenience. Just make sure the space does not get too hot.
A useful reference point from baking equipment guidance is that a broad, simple setting like 81°F (27°C) works well for many breads. That is close enough to the comfortable fermentation zone without pushing the dough into a risky heat level.
Room-Temperature Proofing vs Warm Proofing vs Cold Proofing
Room-temperature proofing
This is the easiest method when your kitchen is already warm enough. It requires the least equipment and often gives a nice balance of speed and flavor.
Best for: everyday lean doughs, moderate schedules, beginner-friendly baking
Downside: can become inconsistent if your kitchen temperature swings
Warm proofing
This speeds fermentation and helps dough rise more predictably in cool conditions.
Best for: cold kitchens, enriched doughs, same-day baking
Downside: less forgiveness if the dough gets too warm
Cold proofing
Cold proofing in the refrigerator slows fermentation and gives you schedule flexibility.
Best for: overnight shaping, flavor development, busy schedules
Downside: takes longer, and you still need to judge readiness after the chill
Cold dough does not stop changing. It just changes more slowly.
How to Tell When Dough Is Properly Proofed
This is one of the most valuable skills in bread baking, because the clock alone will mislead you.
Signs of underproofed dough
- Feels tight and resistant
- Springs back quickly when poked
- Looks dense and underexpanded
- May tear or burst in the oven
Signs of overproofed dough
- Feels fragile or slack
- Poke leaves a dent that does not recover well
- Dough may look very puffy but weak
- Can collapse when moved or scored
Signs of properly proofed dough
- Slightly airy and expanded
- Surface looks smooth and alive, not tense
- Gentle poke returns slowly
- The dough holds shape but feels lighter than when first shaped
A small note on the poke test: lean dough usually springs back a bit more quickly, while enriched dough can feel softer and recover more slowly even when it is ready. That means you should not apply the exact same recovery speed to every dough type.
If you want a more detailed visual guide, our article on internal temperature of bread can help you connect proofing readiness with the final bake.
Common Mistakes to Avoid When Proofing Dough
Using one temperature for every dough
A lean dough, enriched dough, and sourdough loaf do not all want the same treatment. One setting may be fine as a starting point, but it should not become a rigid rule.
Proofing too warm
Warmth speeds fermentation, but too much warmth can make the dough overactive and fragile. The dough may rise quickly, then lose strength before baking.
Trusting the clock alone
A recipe’s proof time is a guide, not a guarantee. Flour type, room temperature, dough temperature, and starter strength all change the timeline.
Confusing room temperature with dough temperature
Your kitchen might be 72°F, but your dough may be significantly cooler or warmer. That difference can change the rise more than you expect.
Letting the dough dry out
A dry surface can limit expansion and create skin that affects shaping and oven spring.
Troubleshooting: Too Slow, Too Fast, or Dough That Won’t Rise
If the dough is too slow
Check whether the dough is simply too cold. Move it to a warmer place and give it more time. If you mixed with cold water and cold flour, the dough may need a longer rest before it becomes active.
If the dough is moving too fast
Lower the proofing temperature. Move it out of direct warmth, shorten the proofing window, or use a cooler room. If the dough is already near full proof, bake sooner rather than later.
If the dough seems sticky and weak
That can happen when fermentation has raced ahead. The dough may be overproofed or simply too warm for too long. Handle it gently and judge whether it still has enough strength to bake.
If the dough won’t rise at all
Check the basics:
– Is the yeast or starter active?
– Is the dough too cold?
– Was the salt level too high?
– Did the dough dry out?
Sometimes the issue is temperature. Sometimes it is the fermentation itself.
Practical Examples of Proofing Temperatures in Real Kitchens
A cold winter kitchen
Your kitchen sits around 66°F, and a sandwich loaf is barely rising. A turned-off oven with the light on may bring the dough into a more workable zone. In this case, moving from cool room temperature to a warmer proofing space can make the difference between a sluggish loaf and a timely bake.
An enriched dough like brioche
Brioche often benefits from a slightly warmer proof than lean dough. If it feels heavy and slow, a proofing environment near the upper end of the usual range can help it rise more evenly.
A sourdough loaf on a flexible schedule
If you want flavor and control, a cooler fermentation followed by a warmer final proof can work well. The dough may need close observation, because sourdough often tells you more through feel and appearance than through the clock.
The Practical Rule I’d Use at Home
If you want the shortest version of all this, here it is:
- Aim for 75°F to 78°F for most doughs
- Go a little warmer for enriched doughs
- Use 75°F to 82°F as a useful working range for sourdough
- Use the dough’s look and feel to decide when to bake
- Adjust the environment before you adjust the recipe
That approach gives you control without making proofing feel mysterious. Once you can manage temperature, the rest of bread baking becomes much easier to read.
Frequently Asked Questions
Is there one best temperature to proof dough?
Not exactly. 75°F to 78°F is a strong general target, but the best temperature shifts with dough type, starter strength, and whether you want a faster or slower rise.
Can I proof dough at room temperature?
Yes, if your room is in a comfortable range and the dough is active enough. In a cool kitchen, room temperature may be too slow.
Is a proofing box worth it?
If you bake often and want repeatable results, yes. It gives you consistency that improvised methods cannot always match. If you bake occasionally, an oven with the light on may be enough.
Should sourdough proof warmer than yeast bread?
Often, yes, or at least within a slightly wider warm range. Sourdough is more variable, so the dough’s behavior matters more than a single fixed number.
What if my dough proofs too fast?
Move it to a cooler spot or shorten the proof. If it is already very airy and fragile, bake it promptly.
What if my dough proofs too slowly?
Give it more warmth and more time. Cold dough is not necessarily bad dough; it just needs a different schedule.
Does humidity matter?
It does, especially for preventing the surface from drying out. You usually do not need extreme humidity at home, but covering the dough well is important.
Can I use the microwave as a proofing chamber?
Yes, as an improvised warm space, especially with a mug of hot water nearby. Just monitor it so it does not become too warm or uneven.
When should I stop proofing and bake?
When the dough looks expanded, feels airy, and springs back slowly after a gentle poke. If it looks fragile and overinflated, it has likely gone too far.
When should I consult a master baker?
If your dough consistently behaves unpredictably even when temperature is controlled, a master baker can help you evaluate flour choice, fermentation timing, shaping, and dough strength together.