
Bread Crust Too Hard? How to Diagnose the Cause and Fix It for Better Loaves

A bread crust that turns out too hard can be frustrating, especially when the crumb inside is soft and well baked. The good news is that this problem usually comes from a few predictable places: too much oven heat, too long in the oven, not enough steam, a dry dough formula, or storage that keeps pulling moisture out of the loaf after it cools.
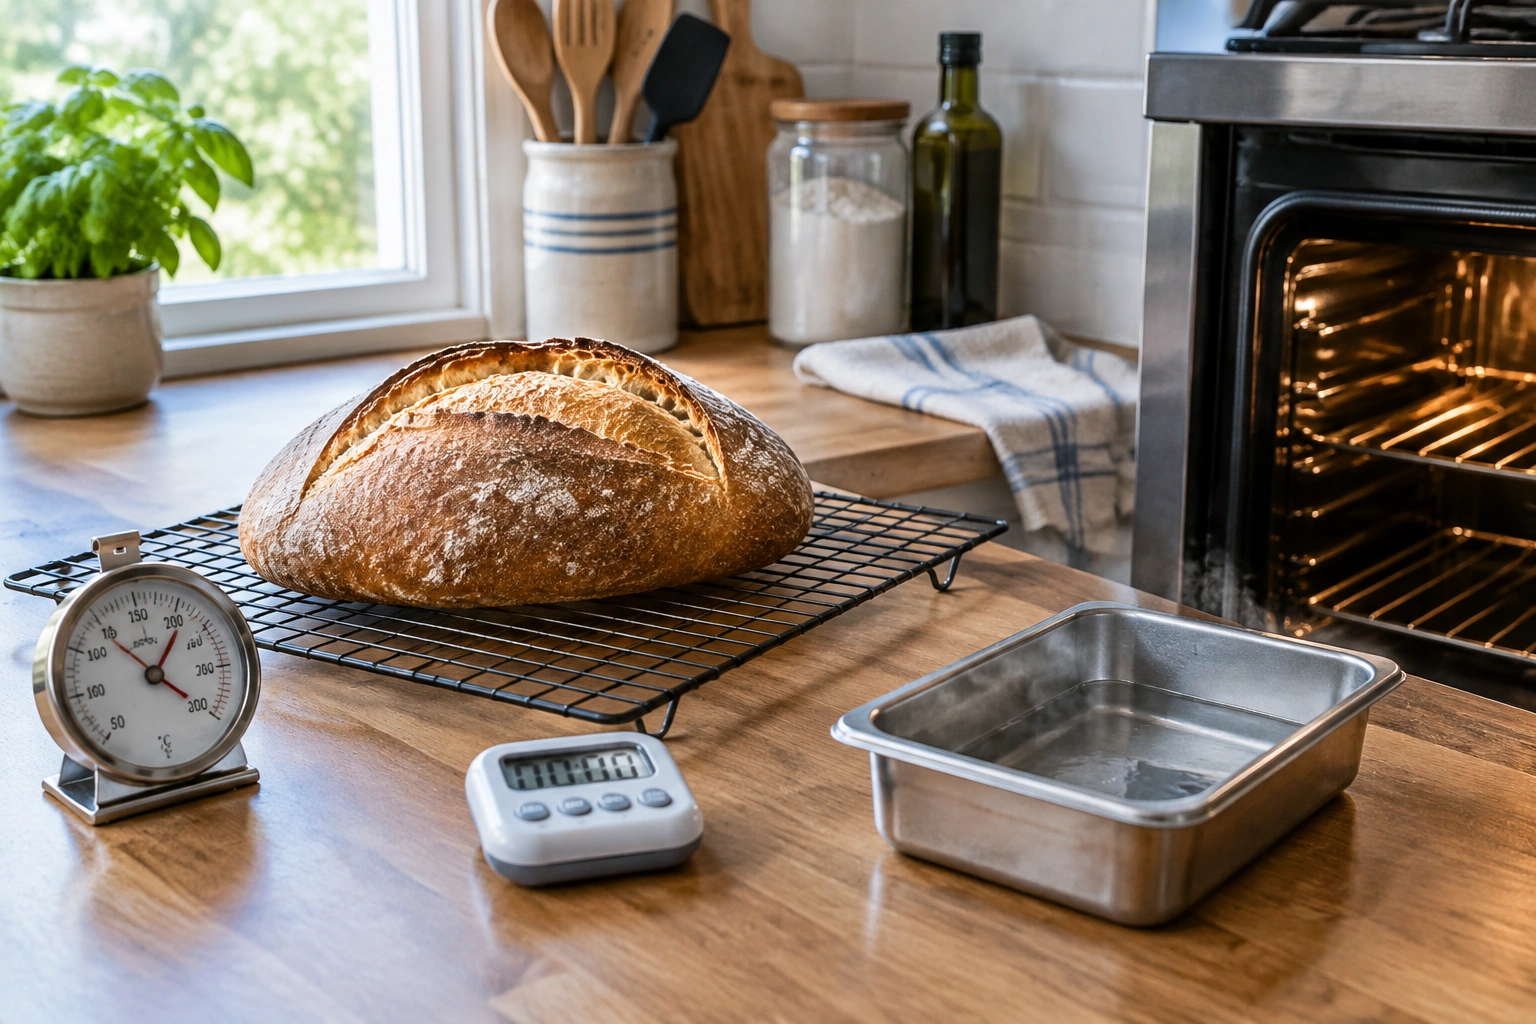
The trick is not to guess. A crust can be hard because it was baked that way, or because it hardened after the loaf left the oven. Those are different problems, and they need different fixes. If you learn to read the crust—thin and crisp, thick and leathery, dry and tough, or truly rock-hard—you can make one change at a time and get much closer to the texture you want.
Why Bread Crust Gets Too Hard
A good crust should match the bread style. A rustic boule may have a firm, crackly shell, while sandwich bread should usually stay softer. Trouble starts when the crust goes past the texture you intended.
In practical terms, a crisp crust is thin and snaps or crackles pleasantly when you bite it. A hard crust is thicker, drier, or tougher than intended and can feel difficult to chew. That difference matters because a crust can be crisp without being hard.
In simple terms, crust hardness usually comes from moisture loss. During baking, heat drives water out of the outer layer of dough. If that outer layer dries too fast, it can set thick and tough instead of thin and crisp. Strong bottom heat, a dry oven, or a long bake can all push the crust in that direction. A similar problem can happen after baking if the loaf sits exposed to air for too long.
That is why the same loaf can seem fine when it comes out of the oven and then feel much harder later. Cooling, airflow, and storage all matter. So does the dough itself: a lean, low-hydration dough will usually bake up firmer than an enriched dough with milk, fat, sugar, or eggs.
Quick Diagnosis: Is It Heat, Steam, Time, Dough, or Storage?
Before changing your recipe, try to identify the most likely cause from the loaf’s behavior.
Use this simple troubleshooting path
- If the crust browned very fast and feels thick or dry: the oven may be too hot, or the loaf may have stayed in too long.
- If the loaf expanded poorly and the crust feels leathery or dense: proofing may have been off, or the dough may have been too dry.
- If the crust looked fine right out of the oven but hardened later: cooling or storage is probably the main issue.
- If the loaf has a very rustic, artisan style and you used little or no steam: the crust may have set too early.
- If the bread is enriched with milk, butter, sugar, or eggs but still turned out hard: the bake may have been too long, or the loaf may have dried during cooling.
A useful rule: if the problem shows up in the first 10 to 15 minutes of baking, think about steam and oven setup. If the crust feels hard only after the bread has cooled, think about storage and exposure to air.
Tools, Materials, and What to Check Before You Bake Again
Troubleshooting gets easier when you can compare one bake to the next.
Check these before your next loaf
- Oven thermometer: Many home ovens run hotter or cooler than the dial suggests.
- Timer: Bake time matters more than we often admit. A few extra minutes can change crust texture.
- Hydration notes: Write down the dough’s water percentage if you use baker’s percentages.
- Steam method: Note whether you used a pan of hot water, a spray, a covered vessel, or no steam at all.
- Rack position: Lower racks can increase bottom heat; higher racks can reduce it.
- Cooling setup: A wire rack lets air move around the loaf.
- Storage method: Paper, cloth, plastic, or a bread box all affect crust differently.
If you keep a small baking log, patterns show up fast. For example, if three loaves baked on the lower rack come out thicker and harder on the bottom, you have a real clue—not just a hunch.
How to Fix a Hard Bread Crust While Baking
If the loaf is still in the oven, you still have a chance to influence the final crust.
Start with the smallest useful change
If you are troubleshooting a loaf that bakes too hard, change only one variable on the next bake:
– lower the oven temperature by 10 to 25°F
– or shorten the bake by 3 to 5 minutes
– or add steam only during the first part of the bake
That keeps the test controlled and makes the result easier to read.
1. Reduce the oven temperature slightly if the crust is setting too fast
A loaf that browns early often keeps drying while the inside finishes baking. Lowering the temperature a little can slow crust formation and give the loaf more even bake time. You do not need a dramatic change; a modest adjustment is often enough to test the effect.
The trade-off is color. A cooler bake may give you a paler crust, so watch for balance rather than chasing softness alone.
2. Shorten the bake if the crust is already dark enough
If the crust has reached the color you want and the bread is done in the center, continuing to bake only drives out more moisture. That can turn a good crust into a hard one.
For many home bakers, the best cue is not the clock alone but the combination of color, feel, and loaf size. A smaller loaf finishes sooner than a large boule, even in the same oven. If you are unsure, start checking a few minutes earlier than usual on the next bake rather than waiting for the full timer.
3. Use steam early in the bake
Steam delays crust setting in the first part of baking. That matters because a crust that sets too soon can become thicker and tougher. Steam can come from a pan of hot water, a spritzing method, or a covered vessel such as a Dutch oven.
For a home oven, practical options include:
– a small metal pan with hot water placed on a lower rack
– a few quick sprays of water inside the oven at the start of baking
– a preheated Dutch oven or cloche for the first part of the bake
A covered bake is often the simplest way to hold in moisture early, especially for home bakers who want a more controlled result. It usually helps the crust stay thinner at the start, though it may also reduce the open, crackly finish some artisan loaves are meant to have.
For a deeper look at softening or crisping crust on purpose, see our guide to how to bake bread for a crisp, crackly crust at home and our companion article on getting a soft bread crust without sacrificing a good loaf.
4. Move the loaf higher if the bottom is getting too hard
Bottom heat can be a hidden culprit. If the base of the loaf is thick, dark, or tough while the top seems normal, the rack may be too low or the baking surface too intense.
Raising the loaf in the oven can ease that direct heat. If you bake on a stone or steel, the trade-off is that you may lose some of the strong oven spring those tools can provide. That is why one change at a time matters.
5. Match the vessel to the bread style
A Dutch oven or other covered setup is useful when you want a softer, thinner crust during the early bake. An open bake gives a more rustic finish, but it also exposes the loaf to more drying.
That does not make one method “better.” It makes them different. If you want a sandwich loaf or a softer country loaf, covered baking can be a smart choice. If you want a more assertive artisan crust, open baking may be exactly right.
How Dough Formula Affects Crust Hardness
Sometimes the oven is not the main issue. The formula itself can push the crust toward hard or soft.
Hydration matters
A low-hydration dough tends to bake drier. That can create a firmer crust and a tighter crumb. A higher-hydration dough usually gives the crust more moisture to work with, which can help it bake thinner and less leathery.
If you want a softer crust on a sandwich loaf, a practical next step is to raise hydration in small increments, such as 2% to 5% at a time. That is usually enough to see a difference without making the dough unmanageable. For rustic loaves, a moderate hydration increase can also help, but the goal is often a thinner, crisper crust rather than a very soft one.
The trade-off is handling. Higher-hydration dough can feel stickier and harder to shape, especially for newer bakers. If you raise hydration, expect to adjust your folding, shaping, and bench time as well.
Enriched doughs usually bake softer
Sugar, fat, milk, and eggs all tend to soften the final crust compared with a lean dough made mainly from flour, water, salt, and yeast. That is why sandwich loaves, brioche, and milk breads usually stay softer than French-style loaves.
If your goal is a softer crust, changing the formula may be more effective than tweaking bake time alone. For sandwich loaves, enrichment is often the more direct fix when you want a tender crust and a softer bite. For rustic loaves, adding enrichment changes the bread’s character, not just the crust, so it is better to use hydration and steam first if you want to keep the style lean.
Flour strength matters too
Very strong flour can produce a tougher, more rubbery crust in some breads. That does not mean strong flour is bad; it just means the flour should match the style. A baguette or similar loaf usually benefits from a more balanced flour choice than a bread built for a chewy, sturdy crumb.
Proofing Problems That Can Lead to a Tough Crust
Proofing affects more than volume. It also changes how the crust develops.
Under-proofed dough
Under-proofed dough often springs aggressively in the oven. That can make the crust split sharply and set unevenly. The loaf may seem dense or tight, and the crust can feel thick because the dough had not expanded enough before baking.
Over-proofed dough
Over-proofed dough is more fragile. It may not hold gas well, so the loaf can spread rather than rise strongly. That can lead to a flatter shape and a crust that bakes up tougher than expected because the structure was already weakened.
The practical decision rule
If a loaf is consistently hard on the outside and under-expanded, adjust proofing before changing the oven. If it is fully risen but still dries out, look more closely at bake time, steam, and storage.
One useful habit is to judge proof by both look and feel. A dough that has doubled in size is not always ready, and a dough that looks only moderately risen may already be at the right point depending on the formula and room temperature.
Cooling and Storage: Why the Crust Gets Hard After Baking
A loaf does not stop changing when it leaves the oven.
In the first 10 to 30 minutes after baking, the crust is still finishing its set as steam moves out of the loaf. During this period, a bread that seems crisp may become a little firmer as it cools, and that is normal. The crumb is also still stabilizing, so it is better not to seal the loaf too early.
Over the next 1 to 3 hours, the crust usually continues to dry and firm up if the loaf is left uncovered. That is when a thin, crisp crust may become noticeably harder. If you want a softer crust, wrapping the loaf after it is fully cool can help redistribute moisture from the crumb into the crust.
Storage changes the result again:
- Paper or cloth: preserves more crust character, but will not soften it much.
- Plastic or an airtight bag: softens crust by trapping moisture.
- Loosely covered on the counter: sits somewhere in between.
If you want a softer crust, wrap the loaf only after it has fully cooled. A still-warm loaf in plastic can trap too much moisture and make the crust gummy instead of pleasantly soft. The goal is moisture redistribution, not condensation.
How to Soften an Already Baked Loaf
If the bread is already baked and the crust is too hard, you still have a few practical options.
Wrap the loaf after it cools
Once the bread is fully cool, place it in a plastic bag or airtight container. The moisture inside the loaf will move outward and soften the crust. This is one of the simplest fixes for a crust that turned out firmer than you wanted.
Warm slices briefly
If you only need the crust softer for serving, warm individual slices briefly before eating. That can relax the crust enough to improve the texture without changing the whole loaf.
Use the loaf in a different format
A very hard crust can be less noticeable when the bread is toasted, turned into croutons, or used for bread pudding. That is not a failure; it is a practical way to salvage a loaf that is still tasty.
What I would avoid is trying to “fix” a hard crust by adding too much moisture directly to the outside. That can make the surface soggy rather than soft.
When a Hard Crust Is Normal or Desirable
Not every hard crust is a mistake.
A properly baked artisan loaf may have a firm, crackly crust that shatters a little when sliced. That is different from a crust that feels thick, dry, or leathery. The first is a style choice; the second is usually a sign that something in the process needs adjusting.
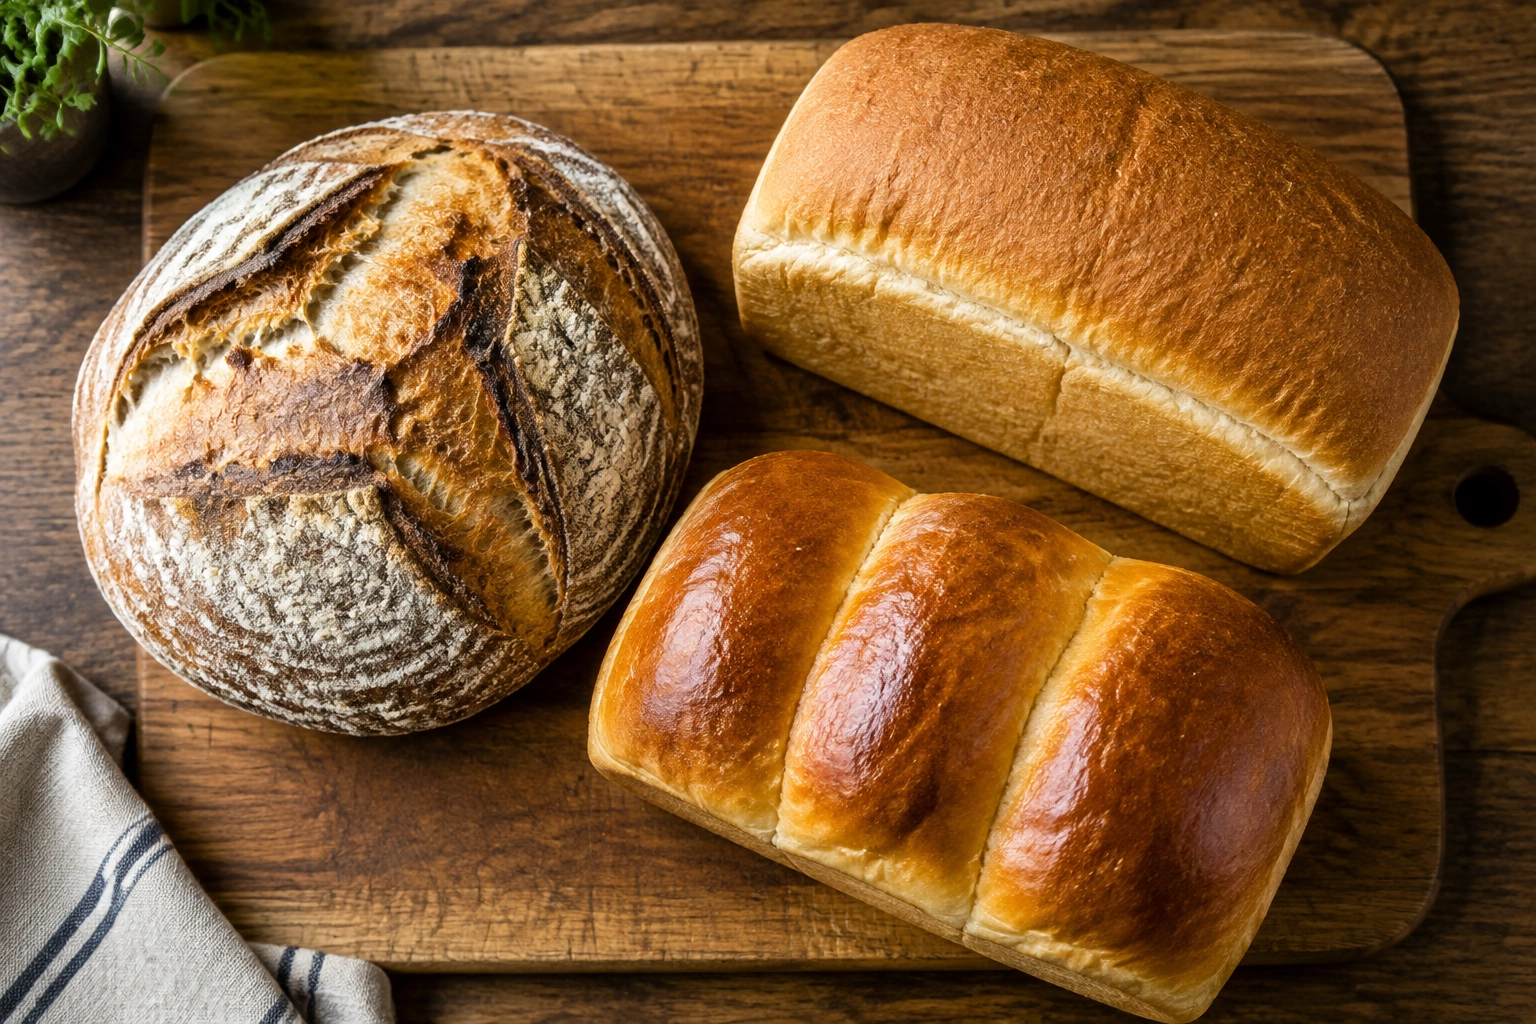
Here is a simple distinction:
- Crisp crust: thin, lively, and pleasant to bite through.
- Hard crust: thick, dry, or difficult to chew.
- Leathery crust: tough and rubbery, often from a mismatch between flour, bake method, and hydration.
- Rock-hard crust: usually a sign of overbaking, drying, or storage loss.
For baguettes and rustic loaves, a firmer crust may be exactly right. For sandwich bread, pan loaves, and enriched breads, a hard crust usually works against the style.
Common Mistakes to Avoid Next Time
A few troubleshooting habits cause more confusion than they solve.
Changing too many variables at once
If you lower the temperature, add steam, change the flour, and shorten the bake all in one trial, you will not know what actually helped.
Treating every bread the same
A lean country loaf and a milk bread are not supposed to finish with the same crust texture. Decide what “right” means for the bread you are making.
Ignoring the cooling stage
A loaf that seems fine in the oven can harden later if it cools uncovered for too long.
Overlooking bottom heat
A crust that is too hard on the bottom often points to oven position or baking surface, not just the recipe.
Practical Examples for Different Bread Styles
Artisan loaf
If a rustic loaf comes out too hard, the likely fixes are more steam early, slightly less bake time, or a small temperature adjustment. A covered bake can help if you want a thinner crust.
Sandwich bread
For sandwich bread, the formula often matters as much as the bake. Milk, butter, or a little sugar can help soften the crust. Storage in a bag after cooling usually matters too.
Pan bread
Pan loaves can brown and dry quickly on the sides and bottom. If that happens, check rack position and pan color. Dark pans absorb more heat, which can make the crust firmer.
Enriched doughs
Brioche, challah, and milk breads already lean toward a softer crust. If they still bake too hard, look first at bake time and cooling. These breads usually do not need aggressive heat to finish well.
A Simple Way to Think About the Fix
If the crust is hard during baking, adjust heat, steam, bake time, or oven position.
If the crust is hard after baking, adjust cooling and storage.
If the crust is hard every time, look at the formula and proofing.
That framework keeps troubleshooting manageable. Bread responds best when you change one thing, observe the result, and build from there.
When to Consult a Master Baker
If your loaves keep turning out with the same hard crust despite careful changes to temperature, steam, proofing, and storage, a master baker or experienced instructor can help you read the loaf more precisely. Sometimes the issue is not one obvious mistake but a combination of small factors: flour choice, shaping tension, oven setup, and bake style all working together.
A fresh set of eyes can save a lot of guessing.
The good news is that crust texture is very teachable. Once you learn whether the problem is heat, steam, time, dough, or storage, you can make targeted changes instead of chasing the same hard crust from one bake to the next.