
How Much Yeast Is in a Packet? A Baker’s Guide to the Exact Measurement

If you’ve ever stood in the kitchen holding a little yeast envelope and wondering whether that’s enough for your dough, here’s the short answer: a standard packet of dry yeast is typically 2 1/4 teaspoons, about 7 grams, or 0.25 ounce.
That’s the number most home bakers need. It’s also the measurement that shows up in many bread formulas as “1 packet” or “1 envelope.” For a standard loaf or a moderate batch of dough, one packet is often a good starting point.
The catch is that “packet” is a convenience measurement, not a magic rule. Once you know the conversion, you can scale recipes, measure from a jar, or use a kitchen scale when you need precision.
Quick answer: how much yeast is in a packet?
A standard packet of dry yeast is generally:
- 2 1/4 teaspoons
- about 7 grams
- 0.25 ounce
That conversion is widely used by yeast manufacturers. Fleischmann’s lists 1 packet as 2 1/4 teaspoons, and Red Star’s conversion chart lists 1 package as 7 grams and 2 1/4 teaspoons. Fleischmann’s also shows the math for 2 and 3 packets, which makes scaling much easier in real recipes. Fleischmann’s yeast basics and Red Star’s yeast conversion chart are both useful references when you want the number straight from the source.
A simple way to remember it:
1 packet = 2 1/4 teaspoons = 7 grams = 0.25 oz
That’s the most practical answer for everyday baking.
What counts as a standard yeast packet?
When most recipes say “1 packet of yeast,” they mean a small sealed envelope of dry yeast sold in the familiar single-use size. In common U.S. baking use, that packet size is often the same for active dry, instant, and rapid-rise yeast, but that is a standard convention rather than a universal rule across every brand or market. What changes is usually how you use it, not the weight inside the packet.
That distinction matters. A lot of bakers assume instant yeast packets are smaller or stronger by volume, but the standard packet amount is still usually the same by weight. The granules may look different, and the handling instructions may differ, but the packet itself often contains the same amount of yeast.
One important exception: fresh yeast is not sold in the same dry packet format and should not be treated as a packet-for-packet substitute. Fresh yeast uses a different conversion and handling style.
Yeast packet conversions: teaspoons, tablespoons, grams, and ounces
Here’s the conversion table I wish every recipe included.
| Yeast amount | Teaspoons | Tablespoons | Grams | Ounces |
|---|---|---|---|---|
| 1 packet | 2 1/4 tsp | 3/4 tbsp | 7 g | 0.25 oz |
| 2 packets | 4 1/2 tsp | 1 1/2 tbsp | 14 g | 0.5 oz |
| 3 packets | 6 3/4 tsp | 2 1/4 tbsp | 21 g | 0.75 oz |
| 4 packets | 9 tsp | 3 tbsp | 28 g | 1 oz |
| 5 packets | 11 1/4 tsp | 3 3/4 tbsp | 35 g | 1.25 oz |
A few notes help keep this table useful:
- Teaspoons are practical, but grams are more exact.
- Tablespoons are less convenient for yeast because the numbers get awkward fast.
- If a recipe gives yeast in grams, use a scale whenever possible.
- If you only have a packet and the recipe wants teaspoons, the packet conversion is usually enough for home baking.
For a quick mental shortcut, think of 1 packet as a little under 1 tablespoon. Since 1 tablespoon equals 3 teaspoons, and a packet is 2 1/4 teaspoons, it’s not quite a full tablespoon.
Active dry, instant, and rapid-rise yeast: what changes and what doesn’t
The packet size is usually the same across common dry yeast types, but brand and recipe instructions can affect whether you can substitute one for another directly. The real difference is how the yeast behaves in the dough.
Active dry yeast
Active dry yeast is often dissolved in warm water before mixing, especially in older recipes or recipes written with that step in mind. Fleischmann’s recommends dissolving each packet in 1/4 cup warm water at 100–110°F and subtracting that water from the recipe’s total liquid.
That means if your dough recipe calls for 1 cup of liquid and you dissolve the yeast in 1/4 cup, you should reduce the remaining liquid in the formula accordingly.
Instant yeast
Instant yeast is usually designed to mix directly into the dry ingredients. It often works well without a separate proofing step, which is why many bakers like it for simple bread and pizza dough.
Rapid-rise yeast
Rapid-rise yeast is also a dry yeast product, and in packet form it generally follows the same weight conversion. The difference is mainly in performance and handling, not packet size.
The practical decision rule is simple:
- If the recipe says active dry, follow the recipe’s liquid and proofing instructions.
- If the recipe says instant or rapid-rise, you can usually mix it in with the dry ingredients unless the recipe says otherwise.
- If you are substituting one type for another, the packet amount often stays the same, but the timing and method may need adjustment, and the swap can depend on the specific brand and recipe.
If you want a deeper look at those differences, this guide on active dry yeast vs instant yeast is a helpful companion piece.
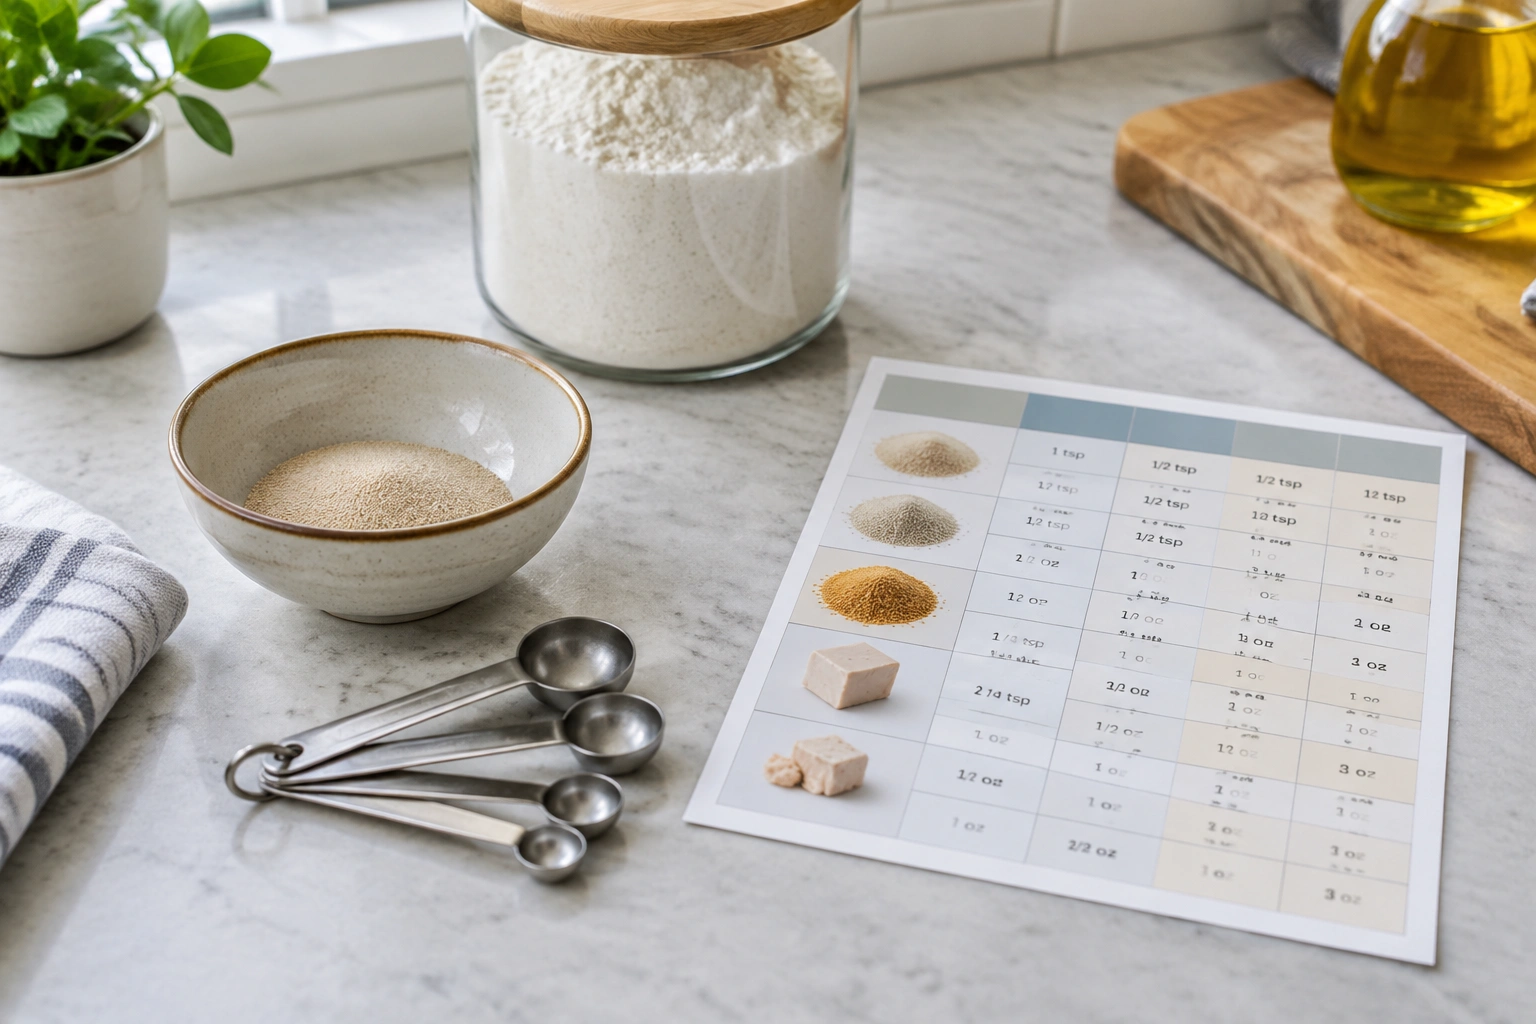
Tools and materials you’ll need to measure yeast accurately
You do not need special equipment to bake with a packet of yeast, but the right tool makes conversions cleaner.
Best tools for the job
- Measuring spoons for full packets or small partial amounts
- Kitchen scale for gram-based recipes and partial packets
- Small bowl if you’re measuring yeast from a jar
- Clean spoon or scoop for bulk yeast storage containers
When a scale is the better choice
Use a scale when:
– the recipe lists yeast in grams
– you need half a packet or quarter packet
– you are scaling a formula up or down and want consistency
A scale removes the guesswork. Measuring by spoon is fine for a full packet, but once you start splitting packets, grams are simply more reliable.
How to measure a full, half, or quarter packet
1) Measuring a full packet
If your recipe calls for one packet, open the envelope and use the whole amount.
That’s the easiest case, and it’s usually the best choice when the recipe is built around a standard 7-gram dose.
2) Measuring half a packet
Half a packet is about:
– 1 1/8 teaspoons
– 3.5 grams
If you do not have a scale, use measuring spoons and level carefully. If you do have a scale, this is the better option.
3) Measuring a quarter packet
A quarter packet is about:
– 9/16 teaspoon
– 1.75 grams
This is where a scale becomes especially useful. A quarter packet is hard to eyeball accurately, and even a small measuring error can matter in a small batch. For amounts this small, weighing is more dependable than spooning.
4) Measuring from a bulk jar
If you keep yeast in a jar, measure the same amount you would get from packets:
- 2 1/4 teaspoons = 1 packet
- 7 grams = 1 packet
That makes jar yeast easy to use in any recipe that lists packets.
How to scale yeast up or down for a recipe
Once you know the packet conversion, scaling becomes straightforward.
Scaling down
If a recipe calls for 2 packets and you only want to make half the dough, the yeast amount usually scales down too.
Example:
– Original recipe: 2 packets = 14 grams
– Half batch: 1 packet = 7 grams
That proportional approach works well for most home baking.
Scaling up
If you double a recipe that uses 1 packet, you generally double the yeast as well.
Example:
– Original recipe: 1 packet = 7 grams
– Double batch: 2 packets = 14 grams
The trade-off
Exact scaling keeps the dough formula balanced, but proofing time can still shift with temperature, dough composition, and kitchen conditions. So while the yeast amount scales cleanly, the rise schedule may still need attention.
A good practical rule: scale the yeast proportionally, then watch the dough rather than the clock alone.
When to dissolve, proof, or add yeast directly
This is where many bakers get tripped up. The amount of yeast may be correct, but the method can still be wrong for the recipe.
Dissolve first when:
- the recipe specifically says to dissolve the yeast
- you are using active dry yeast
- you want to check whether the yeast is active before committing the flour
Fleischmann’s recommends dissolving active dry yeast in 1/4 cup warm water at 100–110°F. That warm, not hot, water matters because overheating can damage yeast.
Mix directly with dry ingredients when:
- the recipe calls for instant yeast
- the recipe says to add yeast with the flour
- you are using a modern bread formula that doesn’t require a separate yeast bloom
Proofing as a freshness check
If you are unsure whether the yeast is still lively, proofing can help you decide before you waste flour. If it doesn’t foam or look active after the recipe’s recommended wait, the yeast may be old or the water may have been too hot or too cold.
Common mistakes when measuring yeast
Confusing teaspoons and tablespoons
A packet is 2 1/4 teaspoons, not 2 1/4 tablespoons. That’s a big difference. Using tablespoons by mistake can throw off the dough.
Guessing partial packets
Half a packet is not “about half” by eye. If the recipe is small, weigh it.
Using the wrong yeast type without adjusting the method
The packet amount may be the same, but active dry and instant yeast are not always handled the same way.
Ignoring freshness
Even the correct amount won’t help if the yeast is tired. Old yeast can underperform, especially in enriched doughs with sugar and fat.
Forgetting to subtract dissolved liquid
If you dissolve active dry yeast in water, remember that the liquid counts toward the dough’s total hydration.
Troubleshooting: if your dough isn’t rising
If the dough seems stuck, the yeast amount is only one possible cause.
Check these in order:
-
Was the yeast fresh?
If the package is old or has been stored a long time, performance may drop. -
Was the water temperature reasonable?
Too hot can damage yeast; too cool can slow it down. -
Was the measurement accurate?
A “packet” should be a true packet amount, not an estimate. -
Was the dough too cold?
Cool kitchens slow fermentation. -
Was the dough formula very enriched?
Sugar, butter, and eggs can slow visible rise.
If the yeast amount was correct but the dough still underperforms, freshness and temperature are usually the first things to inspect.
Practical examples for bread, pizza dough, and sweet dough
One standard loaf of bread
Many basic loaf formulas use 1 packet of yeast, which is why that size is so common. A packet is often enough for a single standard loaf, especially when the recipe is designed around it.
Pizza dough
Pizza dough recipes often use 1 packet for a family-size batch, but some formulas use less if they want a longer fermentation. If your recipe calls for grams, 7 grams is the number to remember.
Sweet dough
Sweet dough can be slower to rise because sugar and fat affect fermentation. You may still use a standard packet, but the dough may need more time rather than more yeast.
Small dinner roll batch
If the recipe is small, you may only need half a packet. That’s one of the clearest cases where a scale pays off.
Converting from packets to grams
If a recipe calls for 14 grams, that is 2 packets. If it calls for 21 grams, that is 3 packets. Those conversions are clean and easy to scale.
Storage and freshness tips for packet yeast
For dry packet yeast, the main goal is keeping it dry, sealed, and away from heat.
Unopened packets
Store them in a cool, dry place until the best-by date.
Opened packets
If you don’t use the whole packet, transfer the remaining yeast to an airtight container and store it in a cool place or refrigerator, depending on the product instructions.
When to test freshness
Test yeast if:
– the packet is old
– it has been stored in a warm kitchen
– the dough has failed before using the same yeast
Freshness is especially worth checking when you are making a dough that needs reliable lift, such as sandwich bread or enriched rolls.
When to consult a master baker
If you are developing formulas, adjusting fermentation schedules, or converting a recipe from packets to grams for repeated production, a master baker can help you fine-tune the balance between yeast amount, dough temperature, and rise time. That matters most when a recipe is close to the edge of overproofing or underproofing.
For most home bakers, though, the core answer is simple and dependable:
One packet of yeast is usually 2 1/4 teaspoons, about 7 grams, or 0.25 ounce.
Once you know that, you can read almost any bread recipe with confidence.
FAQ
Is 1 packet of yeast the same as 2 1/4 teaspoons?
Yes. In common U.S. baking conventions, 1 packet is typically 2 1/4 teaspoons, or about 7 grams.
Can I use instant yeast instead of active dry yeast?
Often, yes, but the swap can depend on the brand and recipe. The packet weight is usually the same, but the mixing method and proofing instructions may differ.
How many grams are in a yeast packet?
A standard packet is usually about 7 grams.
Should I measure yeast by spoon or by weight?
A spoon measure is fine for a full packet, but weighing is better for half or quarter packets because small errors matter more.
Is a packet of rapid-rise yeast the same size as active dry yeast?
Usually in U.S. baking, yes, but not every brand or market follows the exact same convention. Check the package if precision matters.
Do I need to proof instant yeast?
Usually not, unless the recipe specifically asks you to. Many recipes let you mix instant yeast directly with the dry ingredients.
How should I store opened yeast?
Follow the package directions. In general, keep it sealed, dry, and away from heat.
What if my dough still doesn’t rise?
Check freshness, temperature, and whether the yeast was measured correctly before changing the recipe.