
How to Chill Cookie Dough Properly for Better Texture, Spread, and Flavor
If your homemade cookies spread too much, bake up greasy, or taste a little flat, the answer is often not a new recipe. It is usually better handling of the dough before it goes into the oven. Learning how to chill cookie dough properly gives you more control over spread, shape, and texture, and it also makes the dough easier to work with.
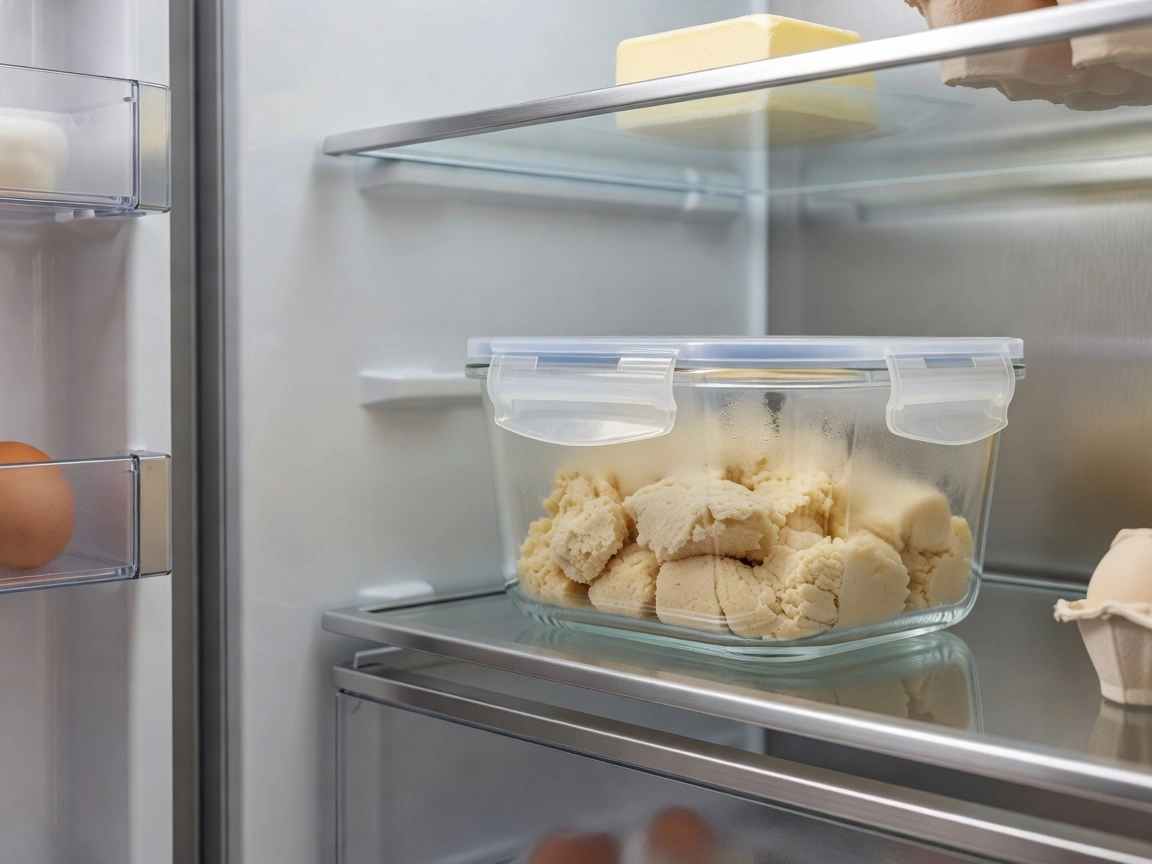
Chilling is not just about “waiting.” In many recipes, it gives the flour time to hydrate, firms up the butter, and lets the dough relax. The exact effect depends on the formula, but in practical terms it often means cleaner scoops, less runaway spread, and cookies that hold a more consistent shape.
Why Chilling Cookie Dough Matters
Cookie dough changes in useful ways while it rests in the refrigerator or freezer.
First, cold butter stays firmer in the oven for longer. That slows the rate at which the dough melts, which usually helps cookies keep their shape instead of flattening immediately. This is especially helpful for soft, butter-forward doughs.
Second, flour absorbs moisture over time. That hydration can improve structure and may reduce the loose, sticky feel of freshly mixed dough. You may notice the dough becomes smoother and less “raw” after resting.
Third, the flavors often seem more blended after chilling. Brown sugar, vanilla, spices, and mix-ins tend to taste more integrated once the dough has had time to rest. That does not mean every chilled cookie tastes dramatically different, but the flavor is often cleaner and more rounded.
There is also a handling benefit. A chilled dough is usually easier to portion neatly, especially if it was soft or sticky after mixing. That matters when you want evenly sized cookies that bake at the same rate.
Do You Need to Chill Every Cookie Dough?
Not every cookie dough needs a long chill, but many benefit from at least some resting time.
A dough usually needs chilling when it is rich in butter, soft in texture, or meant to hold a specific shape. Think of slice-and-bake logs, rolled sugar cookies, and many chocolate chip cookie doughs that tend to spread. These are the kinds of doughs where chilling is often part of the recipe’s structure, not just a suggestion.
Some doughs can be baked soon after mixing if they are naturally firmer or designed to spread more. In those cases, a short rest may be enough, and chilling is more optional than essential.
A simple rule helps: if the dough feels very soft, glossy, or sticky right after mixing, chilling will probably improve it. If the dough is already firm and shapeable, a shorter rest may be enough. If the recipe specifically tells you to chill, follow that instruction first; it is usually there because the formula depends on it.
How Long to Chill Cookie Dough by Cookie Type
The right chill time depends on the style of cookie and what you want the finished cookie to do in the oven.
| Cookie style | Typical chill goal | Refrigerator time | Freezer time | Best shaping method | Bake straight from fridge/freezer? |
|---|---|---|---|---|---|
| Soft drop cookies | Short chill to help control spread | 30 minutes to 2 hours | 15 to 30 minutes for a quick firm-up, or up to 1 month for storage | Portion into scoops before chilling | Often yes from the fridge; from the freezer, usually after a brief temper if needed |
| Chocolate chip cookies with soft dough | Moderate chill for better thickness and flavor | 2 hours to overnight, or up to 3 days | 30 minutes to 1 hour to firm quickly, or up to 2 months for storage | Scoop first or chill in a covered bowl | Usually yes from the fridge; frozen dough may need a short thaw or bake-from-frozen adjustment |
| Sugar cookie dough | Longer chill for cleaner rolling and sharper edges | 1 to 3 hours, or overnight | 30 to 60 minutes to firm, or up to 2 months for storage | Shape into a disc before chilling | Usually no; let it sit briefly if too firm |
| Slice-and-bake dough | Chill until firm enough to slice cleanly | 2 hours to overnight, or up to 3 days | 45 minutes to 1 hour to firm, or up to 2 months for storage | Shape into a log | Yes, if the log is firm but not rock-hard |
| Sandwich cookie dough | Moderate to longer chill for handling | 1 to 3 hours, or overnight | 30 to 60 minutes to firm, or up to 2 months for storage | Shape into discs or logs | Usually yes, depending on firmness |
| Very soft, buttery doughs | Longer chill to reduce spread | Overnight, or up to 3 days | 1 hour or more to firm, or up to 2 months for storage | Portion first for easier baking later | Usually yes, or temper slightly if needed |
If you want a practical starting point, use the shortest chill that makes the dough easier to handle and better behaved in the oven. For some recipes, that may be a brief rest. For others, especially rolled or shaped cookies, overnight chilling is often more useful than a quick stop in the fridge.
A short chill is convenient, but an overnight chill usually gives you more predictable shaping and less spread. The trade-off is firmness: the longer the dough rests, the more likely it is to become stiff and need a few minutes at room temperature before scooping or rolling.
Refrigerator vs Freezer: Which Chilling Method to Use
The refrigerator is the easiest choice for routine chilling. It cools the dough gradually, gives you good control, and is usually the best option when you plan to bake within a day or two.
The freezer is more useful when you want speed or longer storage. It firms dough much faster, which can help if you need to bake the same day or if you are making dough ahead for later. Freezing is also handy for portioned dough balls, because you can bake only what you need and keep the rest frozen.
The main trade-off is convenience versus planning. Refrigerated dough is easier to work with right away. Frozen dough keeps longer, but you usually need to account for a short thaw or tempering period unless the recipe is designed for bake-from-frozen use.
For many home bakers, the best workflow is simple: refrigerate for same-week baking, freeze for future baking.
Chilling Before Scooping vs After Scooping
For drop cookies and many chocolate chip cookie doughs, chilling before scooping and chilling after scooping can both work, but they do slightly different jobs.
If you chill first, the dough firms up as a whole, which can make it easier to portion neatly later. That is helpful when the dough is very soft, but it can also make scooping harder if the dough becomes too cold and stiff.
If you scoop first and chill the portions, you save time later and keep the cookies more uniform. This is often the better choice for drop cookies because the dough balls hold their shape well and can go straight onto a tray or into storage. It is also a good option when you want to freeze individual portions.
For sugar cookies, chilling before shaping is usually the better route. A disc of dough chills evenly and rolls more cleanly later. For slice-and-bake dough, chilling before slicing is the standard approach because the log needs to be firm enough to cut into neat rounds.
In short:
– Drop cookies: chilling after scooping is often the most practical.
– Sugar cookies: chilling before shaping or rolling is usually better.
– Slice-and-bake dough: chilling before slicing is the right method.
Best Way to Shape and Store Dough Before Chilling
The shape of the dough before chilling should match how you plan to bake it.
For drop cookies, portioning before chilling is often the easiest approach. Scoop the dough onto a tray, chill the portions until firm, then transfer them to a container or bag if you are storing them longer. This saves time later and helps the cookies bake more evenly because each portion starts the same size.
For sugar cookies, a disc is usually the smartest shape. A flat disc chills more evenly than a thick mound and is easier to roll out later.
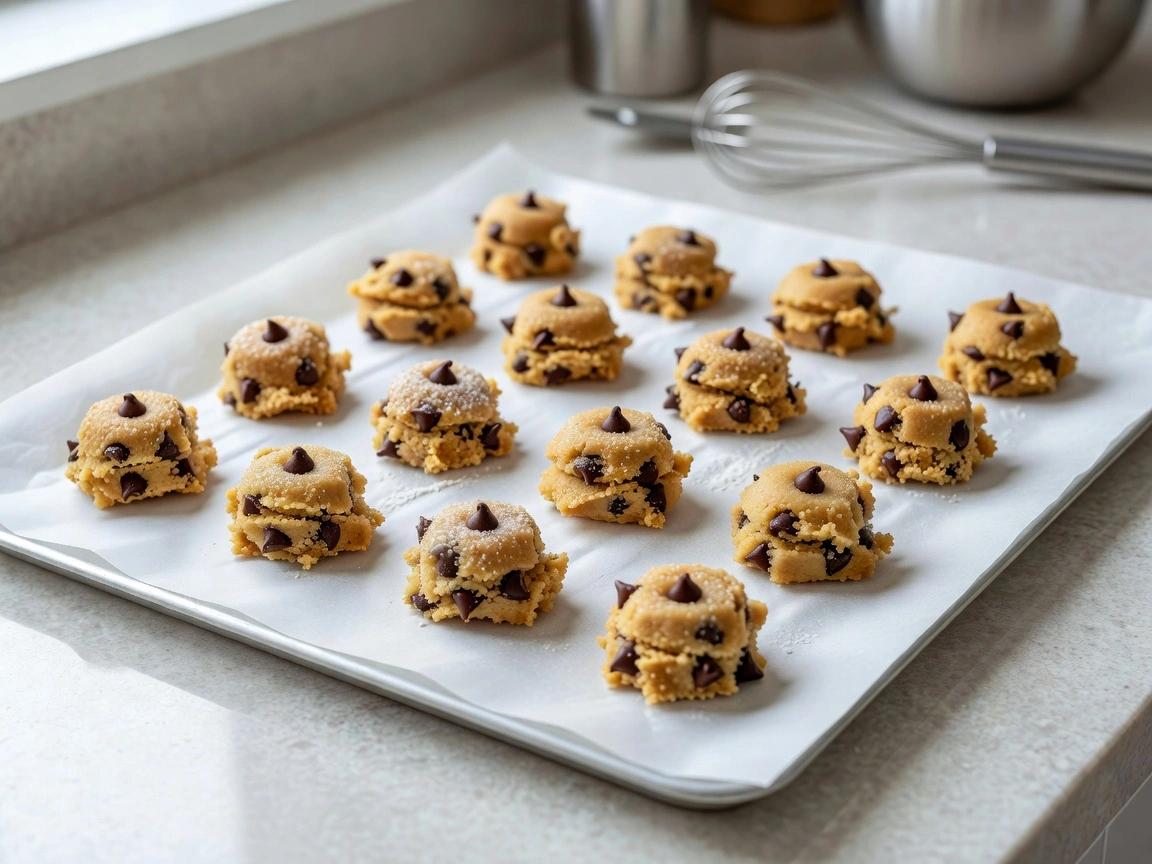
For slice-and-bake cookies, shape the dough into a log before chilling. That gives you clean, round slices once the dough is firm.
Whatever shape you choose, cover the dough well. Plastic wrap works for a disc or log, while an airtight container is practical for scooped portions or loose dough. The goal is to prevent drying out and keep the dough from absorbing refrigerator odors.
Uncovered dough can form a dry skin on the surface, which makes rolling, slicing, or scooping less pleasant later. Tight wrapping also helps preserve the dough’s texture, especially if you plan to chill it overnight.
How to Tell When Cookie Dough Is Properly Chilled
Time helps, but texture tells you more.
Properly chilled cookie dough should feel firmer, cooler, and less sticky than it did right after mixing. When you press it lightly, it should still yield a little, but it should not feel loose or greasy. If it is meant to be scooped, the dough should hold its shape on the spoon or scoop instead of slumping immediately.
For drop cookies, the dough should mound on a scoop and release cleanly without running flat right away. For rolled sugar cookies, the dough should feel firm enough to roll without sticking excessively, but not so hard that it cracks as soon as you start working it. For slice-and-bake dough, the log should be solid enough to cut clean rounds without squashing.
One useful test is this: if the dough can be portioned cleanly and placed on a baking sheet without spreading out before it goes into the oven, it is usually ready.
If the dough feels too cold to work with but otherwise holds its shape well, that is not a problem. It may only need a short rest on the counter before shaping or scooping.
What to Do if Chilled Dough Is Too Hard, Too Soft, or Too Sticky
Overchilled dough is common, especially after an overnight rest or time in the freezer.
If the dough is too hard, let it sit at room temperature for a few minutes and test it again. You are looking for a slight softening, not a full warm-up. If it is a log or disc, rolling or slicing becomes easier once the outside is no longer rock-solid.
If the dough is too soft after chilling, it may not have rested long enough or it may need a colder storage method. Return it to the refrigerator until it firms up. A soft dough can usually be rescued, but baking it too soon often leads to more spread than you want.
If the dough is sticky, use a light dusting of flour only if the recipe allows for it and if the stickiness is making the dough unmanageable. More often, the better fix is simply more chill time. Sticky dough often means the butter is still too warm or the flour has not fully hydrated.
For dough that cracks when you try to shape it, the opposite problem is usually true: it is too cold. Let it temper briefly, then try again. The goal is a dough that is firm but still flexible enough to work with cleanly.
How Long Chilled Cookie Dough Stays Fresh and Safe
Chilled cookie dough is best used while it is still fresh and well covered.
In the refrigerator, most cookie dough is best used within about 2 to 4 days for the best texture and handling. Some doughs may hold up a little longer if they are tightly wrapped, but quality usually starts to decline as the dough dries out or picks up odors from the fridge.
In the freezer, cookie dough generally keeps best for about 1 to 3 months for good flavor and texture. Portioning the dough and wrapping it well can help it stay in better condition longer, but freezer storage is still best treated as a quality window rather than a forever option.
Food safety matters too. If your dough contains eggs or dairy, keep it refrigerated while it chills and do not leave it sitting out for extended periods. When in doubt, use clean tools, clean storage, and reasonable time limits. For general food safety guidance on cold storage and handling, the USDA’s food safety resources and the FDA’s consumer food safety guidance are useful references.
Simple Chilling Workflow for Better Cookies
Here is the easiest repeatable method:
- Mix the dough until just combined.
- Decide whether shaping first will make baking easier later.
- Portion, form, or shape the dough in the way that matches the cookie style.
- Cover it tightly with plastic wrap or move it to an airtight container.
- Chill in the refrigerator for routine baking, or freeze if you need longer storage.
- Check the texture before baking. If it is too hard, let it sit briefly. If it is still soft, chill a little longer.
- Bake when the dough is firm, manageable, and holding its shape.
That workflow keeps the process simple without treating every cookie the same. A soft drop cookie, a sugar cookie disc, and a slice-and-bake log all benefit from chilling, but they do not need to be handled the same way.
If you want a deeper look at how chill time affects spread and thickness, you may also find these guides helpful: why cookie dough chilling changes texture, how long to chill chocolate chip cookie dough, and how to make cookie dough ahead of time.
FAQ
Can you bake cookie dough without chilling it?
Sometimes, yes. Some cookie doughs are designed to be baked soon after mixing, but many butter-rich or shape-sensitive doughs benefit from chilling and may spread more without it.
How long should cookie dough chill in the refrigerator?
It depends on the cookie type. A useful range is 30 minutes to 2 hours for many drop cookies, 2 hours to overnight for chocolate chip dough, and overnight for many sugar cookie or slice-and-bake recipes.
Can you freeze cookie dough instead of refrigerating it?
Yes. Freezing is a good option for longer storage or for portioned dough balls. For best quality, use frozen cookie dough within about 1 to 3 months.
Should chilled cookie dough sit out before baking?
Only if it is too firm to portion or slice cleanly. Many doughs can go straight from the fridge to the oven, but very cold dough may need a few minutes at room temperature to become workable.
Final Takeaway
If you want better homemade cookies, treat chilling as a technique, not a delay. Match the chill method to the cookie style, keep the dough covered, and use texture as your final cue. Once you get comfortable with that process, you will get more predictable spread, easier shaping, and cookies that bake more consistently.

