
How to Make Sourdough Bread at Home: A Practical Guide for Better Loaves

Making sourdough bread is part science, part rhythm, and part patience. Once you understand what each stage is doing, the process becomes much less mysterious. You are not just mixing flour and water; you are building a dough that can trap gas, hold shape, and bake into a loaf with a crisp crust and a lively crumb.
This guide walks you through how to make sourdough bread from starter to finished loaf, with the decision points that matter most along the way. I’ll keep the method practical and beginner-friendly, but I’ll also explain the why behind each step so you can troubleshoot with confidence.
Quick Overview: What the Full Process Looks Like
A basic sourdough loaf follows the same general path every time:
- Make sure your starter is active.
- Mix flour, water, starter, and salt.
- Let the dough rest briefly, then ferment it in bulk.
- Strengthen the dough with stretch-and-folds.
- Shape the loaf.
- Proof it, either at room temperature or in the refrigerator.
- Score and bake it with strong heat and steam.
- Cool completely before slicing.
The overall timeline varies a lot. A warm kitchen can move the dough along quickly, while a cool kitchen can slow everything down. Beginner bakers should watch the dough itself more than the clock, because fermentation speed changes with starter strength, flour choice, and room temperature.
What You Need Before You Start

You do not need a bakery setup, but a few basics make the process much smoother.
Ingredients
- Active sourdough starter
- Flour
- Water
- Salt
For a beginner loaf, bread flour is often the easiest starting point because it gives the dough more strength and usually makes shaping easier. Some bakers mix in a little whole wheat flour for flavor and fermentation support. A common beginner blend is mostly white bread flour with a smaller portion of whole wheat flour.
Tools
- Large mixing bowl
- Digital scale
- Dough scraper or bench scraper
- Clean kitchen towel or bowl cover
- Dutch oven, or another way to create steam
- Sharp blade or lame for scoring
- Thermometer, if you want a reliable doneness check
A digital scale is worth it. Sourdough is sensitive to small changes in water and flour, and weighing ingredients is more consistent than using cups. If you are learning, consistency matters more than chasing a perfect formula.
Workspace
Choose a clean counter with enough room to fold and shape the dough. Keep a small bowl of water nearby for sticky hands rather than adding more flour too quickly. That habit helps preserve hydration, which is important for a lighter crumb.
How to Tell If Your Sourdough Starter Is Ready
A starter is ready to bake with when it is active enough to raise dough predictably. In practical terms, that means it should show consistent fermentation signs after feeding.
Look for these cues:
– It rises noticeably after feeding, often doubling or close to doubling in a predictable timeframe for your routine
– It looks bubbly and airy throughout, not just on the surface
– It smells pleasantly tangy, not harsh or rotten
– It is at or very near peak height, with a domed top that has not started collapsing
If your starter has been in the refrigerator, feed it and let it become active again before baking. A starter that looks sluggish, barely rises, or has been unfed for too long may not have enough strength to lift the dough well.
A simple decision rule: if the starter is rising reliably and looks lively within a few hours of feeding, it is a better candidate for bread than one that is flat and slow. If you are unsure, feed it again and wait. That extra time is cheaper than baking a dense loaf.
The float test can be a helpful quick check: a spoonful of starter may float in water if it is airy enough, but it is not foolproof. Some active starters sink, and some less reliable starters may still float, so use it as a clue, not a guarantee.
For a deeper refresher on starter maintenance, you may also want to read our guide on how to make sourdough starter at home.
Ingredient List and Simple Measurements
Here is a straightforward beginner formula for one loaf:
- 500 g bread flour
- 350 g water
- 100 g active sourdough starter
- 10 g salt
This gives you a dough that is manageable for most home bakers. The hydration sits at a comfortable level for beginners: wet enough to ferment well, but not so slack that shaping feels impossible. If your flour absorbs water strongly, you may need a little more. If your dough feels too loose for your comfort level, hold back a small amount of water next time rather than adding flour during mixing.
Flour choices and trade-offs
- Bread flour: stronger gluten, better structure, easier shaping
- All-purpose flour: softer texture, but often less lift and less dough strength
If you want the most forgiving first loaf, bread flour is the safer choice. All-purpose flour can work, but the dough may feel weaker and spread more during proofing.
Step 1: Mix the Dough
Combine the water and starter first, then add the flour and salt. Mixing the starter into the water before adding flour helps distribute it evenly through the dough.
At this stage, the dough may look rough and shaggy. That is normal. You are not looking for a polished dough yet; you are just making sure everything is hydrated and evenly mixed.
What the dough should feel like
- Sticky, but not soupy
- Uneven, with some rough patches
- Able to hold together in a loose mass
If the dough feels dry and stiff right away, it may need a little more water. If it feels like batter, it likely has too much water for the flour you used, or the flour is weaker than expected.
Step 2: Autolyse or Rest the Dough
After mixing, let the dough rest covered for about 30 to 60 minutes at room temperature. This rest is often called an autolyse, though some bakers use the term more loosely for any early rest period.
During this pause, the flour absorbs water, and the dough begins to relax. That makes it easier to handle later and helps gluten develop with less effort.
A short rest is especially useful if the dough feels rough after mixing. If you are short on time, you can skip a formal autolyse and move on, but the dough may feel a little less extensible during shaping.
Step 3: Bulk Fermentation
Bulk fermentation is the first long rise, and it is where the dough gains volume, flavor, and structure. This is one of the most important stages in sourdough bread making.
The clock matters less than the dough itself. Time is only a guide because room temperature, flour type, and starter strength all affect fermentation speed. A cool kitchen may need a much longer bulk than a warm one, while a warm kitchen can push the dough forward faster than beginners expect.
What to watch for
- The dough becomes smoother and more elastic
- You see bubbles along the sides or top
- The surface looks slightly domed rather than flat
- The dough feels lighter, aerated, and a little jiggly when you move the bowl
- The edges look rounded instead of sharp or tight
- The dough has risen roughly 30 to 75 percent, depending on hydration, flour, and dough strength
For beginners, a moderate rise is often safer than waiting for a full double. If the dough rises too far and becomes fragile, it can overproof before baking. If it barely rises, the loaf may bake up tight and dense.
Step 4: Strengthen the Dough With Stretch and Folds
During bulk fermentation, give the dough a few rounds of stretch-and-folds. This helps organize the gluten without heavy kneading.
A simple pattern is:
– Rest the dough
– Stretch one side up and fold it over
– Rotate the bowl and repeat on all sides
– Let it rest again
After a few rounds, the dough should feel stronger, smoother, and more cohesive. You are aiming for resilience, not tightness. If the dough tears easily, it may need more rest between folds rather than more force.
Why this matters
Stretch-and-folds help the dough trap gas later in fermentation. That gas is what gives sourdough its lift and open crumb. Without enough structure, the loaf may spread instead of rising upward.
Step 5: Shape the Loaf
Once bulk fermentation is complete, turn the dough out onto the counter and shape it gently.
A useful rule: use just enough flour to keep the dough from sticking, but not so much that the surface becomes slippery. Some bakers prefer a dry counter, while others use only a very light dusting. Too much flour can make shaping harder because the dough slides instead of tightening.
Shaping in two stages
- Pre-shape: form a loose round or oval and let it rest briefly.
- Final shape: tighten the surface so the dough holds its form.
That outer tension is important. It helps the loaf rise upward in the oven instead of spreading outward. Think of shaping as building a skin that supports the loaf during its final expansion.
If the dough resists shaping and tears, let it rest a few minutes longer before trying again. Dough often needs a short pause to relax.
Step 6: Final Proofing Options
After shaping, the dough needs its final proof before baking. You have two main options: proof at room temperature or refrigerate overnight.
Room-temperature proof
This is the faster option. It fits a same-day bake and works well if your kitchen is cool enough that the dough does not move too quickly.
Cold proof
This is the better scheduling option for many home bakers. The shaped loaf goes into the refrigerator and bakes later, often the next day. Cold proofing slows fermentation, which can make the timing easier to manage and often improves handling before baking.
How to tell when it is ready
- The dough looks slightly puffed, not flat
- It feels airy but still holds shape in the banneton or bowl
- A gentle poke springs back slowly, leaving a slight indentation that does not fill in immediately
- The surface looks smooth and relaxed, not tight and tense
If the dough springs back too quickly, it likely needs more proofing. If it barely springs back, feels fragile, or looks slack and puffy with little surface tension, it may be overproofed. In a warm kitchen, check it earlier and often, because the dough can move from underproofed to overproofed faster than expected.
Step 7: Score and Prepare the Oven
Scoring is the cut or cuts you make on top of the loaf just before baking. It gives the bread a controlled place to expand.
Preheat your oven thoroughly. If you are using a Dutch oven, heat it with the oven so the vessel is very hot before the dough goes in. That stored heat helps with oven spring and crust development.
Dutch oven versus steam bake
- Dutch oven: easiest way to trap steam and a very reliable beginner option
- Steam bake: useful if you do not have a Dutch oven, but it needs a little more setup
If you do not have a Dutch oven, a practical beginner alternative is to bake the loaf on a preheated baking stone or heavy sheet pan and add steam in one of these ways:
– Place a metal tray or skillet on a lower rack while the oven preheats, then pour in hot water right after loading the loaf
– Put a few ice cubes into the hot tray to create a burst of steam
– Cover the loaf with an inverted roasting pan or large metal bowl for the first part of baking, then uncover it to finish browning
The covered roasting pan method is especially useful because it traps moisture without requiring much extra equipment. Whatever method you choose, be careful when adding water to a hot pan.
Step 8: Bake the Sourdough Bread
A common baking approach is to start hot and covered, then finish uncovered so the crust can brown. Exact temperatures and times vary by recipe, oven, and loaf size, so it is better to follow a trusted recipe source if you are using a specific formula.
What matters most is the baking pattern: strong initial heat for oven spring, then enough uncovered time to fully set the crumb and develop color.
Doneness cues
- Deep golden-brown crust
- The loaf feels light for its size when lifted
- The bottom sounds hollow when tapped
- The bread no longer feels soft or squishy on the sides
- If you use a thermometer, the center should register hot enough for the crumb to be fully set, according to your recipe or method
Color alone is not enough. A loaf can look brown before the center is fully baked, especially with high-hydration dough. If you are unsure, give it a little more time rather than cutting it short.
Step 9: Cool, Slice, and Store the Bread
Cooling is not a formality. It allows the crumb to finish setting. If you cut too early, the bread can seem gummy and compressed.
Let the loaf cool completely on a rack before slicing. For a medium-sized loaf, that usually means waiting long enough for the interior to lose excess steam and settle.
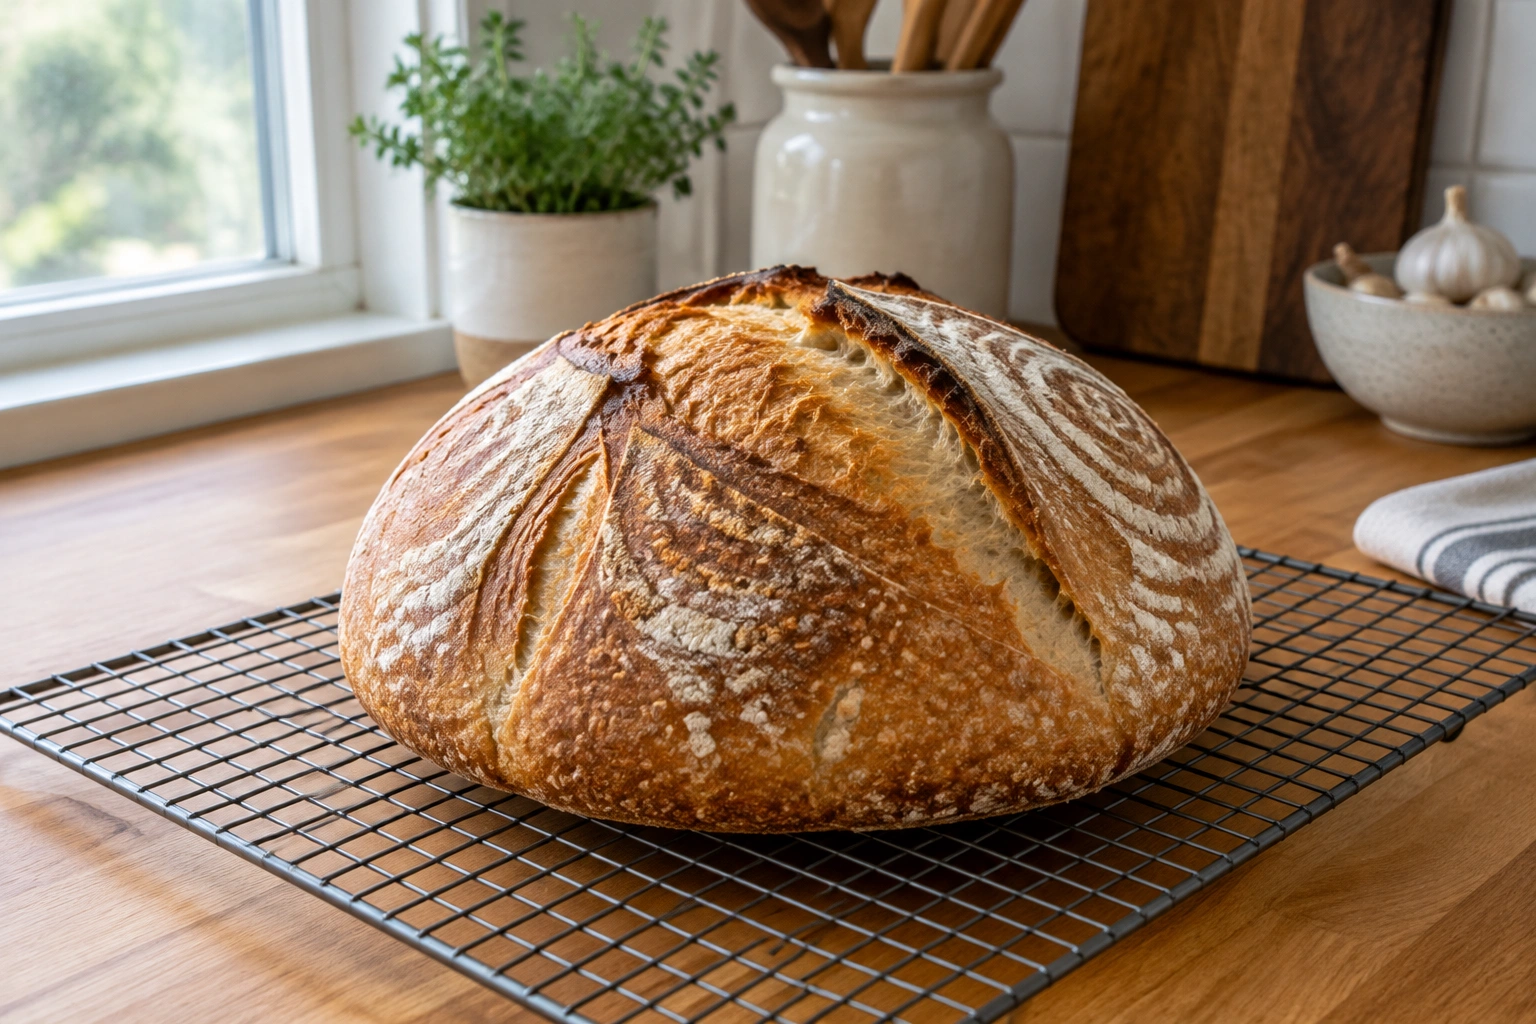
Storage
- Keep the loaf at room temperature if you plan to eat it soon
- Store cut bread cut-side down on a board or in a bread bag
- For longer storage, freeze slices or the whole loaf
If the bread will sit out for more than a day or two, proper storage matters. Bread dries out quickly, and in warm kitchens it can also spoil faster than expected.
Common Mistakes and How to Fix Them
1. The starter is not strong enough
Symptom: weak rise, dense crumb, slow fermentation
Fix: feed the starter and wait until it is reliably active before baking.
2. The dough is too sticky to handle
Symptom: difficult shaping, dough smears on the counter
Fix: use fewer flour additions during mixing and rely on folds and rest time instead of kneading in more flour.
3. Bulk fermentation ran too short
Symptom: tight crumb, poor oven spring, a loaf that looks underdeveloped
Fix: watch the dough rather than the clock. Look for bubbles, lift, rounded edges, and a softer, aerated feel.
4. The dough overproofed
Symptom: flat loaf, weak shape, little oven spring
Fix: shorten the final proof next time, especially in a warm kitchen.
5. The crust is pale or soft
Symptom: bread bakes through but lacks color or crunch
Fix: extend the uncovered bake a little longer, or make sure the oven and vessel are fully preheated.
Troubleshooting by Symptom
Flat loaf
Most often caused by overproofing, weak shaping, or a starter that was not strong enough.
Tight crumb
Usually linked to underfermentation, a stiff dough, or a starter that needed more time to peak.
Gummy interior
Often happens when the loaf is sliced too early or baked before the center is fully set.
Spreading dough
Usually points to weak shaping, too much hydration for the flour, or a dough that fermented too far.
Weak oven spring
Can come from poor surface tension, not enough steam, or a loaf that was already overproofed before baking.
Beginner Sourdough Timeline Examples
Same-day workflow
- Mix dough in the morning
- Rest briefly
- Do several stretch-and-folds during bulk fermentation
- Shape in the afternoon
- Proof at room temperature
- Bake later the same day
This works best when your kitchen is cool enough that fermentation does not move too fast.
Overnight cold proof
- Mix and bulk ferment during the day
- Shape in the evening
- Refrigerate overnight
- Bake the next day
This is often the easiest schedule for home bakers because it gives you more control and a wider baking window.
Final Thoughts
Once you learn to read the dough, sourdough becomes much more approachable. The main skill is not memorizing a perfect schedule; it is recognizing when the starter is ready, when fermentation is moving well, and when the loaf is ready to bake. Keep the process steady, make one change at a time, and you will learn quickly from each loaf.
FAQ
How do I know my sourdough starter is ready to bake with?
A ready starter should rise predictably after feeding, look bubbly and airy, and be near its peak height. A float test can help, but it is not foolproof.
What does bulk fermentation look like when it is done?
The dough should look smoother, feel lighter and jiggly, show bubbles, and rise noticeably without becoming fragile. Rounded edges and a slightly domed top are good signs.
How can I tell if my final proof is complete?
Use the poke test: the dough should spring back slowly and leave a slight indentation. If it springs back immediately, it likely needs more time. If it barely springs back and looks slack, it may be overproofed.
What if my kitchen is warm?
Warm kitchens speed up fermentation, so check the dough earlier and more often. If the dough is moving too fast, shorten the proof or use the refrigerator to slow it down.
Can I bake sourdough without a Dutch oven?
Yes. You can preheat a baking stone or sheet pan and create steam with a hot tray of water, ice cubes in a preheated tray, or an inverted roasting pan or large metal bowl covering the loaf at the start of baking.
How do I know the bread is fully baked?
Look for a deep golden crust, a light-feeling loaf, a hollow sound when tapped, and a fully set crumb. Color alone is not enough.