
How to Organize a Drawer Full of Kitchen Tools Without the Clutter Coming Back

A crowded kitchen tool drawer usually fails for one reason: it was organized for appearance, not for cooking. If you prep meals on weeknights, pack lunches, or cook for a family, the drawer has to support real workflow. That means the tools you reach for most need the easiest access, and the rest need a place that does not block the essentials.
The best system is simple enough to maintain after a busy dinner cleanup. You want to be able to open the drawer, grab a spatula, whisk, or peeler without digging, and put it back in the dark. That is the standard to aim for.
Empty the Drawer and Sort Every Tool
Pull everything out. Do not reorganize around the clutter already there, because that usually just preserves the problem.
Make four piles:
- Keep
- Relocate
- Donate
- Discard
As you sort, look for duplicates, damaged handles, bent tongs, cracked measuring cups, and specialty gadgets you have not used in months. One extra spatula is fine. Four nearly identical spatulas usually are not.
A useful rule: if a tool is broken, unsafe, or annoying to use, it should leave the drawer now. If it still works but is rarely used, it may belong elsewhere. That quick split gives you a cleaner starting point and helps you see how much space you actually need.
Set Up the Drawer Step by Step
Use this quick workflow to build the drawer from start to finish:
- Empty the drawer completely.
- Sort tools into keep, relocate, donate, and discard.
- Group the keep pile by how you use it most.
- Decide what stays in the drawer and what moves elsewhere.
- Measure the drawer before buying any organizer.
- Choose a tray, divider, or insert that fits the tool mix.
- Assign zones for each group.
- Return the tools and test whether they are easy to grab and put back.
A fast decision path helps here:
- If you use it often, keep it in the drawer.
- If it is useful but bulky, move it to a secondary drawer or cabinet.
- If it is duplicated, keep the best one and relocate or remove the rest.
- If it does not support your daily cooking, it probably does not need prime space.
If you want a stronger kitchen-wide system, this drawer works best when it fits the rest of your layout. My guide on organizing a kitchen for efficiency shows how to think in zones so tools end up near the tasks they support.
Decide Which Tools Deserve Prime Drawer Space
Not every kitchen tool deserves a spot in the easiest drawer. Prime drawer space should go to items you use often, need quickly, and can grab with one hand while cooking.
A practical filter:
- Daily or near-daily tools stay in the drawer. Think spatula, wooden spoon, tongs, whisk, peeler, measuring spoons, and a can opener if you use it often.
- Bulky or awkward tools move out if they crowd the drawer. Large ladles, oversized serving spoons, specialty presses, and extra-long utensils can live in another drawer or cabinet.
- Rarely used tools should not take front-row space. A melon baller or specialty zester may be worth keeping, but not in the best real estate.
This is where workflow matters more than aesthetics. If you bake every weekend, measuring cups may deserve prime space. If you mostly cook stovetop meals, tongs and a slotted spoon may matter more. The drawer should reflect how you actually cook, not how a showroom kitchen looks.
Group Tools by Type or by How You Cook
There are two useful ways to sort the keep pile: by category or by workflow. Category sorting is more familiar. Workflow sorting is often more practical.
Category sorting
Group similar tools together:
- Stirring tools: wooden spoons, silicone spoons
- Turning tools: spatulas, turners
- Grip tools: tongs
- Measuring tools: cups, spoons
- Small gadgets: peeler, can opener, garlic press
This works well if your drawer is large enough to give each group its own section.
Workflow sorting
Group tools by what you do most often:
- Cooktop zone: spatula, tongs, spoon, whisk
- Prep zone: peeler, measuring spoons, can opener
- Baking zone: measuring cups, whisk, dough scraper
Workflow sorting is especially useful in busy households because it reduces backtracking. If your main task is weeknight cooking, keep the tools for that task together even if they are not perfectly matched by category.
If the drawer is shared, a mixed approach often works best: keep the most-used tools grouped by function, then place the smaller gadgets beside them.
Measure the Drawer Before Buying Anything
This step saves money and frustration. A tray that looks “standard” in the store may not fit your drawer well at home.
Measure:
- Width
- Depth
- Height
Measure the inside of the drawer, not the outside of the cabinet. If the drawer has a lip, track, or curved edge, note that too.
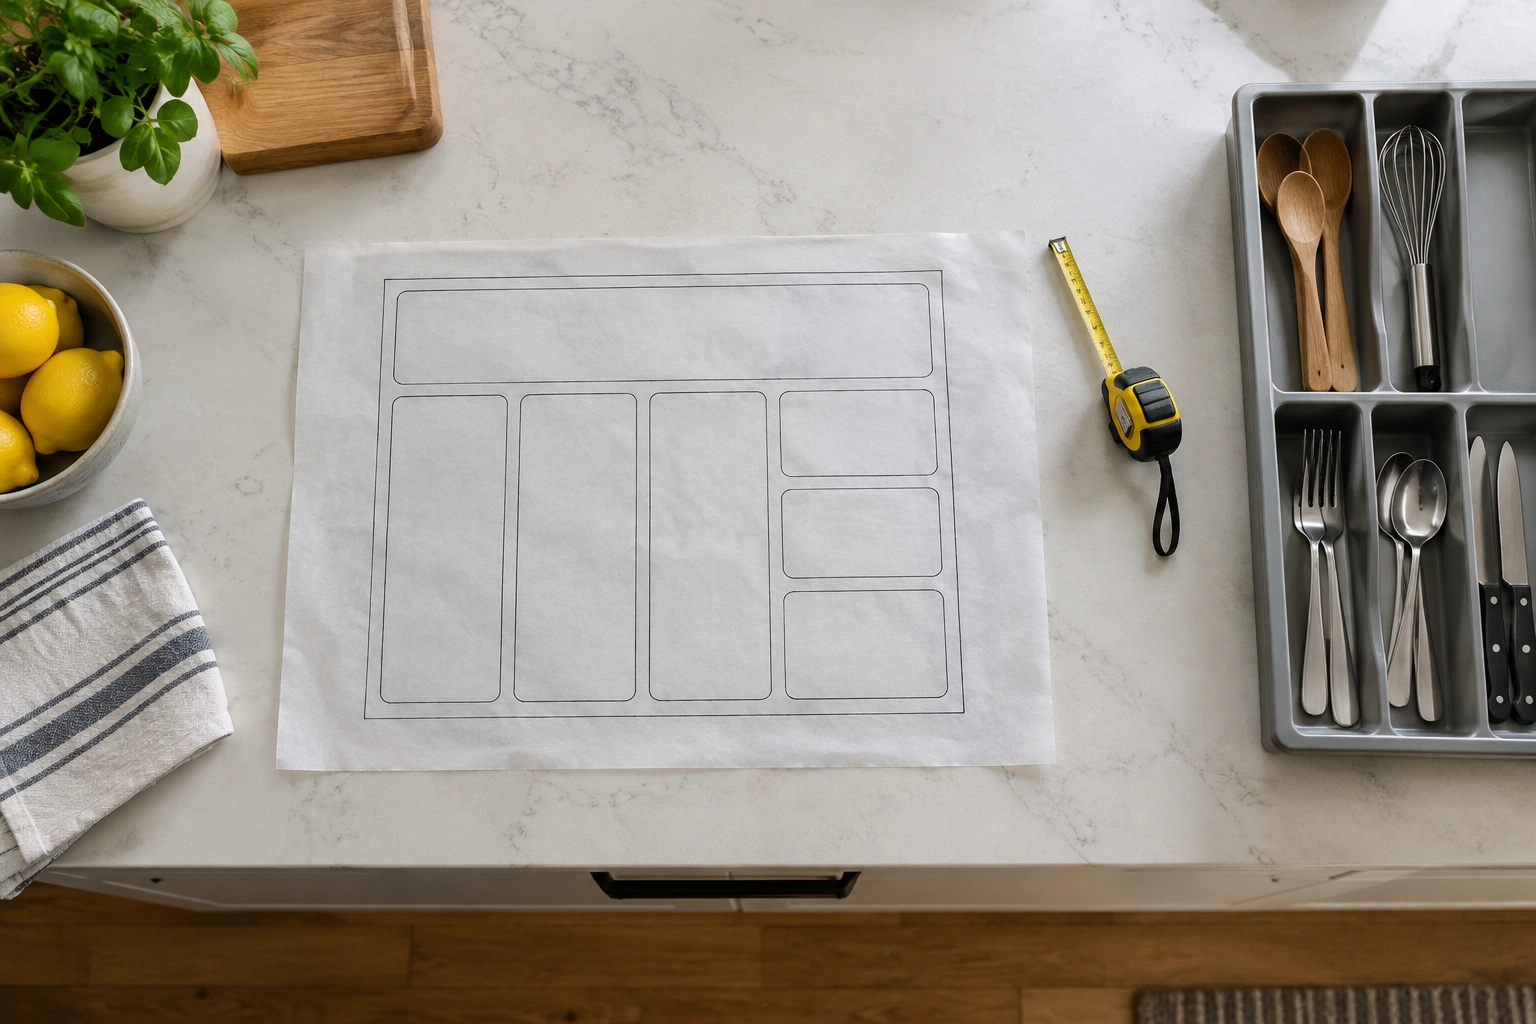
The Kitchn recommends a smart store tactic: make a parchment-paper template of the drawer, bring it with you, and use it to test organizer sizes so you can choose containers that fit and do not slide around. That is a practical way to avoid guessing. See the original tip here.
If you are shopping in person, that template can be more useful than writing down measurements alone. It lets you compare the organizer footprint immediately.
Choose the Right Organizer: Tray, Divider, or Expandable Insert
The best organizer depends on the drawer shape and the types of tools you keep. Here is a practical comparison.
| Organizer type | Best for | Trade-off | Good fit for |
|---|---|---|---|
| Utensil tray / silverware tray | Simple sorting, small tools, basic budgets | Limited flexibility for odd-shaped tools | Shallow drawers, mixed flatware, small gadgets, measuring spoons |
| Adjustable drawer dividers | Long tools, changing tool sets, deep drawers | Takes more setup time | Shallow to deep drawers, spatulas, whisks, tongs, mixed tool sizes |
| Expandable organizer | Filling extra width without wasted space | Can be bulky if overfilled | Standard drawers with extra width, measuring cups, mixed utensils |
| Bins or small inserts | Awkward gadgets, duplicates, specialty items | Can create too many tiny compartments | Shared drawers, loose tools, peeler, can opener, specialty tools |
A tray is the easiest option when your tools are mostly standard shapes. A divider system works better when you have long spatulas, whisks, and tongs that need separation. Expandable organizers are helpful when the drawer is wider than a basic tray but you still want a clean fit.
For exact tool examples:
– Spatulas and turners usually fit best in a long divider section or the longest tray compartment.
– Whisks often need a taller or longer section so the handle does not crowd other tools.
– Peelers can live in a small tray slot or a tiny insert near measuring tools.
– Tongs usually work better in a long open section than in a narrow tray compartment.
– Measuring spoons are easiest to keep together in a small compartment or shallow tray section.
– Measuring cups often need a wider section, especially if you keep several sizes nested together.
IKEA’s drawer organization examples include a six-compartment cutlery tray and a three-compartment flatware tray, which shows how even simple inserts can be scaled to different drawer needs. That is useful if you want a straightforward setup without custom storage. IKEA’s drawer organization guide is a good reference point for the range of tray styles.
Shallow drawer or deep drawer?
- Shallow drawers are best for visibility. You can see the whole layout at once, which makes it easier to return tools correctly.
- Deep drawers hold more, but they need stronger separation. Without dividers, tools tend to stack, twist, and tangle.
For mixed tools in a shallow drawer, keep the layout simple: one section for long utensils, one for measuring tools, and one for small gadgets. In a deep drawer, use dividers or bins so the tools do not sink into a pile. Deep drawers can also work well if you keep daily-use items in the top layer and less-used tools farther back or in a secondary section.
If your drawer is deep, consider using part of it for daily-use tools and reserving the rest for less frequent items. A deep drawer can hold more, but only if you keep the contents from collapsing into one pile.
For a deeper setup, my guide on how to organize deep kitchen drawers can help you think through layout and access.
Arrange the Drawer for Fast Access and Easy Return
Once you have the organizer, place the most-used tools in the easiest-to-reach section. That usually means the front or top layer, depending on how the drawer opens and how deep it is.
A practical layout:
- Put daily-use tools in the most visible section
- Keep small gadgets separated from long utensils
- Store measuring tools together so they do not disappear into other groups
- Leave a little open space so tools can go back without force
If you cook with wet or sticky tools, leave enough room so they do not cling together. If your drawer is noisy or slippery, a non-slip liner can help reduce shifting. The goal is not perfection; it is a system that survives real use.
Handle Awkward Gadgets, Bulky Tools, and Duplicates
Some tools never fit neatly, and that is normal. Garlic presses, can openers, bottle openers, and specialty peelers often create more clutter than they deserve.
Here is the decision rule I use:
- If the tool is used often, give it a slot or a small bin.
- If the tool is useful but bulky, move it to a secondary drawer or cabinet.
- If the tool is duplicated, keep the best one and relocate the rest unless you truly need backups.
Kelley Nan describes a helpful approach: after decluttering, she moved less-used but still important metal utensils out of the primary drawer and into another drawer with items like trivets and hot pads. That kind of relocation keeps the main drawer focused on daily tools instead of trying to force every item into one space. Read the example here.
This is often the difference between a drawer that stays neat and one that immediately overflows again. Specialty tools are not bad; they just need a less valuable home.
Set Up a Budget-Friendly System Without Overhauling the Kitchen
You do not need a full kitchen upgrade to get this under control. Before buying a dedicated organizer, try what you already have: small cardboard boxes, clean food containers, or simple DIY dividers made from sturdy cardboard can create temporary sections for measuring spoons, peelers, or tongs.
Budget-friendly options to consider:
- Plastic utensil tray: inexpensive, easy to replace, simple to clean
- Bamboo tray: sturdier feel, often more stable, usually a little more expensive
- Adjustable dividers: useful when your tool mix changes often
- Non-slip liner: helps keep trays and tools from sliding
Cheap plastic organizers can be perfectly fine if they fit well and do the job. Sturdier bamboo or expandable options may last longer or feel more stable, but they are only worth the extra cost if your drawer really needs that durability.
One smart low-cost move is to buy fewer compartments than you think you need. Overcompartmentalizing can make the drawer harder to use because every item needs a precise home. A simple setup is often easier to maintain than a highly segmented one.
Keep the Drawer Organized with Quick Reset Habits
The drawer will not stay organized on its own. It needs a reset habit that fits real life.
Try this:
- Put tools back while the meal is still wrapping up
- Do a 30-second drawer check after dinner cleanup
- Keep the family rule simple: one tool out, one tool back
- Revisit the drawer when a new gadget enters the kitchen
If you notice the drawer getting crowded again, do not wait for a full overhaul. Remove one duplicate, one broken item, or one rarely used tool. Small corrections prevent the system from collapsing.
A Simple Final Test
When you finish, open the drawer and ask three questions:
- Can I find the tool I use most in a few seconds?
- Can I return it without rearranging everything else?
- Is there enough space left for the drawer to stay usable on a busy night?
If the answer is yes, the drawer is organized well enough to serve your kitchen. That is the real goal.
FAQ
What should go in a kitchen tool drawer?
Keep the tools you use most often in the drawer, such as spatulas, whisks, tongs, peelers, measuring spoons, and measuring cups if you reach for them regularly.
Should measuring cups and measuring spoons be stored together?
Yes, if possible. Keeping measuring tools together makes them easier to find and return, especially in a shared or busy kitchen.
What is the best organizer for a mixed kitchen tool drawer?
A divider system or expandable insert usually works best for mixed tools because it can separate long items like spatulas and tongs from smaller items like peelers and measuring spoons.
How do I keep a deep drawer from getting messy again?
Use dividers or bins, keep daily-use tools in the easiest section, and leave a little open space so tools can go back without forcing a rearrangement.