
Pastry Blender vs Food Processor for Pie Crust: Which Tool Gives Better Results?

If you want the short answer: a pastry blender usually gives you the most control, while a food processor gives you the most speed. For a flaky pie crust, either tool can work well if you stop at the right moment and keep the butter cold.
Quick check: your dough is ready when it
– looks shaggy, not smooth
– has visible bits of butter
– clumps when pinched
– feels cool, not greasy or sticky
My practical rule is simple:
- Choose a pastry blender if you want hands-on control, make pie crust occasionally, or are working with a small batch.
- Choose a food processor if you want faster mixing, make pie dough often, or are handling a larger batch and are comfortable pulsing carefully.
- Choose by the dough, not the tool if your main goal is flakiness. The real difference comes from how much you mix and how warm the butter gets.
King Arthur Baking’s food processor pie crust recipe even tells readers to put away the pastry blender or fork and use the processor instead, while KitchenAid notes that pie dough can also be made manually with a pastry blender. In other words, both methods are valid; the better one is the one you can control well. King Arthur Baking KitchenAid
Pastry Blender vs. Food Processor at a Glance
| Decision factor | Pastry blender | Food processor |
|---|---|---|
| Texture control | Excellent for seeing and feeling the dough as it changes | Good, but easier to overdo if you keep pulsing |
| Speed | Slower | Faster |
| Beginner friendliness | Very forgiving if you like visual control | Very helpful if you can resist overprocessing |
| Cleanup | Simple | More parts to wash |
| Cost | Usually cheaper | Usually more expensive if you do not already own one |
| Storage | Small and easy to tuck away | Takes counter or cabinet space |
| Best batch size | Small to medium batches | Medium to larger batches |
| Risk of toughness | Lower if you stop early | Higher if you process too long |
That table captures the main trade-off: manual mixing gives you feedback, while machine mixing gives you efficiency. For pie dough, feedback matters because the difference between flaky and tough often comes down to a few extra seconds.
How Each Tool Works When Cutting Fat Into Flour
Pie crust gets its texture from pieces of fat staying separate from the flour instead of disappearing into it. Those fat pieces melt during baking and leave little pockets and layers behind. That is one reason cold butter matters so much.
What a pastry blender does
A pastry blender is a hand tool with curved metal blades or wires. You press it through the flour and butter to break the fat into smaller pieces without fully blending everything together.
That slower, manual action gives you two advantages:
- You can stop when the mixture still looks a little uneven.
- You are less likely to turn the dough into a paste.
The goal is not a smooth mixture. The goal is a coarse, pebbly texture with visible bits of butter still in the bowl.
What a food processor does
A food processor uses a blade to chop the butter into flour very quickly. That speed is the appeal, but it is also the risk. A few extra pulses can take the dough from “just right” to “too fine,” especially if the butter warms up.
Food processor methods are common in tested recipes because they are efficient and repeatable. Hamilton Beach and King Arthur both publish food-processor pie crust methods, which shows that the tool can produce reliable dough when used correctly. Hamilton Beach also notes that its recipe makes either one double-crust pie or two single-crust pies, which is useful if you are planning ahead for a family dessert or a second pie later. Hamilton Beach
Texture, Speed, and Ease of Use: Which Tool Wins?
This is where the choice gets practical.
For flakiness, the pastry blender has a slight edge in control
A pastry blender makes it easier to stop at the exact moment when the butter is still in visible pieces. That matters because visible butter pieces are one of the best signs that you have not overmixed.
If you are nervous about tough crust, the pastry blender is often the safer learning tool. You can see the texture change in real time and decide when to stop.
For speed, the food processor wins
A food processor is faster from start to finish. That can be a genuine advantage on a weeknight or when you are making more than one crust.
That said, speed only helps if you use it with restraint. If you let the machine do too much, the dough can become overly fine and less tender.
For batch size, the processor is often easier
When you are making a double crust or multiple batches, the food processor can be easier to manage because it handles the mixing in one bowl with less manual effort. That does not automatically make it better, but it can make larger jobs more convenient.
For cleanup and storage, the pastry blender is simpler
If your kitchen is tight, the pastry blender has a real advantage. It takes almost no space and is easy to wash. A food processor needs storage room, a bowl, a blade, and usually more cleanup time.
For a busy household, that matters. A tool you can grab, use, and rinse quickly is often the one you will actually reach for on a Tuesday night.
Which Tool Is Best for Your Situation?
Here is the decision framework I use when helping home cooks choose.
Choose a pastry blender if:
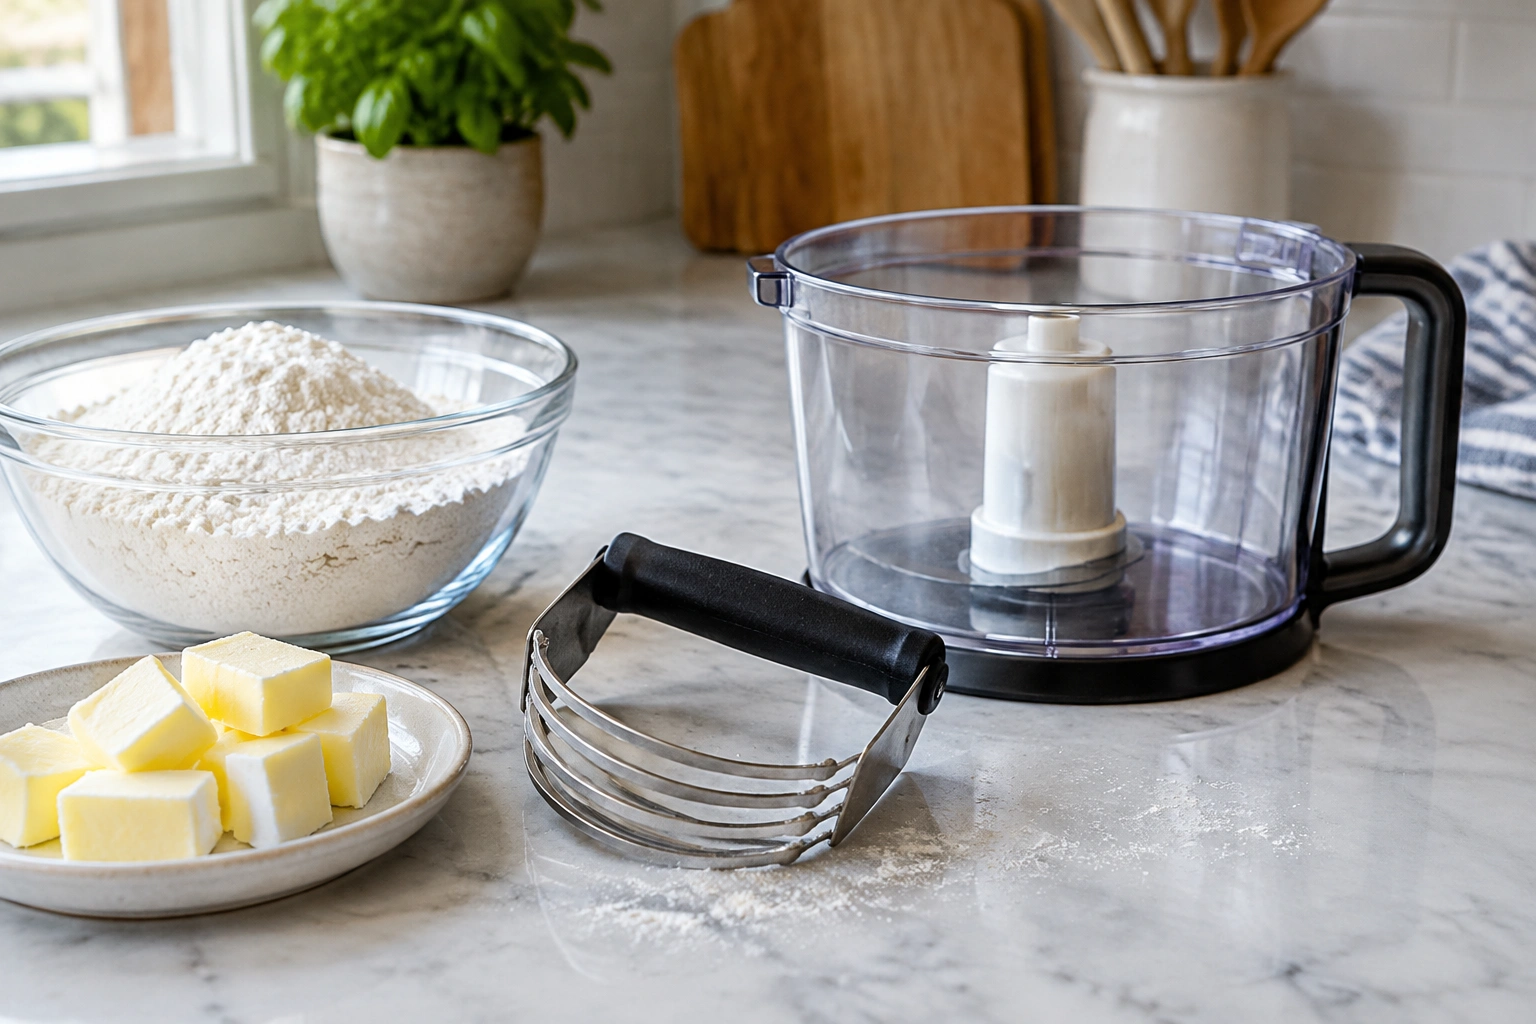
- You make pie crust only a few times a year.
- You want the least expensive option.
- You have limited cabinet space.
- You are making a small batch and want close control.
- You tend to worry about overmixing.
This is the best fit for many budget-conscious kitchens. A pastry blender is inexpensive, simple, and hard to “set up wrong.”
Choose a food processor if:
- You already own one and use it often.
- You make pie dough regularly.
- You want to save time.
- You are making a double crust or multiple batches.
- You are comfortable watching the dough closely as it changes.
For meal preppers or families who batch-bake, the processor can be a real time saver. It is especially useful if you are making pie crusts in sequence and want a consistent method.
If you are a beginner, pick the tool that gives you the most confidence
That may sound obvious, but it matters. A beginner who can clearly see the dough often does better with a pastry blender. A beginner who is comfortable with quick pulses and visual cues may prefer the processor.
How to Use a Food Processor Without Making Tough Pie Dough
A food processor is efficient, but it rewards discipline.
Use short pulses, not long runs
The blade should work in brief bursts. Long processing creates a finer, warmer dough and increases the chance of toughness.
A practical approach:
- Add flour, salt, and cold fat.
- Pulse until the mixture looks like coarse crumbs with some pea-size butter pieces.
- Add cold water a little at a time.
- Pulse only until the dough starts clumping.
Do not wait for a perfectly smooth ball in the bowl. Pie dough usually needs to look slightly rough before chilling.
Add water gradually
Too much water too fast is a common mistake. Once the dough gets too wet, you are more likely to overmix trying to fix it.
Add just enough water for the dough to hold together when pinched. If it still looks crumbly but clumps when pressed, you are close.
Watch the dough, not the clock
The processor is fast enough that a few seconds matter. Stop when the dough begins to form larger clumps and holds together when squeezed. If you keep going because it “still looks dry,” you may cross into tough territory.
How to Use a Pastry Blender for a Flaky Crust
The pastry blender is slower, but that slower pace can help you keep the fat cold.
Cut in the butter until the mixture looks uneven
You want a mixture that resembles coarse meal with some larger butter bits still visible. Those larger bits are not a problem; they are part of what creates flakiness.
If the bowl looks perfectly uniform, you have probably gone too far.
Use firm, even pressure
Press the blender down and lift it through the flour repeatedly. Rotate the bowl as you go so the butter gets worked in evenly.
If the butter starts softening too much, pause and chill the bowl for a few minutes before finishing. That small break can protect the texture.
Stop before the dough looks “finished”
With a pastry blender, people often keep going because the dough still looks rough. That roughness is normal. Once the dough starts forming clumps after adding water, stop mixing and move to shaping.
How to Tell When Pie Dough Is Ready
This is the part that saves the crust.
Look for these signs
- The flour mixture has some visible butter pieces.
- The dough clumps when you press it together.
- It holds together without feeling sticky or wet.
- It still looks a little shaggy, not perfectly smooth.
That shaggy look is a good sign, not a failure. Pie dough is not bread dough. You are not trying to develop a strong, elastic structure.
Use the pinch test
Take a small handful and squeeze it.
- If it crumbles apart completely, it may need a little more water.
- If it sticks together but still feels cool and slightly rough, you are in good shape.
- If it feels greasy, sticky, or paste-like, it may be overworked or too warm.
Common Mistakes That Ruin Pie Crust Texture
These are the mistakes that matter most because they directly affect tenderness and flakiness.
1. Overprocessing the dough
This is the biggest risk with a food processor. The blade can move from “just mixed” to “too fine” very quickly.
2. Letting the butter warm up too much
Cold butter is easier to keep in visible pieces. Warm butter blends too smoothly and reduces the flaky effect.
3. Adding too much water
Too much water encourages more mixing and more gluten development. Add it slowly and stop as soon as the dough begins to hold together.
4. Mixing until the dough looks perfectly uniform
A pie crust should not look like a smooth cookie dough. A little roughness is helpful.
5. Skipping the chill step
After mixing, the dough needs time to rest and firm up before rolling. That resting period helps the fat stay cold and makes the dough easier to handle. Hamilton Beach notes that pie crust can be refrigerated or frozen for later use, which is helpful if you want to prep ahead. Hamilton Beach
How to Chill or Store Mixed Pie Dough Safely
If you are not rolling the dough right away, wrap it tightly and refrigerate it promptly. For longer storage, freeze it in a well-sealed package so it does not dry out or absorb odors from the freezer. When you are ready to use it, thaw it in the refrigerator rather than on the counter so it stays cold and easier to handle.
Do You Need Both Tools to Make Good Pie Crust?
No. You can make excellent pie crust with either one.
If you bake pies only occasionally, a pastry blender is usually enough. It is inexpensive, compact, and reliable. If you already own a food processor, that can absolutely do the job well too, especially if you make pie dough often or want to save time.
Here is the simplest purchase rule:
- Buy a pastry blender if you want a low-cost, low-space tool dedicated to pie dough.
- Rely on a food processor if you already have one and are willing to pulse carefully.
- Use a fork or your hands only as a fallback if you are making a small batch and can work quickly enough to keep the butter cold; they are less ideal for larger batches or when you need very even mixing.
Food Nouveau points out that if you do not have a food processor, making shortcrust pastry by hand is a better fallback than trying to force the dough in a blender jar, which may not give you the same room or movement as a processor bowl. That is a useful reminder: the tool has to fit the dough, not just the recipe. Food Nouveau
Bottom Line
If you want maximum control and a low-cost setup, use a pastry blender. If you want speed and convenience, use a food processor. For pie crust, the tool matters less than the final texture: cold butter, limited mixing, and a dough that still looks a little rough when you stop.
That is the practical answer. Choose the method you can manage cleanly, stop early, and let the dough rest before rolling. That combination does far more for a flaky crust than any single gadget ever will.