
Sourdough Hooch Explained: What That Liquid Means and How to Fix It

If you’ve opened your starter and found a layer of liquid on top, don’t panic. In most cases, sourdough hooch is simply a sign that the starter has gone longer than it wants between feedings. It’s common, it’s fixable, and it does not automatically mean your starter is ruined.
As a baker, I like to think of hooch as your starter’s way of waving a little flag: “I’m ready for food.” Sometimes that flag is thin and gray. Sometimes it’s darker and more noticeable. Either way, the real job is to read the whole starter, not just the liquid.
What Sourdough Hooch Is
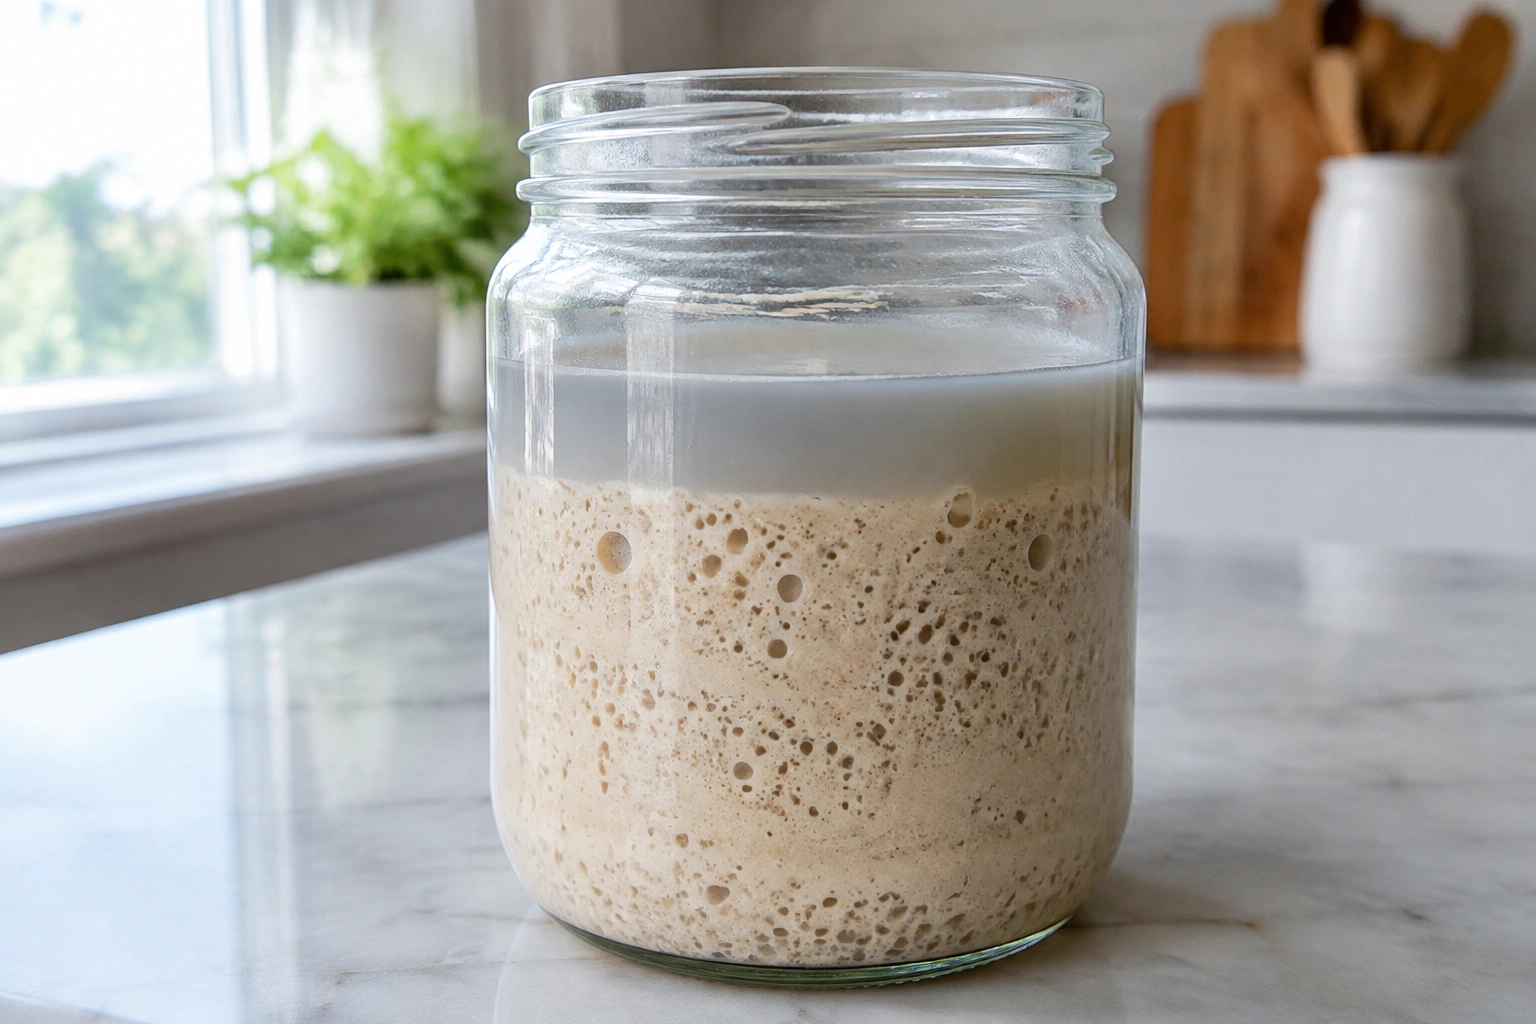
Sourdough hooch is the liquid that separates and pools on top of a starter when fermentation has moved ahead of feeding. In plain language, it’s a byproduct of a starter running low on available food and shifting into a more dormant, acidic state.
You may hear different descriptions of it. Some bakers call it alcohol-like. Others describe it as a thin, grayish liquid. What matters most is not the label, but the context: hooch usually appears when the starter has been left too long without a refresh.
A starter with hooch is not automatically dead. In fact, a starter can often bounce back quickly once it’s fed properly.
What Hooch Looks, Smells, and Means
Normal hooch usually looks like a thin liquid layer sitting on top of the starter. It may be gray, brown, or even darker if the starter has been neglected longer. The color alone does not tell the whole story, but it does give you a clue about how long the starter has been sitting. Very wet starters can also separate without being spoiled, so don’t rely on liquid alone as a warning sign.
The smell is just as useful as the look. A starter with hooch often smells sharply sour, tangy, or a little boozy. That can be unpleasant, but it is not the same thing as spoilage. A starter that smells rotten, putrid, or truly off in a way that makes you recoil is a different situation.
Here’s the practical distinction:
- Likely hooch: liquid on top, sour smell, no fuzzy growth, no strange pink or orange patches
- Possible spoilage: fuzzy mold, unusual discoloration, or a rotten odor
If you see only liquid and the starter otherwise looks normal, the starter is usually still usable.
Hooch vs. Mold: A Quick Comparison
| Sign | Hooch | Mold or spoilage |
|---|---|---|
| Appearance | Thin liquid layer, often gray, brown, or darker | Fuzzy growth, spots, or unusual streaks |
| Smell | Sour, tangy, sometimes boozy | Rotten, musty, or clearly unpleasant |
| Meaning | Starter is hungry or overdue for feeding | Unsafe contamination concern |
| Action | Feed it; decide whether to stir in or pour off | Discard the starter |
That table is the fastest way to separate a normal maintenance issue from a real warning sign.
Why Hooch Forms in Sourdough Starter
Hooch appears when the starter has used up much of its available food and fermentation keeps going. The wild yeast and lactic acid bacteria in your starter keep working until the environment changes enough to slow them down. When food runs short, the starter can separate and release liquid.
A few things make hooch more likely:
Long gaps between feedings
If the starter sits too long without fresh flour and water, it eventually runs out of easy fuel. That’s the most common reason hooch appears.
Storage temperature
Warm starters ferment faster, so they tend to need feeding more often. A starter kept at room temperature may show hooch sooner than one stored in the refrigerator, simply because it is more active.
Hydration level
A wetter starter can separate more visibly. A stiffer starter may still develop hooch, but the separation can look different. That’s why the same starter maintenance advice does not always look identical from one kitchen to another.
Starter age and activity
A very active starter can burn through food faster than a sleepy one. If your starter is strong and lively, it may also become hungry sooner.
Is Hooch Bad? How to Tell If Your Starter Is Still Usable
Hooch itself is not the same as spoilage. In many kitchens, it’s simply a sign that the starter needs attention. If the starter smells sour, shows only liquid separation, and has no mold or strange discoloration, it is usually still usable.
Here’s the decision rule I use:
- Only liquid on top, normal sour smell: keep it and feed it.
- Liquid plus weak starter activity: feed it and expect it may need a refresh or two.
- Liquid plus fuzzy mold, pink, orange, or other unusual color: discard it.
- Liquid plus rotten smell: discard it.
That’s the practical line between “needs maintenance” and “not worth rescuing.”
If you are unsure, don’t try to force a bad starter back into service just because you hate wasting flour. Food safety comes first.
Tools and Materials You’ll Need
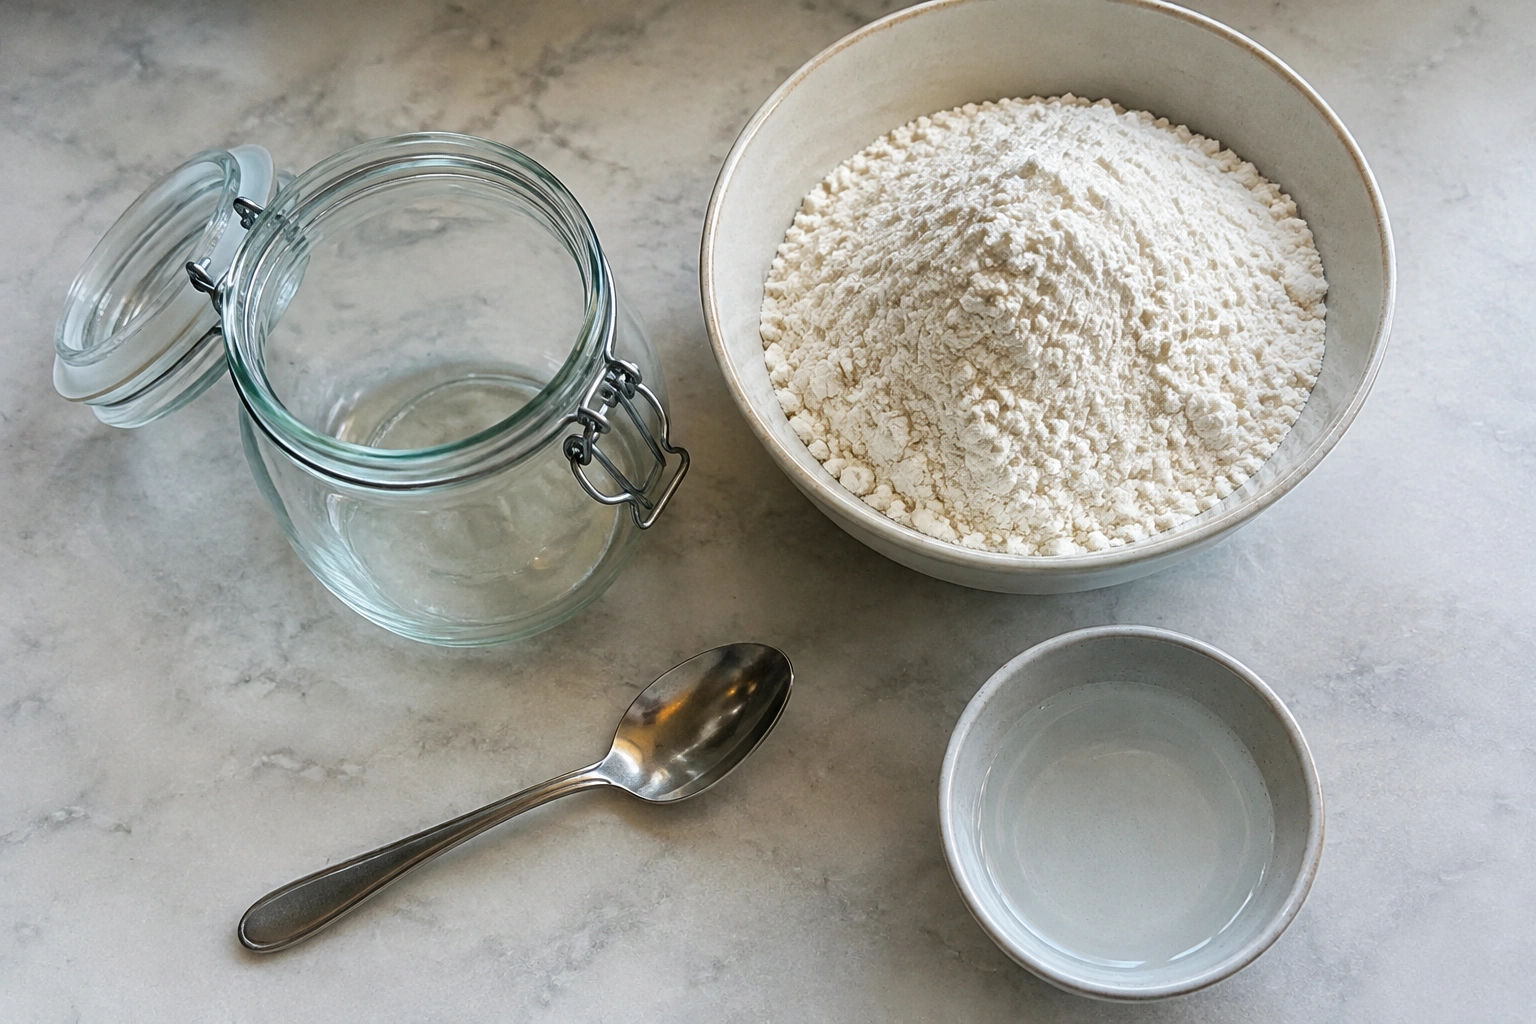
You do not need special equipment to deal with hooch. A simple maintenance setup is enough:
- a clean jar
- a spoon or spatula
- flour
- water
- a discard container
- a scale, if you prefer to weigh your feedings
A scale makes feeding more consistent, especially if you’re trying to rebuild a neglected starter. Without one, you can still work by volume, but weighing is easier to repeat accurately.
How to Handle Hooch: Stir It In or Pour It Off
This is the question most bakers ask first, and the honest answer is that both approaches can work.
Stir it back in
Mixing hooch into the starter keeps all the liquid in the jar. That preserves the starter’s current acidity and can make the flavor more assertive. It also changes the hydration slightly, which matters more if your starter is already very wet.
Choose this when:
– you want a more tangy starter
– the starter is otherwise healthy
– you are not concerned about a slightly looser texture
Pour it off
Pouring off hooch removes the separated liquid before feeding. That usually gives a milder result and can make the starter taste less sharp. It also keeps the hydration from creeping upward.
Choose this when:
– you want a cleaner, milder flavor
– the starter is already quite runny
– you prefer a less acidic profile
A simple rule for deciding
If the starter is only a little hungry and you want to preserve flavor, stir it in. If the starter is very loose or you want a milder result, pour it off.
Stir-in vs. pour-off comparison
| Choice | Flavor effect | Hydration effect | Best for |
|---|---|---|---|
| Stir in | More tang, more acidity | Slightly wetter starter | Bakers who like sharper flavor |
| Pour off | Milder, less acidic | Keeps starter more stable | Very runny starters or milder taste goals |
Neither choice is “wrong.” The real mistake is doing either one and then forgetting to feed the starter afterward.
Step-by-Step: Fixing a Starter With Hooch
When I’m troubleshooting a starter with hooch, I follow the same basic process every time.
1. Inspect the starter carefully
Look for liquid, smell it, and check for mold or unusual colors. If you see fuzzy growth or pink/orange discoloration, stop and discard.
2. Decide whether to pour off or stir in
Use the flavor and hydration logic above. If you’re unsure, pour off the liquid and keep the starter simpler to manage.
3. Discard most of the starter
Keep a small amount of starter and discard the rest. This gives the fresh feeding a better chance to reset the balance instead of feeding a huge, tired mass.
4. Feed with fresh flour and water
Add fresh flour and water in a clean jar. A common practical approach is to feed in equal parts starter, water, and flour by weight, or to use a ratio that gives the starter enough fresh food to recover.
If the starter has been neglected, a larger feeding ratio can help it rebound because there is more fresh flour available relative to the old, acidic starter.
5. Mark the level and watch for activity
After feeding, mark the jar and observe how long it takes to rise. That tells you more than the liquid ever will. A starter that rises predictably is usually on the road back.
6. Adjust the next feeding based on performance
If it rises and falls quickly, feed it again every 12 hours for 1 to 2 days until activity improves. If it barely moves, give it another refresh before baking.
How to Revive a Neglected Starter After Hooch Appears
A starter that has developed hooch after sitting too long usually needs more than just a quick stir. If it’s been neglected for a while, one feeding may not be enough to bring it back to peak strength.
A good approach is to think in stages:
If the starter is only slightly neglected
One discard-and-feed cycle may be enough. You may see activity return within a feeding or two.
If the starter is very sluggish
Feed it every 12 hours for 1 to 2 days, discarding and refreshing each time, until you see steadier rise and stronger bubbles. The goal is to reduce acidity and give the yeast and bacteria a cleaner environment to rebuild.
If the starter keeps producing hooch quickly
That usually means the feeding schedule is too slow, the starter is too warm, or the hydration level is making separation more obvious. In that case, the fix is not just “more stirring.” It’s a maintenance change.
For a starter stored in the refrigerator, it’s normal for hooch to appear if it sits too long between feedings. For a starter kept at room temperature, hooch often means the feeding interval is too long for the environment.
Common Mistakes to Avoid
The biggest mistake is assuming every liquid layer means disaster. That can lead to tossing a perfectly good starter.
Other common errors are more subtle:
- Ignoring mold because the starter “smells sour anyway.” Sour is normal; fuzzy growth is not.
- Pouring off hooch and skipping the feed. That only delays the problem.
- Mixing hooch in without adjusting the starter’s hydration. This can make an already loose starter even wetter.
- Keeping a room-temperature starter too long between feedings. Warmth speeds fermentation, so the starter burns through food faster.
- Leaving a refrigerated starter untouched for too long. Cold slows fermentation, but it does not stop it completely.
Troubleshooting Repeat Hooch Formation
If hooch keeps coming back, the starter is telling you something about your routine.
If it forms at room temperature
Feed more often, or keep a smaller starter so the food supply stretches farther. A warm kitchen can make a starter hungry much faster than you expect.
If it forms in the refrigerator
That usually means the starter has sat too long without a refresh. Refrigeration slows fermentation, but it does not eliminate the need for maintenance.
If the starter is very runny
Consider a slightly stiffer feeding. A wetter starter can separate more visibly, so changing hydration may help with stability.
If the starter smells extremely sharp
That can mean it has become overly acidic from sitting too long. More frequent refreshes usually help reset the balance.
The key is to match the feeding schedule to the starter’s actual pace, not to a fixed calendar rule you saw somewhere else.
How to Prevent Hooch in the Future
Prevention is mostly about consistency.
For a starter kept at room temperature, feed it often enough that it does not run out of food. If your kitchen is warm, expect a faster cycle.
For a starter kept in the refrigerator, feed it before it gets too depleted, especially if it has been sitting for an extended period. Cold storage is convenient, but it is not a permanent pause button.
A few habits help a lot:
- keep the starter in a clean jar
- feed it before it becomes extremely hungry
- watch rise and fall patterns instead of guessing
- adjust hydration if separation is happening constantly
- use a smaller starter if you do not bake often
If you want to connect this maintenance with baking readiness, it helps to review how a healthy starter should look and behave before mixing dough. You can also compare hooch troubleshooting with how to tell when your sourdough starter is ready to bake and the related sourdough float test guide. If you’re building a starter from scratch, this beginner’s starter guide is a useful companion.
Practical Examples: What to Do in Common Starter Scenarios
Scenario 1: A refrigerated starter with gray liquid on top
This is usually hooch, not a crisis. Pour it off or stir it in, then feed the starter. If it has been neglected for a long time, give it more than one refresh before baking.
Scenario 2: A room-temperature starter that smells sour but has no mold
Feed it right away. The sour smell is normal; the liquid is the sign that it has run out of food.
Scenario 3: A very runny starter with hooch
Pour off the liquid if you want to keep the hydration from climbing even higher. Then feed it and consider making the starter a little stiffer next time.
Scenario 4: A starter with fuzzy spots and pink streaks
Discard it. That is not ordinary hooch, and it is not worth trying to rescue.
When to Consult a Master Baker
If your starter repeatedly develops hooch even after you adjust feeding and storage, or if you’re trying to recover a starter you’ve neglected for a long time, a master baker or experienced sourdough instructor can help you diagnose what’s happening in your specific setup. Sometimes the issue is not the starter itself but the way it’s being stored, fed, or hydrated.
Final Takeaway
Sourdough hooch is usually a hunger signal, not a death sentence. If your starter has a liquid layer on top but no mold, no unusual discoloration, and no rotten smell, it is generally still salvageable. Decide whether to stir it in or pour it off based on the flavor and hydration you want, then feed the starter and adjust your routine so it does not keep getting that hungry.
A healthy starter is a well-managed one, and hooch is often just feedback. Read it correctly, and your starter will usually tell you exactly what it needs.