
What Temperature Kills Yeast? A Baker’s Practical Guide to Getting It Right

If you’ve ever wondered what temperature kills yeast, here’s the short answer: yeast begins to die off at around 120°F (49°C), and it is generally considered completely killed at 140°F (60°C) or higher. In home-baking guidance, the exact cutoffs can vary a little by source, but that’s the practical range most bakers use when handling yeast in water, milk, or other liquids.
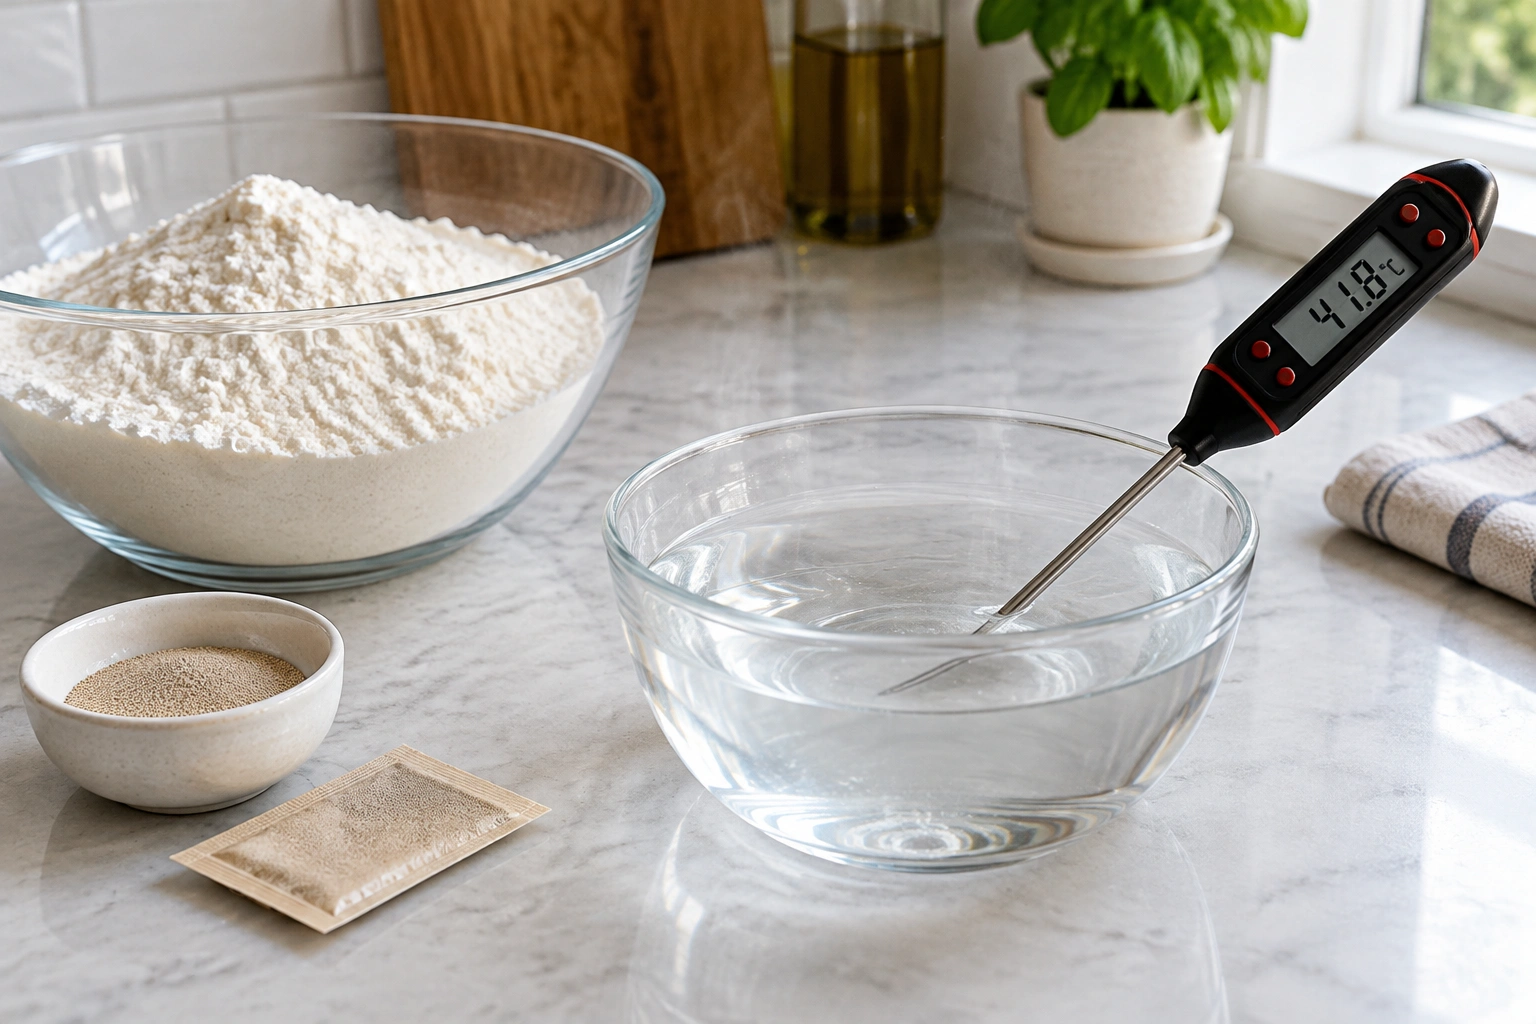
But there’s an important nuance: yeast doesn’t flip from alive to dead at one magical number. Heat weakens it gradually. That means a liquid that’s merely “pretty warm” may be fine, while a liquid that feels hot to your hand can quietly ruin a dough.
The safest habit is simple: measure the liquid, don’t guess. A thermometer takes the uncertainty out of bread making and saves a lot of wasted flour, time, and frustration.
Quick Answer: What Temperature Kills Yeast?
For home baking, these are the numbers worth remembering:
- Below 110°F (43°C): generally safe for most yeast handling
- Around 120°F (49°C): yeast may begin to die off
- 130°F to 140°F (55°C to 60°C): yeast cells die
- 140°F (60°C) and above: yeast is considered completely killed
That range is the real-world answer to the question, not a single perfect cutoff. In a kitchen, a few degrees can matter.
| Yeast temperature zone | °F | °C | What it means |
|---|---|---|---|
| Slows yeast | Below about 110°F | Below about 43°C | Yeast works more slowly |
| Safe/warm for activation | About 95°F to 110°F | About 35°C to 43°C | Common range for blooming or mixing yeast into warm liquid |
| Damages yeast | About 120°F to 139°F | About 49°C to 59°C | Yeast may weaken or die off gradually |
| Kills yeast | 140°F and above | 60°C and above | Yeast is considered dead |
A practical note: active dry yeast is often bloomed in warm liquid first, instant yeast is commonly mixed into dry ingredients, and fresh yeast is handled differently in practice because it is more perishable and delicate in storage. Even so, all three can be damaged by liquid that is too hot.
How Yeast Responds to Temperature
Yeast is a living organism, so temperature changes how quickly it works.
Cool liquid slows yeast down
In cooler doughs, yeast works more slowly. That’s not necessarily a problem. In fact, slow fermentation can improve flavor in many breads because the dough has more time to develop.
Warm liquid helps yeast wake up
Warm water or milk helps yeast become active faster. That’s why many bread formulas call for water that feels warm, not cold. The goal is to wake the yeast up—not cook it.
Too much heat damages yeast
Once the liquid gets too hot, yeast cells become stressed, then damaged, then dead. That damage is not always instant and total. If the liquid was only slightly too hot, some yeast may survive, but the dough may rise sluggishly or unevenly.
That’s why bakers talk about three zones:
- Safe and helpful
- Stressed or damaged
- Killed
The tricky part is that dough temperature and liquid temperature are related but not identical. A bowl of dough may settle into a comfortable proofing temperature even if the water used to mix it was warmer. But if the liquid itself is too hot when yeast first meets it, the yeast can be harmed before the dough ever has a chance.
Safe Temperature Ranges for Active Dry, Instant, and Fresh Yeast
Different yeast forms are handled a little differently, but heat damage still matters for all of them.
| Yeast type | Practical handling note | Warning zone | Kill range |
|---|---|---|---|
| Active dry yeast | Often bloomed in warm liquid first | Around 120°F / 49°C | About 140°F / 60°C and above |
| Instant yeast | Usually mixed directly into dough, but still heat-sensitive | Around 120°F / 49°C | About 140°F / 60°C and above |
| Fresh yeast | More perishable and delicate in storage, but heat still kills it | Around 120°F / 49°C | About 140°F / 60°C and above |
A useful takeaway: the type of yeast changes how you use it, but it does not give you permission to use boiling or near-boiling liquid.
Active dry yeast is often proofed in warm water first, so temperature matters immediately. Instant yeast is commonly mixed straight into flour, but if you add it to hot liquid, it can still be damaged before the dough comes together. Fresh yeast is soft and perishable, but it is not heat-proof.
If you’re still deciding which yeast to use for a recipe, this detailed comparison can help: Active Dry Yeast vs Instant Yeast: How to Choose, Swap, and Bake with Confidence.
Tools and Materials You Need
You do not need fancy equipment to handle yeast well. You do need one reliable tool:
- A kitchen thermometer — an instant-read thermometer is ideal
- A mixing bowl
- Measuring cups or a scale
- Water, milk, or another liquid called for in the recipe
- Yeast
A thermometer beats the wrist test because hand feel is subjective. What feels “warm” to one person may be too hot for yeast. A thermometer gives you a number you can trust.
If you don’t have one yet, this is one of the cheapest upgrades that can improve your bread consistency. It helps not just with yeast, but also with checking dough temperature and baked bread later on.
How to Check Whether Water or Milk Is Too Hot for Yeast
Here’s the simplest reliable method.
Step 1: Heat the liquid
Warm the water or milk to the recipe’s target, or slightly below it if you’re unsure.
Step 2: Measure before adding yeast
Insert the thermometer into the liquid and wait for the reading to stabilize. If the liquid is in the safe range, proceed.
Step 3: Use a practical decision rule
- Under 110°F (43°C): safe for most yeast work
- 110°F to 120°F (43°C to 49°C): usually still workable, but getting warm
- 120°F and above (49°C+): risky; yeast may begin to die off
- 140°F and above (60°C+): do not use with yeast
Step 4: Cool it if needed
If the liquid is too hot, let it sit for a few minutes and recheck. If you need to cool it faster, pour it into a wider bowl or stir in a small amount of cool liquid, but do this carefully so you do not throw off the recipe.
If you do not have a thermometer, a short practical check is to dip a clean finger into the liquid for a second or two: it should feel pleasantly warm, not hot or uncomfortable. That said, this is only a backup method. A thermometer is still the reliable way to know for sure.
Milk deserves special attention because it can feel less “obviously hot” than water while still being warm enough to hurt yeast. That’s one reason thermometers are so useful in enriched doughs like brioche, dinner rolls, and sweet breads.
Step-by-Step: How to Activate Yeast Without Killing It
When a recipe asks you to bloom or activate yeast, follow a deliberate process.
-
Check the liquid temperature first.
Don’t add yeast and then test. That’s too late if the liquid is too hot. -
Aim for warm, not hot.
If you want a simple rule, think “bath water, not tea water.” That’s not a scientific measurement, but it keeps many bakers in the safe zone. -
Add the yeast and wait briefly.
For active dry yeast, let it sit long enough to show signs of life if the recipe calls for blooming. -
Watch for visible activity.
Foaming, bubbling, or a creamy cap on the surface suggests the yeast is active. -
Continue with the dough.
Once the yeast is active, mix it into the remaining ingredients and proceed with kneading or folding.
The trade-off here is convenience versus certainty. Instant yeast is often faster and simpler because many recipes let you mix it directly into dry ingredients. Active dry yeast gives you a visible check if you bloom it first. That extra step can be helpful when you’re worried about yeast freshness or liquid temperature.
Signs Your Yeast Is Still Alive After Mixing
A dough doesn’t always announce success immediately, but there are good signs to watch for.
In the bowl
- Foam or bubbles on the liquid surface
- A creamy, expanded layer after blooming
- A yeasty smell that develops after a short rest
In the dough
- The dough slowly expands in volume
- The surface becomes smoother and slightly puffy
- Indentations from a finger spring back gradually, not instantly
If you’re using active dry yeast and the liquid was safe, a foamy bloom is one of the clearest signs that the yeast survived. If you’re using instant yeast, visible activity may show up more in the dough itself than in the liquid.
A lack of dramatic bubbling does not always mean failure. Some doughs, especially enriched or cool-fermented ones, rise more slowly. But if the liquid was too hot and the dough shows no movement after a reasonable fermentation window, overheated yeast is a real possibility.
What to Do If You Added Yeast to Water That Was Too Hot
This is the moment when many bakers panic. The best response is calm triage.
Simple decision tree
- If the liquid was only slightly above target: wait longer and watch carefully for rise. Some yeast may still be alive, and the dough may just need extra time.
- If the liquid was clearly above the kill range, especially 140°F / 60°C or hotter: remake the dough with fresh yeast. Continuing to wait usually wastes time.
- If you’re unsure and the dough has some early signs of life: partial salvage may be worth trying. Give it more time in a warm, draft-free place before you decide.
If the liquid was just a little too warm
If the water or milk was only slightly above the safe range, some yeast may still be alive. In that case:
- Give the dough time
- Watch for any sign of rise
- Keep the dough in a warm, draft-free place
You may still get a usable loaf, though it might rise more slowly.
If the liquid was clearly hot
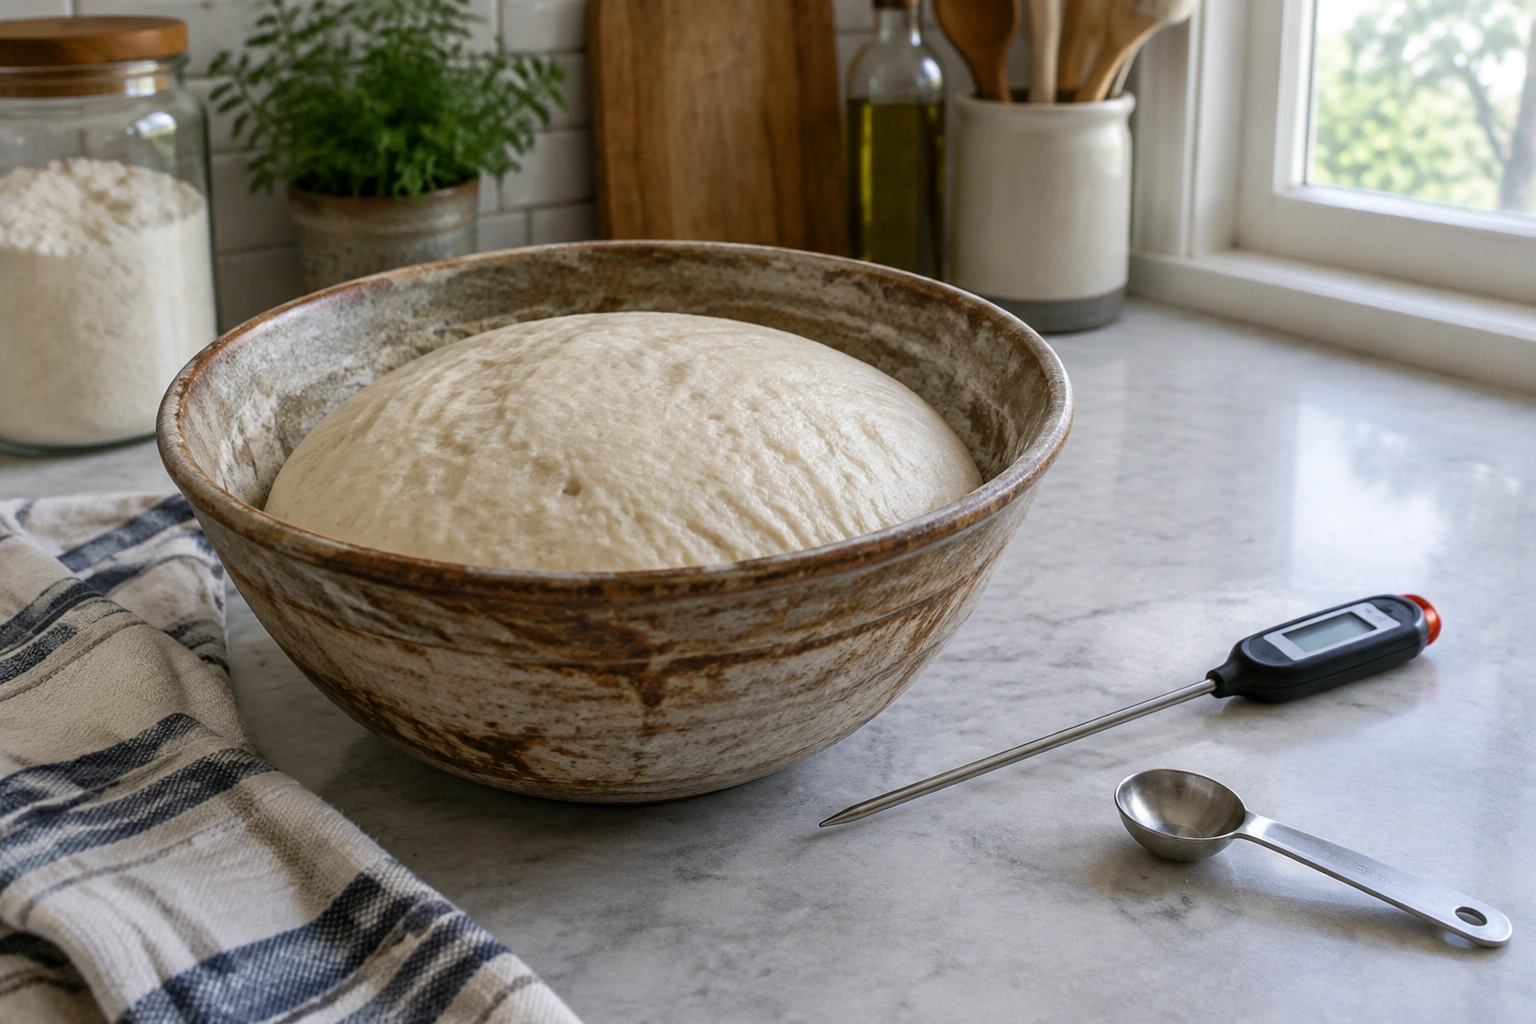
If it was near scalding or comfortably above 140°F (60°C), the yeast is likely dead. In that case, continuing to wait usually wastes time.
Your best move is usually to start over with fresh yeast. If the dough has not yet been fully mixed, you may be able to remake it with a new batch of properly tempered liquid. If it’s already mixed, recovery is uncertain.
If you’re unsure
Use time as a clue, but not the only clue. If there’s no rise, no puffiness, and no sign of fermentation after a realistic proofing window, the yeast may have been killed or severely damaged.
That’s why many bakers prefer to test a small amount of yeast first when working with a new recipe or unfamiliar ingredient setup. It’s a small insurance policy against losing the whole batch.
Common Mistakes That Kill or Weaken Yeast
A few habits cause most yeast temperature problems.
Relying on touch alone
“Warm” is too vague. What feels fine to your hand may be too hot for yeast.
Confusing proofing temperature with mixing temperature
A dough can proof in a warm environment later, but the liquid used to start the dough still needs to be safe.
Using boiling or near-boiling liquid
This is the fastest way to kill yeast. If the liquid is hot enough to steam heavily or feel painful, it is not ready.
Forgetting that milk behaves differently
Milk can hide heat well. It may not feel as dramatic as water, but it can still be too hot for yeast.
Assuming all failure is yeast failure
A dough can fail to rise for other reasons too: old yeast, too much salt, too little time, cold room temperature, or a formula that needs more development. Temperature is a major factor, but it is not the only one.
Practical Examples: Bread, Pizza Dough, and Milk-Based Doughs
Let’s put the temperature guidance into real baking situations.
Lean bread dough
For a basic loaf, warm water is often enough to get yeast going. If the water is in the safe range, the dough should ferment normally. If the water was too hot, the first sign of trouble is often a dough that sits stubbornly flat.
Pizza dough
Pizza dough often benefits from controlled fermentation rather than aggressive warmth. A slightly cooler liquid can be fine, especially if you’re planning a longer rise. There is no advantage to using very hot water here.
Milk-based doughs
Brioche, dinner rolls, and similar doughs often use milk, butter, and sugar. These ingredients can make the dough richer and softer, but they also make temperature control more important. Milk that is too hot can damage yeast before the dough even begins to rise.
In these doughs, using a thermometer is especially worth it.
Troubleshooting a Dough That Is Not Rising
When a dough stalls, ask a few simple questions before you assume the yeast is dead.
Was the liquid too hot?
If yes, that’s the first suspect.
Was the yeast fresh?
Old yeast can fail even at perfect temperature.
Was the dough kept too cold?
Cold dough rises slowly. Sometimes the fix is patience, not replacement.
Was the dough over-salted or under-mixed?
Salt directly on yeast can slow it down, and poor mixing can leave yeast unevenly distributed.
What should you do next?
If the liquid was safely warm and the dough still seems sluggish, give it more time in a warmer spot. If the liquid was too hot and there’s no sign of activity, starting over is usually the most efficient choice.
For more help with the broader baking stage after fermentation, this guide may be useful later in the process: Internal Temperature of Bread: The Clear Guide to Knowing When Your Loaf Is Done.
When to Consult a Master Baker
If you’re working on enriched doughs, laminated doughs, or professional-level production where timing matters, a master baker can help you troubleshoot the whole fermentation process, not just the yeast temperature. That matters when you’re balancing flavor, schedule, and dough strength at the same time.
A baker with training can help you decide whether a slow rise is a temperature issue, a formulation issue, or simply a timing issue. That kind of diagnosis is especially valuable in culinary school kitchens, where recipes are often scaled and repeated under different conditions.
Final Thought
Yeast is resilient, but it is not invincible. If you remember one thing, make it this: keep yeast liquids in the warm, safe range and measure when you can. Once you know the difference between slowing yeast, activating it, damaging it, and killing it, bread making becomes much more predictable—and a lot less stressful.