
Why Is My Bread Dense? A Baker’s Guide to Finding the Real Cause and Fixing It

If you’ve pulled a loaf from the oven and thought, Why is my bread dense instead of light and airy? you’re not alone. Dense bread usually means one of three things happened: the dough didn’t produce enough gas, it didn’t hold onto that gas well, or it didn’t get enough oven spring to finish the job.
That’s the good news. Dense bread is usually fixable once you know where the process went off track.
I’m Ethan Baker, and when I troubleshoot a heavy loaf, I think in stages: yeast, gluten, hydration, proofing, shaping, and baking. That order matters because it helps you avoid changing five things at once. A dough can look “wrong” for more than one reason, but there’s usually a primary cause that stands out if you know what to look for.
Quick Decision Tree: Start with the Most Likely Cause
If you’re not sure where the problem began, work through the causes in this order:
- Yeast — Did the dough barely rise at all, even after a reasonable wait?
- Hydration — Did the dough feel stiff, dry, or hard to stretch?
- Gluten — Did the dough tear easily or fail the windowpane test?
- Proofing — Did the dough feel too tight, too puffy, or collapse when handled?
- Shaping — Did the loaf lose gas during final shaping?
- Oven — Was the oven fully preheated, and did the loaf get enough initial heat?
A quick way to use this: if the dough never really moved, start with yeast and temperature. If it rose but baked tight, move to gluten, hydration, and proofing. If it looked ready but flattened in the oven, check shaping and baking setup.
Quick Diagnosis: Underproofed, Overproofed, or a Dough-Mix Problem?
Before you adjust the recipe, look at the loaf you already baked and the dough you remember handling. That gives you a faster diagnosis than guessing.
Use this simple comparison
| What you notice | Most likely cause | What it usually means |
|---|---|---|
| Tight, compact crumb with little rise | Underproofed dough | The dough needed more fermentation time before baking |
| Flat loaf that spread sideways | Overproofed dough | The dough rose too far, then weakened and lost structure |
| Dense loaf plus poor rise from the start | Yeast or mixing issue | The dough may not have produced enough gas at all |
| Dense loaf with tearing or rough crumb | Weak gluten development | The dough couldn’t trap gas effectively |
| Heavy loaf that felt stiff and dry | Too much flour / low hydration | The dough was too tight to expand well |
Here’s the practical rule: if the dough looked active but the loaf still baked up tight, suspect proofing or structure. If the dough barely moved at any stage, suspect yeast, temperature, or recipe balance.
Underproofed vs. overproofed
Underproofed dough is usually still springy, tight, and resistant. It often tears when shaped and bakes with a burst of oven spring but not enough overall expansion. Overproofed dough feels fragile, puffy, and sometimes slack. It may collapse when moved, bake flat, or have a loaf that looks risen but tastes oddly heavy because the structure weakened before it hit the oven.
A more concrete way to tell them apart:
– Underproofed dough: feels dense and elastic, springs back quickly when poked, and may resist shaping.
– Properly proofed dough: feels airy and slightly jiggly, holds a gentle indentation that returns slowly, and still has enough strength to hold shape.
– Overproofed dough: feels fragile or overly soft, may deflate easily, and leaves a dent that stays or causes the dough to sink.
That distinction matters because the fix is opposite in each case: underproofed dough needs more time; overproofed dough needed less.
The Most Common Reasons Bread Turns Out Dense
Dense bread is almost always a gas problem. Either the dough didn’t create enough gas, couldn’t hold gas, or lost gas before baking.
1) The yeast was weak or inactive
If yeast is old, poorly stored, or damaged by water that was too hot, it may not produce enough carbon dioxide to lift the dough. That gives you a loaf that feels like it “did everything right” except rise.
A simple yeast test helps. Stir a small amount of yeast with warm water and a little sugar, then wait for visible foam. A reasonable wait is usually around 5 to 10 minutes for an active mixture, though timing can vary by yeast type and temperature. If it barely responds after that, replace it. If the mixture is slow but eventually active, the yeast may still be usable, just not especially vigorous.
If the dough itself is slow rather than dead, check the rest of the formula too. Enriched doughs can rise more slowly because sugar, fat, and salt all affect fermentation. That doesn’t automatically mean the yeast is bad; it may simply be working in a less favorable dough.
For best results, store yeast sealed and cool, and follow the package guidance for the specific type you bought. Once opened, treat it as something that can lose strength over time rather than assuming it will stay equally active for months in a warm cupboard.
2) The dough was underkneaded or under-mixed
Gluten is the network that traps fermentation gas. If it’s underdeveloped, the dough may rise a little but won’t hold its shape or volume well. The result is a loaf with a tight crumb and poor lift.
A useful checkpoint is the windowpane test: stretch a small piece of dough gently. If it tears quickly, the gluten still needs work. If it stretches thin enough to let light through without breaking right away, the structure is stronger.
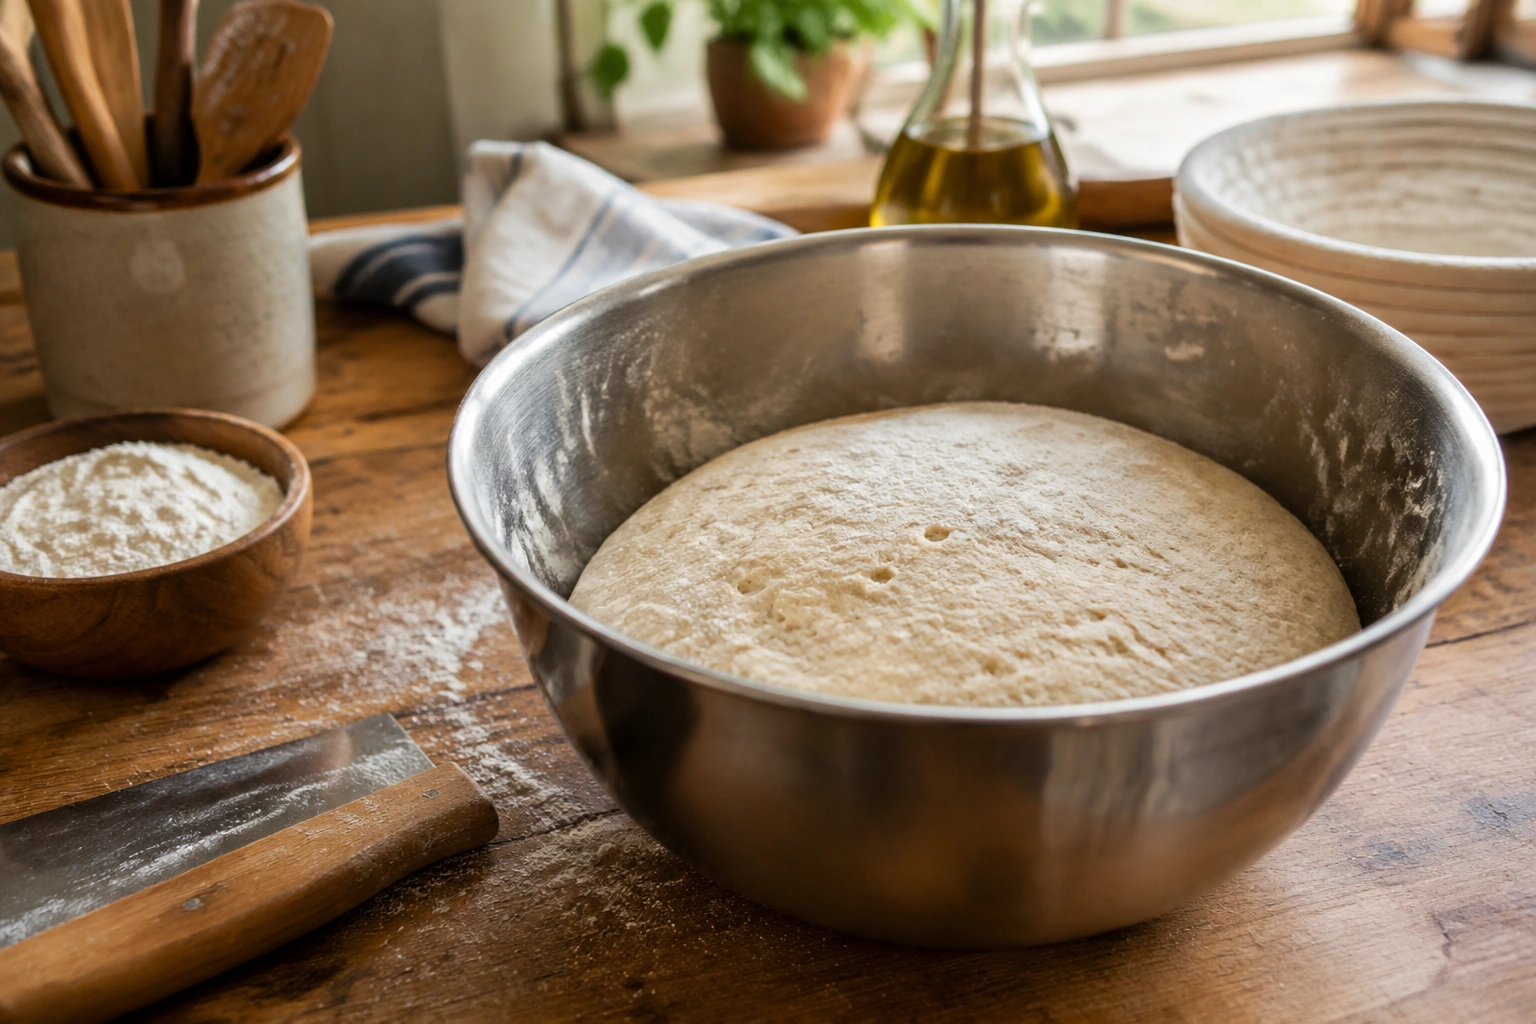
What strong gluten looks and feels like in practice:
– The dough feels smoother and more elastic, not shaggy or easily torn.
– It stretches before it tears, rather than ripping immediately.
– A well-developed piece can often stretch into a thin, translucent film before breaking.
If you’re new to this, don’t expect perfection. You’re not looking for a superhero sheet of dough every time. You’re looking for a dough that can stretch noticeably before tearing.
If you want a deeper breakdown of this stage, the site’s guide to gluten development in bread walks through kneading, folding, and the windowpane test in more detail.
3) Too much flour made the dough stiff
This is one of the most common beginner mistakes. Extra flour can make dough easier to handle in the moment, but it also lowers hydration and makes it harder for the dough to expand. A stiff dough usually gives you a tighter crumb and less oven spring.
This often happens during shaping, when bench flour gets added generously. If the dough feels dry, rough, or hard to stretch, you may have gone too far. The fix is not “more kneading.” It’s usually a better flour balance next time.
For a more technical look at this, see bread dough hydration.
4) The flour choice was too weak for the loaf
Flour protein matters because protein helps form gluten. Bread flour generally gives stronger structure than all-purpose flour, which can be perfectly fine for softer breads but may produce a less robust loaf if the recipe needs more support.
A simple rule of thumb:
– Bread flour is usually the better choice when you want a lighter structure, better rise, or a loaf that needs more strength.
– All-purpose flour can work well when you want a softer crumb or a more tender loaf, especially in breads that don’t need as much structure.
That doesn’t mean all-purpose flour is “bad.” It means you should match the flour to the bread style. A sandwich loaf, enriched dough, or higher-hydration dough usually benefits from stronger flour. If your loaf keeps spreading or baking up compact, a switch to bread flour can make a real difference.
5) Proofing was too short or too long
Proofing is not a box to tick; it’s the stage where the dough builds the gas and structure it needs before baking. It can’t be skipped or rushed without consequences. Underproofed dough hasn’t produced enough gas, so it bakes dense. Overproofed dough goes too far, loses strength, and can collapse.
The most useful cue is not the clock but the dough itself. If you’re asking, “How long should bread proof before baking?” the honest answer is: long enough for the dough to show readiness, not just until a timer rings. Look for visible expansion, a lighter feel, and a gentle spring when touched.
Concrete readiness cues:
– Underproofed: the dough feels tight, dense, and resistant; a poke springs back quickly; the dough may look smaller or less aerated than expected.
– Properly proofed: the dough feels airy and slightly puffy; it jiggles a bit when the pan or bowl is moved; a light poke leaves an indentation that returns slowly.
– Overproofed: the dough feels fragile, very soft, or slack; it may deflate easily; a poke leaves a dent that stays or the dough sinks around it.
If you want a more practical method, those touch-and-look signals are more reliable than a timer alone.
6) The kitchen temperature slowed or sped up fermentation
Temperature changes proofing speed more than many home bakers expect. In a cool kitchen, dough may need noticeably longer. In a warm room, it may move quickly and overshoot while you’re waiting for a time-based recipe to “catch up.”
That’s why a dough that seems fine in the bowl can still bake dense: the fermentation timing was off for the room it was in. Warmth speeds yeast activity; cool conditions slow it down. In a cool kitchen, don’t be surprised if proofing takes longer than the recipe suggests. In a warm kitchen, watch the dough closely because it may become ready sooner than expected.
The dough doesn’t follow the recipe clock exactly; it responds to its environment.
7) Shaping knocked out too much gas
Good shaping creates surface tension without flattening the dough. Aggressive degassing can undo a well-proofed loaf. If you press hard, roll too tightly, or reshape repeatedly, you can squeeze out much of the gas the dough worked so hard to build.
The goal is controlled handling, not brute force. Shape firmly enough to create structure, but not so hard that you turn the dough back into a compact mass.
8) The oven setup didn’t support oven spring
Even a well-made dough can bake up dense if the oven isn’t ready. If the oven isn’t fully preheated, the loaf may lose momentum before it gets its initial burst of rise. Steam can also matter for certain breads because it helps the crust stay flexible long enough for expansion.
A loaf baked in a cool or under-preheated oven often sets too slowly or too unevenly. The result is less oven spring and a heavier crumb than the dough deserved.
Tools and Ingredients That Help You Troubleshoot
You don’t need a lab bench, but a few basic tools make diagnosis much easier:
- A digital kitchen scale for accurate flour and water measurement
- A thermometer for checking dough and oven temperature
- Fresh yeast, or a way to test the yeast you already have
- Bread flour and all-purpose flour so you can compare structure
- A loaf pan or Dutch oven, depending on the style you bake
- A clear container or marked bowl to track dough rise
The scale matters more than most beginners realize. If flour is measured by cups, the dough can swing from slightly dry to very dry depending on how the cup is filled. That alone can change the crumb.
How to Tell If Yeast Is the Problem
If your dough barely rises, yeast is one of the first suspects.
A healthy yeast test should show activity in a warm, not hot, environment. If the yeast mixture stays flat and lifeless after a reasonable wait, it’s likely weak or dead. If the dough rose a little but never fully expanded, yeast may be only part of the issue; temperature, salt, sugar, or flour balance may also be involved.
A useful distinction:
– Weak yeast usually gives you very little rise even after enough time in a suitable temperature.
– Slow fermentation can happen when the dough is cool, enriched, or otherwise slowed down even though the yeast is still alive.
If you’re unsure, compare the dough’s behavior to the environment. A cool kitchen or enriched formula can make active yeast look sluggish without meaning it has failed completely.
How to Check Whether Your Dough Has Enough Gluten
The windowpane test is still one of the best home checks for gluten development. Take a small piece of dough and stretch it gently between your fingers.
- If it tears almost immediately, keep mixing or kneading.
- If it stretches thin but breaks before it becomes translucent, it’s improving but not ready.
- If it stretches into a thin membrane, the gluten network is much stronger.
A good windowpane usually stretches far enough that you can see light through it before it tears. Beginners often stop too early because the dough is already smoother, but smooth is not the same as strong.
This test is especially helpful when you’re comparing hand kneading and mixer kneading. A stand mixer can build gluten faster, but the risk of overmixing depends on the dough type and mixer speed, so it’s worth checking the texture regularly. Hand kneading gives you more tactile feedback, though it takes longer and can be harder to judge when you’re new.
How to Fix Dough That Is Too Dry or Too Wet
Hydration changes everything about crumb structure. A dough that is too dry feels stiff and resists expansion. A dough that is too wet can be harder to shape, but it can also trap gas well if the gluten is strong enough.
The trade-off is simple:
- More water often means a more open, lighter crumb, but handling becomes trickier.
- Less water can make shaping easier, but the loaf may bake tighter and denser.
If your dough is consistently dense and stiff, reduce the extra flour you add during mixing and shaping. If it seems slack and hard to manage, don’t automatically dump in more flour; first check whether the dough simply needs more gluten development or a better rest.
How Proofing Time and Kitchen Temperature Affect Density
Proofing by the clock alone is where many home bakers get trapped. A recipe might say “let rise for 1 hour,” but that is only a rough guide.
In a cool kitchen, the dough may need much longer. In a warm kitchen, it may be ready sooner than expected. The dough should tell you when it’s ready by volume, feel, and elasticity.
If you want a more practical method, watch for these signs:
– The dough looks visibly puffier
– It feels lighter and aerated when you lift it
– A gentle poke leaves a mark that returns slowly
That combination is more reliable than a timer alone.
How to Shape Bread Without Knocking Out Too Much Gas
Shaping should organize the dough, not crush it. The biggest mistake is pressing all the life out of a nicely proofed dough during the final shape.
A better approach is to handle the dough in stages:
1. Degas only as much as needed to remove giant bubbles.
2. Pre-shape gently.
3. Rest the dough so the gluten relaxes.
4. Final-shape with enough tension to support the loaf.
That resting step matters. If the dough keeps springing back while you shape, it hasn’t relaxed enough yet. Forcing it usually leads to tearing or a dense, uneven crumb.
How Oven Temperature, Preheating, and Steam Affect Oven Spring
Oven spring is the final burst of expansion right after the dough enters the heat. It depends on a hot, stable oven and a loaf that still has enough structure to expand before the crust sets.
If the oven is not fully preheated, the dough may start baking too slowly. If the heat is too low, the loaf may set before it reaches full volume. In some breads, steam helps delay crust formation just long enough for better expansion.
Use caution with hot stones, Dutch ovens, and steam-heavy setups. They can improve rise, but they also require careful handling.
Numbered Troubleshooting Steps for Your Next Loaf
If you want a practical fix sequence, use this order:
- Check the yeast first. If it’s old or questionable, test or replace it.
- Weigh your flour and water. Don’t rely on cups if the loaf keeps turning out dry.
- Develop the gluten properly. Use the windowpane test before stopping kneading.
- Watch the dough, not just the clock. Proof until the dough looks and feels ready.
- Adjust for kitchen temperature. Cool room? Expect a longer rise.
- Shape gently but firmly. Build tension without flattening the dough.
- Preheat the oven fully. Give the loaf the heat it needs for oven spring.
- Review the crumb after baking. Tight center, flat loaf, or poor rise each points to a different stage.
Common Mistakes That Make Bread Dense
The mistakes I see most often are surprisingly ordinary:
- Adding too much flour while kneading or shaping
- Using yeast that is too old to perform well
- Stopping kneading before gluten is ready
- Proofing only by the clock
- Letting dough sit in a kitchen that is too cool without adjusting time
- Shaping too aggressively and losing gas
- Baking before the oven is truly hot
Notice that none of these is a mystery ingredient problem. They’re process problems. That’s encouraging, because process can be improved.
Practical Examples: What Dense Bread Problems Look Like
A sandwich loaf rises a little in the pan, then bakes into a tight, heavy slice. That often points to underproofing or weak gluten.
A dough doubles quickly in a warm kitchen, then collapses when moved and bakes flat. That sounds more like overproofing.
A loaf made with too much bench flour feels dry before baking and bakes with a compact crumb. That usually means the dough was too stiff.
A recipe made with old yeast barely rises at all, no matter how long it sits. That points to yeast activity first, not shaping.
A dough seems fine in the bowl but bakes dense because it was handled roughly during shaping. That’s a gas-retention issue, not necessarily a mixing issue.

Dense in the center vs. dense throughout
This is a helpful clue when you’re diagnosing the problem after baking:
- Dense in the center, lighter at the edges: often points to underproofing, uneven shaping, or a loaf that needed more oven spring.
- Dense throughout the whole loaf: usually points to a broader issue such as weak yeast, low hydration, poor gluten development, or major proofing problems.
If the outside looks reasonably developed but the middle is gummy or tight, the dough may not have fully expanded before the crust set. If every slice feels heavy and compact, the problem likely happened earlier in the process.
Troubleshooting by Symptom
Dense center
Usually points to underproofing, weak gluten, or a loaf that baked before it had enough oven spring.
Flat loaf
Often means overproofing, poor shaping tension, or weak structure from too much flour.
Tight, even crumb
Can come from underproofing, low hydration, or flour that is too weak for the style of bread.
Poor rise from the beginning
Think yeast first, then dough temperature, then ingredient balance.
Crumbly or dry loaf
This can happen when the dough was too dry or when the structure was not strong enough to hold together well after baking.
What to Change Next Time for a Softer, Lighter Loaf
If your bread keeps coming out dense, don’t overhaul everything at once. Make one or two targeted changes:
- Use fresh yeast and test it if you’re unsure
- Measure flour by weight
- Hold back some flour until you see how the dough feels
- Knead until the dough passes a windowpane test
- Proof until the dough looks and feels expanded, not just “timed out”
- Shape gently to preserve gas
- Bake in a fully preheated oven
Most dense bread problems come from rushing one stage of the process. Once you slow down and read the dough, the loaf usually tells you what it needs.
If you want to keep improving, the best next step is to study hydration and gluten together, because those two factors shape everything from handling to crumb.
FAQ
Why is my bread dense even though it rose?
If the dough rose but baked dense, the issue is often underproofing, weak gluten, or shaping that knocked out too much gas. In some cases, the oven may also have been too cool to give the loaf enough spring.
How can I tell if bread is underproofed or overproofed?
Underproofed dough feels tight, springs back quickly, and often bakes with a smaller, compact crumb. Overproofed dough feels soft and fragile, may deflate easily, and can bake flat or collapse.
Is bread flour better than all-purpose flour for light bread?
Usually yes, if you want more structure and a lighter rise. All-purpose flour can still work well for softer, more tender loaves, but bread flour is often the better choice when the dough needs extra strength.
How long should bread proof before baking?
There isn’t one exact time that fits every dough. Use readiness cues instead: the dough should look puffier, feel lighter, and spring back slowly when touched.
Can I fix dense bread after it’s baked?
You can’t change the crumb structure after baking, but you can still use the loaf for toast, breadcrumbs, or strata. The better fix is identifying which stage went wrong and adjusting that next time.