Superglue and baking soda create a fast, hard repair that works well for small chips, cracks, and gaps. It is useful for rigid materials, but it is not the best choice for flexible, hot, or heavily stressed parts.
Superglue and baking soda can create a very fast, very hard repair for small breaks, chips, and gaps. Used carefully, the method is useful for quick fixes on household items that need a stronger surface than glue alone can provide.
- Fast bond: The glue cures quickly, and baking soda helps it harden into a filler.
- Best uses: Small rigid repairs on plastic, ceramic, wood, and trim.
- Prep matters: Clean, dry, aligned surfaces give the strongest result.
- Use in layers: Thin passes are cleaner and stronger than flooding the break.
- Know the limits: Flexible, hot, or load-bearing parts may need epoxy or replacement.
What Superglue and Baking Soda Actually Do in a Quick Repair
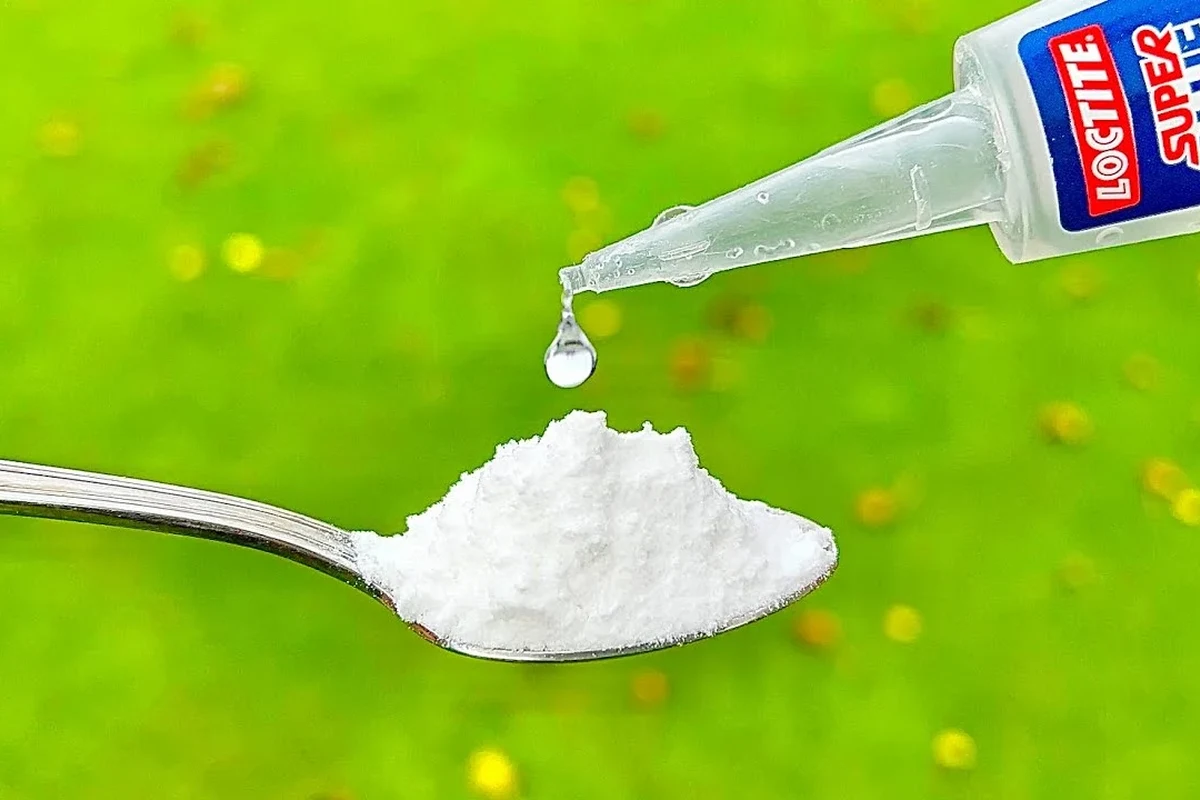
Superglue, also called cyanoacrylate adhesive, bonds quickly when it meets moisture on a surface. Baking soda helps it set even faster and forms a rigid filler, which is why the combination is popular for small repairs that need both adhesion and body.
The chemistry behind the instant bond and hardening effect
Cyanoacrylate glue cures by reacting with tiny amounts of moisture in the air and on the surface you are repairing. Baking soda acts like a filler and accelerator, so the glue hardens almost immediately and builds into a solid mass instead of staying thin and runny.
That fast set is helpful, but it also means there is very little working time. If you have ever seen a baking soda and vinegar reaction explained simply, the idea is similar in one way: a small change in the ingredients can create a fast visible result. Here, though, the result is a hard repair rather than a foaming reaction.
Cyanoacrylate glue can cure so quickly that the repair area may warm slightly as it sets, especially when a larger amount is used with baking soda.
Why this method is used for chips, cracks, gaps, and reinforcement
The method is useful when a break is small but the missing area needs support. The hardened mix can fill chips, bridge tiny gaps, and reinforce weak spots where a plain glue line would be too thin.
For readers who like to understand ingredient behavior, this is a little like comparing baking soda to baking powder safely: the result depends on what the ingredient is doing in the mix, not just the name on the package. In repairs, baking soda is not a cleaner here; it is part of the hardening system.
This method is best for rigid materials and small repair zones. It is not a universal fix for flexible parts, high-heat surfaces, or anything that must hold up under strong structural stress.
Best Real-World Uses for the Superglue and Baking Soda Method
In everyday repair work, this technique is most useful when you need a fast, compact, and fairly hard patch. It is especially handy when the damaged area is small enough that sanding and shaping after curing are practical.
Small household repairs on plastic, ceramic, wood, and trim
This method can work on many rigid household materials, including some plastics, ceramic edges, wood splinters, and painted trim. It is often chosen when a broken corner or chipped edge needs to be rebuilt instead of simply glued back together.
For example, a small chip in a decorative ceramic piece, a nick in a plastic appliance housing, or a damaged spot on wooden molding may be a good candidate. The repair is usually most successful when the broken area is dry, stable, and not exposed to constant flexing.
Filling missing edges, stabilizing breaks, and rebuilding worn spots
When a piece is missing, the glue-and-baking-soda mix can be built up in layers. That makes it useful for rebuilding a worn edge, filling a shallow void, or stiffening a crack that keeps opening slightly.
This is one reason the method shows up in DIY repair discussions more often than standard glue alone. Glue can join surfaces, but it does not always give you enough material to shape the missing area afterward.
Examples of when the method works better than standard glue alone
If the break is tiny but uneven, the mixture can create a stronger-looking and more shapeable patch than liquid glue alone. It may also help when you need a fast set so the part can be handled sooner.
- Sets quickly
- Builds a hard filler
- Can be sanded after curing
- Can become brittle
- Not ideal for flexible parts
- Leaves little time for adjustment
Materials, Tools, and Surface Prep Before You Start
Good prep matters more than most beginners expect. A strong repair depends on clean surfaces, a sensible glue choice, and a plan for how you will align the pieces before the adhesive starts setting.
Choosing the right superglue type and baking soda consistency
A thin or medium cyanoacrylate glue is usually easier to work with for small repairs, but the best choice depends on the size of the crack and the material. Thicker glue can help fill a tiny gap, while thinner glue can wick into a close break.
Baking soda should be dry and free-flowing. If it is clumpy or damp, it may not spread evenly and can lead to a rough, weak patch. If you also use baking soda in the kitchen, keep in mind that old or moisture-affected product may not behave consistently, which is one reason many readers check whether baking soda expires and when to replace it.
Cleaning, drying, and aligning broken pieces for a stronger bond
Wipe away dust, grease, soap residue, and loose fragments before you begin. Even a thin film of oil can reduce bond strength, especially on plastic or handled surfaces.
Dry-fit the pieces first so you know how they line up. Once the glue and baking soda meet, the bond window can close very quickly, so alignment should be settled before you start applying anything.
- Clean and dry both surfaces
- Test the fit before gluing
- Keep sandpaper and tools nearby
- Protect the work surface from spills
Protective gear, ventilation, and protecting nearby surfaces
Wear gloves if possible, and work in a well-ventilated area. Superglue fumes can be irritating, and the adhesive can bond skin almost instantly if you are not careful.
Keep the repair away from food prep areas, open flames, and children’s reach. Do not use this method on items that contact food unless the adhesive and repair setup are explicitly approved for that purpose by the manufacturer.
Step-by-Step Method for a Strong, Fast Repair
The key to this repair is control. Use small amounts, build the patch gradually, and stop before the repair becomes bulky or uneven.
Applying glue in layers instead of flooding the break
Start with a small amount of superglue on one side of the break or chip. Press the pieces together if you are rejoining a crack, or place the glue where the missing section needs support.
Do not flood the area. Too much liquid can run away from the repair line, weaken alignment, and leave you with a messy surface that is harder to finish cleanly.
Adding baking soda for instant set and controlled buildup
Sprinkle a small amount of baking soda onto the wet glue, or alternate tiny layers of glue and baking soda until the damaged area is filled. The mixture should harden quickly, so work in short, careful passes rather than trying to build the whole repair at once.
If you need more thickness, repeat the process in layers. That gives you more control over shape and makes it easier to match the surrounding surface without creating a large brittle lump.
Clean, dry, and align the damaged area before opening the glue.
Use only enough to wet the repair zone without overflowing it.
Dust it onto the wet glue so it hardens and builds body right away.
Build thin layers until the chip or crack is filled and stable.
Shaping, curing, sanding, and finishing the repaired area
Once the repair is hard, let it sit long enough for the inner portion to cure fully. The outside may feel solid before the center is completely set, especially if the repair is thick.
After curing, you can sand the patch to improve the shape and blend it into the surrounding surface. Use light pressure so you do not chip the hardened repair or scratch nearby material.
On painted or decorative surfaces, test sanding carefully. Some finishes show scratches quickly, and a repaired area may need touch-up paint or another finish treatment to look consistent.
Measurement, Timing, and Technique Mistakes That Weaken the Repair
Most failed repairs come from rushing or using too much material. The method works best when the amounts are small and the repair is built deliberately.
Using too much baking soda or too much glue
Too much baking soda can make the repair chalky, rough, and weak at the edges. Too much glue can leave a soft center, create drips, and make the patch cure unevenly.
The repair looks bulky, white, or crumbly after curing.
Use less baking soda next time and build in thinner layers. A controlled amount usually gives a denser, cleaner patch.
Working too slowly and losing the bond window
Because the bond forms quickly, you need to have everything within reach before you begin. If you pause too long between glue and baking soda, the glue may skin over and stop bonding as well.
That is why small repairs are easier than large ones. The more area you cover, the more likely you are to lose control of the setting time before the patch is fully shaped.
Repairing dirty, oily, flexible, or heat-exposed surfaces
Dirty or oily surfaces reduce adhesion. Flexible parts can crack the hardened patch later, and heat-exposed items may cause the repair to fail sooner than expected.
Avoid using this method on items that get hot, bend often, or must carry serious weight. For those cases, epoxy, mechanical fasteners, or replacement may be safer and more durable.
Safety, Cleanup, and Long-Term Durability Considerations
This repair method is useful, but it deserves respect. Superglue can bond skin, eyes, and nearby surfaces quickly, and the hardened patch is not always the strongest long-term solution.
Heat, fumes, skin contact, and accidental bonding risks
Use the smallest practical amount and keep your face away from the work area. If glue gets on skin, do not force the skin apart; follow the adhesive manufacturer’s directions and seek medical advice if needed, especially for eye contact or a stuck injury.
The reaction can give off fumes and warmth, particularly when building a larger repair. Good airflow and eye protection are smart precautions, even for a small project.
How strong the repair is compared with epoxy or replacement
Superglue and baking soda can be strong enough for cosmetic fixes and light reinforcement, but the repair is usually more brittle than epoxy. Epoxy often offers better gap filling and longer working time, while replacement is still the best choice when safety or load-bearing performance matters.
If you are comparing repair methods the way you might compare the right baking ingredients for a recipe, the best choice depends on the job. For a quick patch, this method can be excellent; for a stressed joint, another adhesive may be safer.
Storage of materials and safe disposal of leftovers
Store superglue tightly closed in a cool, dry place according to the package directions. Baking soda should also stay sealed so it does not pick up moisture and clump.
Let leftover hardened material fully cure before disposal. Do not rinse large amounts of adhesive down a drain, and keep used applicators and contaminated cloths away from heat until they are fully safe to discard.
When to Use This Method and When to Choose Another Fix
Think of superglue and baking soda as a fast repair tool, not a one-size-fits-all solution. It is best when speed, small scale, and a hard finish matter more than flexibility.
Best use cases for quick cosmetic or structural reinforcement
This method is a good fit for small chips, tiny cracks, missing corners, and light reinforcement of rigid items. It can be especially helpful when you need to restore shape before sanding or touch-up work.
It is also useful when the break is awkward and standard glue would simply run out of the gap. The baking soda gives the glue something to build against, much like a filler.
Situations where the repair may fail or should be avoided
Avoid it on parts that flex, vibrate, carry heavy loads, or get exposed to heat and moisture repeatedly. It is also a poor choice for items where a brittle patch could create a safety issue if it fails suddenly.
- Use small layers
- Prep surfaces carefully
- Choose rigid repairs
- Flooding the repair
- Using it on flexible parts
- Ignoring ventilation and skin safety
Final recap: deciding whether superglue and baking soda is the right quick-repair solution
For quick, small, rigid repairs, superglue and baking soda can be a practical and surprisingly strong option. It shines when you need fast set time, a hard filler, and a repair you can shape after curing.
For anything structural, heat-sensitive, or highly flexible, choose a different fix. The safest rule is simple: use this method when the damage is small and the material is stable, and move to epoxy or replacement when durability matters more than speed.
For more ingredient behavior and everyday kitchen science, you may also find it helpful to read our guides on baking soda and vinegar reaction explained simply, using baking soda instead of baking powder safely, and when baking soda expires and when to replace it.
Frequently Asked Questions
Use a small amount and build in thin layers. Too much baking soda can make the repair chalky and weak.
It can work on some rigid plastics, especially for small chips or cracks. Flexible plastics and heavily stressed parts are less reliable.
Yes. The surface may feel hard quickly, but thicker repairs can keep curing inside for longer.
Yes, after it fully hardens. Use light pressure so you do not chip the patch or scratch the surrounding surface.
Not always. Epoxy usually gives more working time and may be better for larger or more demanding repairs.
Only if the adhesive and repair are specifically approved for that use by the manufacturer. When in doubt, avoid using it on food-contact surfaces.
