
How to Get Seeds to Stick to Bread for Better Crust and Cleaner Slicing

If you’ve ever pulled a beautiful loaf from the oven only to watch the seeds tumble off as soon as you move it, you’re not alone. Getting seeds to stay on bread is less about luck and more about choosing the right “glue,” applying it at the right stage, and matching the method to the loaf.
The short answer: egg wash gives the strongest hold and the most browning, water is the simplest neutral option for lighter coverage, and milk or a sweet wash can add tackiness with their own browning trade-offs.
Think of this as a decision between three goals:
– Maximum hold: egg wash
– Simple, neutral finish: water
– Softer browning or a gentler crust: milk or a syrup-based wash
For artisan bakers, the real trick is often not just the liquid, but the timing and the pressure you use when applying the seeds. A damp surface can be enough for light coverage, but heavier toppings usually need more help.
Quick Answer: What to Brush on Bread So Seeds Stick
If you want a fast rule of thumb:
- Use egg wash when you want the best adhesion and deeper color.
- Use water when you want a simple, neutral finish and only need light seed coverage.
- Use milk when you want a softer browning effect than egg wash, with some tackiness.
- Use a sweet wash, such as a little honey or corn syrup diluted with water, when you want extra stickiness and don’t mind added sweetness or more browning.
For many home bakers, the most dependable setup is brush lightly, add seeds, then press them in gently. That extra contact matters more than people expect.
What You Need Before You Start
Before shaping your loaf, gather the basics so you can move quickly once the dough is ready:
- A pastry brush
- One of the following: water, egg wash, milk, or a sweet wash
- Your seeds: sesame, poppy, sunflower, flax, pumpkin, or a mix
- Parchment paper if you’re using a baking stone or Dutch oven
- A proofing basket, loaf pan, or tray depending on bread style
- A shallow plate or tray for rolling seeds
If you’re working with a loaf that needs structure, keep the shaping surface lightly floured but not dusty. Too much flour on the outside can block adhesion.
Choose the Right Method for Your Bread Type
Use the table below as a decision guide. If you want the strongest hold, choose egg wash. If you want the lightest, most neutral finish, choose water. If you want soft browning, choose milk. If you want full seed coverage, use a stronger adhesive and a rolling method rather than a light sprinkle.
Best method by bread style and result
| Bread style | Best finish goal | Best adhesive/application | Timing | Why it works |
|---|---|---|---|---|
| Sandwich loaf | Clean top, strong hold | Egg wash or milk, then sprinkle | After shaping, before final proof | The pan supports the loaf and lets you seed the top neatly |
| Sourdough boule | Rustic top, moderate hold | Light wash, then press seeds on | After shaping, usually before final proof | Keeps the crust character while giving seeds something to grab |
| Rolls | Even coverage, fast workflow | Dip or roll the tops in seeds | After shaping, before final proof or just before baking if the dough is delicate | Small pieces are easy to coat quickly and evenly |
| Enriched dough | Soft browning, tidy finish | Milk or egg wash | After shaping, before final proof | Matches the softer crust and richer dough |
| High-hydration dough | Light finish, low risk | Very light wash or minimal seed application | Usually just before baking, or after proofing if the dough is fragile | Wet dough can lose shape if handled too much |
| Crusty country loaf | Light neutral finish | Water or a very light wash | After shaping, before final proof for light coverage; just before baking for very delicate loaves | Preserves crust character without over-wetting the dough |
A useful rule: the wetter and more delicate the dough, the gentler your seed application should be. High-hydration dough can lose shape if you flood it with liquid. In that case, use the smallest amount of wash that still gives the seeds something to grab.
Step-by-Step: How to Get Seeds to Stick to Bread Dough or Crust
This workflow works well for most home and student bakers.
1) Shape the loaf first
Get the loaf fully shaped before you think about seeds. If you seed too early, the dough may stretch, shift, or lose definition during proofing.
2) Decide whether you want full coverage or just a seeded top
This is the point where many bakers make the wrong choice. If you want a clean top only, brush the exposed surface. If you want sides covered too, you’ll need a broader application method, such as rolling.
3) Apply the adhesive lightly
Brush, mist, or dampen the surface just enough to make it tacky.
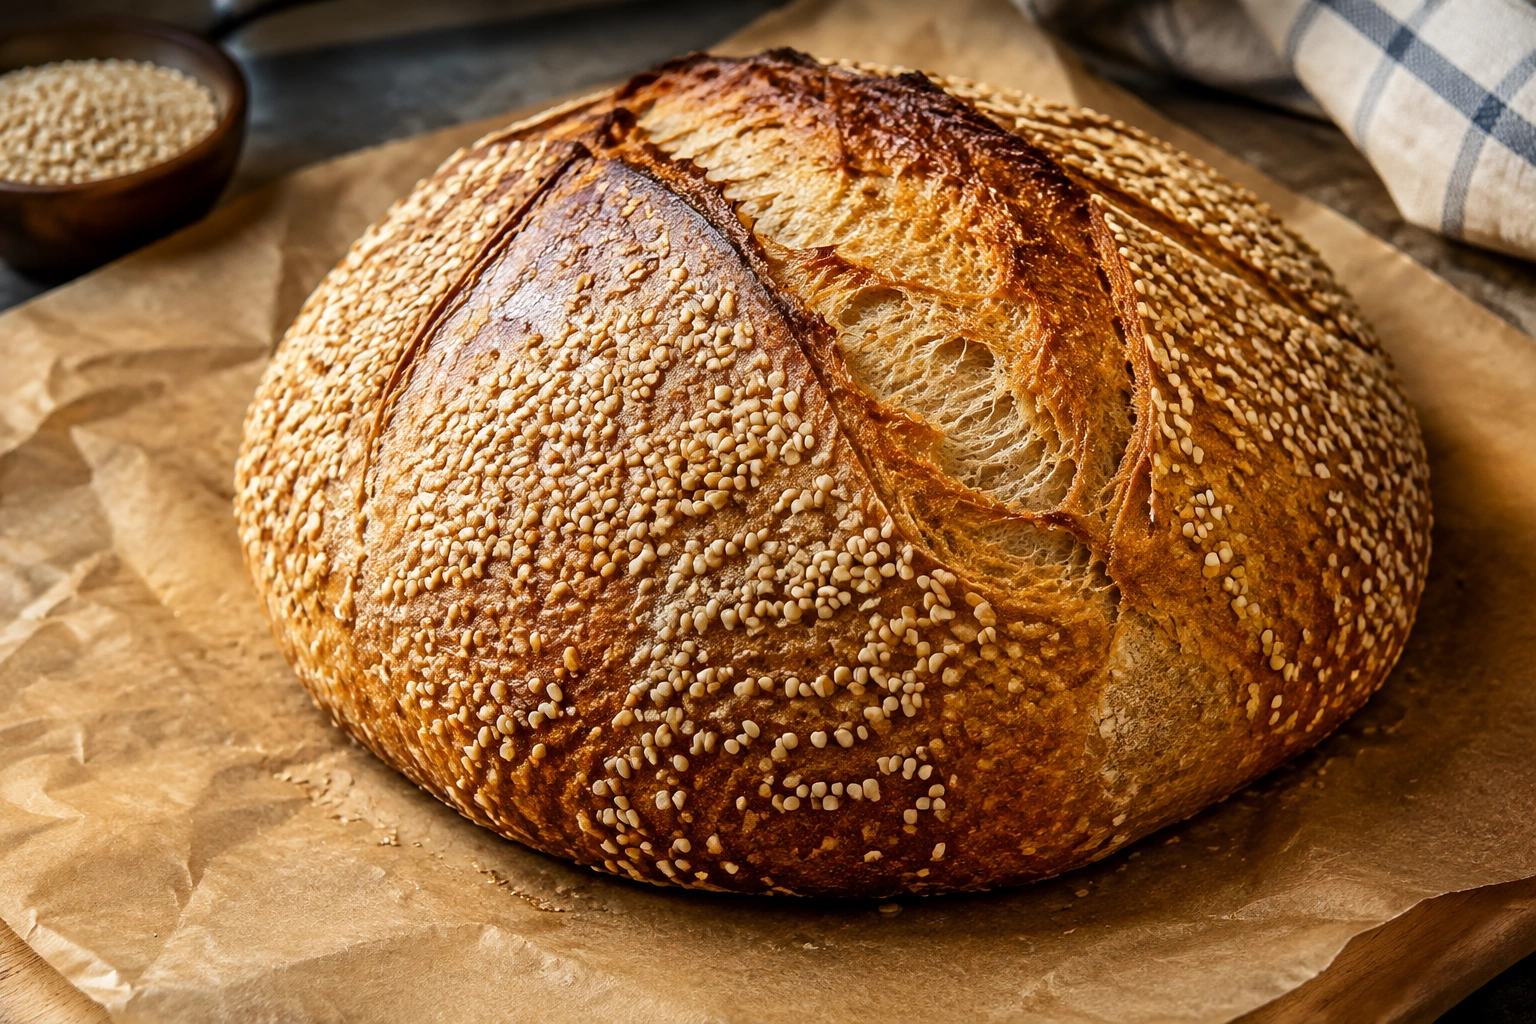
- Egg wash: strongest grip and more color
- Water: light grip, least change to crust
- Milk: moderate grip with gentler browning
- Sweet wash: extra tack, but more browning and sweetness
Avoid soaking the dough. A puddled surface can make the loaf slippery and can weaken the skin you worked to build during shaping.
4) Add the seeds while the surface is tacky
Sprinkle seeds over the top, or place the loaf seed-side down if you’re rolling it.
For a top-only finish, a light sprinkle is often enough for sesame or poppy seeds. For larger seeds like sunflower or pumpkin, you’ll usually want to press them in a little more firmly.
5) Press gently so the seeds bond
This is the step that separates “decorated” from “stays put.” Use clean fingers or the palm of your hand to press seeds into the damp surface. You’re not flattening the loaf; you’re just helping the seeds make contact.

6) Choose the timing based on the loaf
For most breads, the safest approach is to apply seeds after shaping and before the final proof if the dough can handle it. That gives the seeds time to bond without needing extra handling later.
Use after-proofing or just before baking when:
– the dough is very delicate
– the dough is high-hydration
– you want to avoid flattening the loaf
– you’re using a light top-only finish
Use before the final proof when:
– the loaf has enough structure to support the topping
– you want fuller coverage
– you’re working with sandwich loaves, rolls, or firmer shaped dough
7) Bake without disturbing the crust
Move the loaf carefully onto parchment, a tray, or into a Dutch oven. Heavy seed coatings can slide if the dough is jostled too much.
How to Apply Seeds for Full Coverage vs. a Seeded Top Only
These two finishes look similar from a distance, but the technique is different.
For a seeded top only
This is the easiest method and the one most bakers should master first.
- Brush the top with your chosen adhesive.
- Sprinkle seeds evenly.
- Press lightly.
- Score the loaf if needed.
- Bake.
This approach is ideal for sandwich loaves, boules, and batards where you want a neat, controlled finish.
For full coverage, including sides
If you want the whole loaf coated, rolling usually works better than sprinkling.
One practical method is to spread seeds on a tray and roll the shaped loaf across them after lightly moistening the dough. This works best when the loaf is still firm enough to hold its shape and the seed layer is not too thick.
Full coverage looks dramatic, but it is harder to keep intact. It works best when:
– the dough has enough strength to hold its shape
– the seed layer is not too thick
– the loaf is handled gently after coating
For the sides or bottom
If you want seeds on the sides, use a rolling motion rather than trying to brush every inch. For the bottom, the practical method is to invert the shaped loaf onto a shallow tray of seeds or coarse grain after light dampening of the underside, then transfer it carefully to the proofing basket, pan, or parchment.
That bottom-seed method is most practical for:
– sandwich loaves in a pan
– rolls
– firm shaped loaves that can be moved without collapsing
It is usually not worth the risk for:
– very soft doughs
– high-hydration artisan loaves
– delicate proofed boules that may deflate if flipped repeatedly
How Different Seeds Behave on Bread
Not all seeds act the same way.
Smaller seeds usually stick more easily
Sesame and poppy seeds are lighter and smaller, so they tend to cling better to a tacky surface. That makes them a good match for water, milk, or egg wash, depending on how much color you want.
Larger seeds need more support
Sunflower and pumpkin seeds are heavier, so they usually need:
– a stronger adhesive
– more pressure during application
– a loaf surface that can support the weight
For those seeds, egg wash is usually the safest choice if you want strong hold.
Flax seeds can be tricky
Flax is small, but it can be slippery. It often behaves better when mixed with other seeds rather than used alone. A slightly stronger wash, such as egg or milk, can help it stay put.
Mixed seeds are attractive but less predictable
A mixed topping can look fantastic, but the different seed sizes may not adhere evenly. If you want a cleaner result, keep the mix fine and use a stronger adhesive.
Common Mistakes That Make Seeds Fall Off
Most seed loss comes from a handful of avoidable errors.
The surface is too dry
Dry dough gives seeds nothing to grab. If the loaf looks matte and floury, brush it lightly before topping.
The surface is too wet
Too much liquid can make seeds slide around instead of sticking. You want tacky, not glossy-wet.
The seeds are added too early
If you seed too soon, proofing or handling may knock them loose. That’s especially common with soft doughs or heavily topped loaves.
The seeds aren’t pressed in
Sprinkling alone may look fine at first, but it often doesn’t survive baking as well as a seed layer that’s been gently pressed.
The seeds are too heavy for the coating
Large seeds on a weak adhesive are a recipe for fallout. If you want pumpkin or sunflower seeds, give them a better base than you would for sesame.
The loaf is handled roughly after topping
Even a good seed job can be ruined by moving the loaf too aggressively onto parchment, into a Dutch oven, or onto a peel.
Troubleshooting: Fixing Patchy Coverage, Sliding Seeds, and Seed Loss
If the seeds are patchy
Brush a little more wash only on the bare spots, then add a second light layer of seeds. Don’t flood the surface.
If the seeds slide off
The dough is probably too wet or the coating is too thin. Let the surface sit for a minute so it becomes tacky, then press the seeds in again.
If the coating looks uneven after proofing
That often happens when the loaf expands more than expected. In that case, keep the seed layer lighter next time or apply it closer to baking.
If seeds fall off after baking
Some shedding is normal, especially during slicing. To reduce it:
– let the loaf cool fully
– use a sharp bread knife
– slice with a gentle sawing motion rather than pressing down
If you want a more secure crust on artisan bread
Use the lightest wash that still gives the seeds something to cling to. For crusty loaves, a heavy coating can change the crust more than you want.
Practical Examples for Different Bread Styles
Sourdough boule
For a sourdough boule, the safest approach is usually a light wash with sesame seeds applied after shaping and before the final proof. If the dough is strong and not overly wet, press the seeds in lightly and bake in a Dutch oven for good oven spring.
Sandwich loaf
For a pan loaf, egg wash is usually the most practical choice if you want a tidy seeded top. The pan supports the dough, so you can use a more even coating without worrying as much about side collapse.
Roll batch
Rolls are the easiest bread to seed in volume. Brush or dip the tops, then roll them across a tray of seeds. This gives you fast, even coverage with less fuss.
High-hydration dough
With a wetter dough, keep the coating minimal. A light wash and a small amount of fine seed, such as sesame or poppy, is usually safer than a heavy mixed topping. If the dough is very fragile, wait until just before baking.
Enriched loaf
Milk wash pairs nicely with richer doughs because it supports browning without the stronger finish of egg wash. That makes it a useful middle ground for brioche-style or soft dinner loaves.
How to Keep Seeds Attached After Baking and Slicing
A good seed job can still fail if the loaf is handled too soon.
Let the bread cool fully before slicing. A hot crust is still setting, and cutting too early can dislodge the topping. Once the loaf has cooled, use a sharp knife and a steady, gentle motion.
Storage matters too. If you stack seeded loaves or wrap them while still warm, the crust can soften and loosen the topping. Give the bread room to breathe first.
If you’re baking for display or service, plan the seed finish with the final use in mind. A heavily seeded crust looks impressive, but a lighter coating may be smarter for sandwiches or frequent slicing.
When to Consult a Master Baker
If your loaf keeps losing its seed coating even after you’ve adjusted the wash and timing, the issue may be in the dough itself rather than the topping method. Very soft, overproofed, or poorly shaped dough can struggle to hold any finish cleanly. In a professional setting, a master baker can help you evaluate whether the problem is hydration, shaping tension, proofing, or coating technique.
FAQ
What is the best thing to brush on bread so seeds stick?
Egg wash is usually the strongest option for adhesion and browning. Water is the simplest neutral choice, while milk and sweet washes offer different trade-offs.
Should I add seeds before or after the final proof?
For most loaves, after shaping and before the final proof is the safest time. Use just before baking only when the dough is very delicate or high-hydration.
Why do my seeds fall off after baking?
Common causes are a dry surface, too little pressure, too much handling, or using heavy seeds without enough adhesive.
Can I use water instead of egg wash?
Yes. Water can help seeds stick, especially for lighter toppings, but it usually won’t grip as strongly as egg wash.
Do bigger seeds need a different method?
Usually, yes. Larger seeds like sunflower or pumpkin often need a stronger coating and more pressing than sesame or poppy.
How do I get seeds on the sides or bottom of the loaf?
Rolling the loaf in seeds is usually easier than trying to brush the sides one by one, and the bottom is best seeded only when the loaf is firm enough to handle without deforming.
If you want, I can also turn this into a compact baking-school handout, a recipe-card style version, or a shorter SEO blog post for the same topic.