
How to Thaw Frozen Bread Dough Without Ruining the Rise

Frozen bread dough is a gift to any baker who likes planning ahead. The trick is not just getting it unfrozen — it’s thawing it in a way that keeps the yeast alive, the gluten relaxed, and the surface from drying out before the dough has a chance to rise properly.
Short answer: yes, frozen bread dough can sometimes be baked straight from frozen, but only in limited cases and usually not for best results. It’s more common with small, pre-shaped pieces that have already been proofed enough and can finish baking evenly in the oven. Do not bake it straight from frozen if the dough is a loaf, a large shaped piece, or still dense in the center; those usually need to thaw first so they can rise and bake through evenly.
As a baker, I think of thawing as the bridge between storage and fermentation. If that bridge is rushed, the dough may thaw unevenly, overproof, or form a dry skin that fights you later. If it’s handled well, the dough comes back to life smoothly and is ready for shaping, proofing, and baking.
What You Need Before Thawing Frozen Bread Dough
Before the dough comes out of the freezer, set up the space where it will thaw. That small bit of prep prevents sticking, drying, and unnecessary handling.
Have these ready:
- A pan, bowl, or proofing tray large enough for the dough to expand
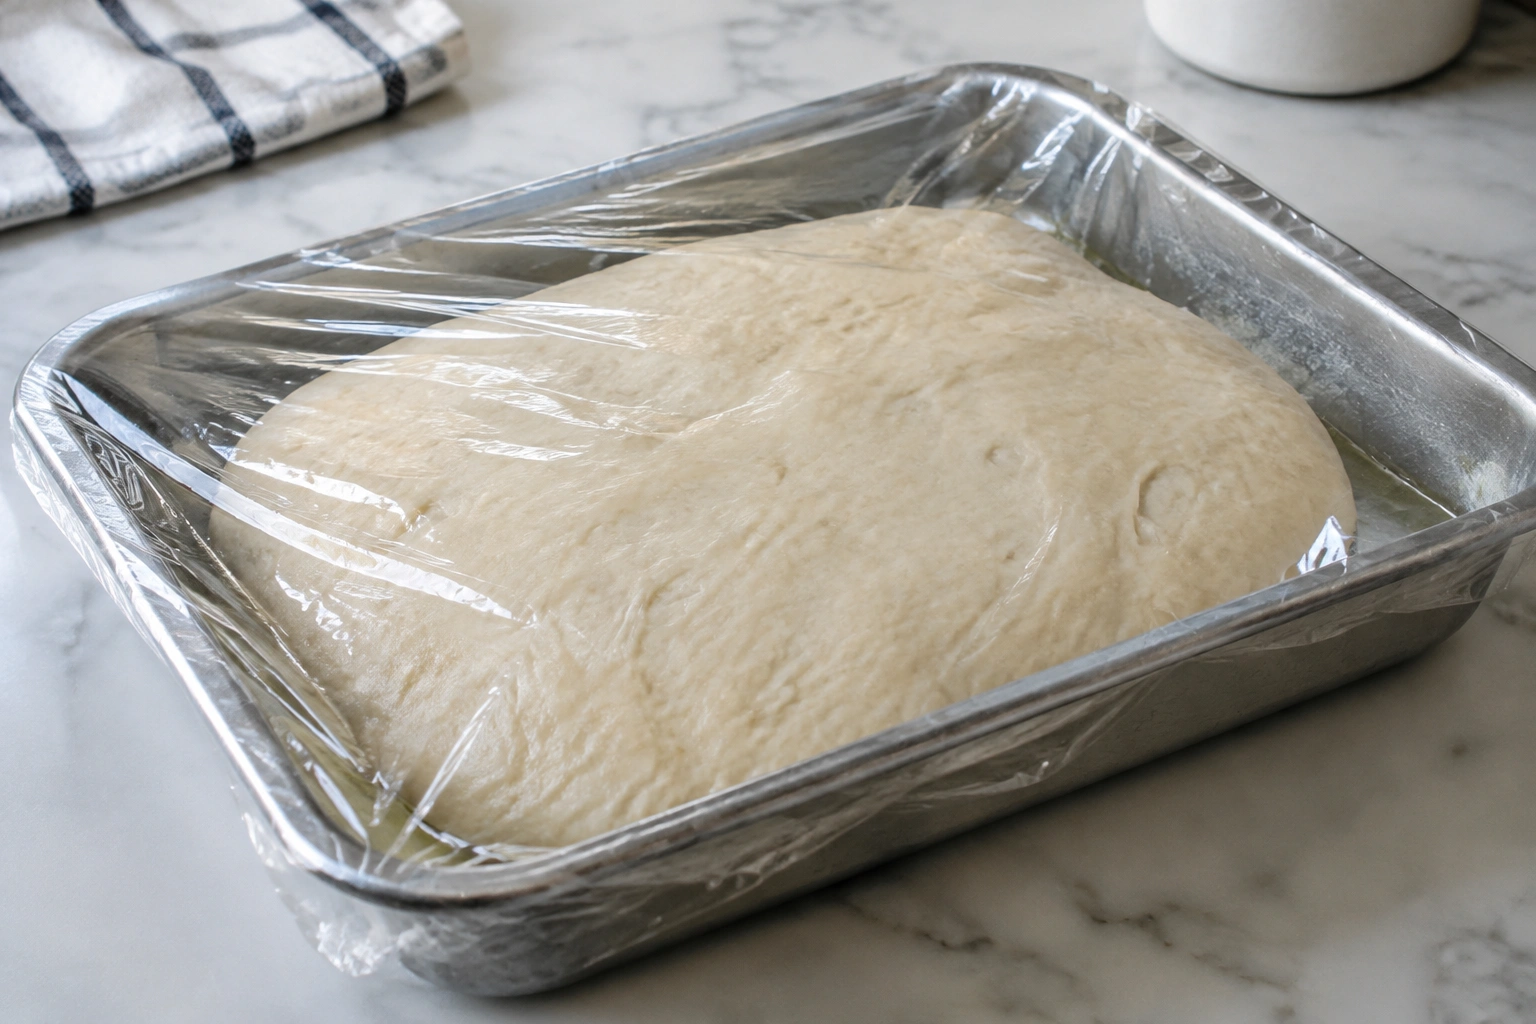
- Plastic wrap, a lid, or a lightly oiled cover to keep moisture in
- A little oil or nonstick spray for the bowl or wrap if the dough is likely to stick
- A refrigerator shelf or a draft-free counter space
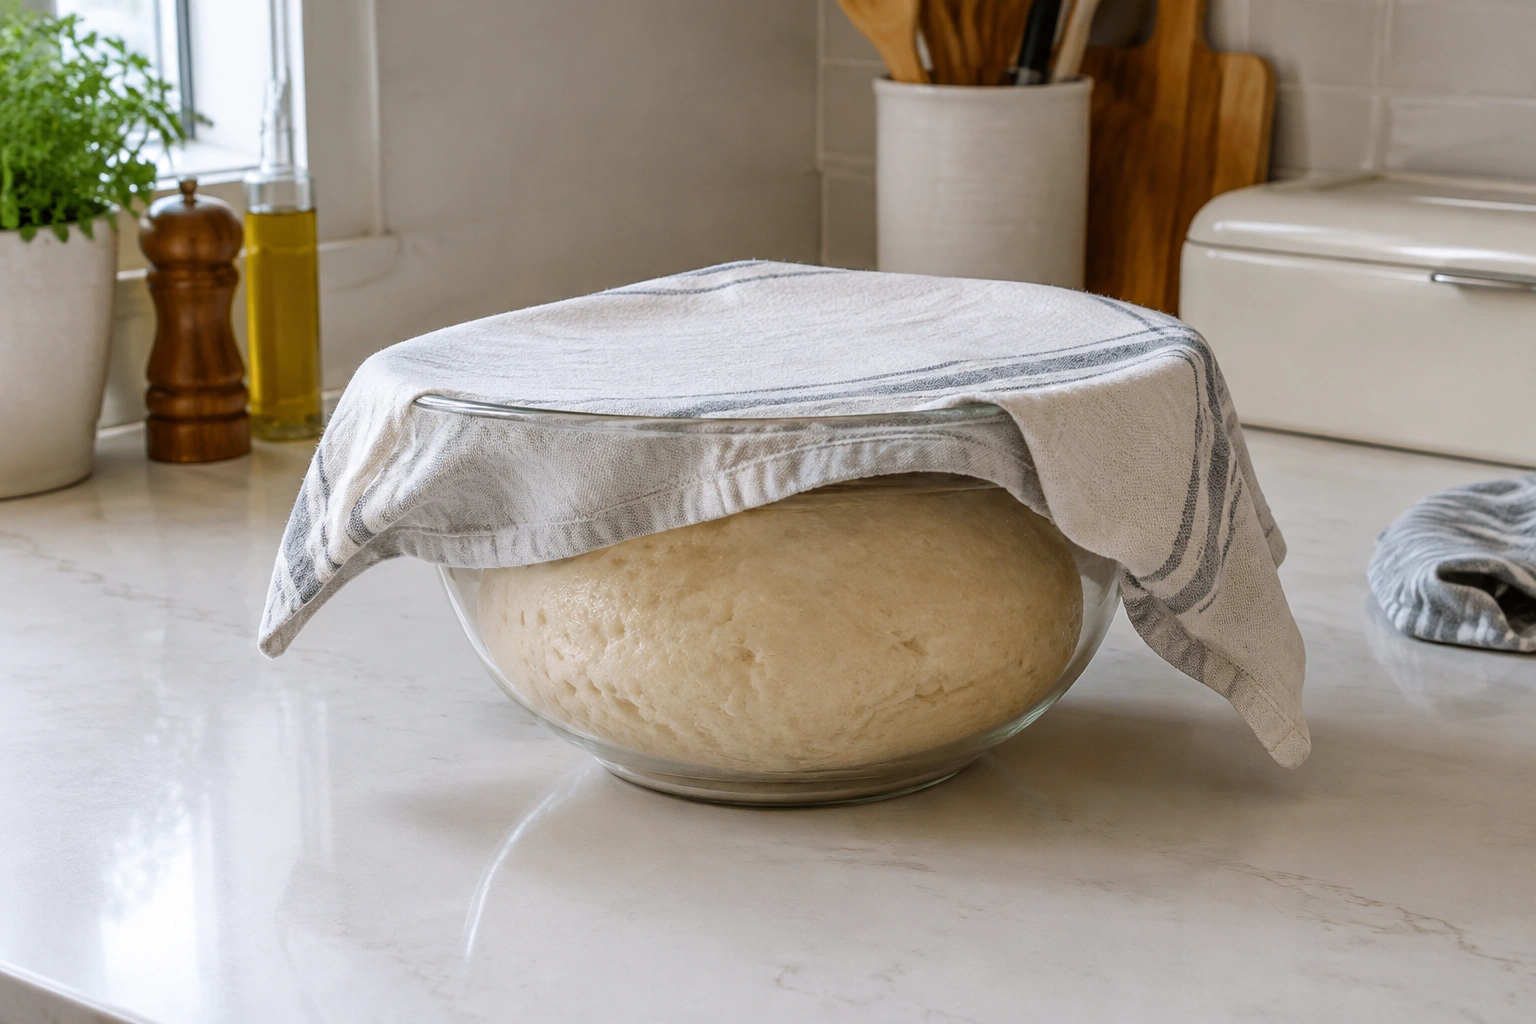
- A clean towel if your dough will be thawing at room temperature and needs extra protection
If the dough is already portioned or shaped, keep that shape intact unless your recipe or packaging says otherwise. Every extra handling step can deflate the dough and make the final rise less predictable.
For readers who want to understand why dough texture changes so much after freezing, our guide to bread dough hydration is a useful companion. If the dough feels dry after thawing, our article on bread dough too dry can help you decide whether it needs attention. And if thawed dough feels tacky or hard to manage, bread dough too sticky explains how to judge that without overcorrecting.
Choose the Best Thawing Method for Your Timeframe
The best thawing method depends on how much time you have and how much control you want over the dough.
Here’s the practical comparison:
| Method | Typical use | Pros | Cons | Best for |
|---|---|---|---|---|
| Refrigerator thawing | Overnight or ahead of time | Most controlled, gentlest on the dough, lower risk of overproofing | Slowest option | Loaves, shaped dough, planning ahead |
| Room-temperature thawing | Same-day baking when you can monitor it | Faster than the fridge, simple setup | Easier to overproof or dry out | Rolls, smaller pieces, moderate time window |
| Faster warm-environment thawing | When time is tight | Quickest option | Needs close monitoring; uneven thawing is more likely | Experienced bakers, small portions, urgent schedules |
Refrigerator thawing: the safest default
For most home bakers, the refrigerator is the easiest place to thaw frozen bread dough. The slow thaw gives the dough time to relax without warming too quickly.
This is the method I’d choose when I care more about consistency than speed.
Room-temperature thawing: useful, but watch it closely
If you’re short on time, room-temperature thawing can work, especially for smaller dough pieces or dough that was already portioned before freezing. The trade-off is control. As the dough warms, yeast activity picks up, and the dough can move from “thawing” to “proofing” faster than you expect.
That’s fine if you’re checking it regularly. It’s risky if you leave it unattended for hours.
Faster fallback methods: only when you need them
Some bakers use a gently warm, controlled proofing environment to speed up thawing. In a home kitchen, though, the goal should be gentle warming, not hot proofing. Too much heat can create a dough that looks thawed on the outside but stays icy in the center.
A practical safety note: keep the environment warm enough to encourage thawing, but not hot enough to cook the surface or push the dough into rapid overproofing. If the dough starts rising fast before the center is fully thawed, the environment is too warm.
How to Thaw Frozen Bread Dough Step by Step
The exact process changes a little depending on whether the dough is frozen as a loaf, a shaped piece, or a portioned roll. But the basic approach is the same.
-
Keep the dough wrapped or covered.
Frozen dough dries out easily as it thaws. A dry surface turns into a skin, and that skin resists expansion. Covering also helps prevent sticking. -
Place it in a lightly greased bowl, pan, or on a tray.
If the dough is likely to expand, give it room. A greased container makes it easier to release the dough later without tearing it. -
Choose your thawing environment.
Put the dough in the refrigerator for the most controlled thaw, or leave it in a draft-free room if you need it sooner and can monitor it. -
Check the dough periodically instead of guessing.
Look for softness, flexibility, and even thawing. If the center still feels firm or icy, it needs more time. -
Move it to the next stage only when it is fully thawed.
Partially thawed dough is awkward to shape and often rises unevenly. -
Let it finish proofing if needed.
Thawing and proofing are not the same thing. A dough can be thawed but still need more rise time before baking.
If the dough was frozen in its final shape, avoid reshaping it unless the form has clearly collapsed or been damaged. The less you disturb the structure, the better the loaf or rolls usually hold their shape.
How Long Frozen Bread Dough Takes to Thaw
There isn’t one universal thawing time because dough size, freezer temperature, dough shape, and kitchen temperature all matter. A small roll dough will thaw faster than a dense loaf. A dough frozen in a pan often behaves differently than a dough frozen as a loose ball.
Here are practical approximate ranges by method and format:
| Dough format | Refrigerator thawing | Room-temperature thawing | Warm/proofing environment |
|---|---|---|---|
| Small portions or rolls | about 4 to 8 hours, often overnight if tightly packed | about 1 to 3 hours | about 30 to 90 minutes |
| Medium dough pieces or shaped buns | about 8 to 12 hours | about 2 to 4 hours | about 45 to 120 minutes |
| Loaves or larger shaped dough | about 12 to 24 hours | about 4 to 8 hours | about 1 to 3 hours, with close monitoring |
| Dough frozen in a pan | about 8 to 24 hours, depending on size | about 3 to 8 hours | about 1 to 3 hours |
A good rule is to plan for more time than you think you need. Dough that is still cold in the center may look “mostly thawed” on the surface, but it won’t rise evenly if you rush it.
One more practical point: after refrigeration, dough may need additional time to warm up before it becomes flexible enough to shape or proof comfortably. Cold dough can feel tight and sluggish even when it’s technically thawed.
How to Tell When the Dough Is Fully Thawed
You’re looking for a combination of visual and tactile clues, not just one sign.
The dough is usually ready when it is:
- Soft all the way through
- Pliable rather than stiff or icy
- Free of frozen spots in the center
- Slightly expanded if it has started proofing
- Smooth on the surface, without a dry crust
Press the dough gently with a finger. If the center still feels firm or cold enough to resist, give it more time. If it feels soft but the surface is tight and dry, it may need to be covered better while it finishes thawing.
The sweet spot is thawed but not overproofed. You want dough that has enough life left in it to rise again after shaping or before baking.
For shaped dough or loaves, a more exact sign is that the dough should feel evenly soft from edge to center, with no icy core and no rigid seam line that feels hard under light pressure. It may look a little puffy, but it should not be so expanded that it jiggles loosely or looks fragile.
Should You Thaw Bread Dough Before Shaping or After Shaping?
This depends on how the dough was frozen in the first place.
If the dough was frozen before shaping
Thaw it first, then shape it once it is soft and flexible. This is the best choice when the dough was frozen as a bulk mass or a loose portion. If you try to shape it while it is still cold and stiff, you can tear the gluten and make the rise uneven.
If the dough was frozen after shaping
Keep it in the same shape while it thaws. This is usually the better choice for rolls, buns, and loaves that were already formed before freezing. Once it is thawed, let it finish proofing in that same shape rather than reworking it.
If the dough was frozen in a pan
Leave it in the pan and thaw it there. That reduces handling and helps the dough keep its structure. Once thawed, let it finish proofing in the pan if it still needs rise time.
If the dough was frozen as individual rolls
Thaw the rolls in place on a tray or pan, covered, then let them finish proofing before baking. Individual pieces usually need less handling than a loaf, and they’re easier to judge by size and softness.
What to Do After Thawing: Rest, Shape, Proof, and Bake
Once the dough is thawed, the next step depends on how it was frozen and how far along it already is.
If the dough was frozen before its final shape
Let it rest briefly if it feels cold and tight. Then shape it, place it in its pan or on a tray, and allow the final proof to happen. Cold dough often needs a little extra time before it becomes springy enough to rise well.
If the dough was frozen after shaping
Leave the shape intact and let it finish proofing if needed. Many shaped dough pieces can go straight from thawed to proofed, but only if they have enough room to expand and the surface is still supple.
If the dough already looks puffed
That’s a warning sign to move carefully. If the dough is nearing overproofed, bake sooner rather than later. Overproofed dough can collapse, especially if you handle it roughly.
If the dough still feels very cold
Give it more resting time at a moderate temperature. Cold dough does not rise predictably, and forcing it with heat often creates uneven results.
A practical decision rule: if the dough is soft, expanded, and springs back slowly when touched, it’s probably close to ready. If it still feels dense and tight, it needs more time.
Common Mistakes to Avoid When Thawing Bread Dough
The biggest thawing mistakes are usually simple ones, but they have real consequences.
Leaving the dough uncovered
This is the fastest way to create a dry skin. That skin can split during rising or bake into a tough patch on the loaf.
Using too much heat
Warmth speeds up thawing, but excess heat can push the outer layer ahead of the center. That creates uneven structure and can overproof the outside before the middle is ready.
Thawing only partially and then shaping anyway
A dough that is still icy in the center won’t shape cleanly. You’ll end up pulling and tearing the gluten, which can reduce oven spring later.
Forgetting that thawing and proofing are different stages
A thawed dough is not automatically ready to bake. It may still need time to rise after it warms up.
Letting it sit too long at room temperature
This is the most common overproofing problem. Dough can go from underdeveloped to overinflated faster than many home bakers expect, especially in a warm kitchen.
Troubleshooting Thawed Dough That Seems Off
When thawed dough doesn’t look quite right, don’t panic. A lot of issues can still be managed.
If the dough feels sticky
Sticky dough is not always ruined. It may simply be warmer or slightly overhydrated after thawing. Handle it with lightly oiled hands or a bench scraper rather than dumping in more flour too quickly.
If the dough feels dense or sluggish
It may still be too cold. Give it time to warm up before judging the rise. Cold dough often looks underactive even when it’s fine.
If the dough is under-risen after thawing
Let it continue proofing in a gentle, draft-free environment. A dough that was frozen very cold may need extra time to recover.
If the dough seems overproofed
Bake it soon if it still has enough structure to hold shape. If it has become fragile, handle it minimally. Overproofed dough is less forgiving, but it may still produce a decent loaf if you avoid deflating it further.
If the center is still cold
Do not force it with high heat. Move it to a more moderate environment and wait until the temperature equalizes.
For readers who want a deeper look at why dough consistency changes after freezing, the linked guides on dry and sticky dough are a helpful next step.
Thawing Frozen Bread Dough by Dough Format
Different shapes thaw differently, and that matters.
Loaves
Loaf dough takes the longest to thaw because of its mass. It also benefits most from refrigerator thawing, since the slower process helps the center catch up with the outer layers.
Rolls
Rolls thaw faster and are easier to manage at room temperature, especially if they were frozen individually or in a small batch. They still need covering, because small pieces dry out quickly.
Already-shaped pieces
If the dough was frozen in its final shape, keep that shape intact during thawing whenever possible. The main job is to protect the surface and give the dough enough time to become soft, not to rework it.
Dough frozen in a pan
This is convenient, because the dough can often thaw and proof in the same container. Just make sure the pan has room for expansion and the top stays covered.
Quick Reference: Which Thawing Method Should You Use?
- Use the refrigerator if you want the most reliable results, especially for loaves, pan dough, or anything you can plan for overnight.
- Use room temperature if you need same-day thawing and can monitor the dough closely, especially for rolls or smaller portions.
- Use a gentle warm/proofing environment only as a backup when time is tight, and keep the temperature moderate enough to avoid overproofing or uneven thawing.
- Do not bake straight from frozen unless the dough is small, already shaped, and specifically suited to that method.
- Do not shape frozen or icy dough; thaw it first if it was frozen in bulk.
For most bakers, the safest path is simple: thaw slowly, keep the dough covered, and let it become fully soft before you decide whether it needs shaping, proofing, or baking.