
Bread Dough Too Dry? How to Diagnose It and Fix It Without Ruining the Loaf

If your dough feels stiff, crumbly, or like it’s fighting you at every turn, don’t rush to blame the recipe. Bread dough can feel dry for a few different reasons, and the fix depends on when you catch it.
As Ethan Baker, I’d approach this the same way I would in a bakery: diagnose first, adjust second. Add too much liquid too soon and you can turn a manageable dough into a sticky mess. Add none at all when the dough truly needs hydration, and you’ll end up with poor gluten development, a tight crumb, and a loaf that never quite reaches its potential.
Quick Diagnosis: Is the Dough Really Too Dry?
Before you pour in more water, look for the difference between a truly dry dough and one that just needs time.
Quick decision guide:
– Looks rough but still holds together? Rest it first.
– Still crumbly after resting? Add a small amount of liquid.
– Already shaped or proofing? Handle gently and make only minimal corrections.
– Falls apart or has dry patches that won’t mix in? It likely needs more moisture.
A dough that is actually too dry usually shows several of these signs:
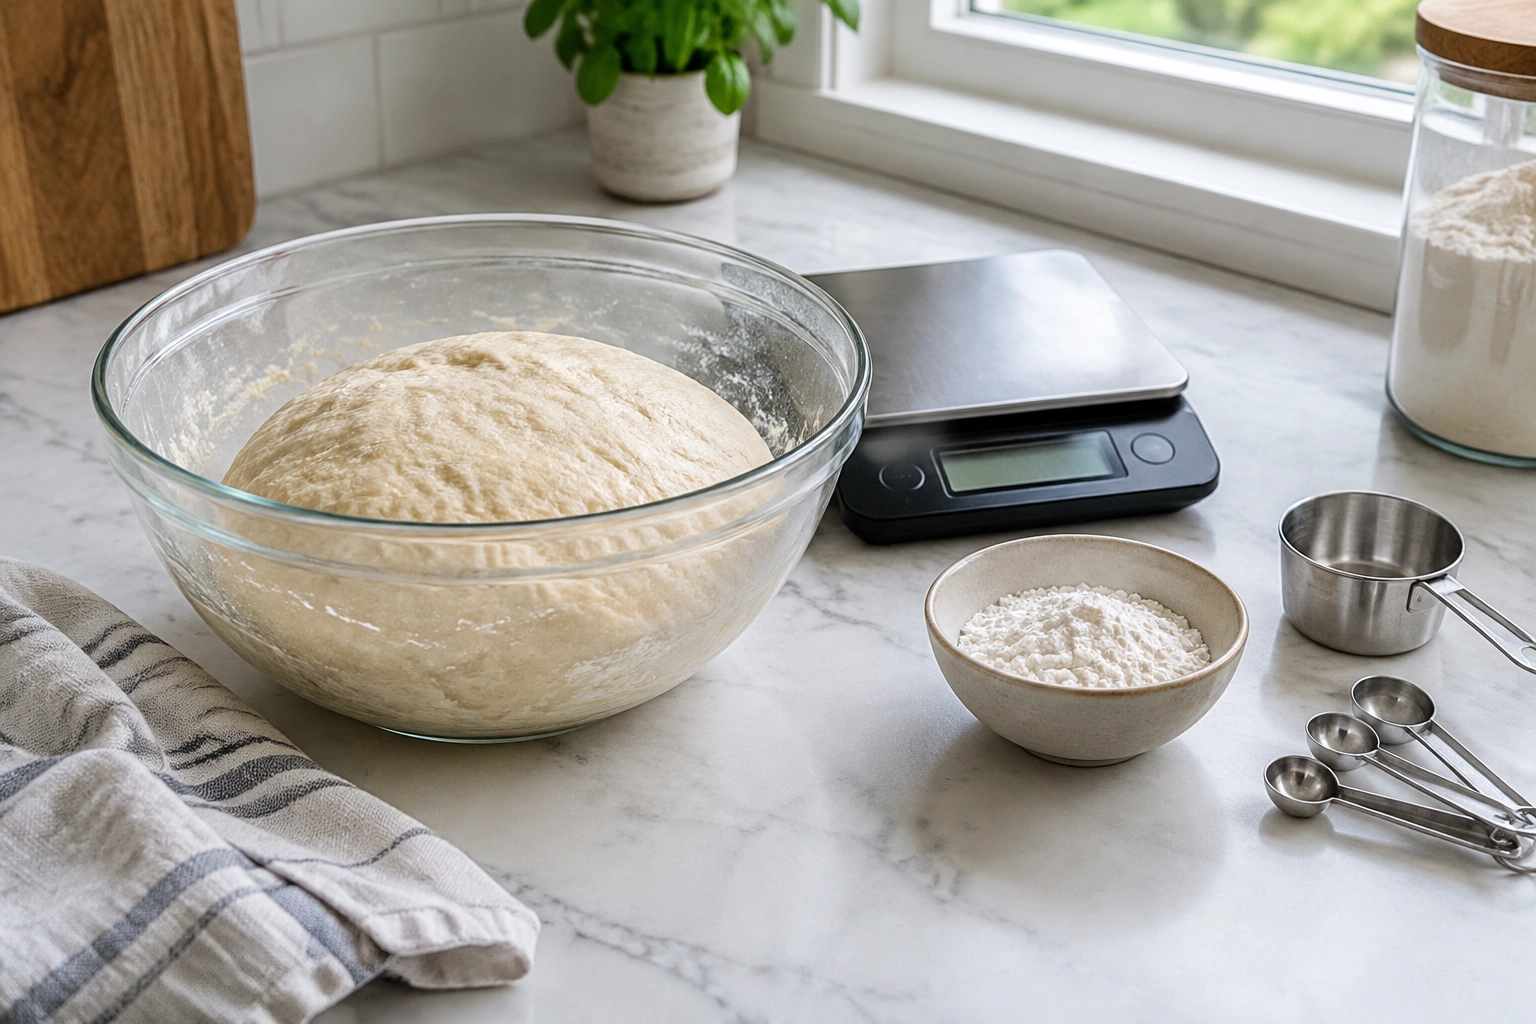
- It won’t come together into a cohesive mass.
- It tears instead of stretching during kneading.
- Dry flour or rough patches remain even after mixing.
- The dough feels stiff, dense, or crumbly rather than elastic.
- It resists shaping and feels short or brittle.
By contrast, a dough that is just shaggy or underdeveloped may look rough at first but still has enough moisture. It often improves after a short rest and more kneading.
That distinction matters because flour needs time to absorb liquid. In some cases, the dough only looks dry right after mixing. A short rest can reveal whether the problem is hydration or simply impatience.
A useful rule: if the dough is rough but already holding together, rest it before making changes. If it’s falling apart, dry in spots, or impossible to knead into one piece, it likely needs more moisture.
What Properly Hydrated Bread Dough Should Feel Like
Well-hydrated bread dough is usually soft, slightly tacky, and elastic. It should feel workable, not wet, and it should clean up from the bowl without looking parched.
Here’s the feel you’re aiming for:
- Soft and supple: It yields when pressed.
- Slightly tacky: It may cling lightly to your fingers, but it shouldn’t smear or glue itself to everything.
- Elastic: It stretches instead of snapping immediately.
- Cohesive: It forms one mass, not a pile of fragments.
A properly hydrated dough may still feel firmer in enriched breads or low-hydration styles, but it should not feel dry enough to crack or tear from simple handling.
Dry dough vs. properly hydrated dough
| Clue | Too Dry | Properly Hydrated |
|---|---|---|
| Texture | Stiff, rough, crumbly | Soft, smooth, elastic |
| Kneading feel | Resists movement | Becomes more extensible with kneading |
| Surface | Dry patches or cracks | Slightly tacky, smoother surface |
| Shape | Won’t hold together well | Forms a cohesive ball or mass |
| Stretching | Tears easily | Stretches before tearing |
If you’re unsure, compare the dough to the recipe style. A sandwich loaf, for example, should usually be easier to work with than a very high-hydration dough, but it still should not feel dusty or brittle.
Common Reasons Bread Dough Turns Out Too Dry
Dry dough usually comes from one of a few predictable problems.
Too much flour
This is the most common culprit in home kitchens. Scooping flour directly from the bag can compact it, giving you more flour than the recipe intended. Even a small overmeasure can shift the flour-to-liquid ratio enough to make the dough stiff.
This is one reason weighing ingredients is so valuable. A scale removes the guesswork that measuring cups introduce.
Not enough liquid
Sometimes the recipe is fine, but the dough still needs a touch more moisture because flour brands vary, flour storage conditions vary, and kitchens vary. Bread flour and whole wheat flour often absorb more water than all-purpose flour, so a formula that worked with one flour may feel dry with another.
Dry air or exposed dough
Moist dough can dry out on the surface if it sits uncovered. That outer skin can make the dough feel tougher than it really is and can interfere with shaping and proofing.
Flour type and recipe style
Whole wheat, high-protein bread flour, and some enriched formulas all behave differently. Whole wheat in particular can need more liquid because the bran absorbs moisture. Low-hydration doughs also naturally feel firmer than open-crumb artisan doughs. A low-hydration dough is often around 50 to 60 percent hydration, while normal hydration is commonly around 60 to 68 percent.
Mixing or kneading mistakes
Sometimes dough feels dry because it hasn’t been mixed enough for the flour to fully hydrate. A shaggy dough can look alarming early on, but kneading and resting may be the real fix. If you add water before giving the dough a chance to develop, you can chase the problem and overshoot.
Tools and Ingredients You Need to Rescue Dry Dough
You don’t need a complicated setup, but a few tools make the rescue easier and safer.
- Instant-read scale: Best for measuring flour and any added liquid accurately.
- Measuring spoon or small cup: Helpful for adding water in tiny increments.
- Clean bowl or bench scraper: Useful for gathering loose bits back into the dough.
- Water, milk, or the recipe’s liquid: Water is the neutral choice; milk can work if the dough already uses dairy or if the recipe calls for it.
- Your hands or mixer: Either can work, but the key is controlled addition, not speed.
If you’re working from a recipe that already includes milk, adding more milk may keep the flavor and texture more consistent. If you just need a small correction, plain water is usually the simplest choice.
How to Fix Bread Dough That Is Too Dry, Step by Step
The safest rescue method is gradual. You want the smallest change that makes the dough workable.
1. Stop and assess the dough
Look at the dough before changing anything. Is it merely shaggy, or is it genuinely breaking apart? If it still has some cohesion, a short rest may be enough.
2. Let it rest briefly if it seems close
A rest gives the flour time to absorb liquid. This can solve the problem on its own, especially in the early mixing stage. If the dough is only slightly rough, let it sit covered for a few minutes, then reassess.
3. Add liquid in tiny amounts
If the dough is still too dry after resting, add a small amount of water or milk. For a single loaf, start with about 1 teaspoon at a time, then reassess after each addition. For larger home batches, you can work up to 1 tablespoon at a time, but only if the dough is still clearly dry and the previous addition has been fully absorbed.
4. Work the liquid in fully
Knead or mix until the added liquid disappears into the dough. If you can still see wet streaks or pockets, you haven’t really corrected the hydration yet.
5. Wait briefly before adding more
After each small addition, pause for a minute or two so the flour can absorb the moisture. Then judge the dough again. This waiting step matters because dough often looks drier or wetter than it really is in the moment.
6. Repeat only if needed
After each small addition and brief wait, reassess the dough. This is the part that saves you from overcorrecting. A dough can go from dry to sticky faster than you expect.
7. Stop when the dough becomes cohesive and elastic
The target is not a wet dough. It’s a dough that comes together smoothly, stretches more easily, and no longer tears from normal handling.
How Much Liquid to Add and Which Liquid to Use
The best liquid depends on the dough and on how much correction you need.
Use water when you want a neutral fix
Water is the cleanest correction. It won’t change flavor or richness, and it’s usually the best choice if you only need to adjust hydration.
Use milk when the recipe already includes it
Milk can be a better match for enriched doughs, sandwich breads, or formulas that already rely on dairy. It may slightly soften the crumb and add flavor, but it also changes the dough’s composition more than water does.
Add liquid gradually, not all at once
This is the real decision rule. A small addition lets you see how the dough responds. A large addition can make the dough sticky, slack, or difficult to shape. If you overshoot, you’ve traded one problem for another.
If you’re using a mixer, add the liquid slowly while the dough is running at a moderate speed. If you’re kneading by hand, press and fold the liquid in with your fingertips, then continue kneading until it disappears.
What to Do Based on the Stage of the Dough
The best fix changes depending on where you are in the process.
If the dough is just mixed
This is the easiest stage to correct. First, let it rest briefly if the flour hasn’t fully absorbed the liquid. If it still feels dry, add a small amount of liquid and mix again.
If the dough is mid-knead
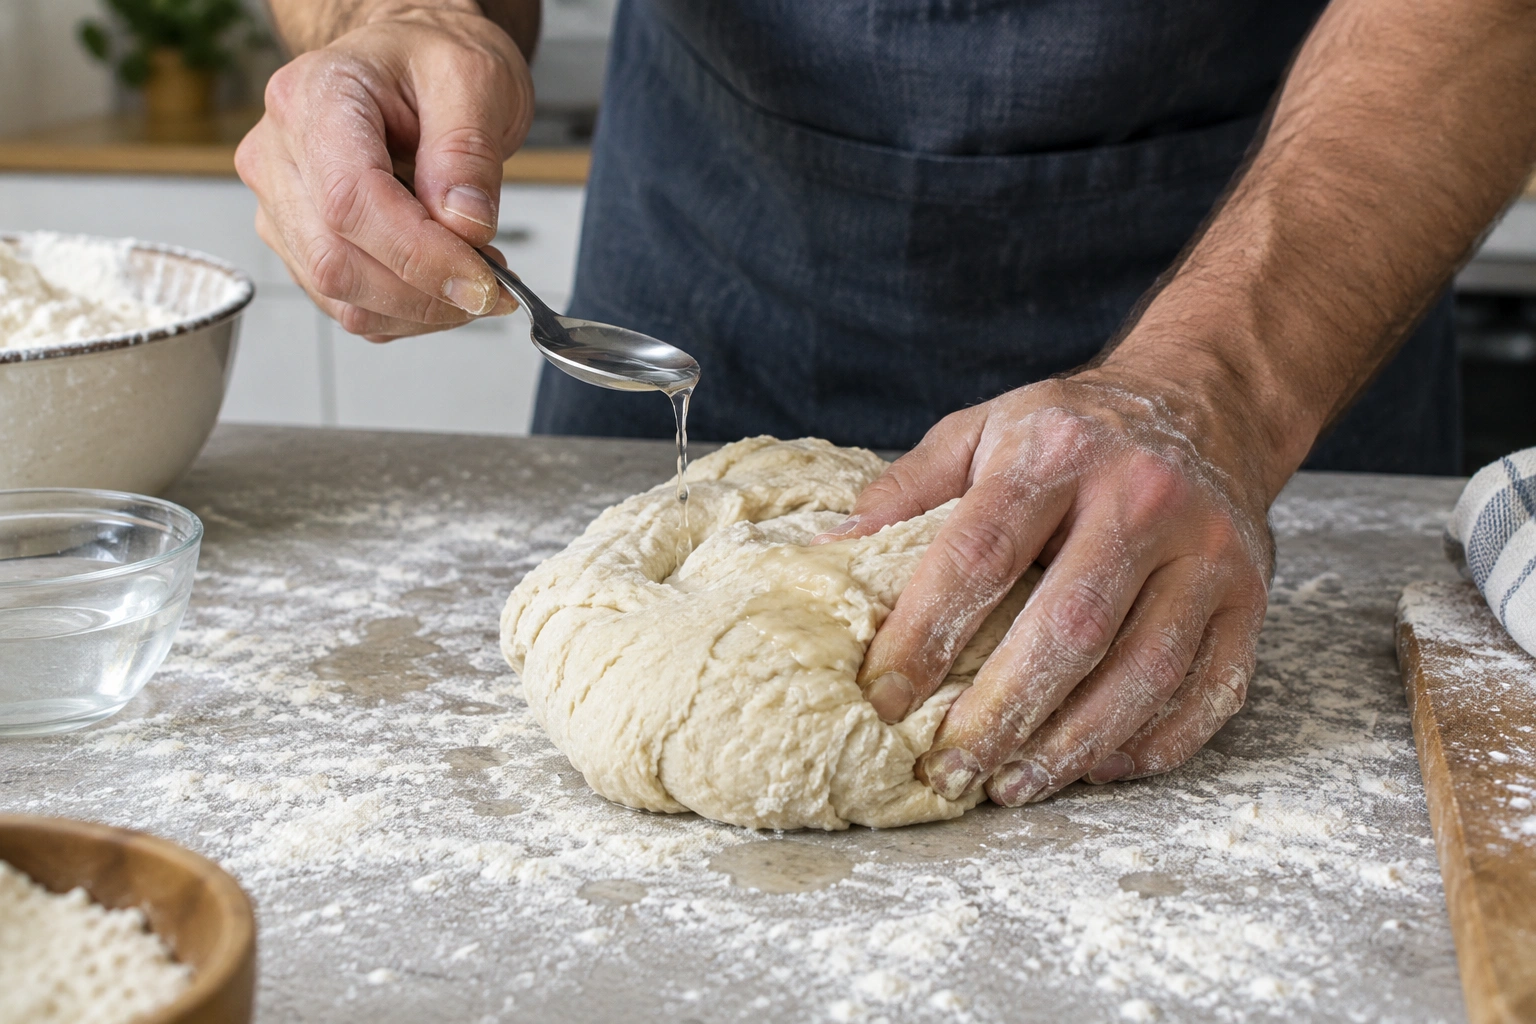
At this point, the dough should be starting to smooth out. If it tears or feels leathery, add liquid in tiny increments. Kneading after each addition helps distribute the moisture evenly.
If the dough has already rested
A rest can reveal whether the dough truly needed more liquid or just more time. If it still feels dry after resting, proceed with small additions. Don’t assume the rest “failed”; it may simply have shown the real problem.
If the dough has started proofing
Be more careful here. If the dough is before shaping, you can still make a small correction and gently knead or fold in a little liquid, but keep handling minimal so you don’t overwork it. If the dough is after shaping, avoid trying to knead in more liquid; at that stage, the safer move is usually to stop major adjustments and protect the dough from further drying while it proofs.
If the surface dried out during proofing
A dry skin on the outside can make the whole dough seem worse than it is. Covering the dough properly prevents this in the first place. If the surface has already dried, avoid aggressive kneading. If it is before shaping, a gentle fold or brief rework may still be possible. If it is after shaping, handle as little as possible and focus on keeping the loaf covered and supported.
Common Mistakes That Make Dry Dough Worse
A few common habits can turn a fixable dough into a frustrating one.
Adding too much flour during kneading
This is one of the fastest ways to create a dry loaf. Many bakers dust the bench too generously, then work that extra flour into the dough.
Confusing dryness with underkneading
A dough that hasn’t developed enough gluten can feel rough or uneven, but that doesn’t always mean it needs more liquid. If it already has enough moisture, more kneading may be the better fix.
Pouring in liquid too quickly
A sudden splash can create sticky pockets and uneven hydration. Once that happens, you may need extra kneading to smooth things out.
Leaving dough exposed
Dry air can pull moisture from the surface, especially during rest or proofing. Cover the dough well so the outside doesn’t form a skin.
Troubleshooting: When the Dough Still Feels Wrong After Adding Liquid
If the dough still isn’t behaving after a correction, don’t panic. Check for these issues in order.
Uneven hydration
Sometimes the liquid is in the dough, but not evenly distributed. In that case, continue kneading a little longer and let the dough rest again. The rest helps moisture spread through the flour.
Overcorrection
If the dough has become sticky after adding liquid, stop adding more. Let it rest and see if the flour absorbs some of the moisture. Sticky dough is usually easier to recover than crumbly dough, but it still needs time.
Too much bench flour
If the dough seems dry only on the outside, the problem may be the work surface, not the formula. Brush off excess flour and continue with a lighter touch.
Wrong flour for the formula
If you switched flours, the recipe may need adjustment next time. Bread flour, all-purpose flour, and whole wheat flour all absorb liquid differently.
A good decision rule here is simple: if the dough is improving, keep going slowly. If it remains crumbly and won’t form a coherent mass even after rest and careful hydration, the formula or measurement may be too far off.
How to Prevent Dry Dough in Future Batches
Prevention is easier than rescue.
Weigh flour instead of scooping it
A scale gives you consistency from batch to batch. Measuring cups can vary depending on how tightly the flour is packed. If you do not use a scale, use the spoon-and-level method: spoon flour into the measuring cup, then level it off with a straight edge instead of scooping directly from the bag.
Keep notes on flour brand and type
If one flour makes your dough drier than another, write it down. That makes the next bake easier to adjust.
Cover dough during rests and proofing
A bowl cover, damp towel, or lightly oiled wrap can help prevent surface drying.
Watch the dough, not just the recipe
Recipes are starting points. Flour age, room temperature, and humidity all affect how a dough behaves. A formula that works in one kitchen may need a small hydration adjustment in another.
Use a short rest before making big changes
If the dough looks rough but not truly dry, give it time. That simple pause often saves you from adding unnecessary liquid.
For a deeper look at how flour and water balance affect dough behavior, it’s worth reading how bread dough hydration changes texture and handling alongside this guide. If your dough feels dry because it’s also hard to knead, this related guide on kneading bread dough for better texture and gluten development will help you separate hydration problems from gluten-development issues.
When Dry Dough Is Beyond Saving
Most dry dough can be improved, but not every batch is worth rescuing.
Consider starting over if:
- The dough remains crumbly after careful hydration and rest.
- It never forms a cohesive mass.
- You’ve added enough liquid that further correction would likely ruin the formula.
- The dough has been overhandled so much that it’s becoming tough and uneven.
There’s no prize for forcing a bad dough to the finish line. Sometimes the smartest move is to reset, measure more accurately, and use the next batch as a cleaner learning run.
FAQs
Is dry dough the same as stiff dough?
Not always. Stiff dough can be intentional in some breads, while dry dough usually feels underhydrated, rough, or crumbly. If it tears easily and won’t come together, it’s more likely dry than merely stiff.
Should I add water or milk?
Use water for the most neutral correction. Use milk if the recipe already includes dairy or if you want to stay consistent with an enriched dough.
Can I fix dry dough after it has already risen?
Sometimes, yes. If the dough is only slightly dry, you can gently work in a small amount of liquid. Handle it carefully so you don’t deflate it too much.
How do I know if I added too much flour?
If the dough feels dry, cracks during kneading, or won’t form a smooth mass, there’s a good chance too much flour was added. Measuring by weight next time usually helps.
What if the dough just needs more kneading?
If the dough already feels moist but rough, kneading may be the answer. If it feels brittle or crumbly, kneading alone won’t fix the problem.
What should properly hydrated dough feel like?
Soft, elastic, and slightly tacky. It should hold together smoothly and stretch without tearing immediately.
Can dry air really affect dough?
Yes. Exposed dough can lose moisture to dry air, which can make the surface dry out during resting or proofing.
When should I give up and start over?
If the dough stays crumbly, won’t form a cohesive mass, or becomes worse as you try to fix it, starting over is usually the better choice.