
Punching Down Dough: What It Means, When to Do It, and How to Do It Well

If you’ve ever read a bread recipe and wondered whether you’re supposed to literally punch your dough, you’re not alone. The phrase sounds forceful, but in practice this step is usually a controlled, gentle deflation. In bread making, punching down dough is part of managing fermentation so the dough can be shaped cleanly and bake with the texture the recipe is aiming for.
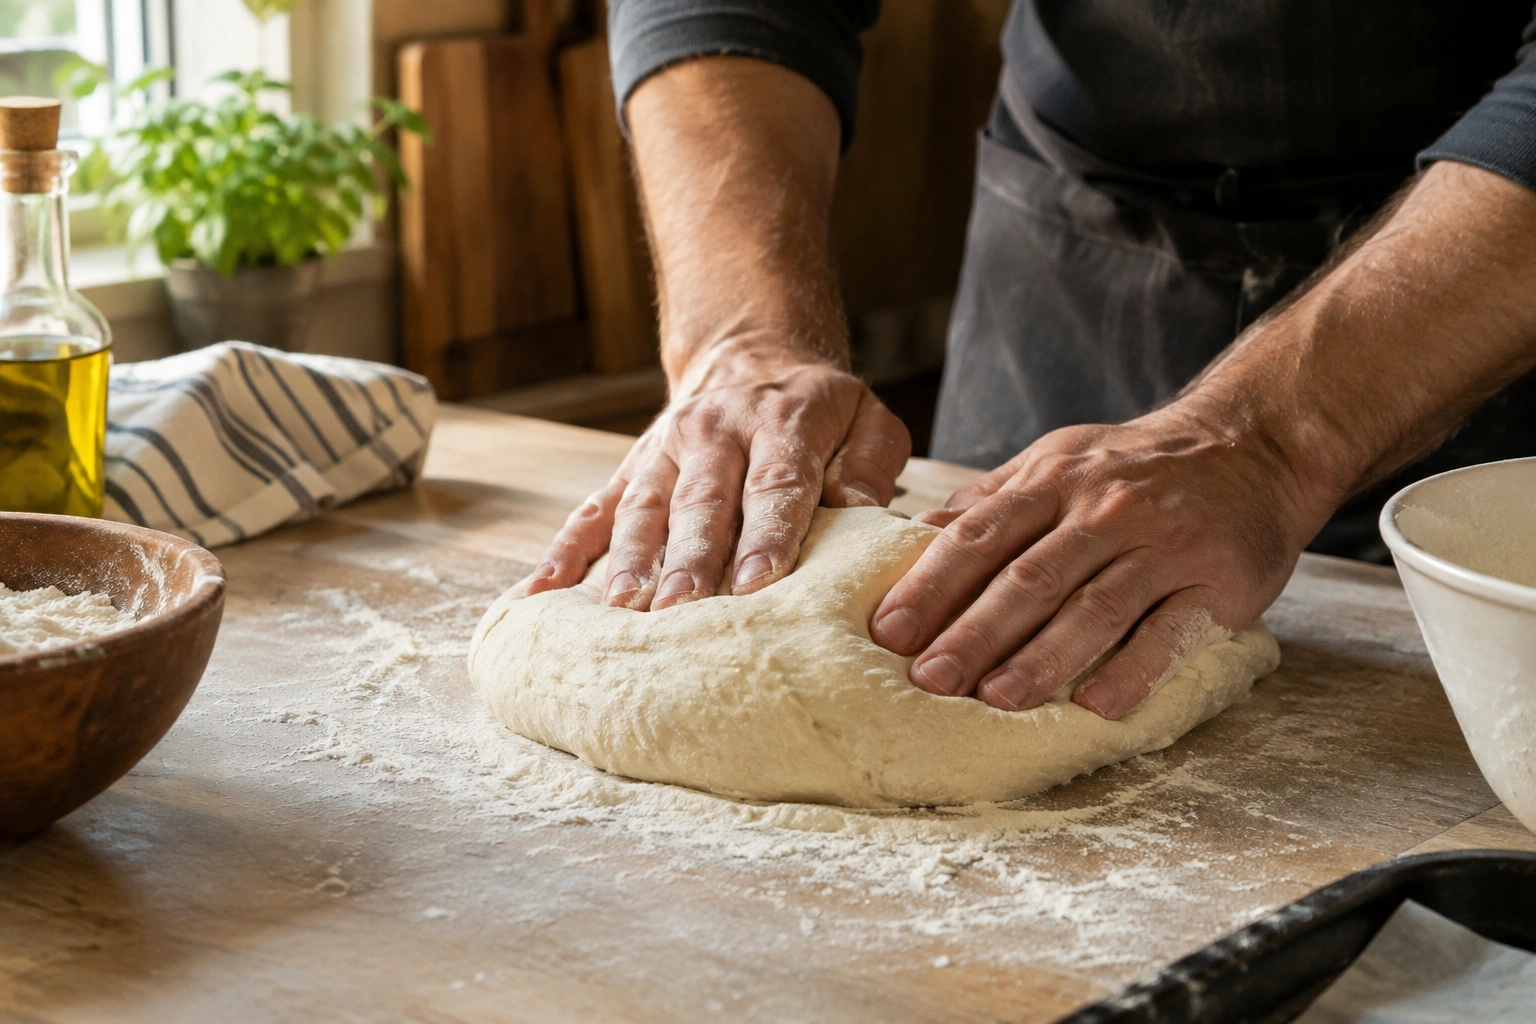
Think of it as a reset, not a punishment. After the first rise, the dough is full of gas, relaxed, and expanded. That’s a good thing — until you need to shape it. At that point, the dough often benefits from being gently deflated so the yeast, moisture, and structure are redistributed before the next stage.
What punching down dough actually means
“Punching down dough” is the old-school bread term for deflating risen dough after its first rise. You may also see it called knocking back or degassing. Many bakers now prefer those terms because they describe the step more accurately and avoid the misleading idea that you should literally punch the dough. The idea is the same: release some of the gas that built up during fermentation and prepare the dough for shaping.
That does not mean smashing the dough flat with force. For most breads, the goal is to remove large gas pockets and bring the dough back to a workable state, not to erase every bubble. A dough that has been properly handled should still feel alive and elastic afterward.
Red Star Yeast is one example source that explains the purpose this way: punching down redistributes yeast cells, sugar, and moisture so they can continue fermenting during proofing, and it also removes some of the gas bubbles that formed during rising to help create a finer crumb texture. Red Star Yeast’s baking guide
Why bakers punch down dough
Once dough has risen, the yeast has been busy creating carbon dioxide, which inflates the dough like a balloon. That’s useful early on, but by the end of bulk fermentation the dough can become uneven: some areas are puffier than others, and large pockets of gas may be trapped in the structure.
Punching down or gently deflating the dough helps in three practical ways:
-
It evens out the dough.
Gas pockets get redistributed, so the next rise starts from a more uniform base. -
It supports shaping.
A dough that has been deflated is easier to divide, round, and shape without bursting in random places. -
It influences crumb texture.
Removing some gas generally leads to a finer, more even crumb. That’s especially useful for sandwich loaves and enriched breads where a tight, consistent slice is desirable.
There’s a trade-off here. If you preserve more gas, you may get a lighter, more open crumb. If you remove more gas, you usually get a more even structure and better control during shaping. The “right” amount depends on the bread style, not on a universal rule.
When dough is ready to be deflated
Timing matters, but dough should be judged by look and feel as well as the recipe stage. A lot of beginner mistakes happen because the baker follows the clock instead of the dough. In most cases, punching down happens after the first rise or bulk fermentation and before shaping.
Here are the most useful cues:
Signs the dough is ready
- It has increased noticeably in volume, often close to doubled for many standard yeast doughs.
- The surface looks domed, smoother, and a bit puffy.
- The dough feels airy and soft rather than dense and tight.
- A gentle poke leaves an indentation that doesn’t spring back immediately.
Red Star Yeast is one example source that recommends using the dough’s look and feel rather than time alone. Their “ripe” test includes pinching off a piece about the size of a walnut and stretching it gently between your thumbs and index fingers; a properly developed dough will stretch well rather than tearing right away.
That last point is useful because it reminds you that fermentation readiness and gluten development are linked. If the dough is underdeveloped, deflating it won’t magically fix the structure. If it’s overproofed, gentle handling becomes even more important because the dough may be fragile.
Tools and materials you need
You do not need special equipment for this step. A simple setup is enough:
- A lightly floured work surface
- Clean hands
- A bowl or container for the risen dough
- A bench scraper, if you like working tidily
- A scale if your recipe requires dividing the dough accurately
If the dough is sticky, a scraper can help you move it without tearing it. If the dough is already fairly firm, your hands may be all you need.
How to punch down dough step by step
Here’s the method I’d teach a home baker or culinary student who wants the step done cleanly and confidently.
1. Confirm the dough is ready
Check the rise first. If the dough has only barely expanded, leave it alone a little longer. If it looks puffy, airy, and ready to shape, move on.
2. Turn the dough out gently
If the dough is in a bowl, tip it onto a lightly floured surface or onto a clean counter, depending on the recipe. Use your hands or a scraper so you don’t rip the dough as it comes out.
3. Deflate it with controlled pressure
Use your fingertips, knuckles, or the heel of your hand to press the dough down. The pressure should be firm enough to release excess gas, but not so rough that you shred the gluten network.
A useful mental image: you’re pressing out the biggest air pockets, not attacking the dough.
4. Fold it over if needed
Many bakers fold the dough once or twice after deflating it. This helps gather it into a coherent mass and redistributes the internal structure before dividing or shaping.
5. Proceed to dividing or shaping
Once deflated, the dough is usually ready for the next stage: dividing, pre-shaping, bench rest, and final shaping.
A properly handled dough should feel calmer afterward — less inflated, more compact, but still supple. If it feels torn, ragged, or sticky in a way that wasn’t there before, the handling was probably too aggressive.
What to do after punching down the dough
What happens next depends on the recipe, but the usual sequence is straightforward:
- Divide the dough if you’re making rolls or multiple loaves.
- Pre-shape it into a loose round or log if the recipe calls for it.
- Rest it briefly so the gluten relaxes before final shaping.
- Shape it into a loaf, boule, batard, or other form.
- Proof again before baking.
This step matters because deflated dough often resists shaping at first. A short rest can make the dough noticeably easier to handle. If you try to force final shaping too soon, the dough may spring back or tear at the seams.
For readers working on hydration and handling, this is where technique and dough feel meet. A dough that is too wet or too dry will behave differently after deflation, which is why it helps to understand bread dough hydration and how it affects structure.
Punching down vs folding vs kneading
These terms get mixed up a lot, but they are not the same thing.

| Technique | Main purpose | When it happens | What it does to the dough | Best for |
|---|---|---|---|---|
| Punching down / degassing | Release excess gas after the first rise | After bulk fermentation or first rise | Deflates the dough and evens out air pockets | Sandwich loaves, enriched doughs, shaped breads |
| Folding | Strengthen dough while preserving structure | During bulk fermentation or in place of a full knead | Aligns gluten and redistributes gas more gently | Higher-hydration doughs, artisan-style breads |
| Kneading | Build gluten and smooth the dough | Early in mixing or shortly after mixing | Develops structure and elasticity | Most yeast doughs before fermentation |
The key difference is intent. Kneading builds the dough. Folding organizes it. Punching down or degassing resets it after fermentation.
That’s why recipes can sound similar but mean different things. If a recipe says “knock back,” it usually means the same thing as punching down: deflate the dough enough to move to the next stage.
How much force should you use?
This is where judgment matters.
Use firmer deflation when:
- You want a tighter, more even crumb
- You’re making sandwich bread or loaf-pan bread
- The dough has large, uneven gas bubbles
- The recipe expects the dough to be shaped into a compact form
Use gentler handling when:
- The dough is delicate or enriched
- You want to preserve some openness in the crumb
- The dough is soft, highly hydrated, or fragile after fermentation
- You’re working with a bread style that benefits from a lighter touch
A practical rule: press until the large gas pockets are released, not until the dough is flattened completely. If the dough is sturdy, you can deflate more confidently. If it feels fragile, treat it like a living structure that can collapse easily. The goal is not maximum compression — it’s controlled release.
How the technique changes by dough type
Not every dough should be handled the same way. That’s one of the most important lessons for home bakers and students.
Sandwich bread
These doughs often benefit from a more complete deflation after the first rise. You want a uniform crumb, tidy shaping, and reliable slices. A firmer press is usually appropriate, as long as you don’t tear the dough.
Enriched doughs
Brioche, soft rolls, and similar doughs contain butter, eggs, milk, or sugar that make them tender and sometimes more delicate to handle. They usually need a gentler touch. You still want to remove excess gas, but not flatten them aggressively. Overhandling can make shaping messy and can reduce the soft, plush texture you’re after.
Artisan-style or more open-crumb breads
For breads where a more open structure is desirable, the baker may preserve more gas during handling. That doesn’t mean skipping deflation entirely; it means being selective. Gentle folding or minimal degassing can help keep the dough airy.
Doughs with whole grains, seeds, or nuts
These often behave differently because the add-ins can interrupt gluten development and change how the dough traps gas. They may not rise as dramatically as white doughs, so volume alone can be misleading. Use the dough’s feel and recipe stage together, not just how tall it looks.
Common mistakes to avoid
A few errors show up again and again:
Deflating too early
If the dough hasn’t risen enough, you’re cutting fermentation short. The loaf may end up dense because the yeast hasn’t done enough work yet.
Using too much force
You can tear the dough structure or make shaping harder later. If the dough feels shredded or sticky in a broken way, you probably pressed too hard.
Skipping the step when the recipe expects it
Some doughs need that reset before shaping. If you skip it, you may get oversized gas pockets, awkward shaping, or a loaf that bakes with uneven texture.
Treating every dough the same
A sandwich loaf and a delicate enriched dough should not be handled identically. Bread style should guide your level of deflation.
Confusing degassing with kneading
Once the dough has risen, you’re not trying to rebuild it from scratch. You’re preparing it for shaping. That distinction keeps you from overworking it.
If your dough is already too dry or too sticky before fermentation, those issues can make punching down feel worse than it should. In that case, it helps to diagnose the dough itself before blaming the handling step. See bread dough too dry and bread dough too sticky for practical fixes.
Troubleshooting dough that feels wrong
Sometimes the dough doesn’t behave the way the recipe description suggests. Here’s how to think through a few common situations.
The dough feels too tight after deflating
That usually means it has been handled a little too aggressively, or it was already under-relaxed. Let it rest before shaping. A short bench rest often makes the dough noticeably easier to work with.
The dough collapses too much
You may have overproofed it, or the gas structure may be fragile. Handle it more gently during shaping and avoid pressing out every bubble.
The dough is still very airy and hard to control
It may need a more thorough degassing before shaping. Press out the largest pockets, then fold it into a manageable shape.
The dough tears when you touch it
That can happen if the gluten is weak, the dough is overproofed, or the surface has dried out. Work with a lighter touch and consider whether the dough needed more development earlier.
Practical examples of punching down dough
Here’s how the decision changes in real kitchens.
A sandwich loaf after the first rise
The dough has doubled, feels puffy, and will be baked in a pan. In this case, a more complete deflation makes sense because the goal is a neat loaf with an even crumb.
Brioche or another enriched dough
The dough has risen well but feels soft and delicate. Deflate it gently, just enough to remove big gas pockets and make shaping easier. Heavy-handed punching would work against the tender texture you want.
Basic white bread for a shaped loaf
The dough is elastic, expanded, and ready for shaping. A moderate deflation helps create a cleaner structure before you form the loaf. You want enough gas removal to shape it well, but not so much that the final loaf becomes dense.
A recipe that says “knock back”
Treat that as a cue to degas the dough, not to flatten it recklessly. The wording is old-fashioned, but the practical meaning is usually the same: controlled deflation before the next step.
When to consult a master baker
If you’re working with a formula that repeatedly gives you flat loaves, tearing during shaping, or wildly uneven crumb despite good fermentation, it may be time to ask a more experienced baker to look at your process. Sometimes the issue is not the punch-down step itself, but the balance of fermentation, dough strength, and shaping technique leading up to it.
Final takeaway
Punching down dough is less about force and more about timing, control, and respect for the dough’s structure. When you deflate at the right moment and with the right amount of pressure, you make shaping easier, reduce random gas pockets, and set the dough up for a better final rise. The best next step is simple: watch the dough, deflate it only as much as needed, and move promptly into shaping so you keep the fermentation on track.