
Why Bread Splits on the Side and How to Stop It in Future Loaves

A loaf that splits on the side can be frustrating, especially when you were expecting a neat bloom on top or a clean, even sandwich loaf. The good news is that side splitting usually tells you something useful. Bread is opening where the dough found the weakest point, which means the problem is often in shaping, proofing, scoring, or oven conditions rather than in the recipe itself.
If you learn to read the split, you can usually narrow the cause quickly. A low side burst in a pan loaf points somewhere different from a top-edge crack on a free-form boule. A loaf that splits in the same spot every time may be reacting to a seam, a pan fit issue, or even an oven hot spot. The best approach is simple: read the loaf first, then change one variable at a time.
What It Means When Bread Splits on the Side
Bread expands fast in the oven. As yeast or sourdough fermentation gases heat up, the loaf wants to spring upward before the crust fully sets. If the dough does not have a planned opening — from scoring or from a well-controlled seam — it will tear at the weakest place.
That tear is not always a disaster. Rustic loaves often look handsome with a natural bloom. But in a sandwich loaf or a neatly shaped artisan loaf, a side split usually means the dough expanded in a direction you did not intend.
The key distinction is this:
- Controlled opening: the loaf expands where you scored it or along a deliberate seam.
- Uncontrolled split: the loaf ruptures along a side, bottom edge, or one uneven spot.
A small split on a rustic loaf can be acceptable. A repeated, dramatic split on the same side usually means something in the process needs adjustment.
A helpful visual check:
- Acceptable natural bloom: a clean, narrow opening that follows the score line or seam, with the loaf still holding an even shape.
- Concerning side split: a jagged tear that runs low on the side, widens unevenly, or appears where you did not intend any opening.
- Borderline case: a loaf that opens slightly off-center but still rises well and keeps a good shape. In rustic breads, that may be fine; in pan loaves, it usually signals a control issue.
Quick Diagnosis: What the Split Pattern Is Telling You
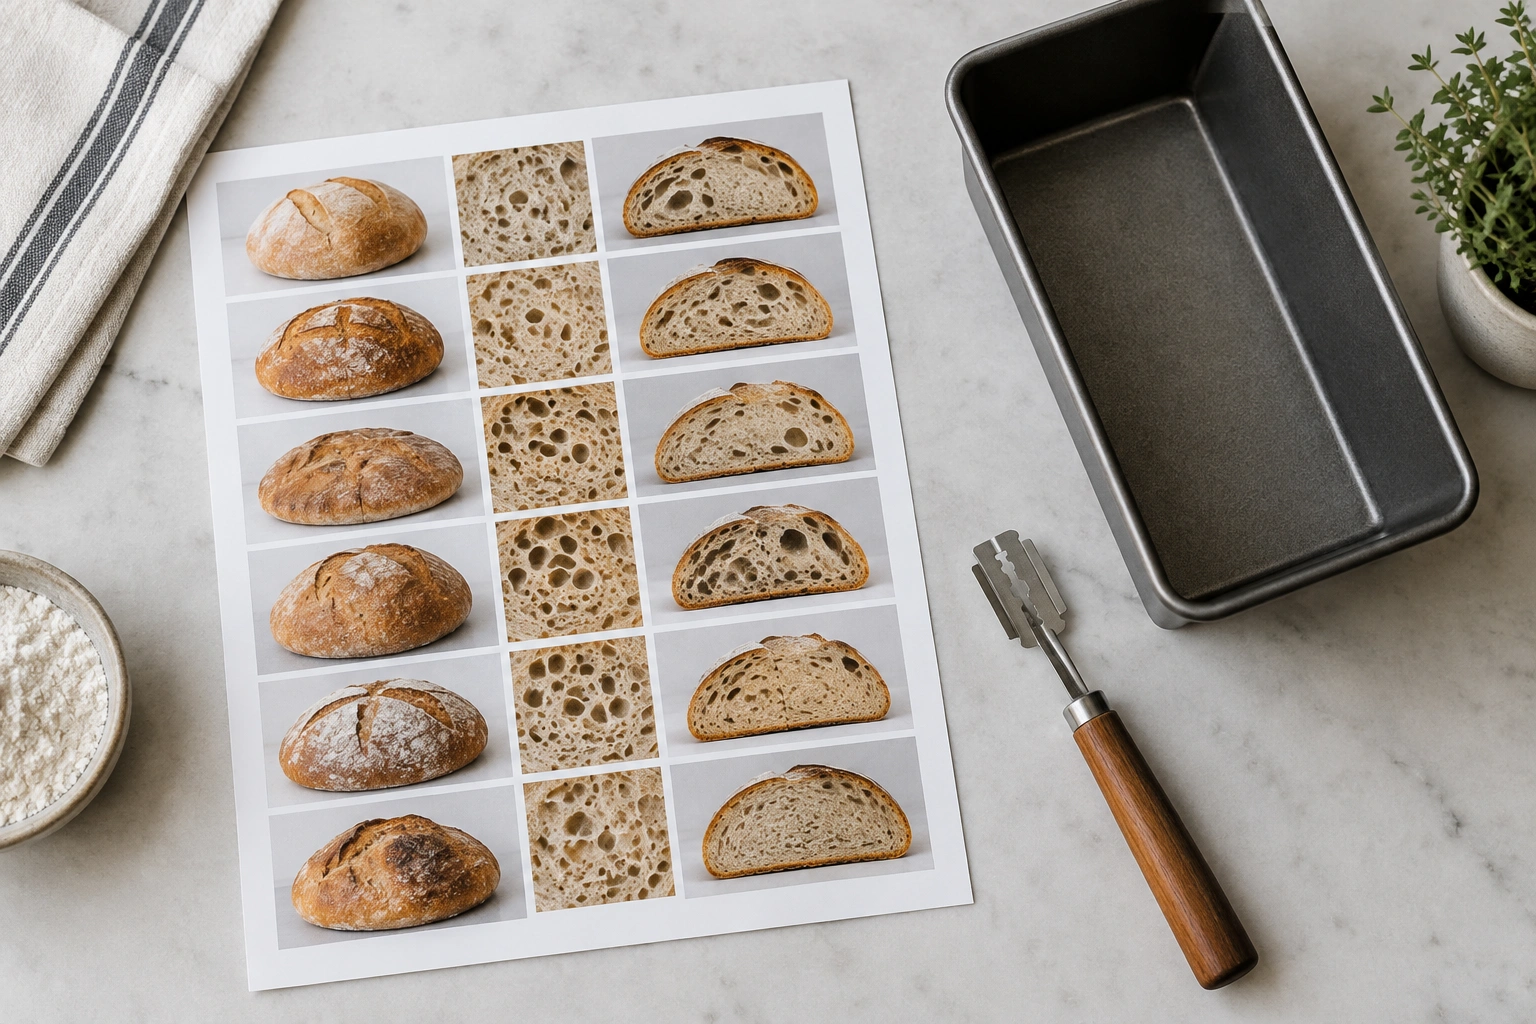
Before changing the recipe, look at where and how the bread opened. This simple table can save a lot of trial and error.
| Split pattern | Most likely cause | Best first fix |
|---|---|---|
| Low split along one side of a pan loaf | Underproofing, too much dough for the pan, or weak shaping | Proof longer, check pan capacity, improve shaping and seam sealing |
| Split near the top edge of a tin | Dough overfilled the pan or the loaf had too much upward pressure | Use less dough or a larger pan |
| Split on one side only, repeated in the same oven position | Uneven oven heat or pan placement | Rotate position, check oven hot spots, adjust rack placement |
| Split despite scoring | Score was too shallow, too late, or in the wrong place | Score deeper or more deliberately before the loaf fully relaxes |
| Irregular tear with dense crumb | Underproofing or weak gluten development | Extend proof and strengthen dough handling |
| Soft, spread-out loaf with weak side opening | Overproofing or low dough strength | Shorten proof next time and improve structure |
That table is not a diagnosis machine, but it gets you closer to the real cause much faster than changing three things at once.
Common Causes of Side Splitting
Underproofing
Underproofed dough is still tight when it enters the oven. The structure has not relaxed enough, so oven spring forces the loaf to burst where resistance is lowest. One useful cue is the finger poke test: if the indentation springs back quickly, the dough likely needs more time.
Underproofing is especially common in sandwich loaves and pan breads because the loaf is constrained by the pan. The dough has fewer places to expand, so it may split along a side instead of opening neatly on top.
A separate clue is the crumb. Underproofed loaves often show dense areas, large tunnels near the split, or a tight band just below the crust. That tells you the dough went into the oven before it had enough gas distribution and relaxation.
Overproofing
Overproofed dough can also split, but usually in a different way. Instead of looking tight and springy, it may feel fragile, overly puffy, or weak. The gluten structure has stretched too far, so the loaf cannot hold gas evenly. That can produce a weak, irregular tear rather than a strong, intentional bloom.
A useful clue here is shape retention. If the loaf spreads outward, slumps, or loses definition before baking, the issue is more likely overproofing or weak dough strength than a simple scoring problem.
Weak shaping or poor seam sealing
A loaf needs surface tension. If the outside skin is loose or uneven, the dough expands where it can, not where you want it to. A poor seam seal can become the escape route, especially in shaped loaves and sandwich loaves.
A useful mental image: the dough skin is a pressure vessel. If one side is slack and another side is tight, the slack side often becomes the breakout point.
Scoring that is too shallow, too late, or misplaced
Bread will split because its rising gases need an escape path. That is exactly why scoring exists: to give the loaf a planned place to open. If the cut is too shallow, the dough may ignore it and tear somewhere else. If the cut is made after the loaf has already lost tension or after the crust starts to set, the dough may still split unpredictably.
For a boule or artisan loaf, scoring is often the main tool for directing expansion. For a pan loaf, scoring may help, but the pan itself also guides the rise.
Too much dough for the pan
An overfilled loaf pan can force the dough to rise too aggressively. When there is simply too much dough for the tin, the loaf may dome unevenly, press against one side, or split over the rim. A sandwich loaf can split on the side when the dough is both underproofed and too large for the pan, because the loaf has nowhere to expand cleanly.
If your loaf repeatedly bursts in the same place, check pan capacity before changing the formula. Sometimes the dough is not “wrong”; it is just too large for the vessel.
Uneven oven heat or poor pan position
If the loaf splits on the same side every time, the oven may be part of the story. One side may be getting hotter, setting faster, and forcing expansion toward the weaker side. This is more likely when the loaf is placed off-center, the oven has hot spots, or the bake is being done in a setup with uneven heat distribution.
Steam and crust setting
Steam helps delay crust formation, which gives the loaf more time to expand before the outside hardens. That can be useful. But if the steam setup is inconsistent, or if the crust sets too fast on one side, the loaf may still rupture where it can.
A Dutch oven often improves control for free-form loaves because it traps moisture and heat around the dough. For pan loaves, steam management is more about oven environment than vessel choice.
How to Diagnose the Split Pattern Before Changing the Recipe
Use this decision framework.
If the loaf split low on one side
Check these first, in order:
- Was the dough fully proofed?
- Was the seam sealed well?
- Was the loaf too large for the pan?
- Did the dough have even tension all around?
If the answer to the first two is no, fix those before changing the formula. A low-side split often means the dough was still tight, but it can also mean the seam was weak and became the easiest escape point.
If the loaf split near the top edge of the pan
That usually suggests the loaf was pushing too hard against the tin. The pan may be too small, the dough weight too high, or the proof too short. If the loaf also domed sharply before baking, pan fit is especially worth checking.
If the loaf split despite being scored
Then the scoring likely did not give the dough enough room. The cut may have been too shallow, too narrow, or too late. It may also have been placed where the dough was already strongest rather than where it wanted to open. On a pan loaf, a score that is too centered can sometimes fail to relieve side pressure; on a free-form loaf, a score that is off to one side can send the bloom sideways.
If the loaf splits in the same place every time
Suspect oven heat, pan orientation, or a repeat shaping habit. A consistent split pattern often means a consistent weak point. If the same side always opens, rotate the loaf or review how it is loaded into the oven.
What You Need to Check Before Baking
Before the loaf goes into the oven, check six things:
- Dough strength: has gluten development progressed enough to hold gas without tearing?
- Proof level: does the dough respond slowly and incompletely to a finger poke?
- Seam placement: is the seam sealed and positioned intentionally?
- Pan fit: is the dough sized appropriately for the loaf pan?
- Oven setup: is the rack centered and the heat even?
- Scoring tool: is your blade sharp enough to make a clean cut?
A quick dough-tension checklist can also help before the bake:
- The surface should look smooth, not ragged or shredded.
- The dough should feel elastic and slightly springy, not slack or sticky on the outside.
- When gently lifted or shaped, it should hold its form for a moment instead of spreading immediately.
- The skin should feel taut, but not so tight that it tears at the seam or edges.
- If you press lightly with a fingertip, the dough should feel airy yet resilient, not dense and not fragile.
If you want a deeper guide to dough behavior, our bread dough hydration guide is a useful companion, because hydration changes how easily dough holds shape and how likely it is to tear.
Tools and Materials That Help Prevent Side Splitting
You do not need fancy gear, but a few tools make control much easier.
- Loaf pan: useful for sandwich bread and for controlling shape
- Dutch oven: helpful for free-form loaves that benefit from strong oven spring and steam retention
- Bread lame: gives a cleaner score than a dull knife
- Bench scraper: helps tighten the dough without shredding the surface
- Proofing container: makes it easier to judge rise and dough movement
- Thermometer: useful for monitoring oven setup and, if desired, internal bake temperature
If your crust also tends to turn out overly firm, our guide to bread crust that is too hard can help you separate crust-setting issues from splitting issues.
How Proofing Changes Where the Loaf Opens
Proofing is one of the biggest factors in side splitting because it changes how much resistance the dough offers in the oven.
Underproofed dough
- Springs back quickly when poked
- Feels tight and elastic
- Often bursts where the surface is weakest
- May produce a dense crumb with irregular tunnels near the split
Overproofed dough
- Feels fragile or overexpanded
- May not hold its shape well
- Can collapse or tear irregularly
- Often lacks the strong oven spring needed for a clean bloom
A practical cue: a properly proofed loaf should feel airy but still resilient. It should not be rigid, and it should not feel like it might deflate if you breathe on it.
How Shaping, Tension, and Seam Placement Affect Expansion
Good shaping is not about making the dough look pretty on the bench. It is about organizing the gluten so the loaf expands in a predictable direction.
When you shape a loaf, you are creating a skin of tension on the outside. That skin helps the dough rise upward instead of spreading sideways. If the tension is uneven, the loaf may bulge on one side and split there.
Seam placement matters too. In a pan loaf, the seam should be sealed well enough that it does not become the leak point. In a free-form loaf, the seam is often placed down and the score is placed up, so expansion has a planned route.
A loaf that “lifts” more on one side is often telling you that the shaping was uneven or the seam was not centered. That is not just a cosmetic issue; it changes how pressure builds during baking.
How to Score Bread So It Expands Where You Want It To
Scoring is a release valve. The goal is not decoration for its own sake; it is controlled expansion.
A few practical rules:
- Score before the loaf fully relaxes on the final proof
- Use a sharp blade
- Make the cut decisive, not hesitant
- Place the score where you want the loaf to open
More specific guidance helps here:
- For free-form boules and batards: use a confident cut at roughly a 30- to 45-degree angle so the blade creates a flap that can lift as the loaf expands. A shallow, straight-down cut often spreads less effectively than a slightly angled one.
- For most boules: place the main score just off center, not dead center, so the loaf has a clear direction to bloom.
- For batards: use one long score down the length of the loaf, usually along the top centerline or slightly off center, depending on the shape you want.
- For pan loaves: scoring is usually lighter and more practical than dramatic. A single shallow slash down the center, or a few short, evenly spaced cuts, can help relieve pressure without collapsing the shape.
- For pan loaves with a strong dome: keep the score centered enough to manage the rise, but not so deep that the loaf loses support and spreads.
As for depth, a reasonable starting point is a shallow but decisive cut: enough to open the skin cleanly, but not so deep that the loaf loses structure. If the score barely marks the surface, it may not guide the oven spring. If it cuts too far into the dough, the loaf can flatten or spread.
Shallow scoring may look neat, but it often does not give the dough enough room. Too deep, and the loaf can lose structure and flatten. That trade-off matters: a deeper cut gives more release, but too much can reduce height.
For sandwich loaves, scoring is less about dramatic bloom and more about directing a modest, even expansion. For boules and artisan loaves, the score is often more important because the loaf is freer to expand in any direction.
Pan Loaves vs Free-Form Loaves: Why They Split Differently
Pan loaves are constrained by the sides of the tin. That constraint is useful, but it also means the loaf has fewer escape routes. If the dough is too large, underproofed, or unevenly shaped, the split may show up along the side or over the rim.
Free-form loaves behave differently. A boule or batard usually splits because the surface tension, seam placement, and scoring pattern guide the oven spring. If those are off, the loaf may bloom to one side or tear along a weak spot.
In short:
- Pan loaf: check pan fit, proofing, and seam seal first
- Free-form loaf: check shaping tension and scoring first
How Oven Heat, Steam, and Vessel Choice Influence Splitting
Oven spring is strongest early in the bake, before the crust sets. If one part of the loaf heats faster, that side may firm up first and push the remaining expansion elsewhere.
Here are the practical implications:
- Uneven heat can push the split to one side repeatedly
- Steam can delay crust setting and help the loaf expand more evenly
- Dutch ovens create a more enclosed baking environment, which often helps free-form loaves bloom more predictably
- Open ovens can work well too, but they demand more attention to heat balance and steam control
If your loaf keeps splitting on the same side, do not assume the dough is always at fault. Sometimes the oven is simply working against you.
Adjustments for Hydration, Flour Strength, and Fermentation
Sometimes side splitting is not just a shaping or proofing issue. The dough formula may be part of the problem.
Higher hydration
More water can make dough more extensible, which is great for open crumb and good oven spring. But it can also make shaping harder and scoring less precise. If the dough spreads before baking, the loaf may open unpredictably.
Flour strength
Stronger flour generally gives the dough more ability to hold gas and keep shape. If the flour is too weak for the hydration or fermentation level, the loaf may tear instead of expanding cleanly.
Fermentation control
If fermentation runs too long or too short, the dough may not have the right balance of strength and elasticity. That balance is what lets the loaf open where you want it to.
If you suspect formula issues, adjust one thing at a time. Lowering hydration, using a stronger flour, or tightening fermentation control can help, but changing all three at once makes the real cause harder to spot.
Common Mistakes to Avoid
A few mistakes show up again and again:
- Overfilling the pan
- Scoring too shallowly
- Shaping too loosely
- Sealing the seam poorly
- Baking with an oven that has obvious hot spots and never compensating for them
- Trying to fix everything at once after one bad loaf
The biggest trap is overcorrecting. If you underproofed once, it is tempting to proof far longer next time. That may create a different problem. Make one adjustment, then observe the result.
Troubleshooting by Symptom
“My sandwich loaf always splits on one side.”
Check pan size, seam placement, and proofing first. If the split happens in the same oven position every time, look at heat imbalance too. A side split in a pan loaf is often a sign that the dough is expanding where it can, not where it should.
“My loaf split even though I scored it.”
The score may have been too shallow or too late. A score only works if it is placed where the dough can actually expand. If the loaf still tears beside the score, the dough may also be too tight from underproofing.
“The loaf looks dense and burst open.”
That often points to underproofing. The dough likely went into the oven before it had enough relaxation and gas balance. Dense crumb plus a hard rupture is a stronger underproofing clue than the split alone.
“The loaf spread out and split weakly.”
That pattern can suggest overproofing or weak dough structure. The loaf had gas, but not enough strength to hold it evenly. If it also lost height before baking, overproofing becomes more likely.
“It always splits in the same spot.”
That is a clue, not a mystery. Check the seam, pan orientation, and oven heat pattern.
When Side Splitting Is Normal
A small side split is not always a failure. Rustic loaves often have a natural, irregular look. In some breads, that wild bloom is part of the appeal.
The question is not whether the loaf split at all. The better question is whether the split matches your goal. If you wanted a rustic artisan look, a little side opening may be fine. If you wanted a centered bloom or a neat sandwich loaf profile, the split is telling you the process needs more control.
Quick Pre-Bake Checklist for Future Loaves
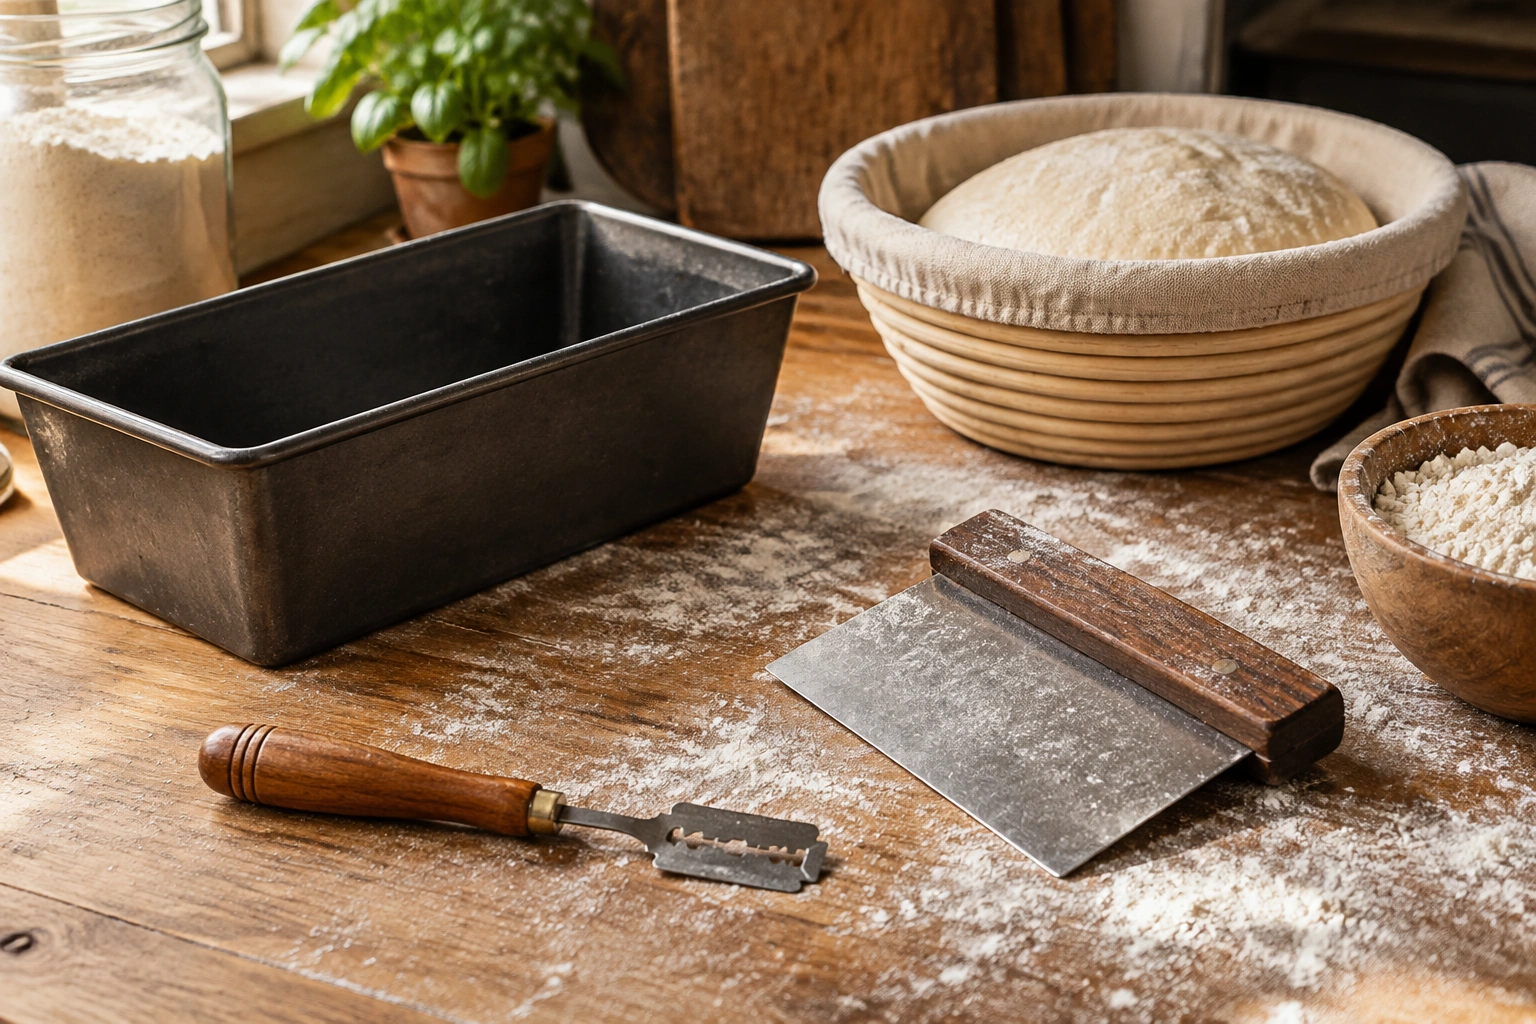
Before the dough goes into the oven, ask yourself:
- Is the dough proofed enough to pass a slow, incomplete poke test?
- Did I shape it with even tension?
- Is the seam sealed and positioned intentionally?
- Did I use the right amount of dough for the pan?
- Is my score deep enough and placed where I want the loaf to open?
- Is the oven centered and reasonably even?
- Am I changing only one variable this bake?
If you can answer yes to most of those, you are much less likely to get another surprise split on the side.
Bread splits on the side for a reason. Once you learn to read that reason, you can turn a frustrating loaf into a useful lesson — and then into a better bake next time.