
How to Clean a Knife Sharpener Without Damaging It

A knife sharpener works hard in the background of a busy kitchen. It collects tiny metal filings, fine dust, and sometimes food residue from the knives you use every day. If you leave that buildup alone, the sharpener can clog, feel less effective, and wear down faster.
The good news: cleaning is usually simple once you match the method to the sharpener type. A manual pull-through sharpener, an electric sharpener, and a rolling sharpener do not all need the same care. Before you touch anything, identify the model and check the manufacturer instructions. That one step prevents the most common mistakes, especially with electric units and any sharpener that has removable parts. Also, a honing rod or honing tool is cleaned differently from a sharpener, so don’t treat it the same way.
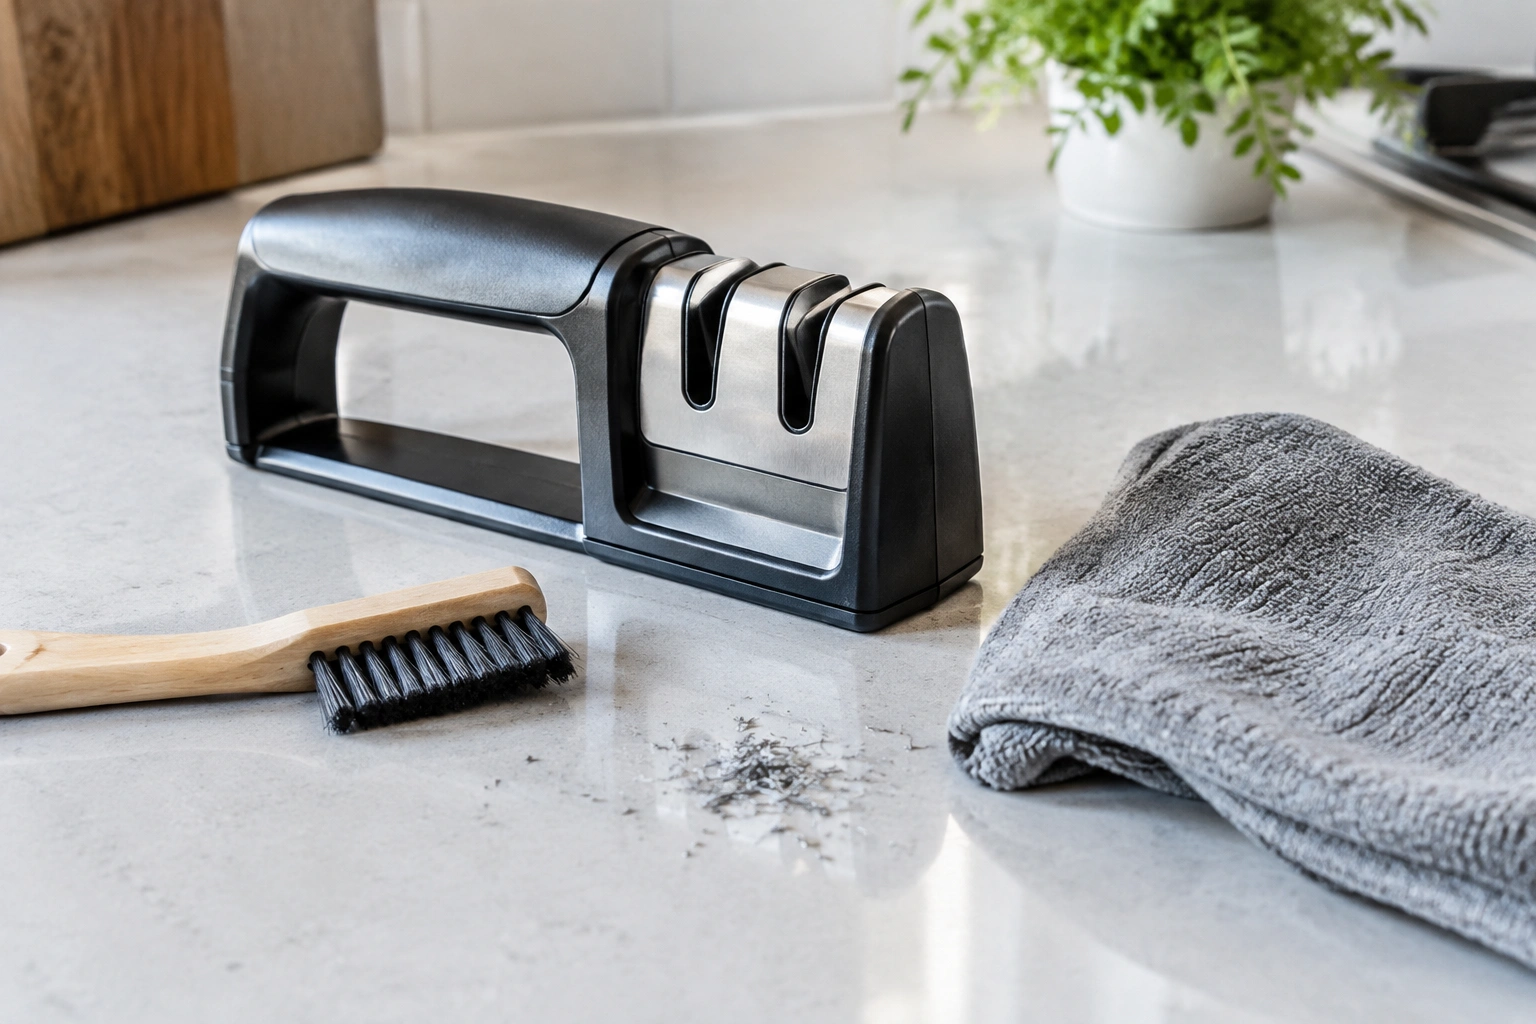
What You Need to Know Before Cleaning a Knife Sharpener
The first rule is simple: cleaning is maintenance, not sharpening. Your goal is to remove debris so the abrasive parts can do their job properly. You are not trying to reshape the edge of a blade or “fix” a dull knife by scrubbing the sharpener harder.
Next, figure out what kind of sharpener you own:
- Manual pull-through sharpener: Usually small, handheld, and cleaned from the outside and slot openings.
- Electric knife sharpener: Uses internal abrasive wheels or belts and often has a collection area for filings.
- Rolling sharpener: Typically has a rolling abrasive component and may have a base that also needs wiping.
- Sharpening stone: A separate category with its own cleaning method, especially if metal filings are embedded in the surface.
That distinction matters because water may be fine for one model and risky for another. If the manual says “dry clean only,” treat that as the rule. If a part is removable and dishwasher-safe, the manufacturer will usually say so clearly. For manual models, removable trays or covers may sometimes be washed with mild soap and water, while the body and any electrical components should usually be wiped dry unless the instructions say otherwise.
For readers who like a quick comparison, this table can help you decide how to approach the job.
| Sharpener type | Best first cleaning method | Water safe? | Main risk | When to do a deeper clean |
|---|---|---|---|---|
| Manual pull-through | Soft brush, dry cloth | Usually model-specific | Debris in slots | When filings start packing into the slot |
| Electric | Unplug, brush, dry wipe, compressed air if allowed | Usually not for the body | Moisture in motor or vents | When collection areas or internal channels clog |
| Rolling sharpener | Dry cloth on roller and base | Check manual | Dust buildup on moving parts | When the roller feels gritty or dusty |
| Sharpening stone | Model-specific cleaning method | Often yes, but not always | Embedded metal filings | When the surface looks glazed or loaded |
If you also keep other prep tools in good shape, you may find it useful to read how to clean a cheese grater safely without cuts, rust, or leftover bits and how to clean a garlic press easily without damaging it. The same practical idea applies: remove residue gently so the tool keeps working.
Safe Cleaning Tools and What to Avoid
You do not need a sink full of supplies. A few gentle tools are enough for most sharpeners.
Safe tools to keep nearby
- Soft brush: A small nylon brush, clean paintbrush, or dedicated detailing brush works well for metal dust.
- Dry cloth: Useful for wiping the exterior and removing loose debris.
- Compressed air: Helpful for slots, vents, and hard-to-reach areas on some electric models.
- Mild dish soap: Only if the manufacturer allows water-based cleaning for a removable or washable part.
- Dry towel: Important for drying any part that can tolerate moisture.
What to avoid
- Abrasive scrubbers: Steel wool, scouring pads, or harsh scrub brushes can damage abrasive surfaces or cosmetic finishes.
- Strong cleaners: Bleach, oven cleaner, and other aggressive chemicals can harm plastic, coatings, or internal parts.
- Excess water: Water can carry debris into places it should not go, especially in electric units.
- Sandpaper on the wrong part: This may sound useful, but it is only appropriate for certain sharpening stones, not for every sharpener.
- Soaking or submerging electrical parts: Never assume this is safe.
If you are unsure, dry cleaning is the safer default. Water can be useful, but only when the model is designed for it.
How to Clean a Manual Knife Sharpener
Manual sharpeners are usually the easiest to maintain because they have fewer parts and no motor to protect. That said, the sharpening slots can still trap metal filings, and those filings are what you want out of the way.
Step 1: Empty loose debris first
Hold the sharpener over a trash bin or paper towel and tap it gently. This loosens any filings sitting near the slot openings or base.
Step 2: Brush out the slots
Use a soft brush to sweep through the sharpening slots in one direction. Short strokes are better than aggressive scrubbing. The goal is to lift out filings, not push them deeper into the sharpener.
Step 3: Wipe the outside
Use a dry cloth to clean the body, handle, and any non-abrasive surfaces. If the sharpener has a textured grip, a slightly damp cloth may be acceptable only if the manufacturer says water is safe.
Step 4: Inspect the abrasive surfaces
Look into the slots with good light. If you still see packed filings or residue, repeat the brushing step instead of pressing harder. Forcing a tool into the slot can damage the abrasive surface or the guide.
Step 5: Dry completely before storing
Even if you only used a lightly damp cloth on an approved surface, dry the sharpener fully before putting it away. Trapped moisture can lead to odor, rust on metal parts, or grime sticking to the next knife you sharpen.
A manual sharpener that gets used weekly in a meal-prep kitchen may only need a quick wipe and brush after a few sessions. If it starts feeling clogged, move to a deeper clean instead of waiting.
How to Clean an Electric Knife Sharpener
Electric sharpeners need more caution because they combine abrasive parts with electrical components. The key rule is simple: unplug first.
Step 1: Unplug the unit
Do not clean an electric sharpener while it is connected to power. Even if you are only wiping the outside, unplugging removes the risk of accidental startup.
Step 2: Remove the collection tray or cover if the manual allows it
Some electric models have a removable tray or cover designed to catch filings. If yours does, empty it into the trash and wash only the removable part if the instructions say it is safe.
Step 3: Brush away filings from slots and edges
Use a soft brush to clear debris around the sharpening slots, exit points, and exterior seams. Work gently so you do not drive filings into the machine.
Step 4: Use compressed air carefully, if appropriate
Compressed air can help with stubborn dust in vents or crevices, but only if the manufacturer does not warn against it. Short bursts are better than long blasts. Keep the nozzle at a sensible distance so you do not force debris deeper into the unit.
Step 5: Wipe only approved surfaces
Use a dry cloth on the outside housing. If the unit has a removable tray or washable cover, mild dish soap and water may be fine for that part alone. Keep water away from the motor, vents, and internal electrical areas.
Step 6: Let everything dry before reassembly
Any removable part should be completely dry before you put it back. Moisture trapped in a tray or seam can lead to buildup and can make the next cleaning harder.
If your electric sharpener is used heavily, a quick empty-and-wipe routine after use is usually easier than waiting until it feels clogged. That small habit saves time later.
How to Remove Stubborn Metal Shavings and Build-Up
Sometimes a quick brush is not enough. If filings are packed into the slots, stuck around abrasive wheels, or built up in a collection area, use a deeper cleaning approach.
For manual sharpeners
A soft brush usually comes first. If the slot still looks loaded, tap the unit gently and brush again from different angles. Do not jam a knife, skewer, or metal pick into the slot. That can damage the abrasive material and make the sharpener cut unevenly.
For electric sharpeners
If filings are collecting in a tray or accessible chamber, remove that part and empty it. If the model has visible buildup around vents or around the sharpening path, use a brush first and then compressed air if the manual allows it. Never use liquid to flush out an electric sharpener unless the manufacturer explicitly says the unit or part is washable.
For a sharpening stone
A stone is a different tool, and cleaning it can involve a surface-restoring method. If you own a sharpening stone, follow stone-specific guidance from the manufacturer or a trusted source rather than using the same process as a manual or electric sharpener. Ergo Chef’s stone-cleaning guidance describes one such approach in more detail.
If you are not sure whether a deep-clean method fits your model, stop at dry brushing and check the manual. That is the safer trade-off.
What Not to Do When Cleaning a Knife Sharpener
A few mistakes cause most of the damage people see.
- Do not submerge an electric sharpener. Water and motors do not mix.
- Do not ignore the manual. Model-specific instructions override general advice.
- Do not use harsh scrubbers on abrasive parts. They can wear down the working surfaces.
- Do not force tools into sharpening slots. You may damage the alignment or the abrasive material.
- Do not reassemble a damp sharpener. Moisture can trap grime and create future problems.
- Do not confuse cleaning with sharpening. Cleaning removes debris; it does not restore a dull knife edge.
The safest cleaning method is usually the least aggressive one that still removes the debris you can see.
How Often to Clean Your Knife Sharpener
There is no single schedule that fits every kitchen, but a simple use-based rule works well:
- Clean after visible buildup appears or when you see filings collecting in the slots or tray.
- Clean weekly for heavy use, especially in meal-prep kitchens.
- Clean monthly for light home use if the sharpener stays mostly clean between uses.
You do not need to deep-clean every time. A routine wipe is enough when the sharpener looks clean and performs normally. Save the deeper cleaning for times when you see buildup, feel resistance, or notice that debris is collecting in the same spot again and again.
For budget-conscious households, this matters because a well-maintained sharpener lasts longer and is less likely to get replaced early.
How to Tell If Your Sharpener Needs Deeper Cleaning
A sharpener usually gives warning signs before it becomes a real problem.
Look for these clues:
- Visible filings in the slots or tray
- A gritty or packed-up look around the abrasive parts
- Debris falling out after each use
- Reduced consistency while sharpening
- A sharpener that seems to drag or clog instead of guiding the blade cleanly
If you see only a little dust, a quick brush is enough. If the slots look packed or the unit feels less effective, stop using it until you clean it more thoroughly. That prevents extra wear and keeps the sharpener working the way it should.
Cleaning and Reassembly Tips for Safe Storage
Once the sharpener is clean, finish the job properly.
Dry every part that was washed or dampened. Even a small amount of moisture can collect dust faster later. Reassemble removable pieces only after they are fully dry and seated correctly. If a tray or cover does not fit easily, do not force it.
Store the sharpener in a dry cabinet or drawer where it will not collect crumbs, grease, or sink moisture. If you keep it near the stove, consider checking it a little more often, since cooking residue can settle on nearby tools.
A clean sharpener is easier to use and easier to trust. That matters when you are trying to move quickly through dinner prep.
When to Check the Manufacturer Instructions or Get Help
Manufacturer guidance should always override general advice. That is especially true if your sharpener has:
- removable internal parts
- a washable tray
- a ceramic or stone component
- a motorized mechanism
- warranty language about cleaning or disassembly
If the manual is missing, look for the brand’s official support page before using water, compressed air, or any disassembly step. When in doubt, keep to dry brushing and exterior wiping.
For a busy household, that conservative approach is usually the best one. It protects the sharpener, avoids unnecessary damage, and keeps cleanup simple enough that you will actually do it.