
How to Reheat Bread in the Oven for a Soft Crumb and Crisp Crust

There’s a sweet spot between “warm and fresh” and “dry and overbaked,” and the oven is usually the best tool for finding it. Done well, the crumb turns soft and fragrant, and the crust can stay pleasantly crisp instead of leathery.
The trick is matching the method to the bread. A whole artisan loaf wants a different approach than sliced sandwich bread, and a baguette behaves differently from dinner rolls. If you choose the right temperature, use moisture only when it helps, and stop heating before the bread goes hard, you can bring a lot of life back to day-old or even stale bread.
What You Need Before Reheating Bread
Before you turn on the oven, decide what kind of finish you want.
- Softer interior and gentler crust: Use foil and a little moisture.
- Crisper crust: Leave the bread uncovered for part or all of the reheating.
- Just warming bread for serving: Keep the heat moderate and the time short.
A few basic tools make the job easier:
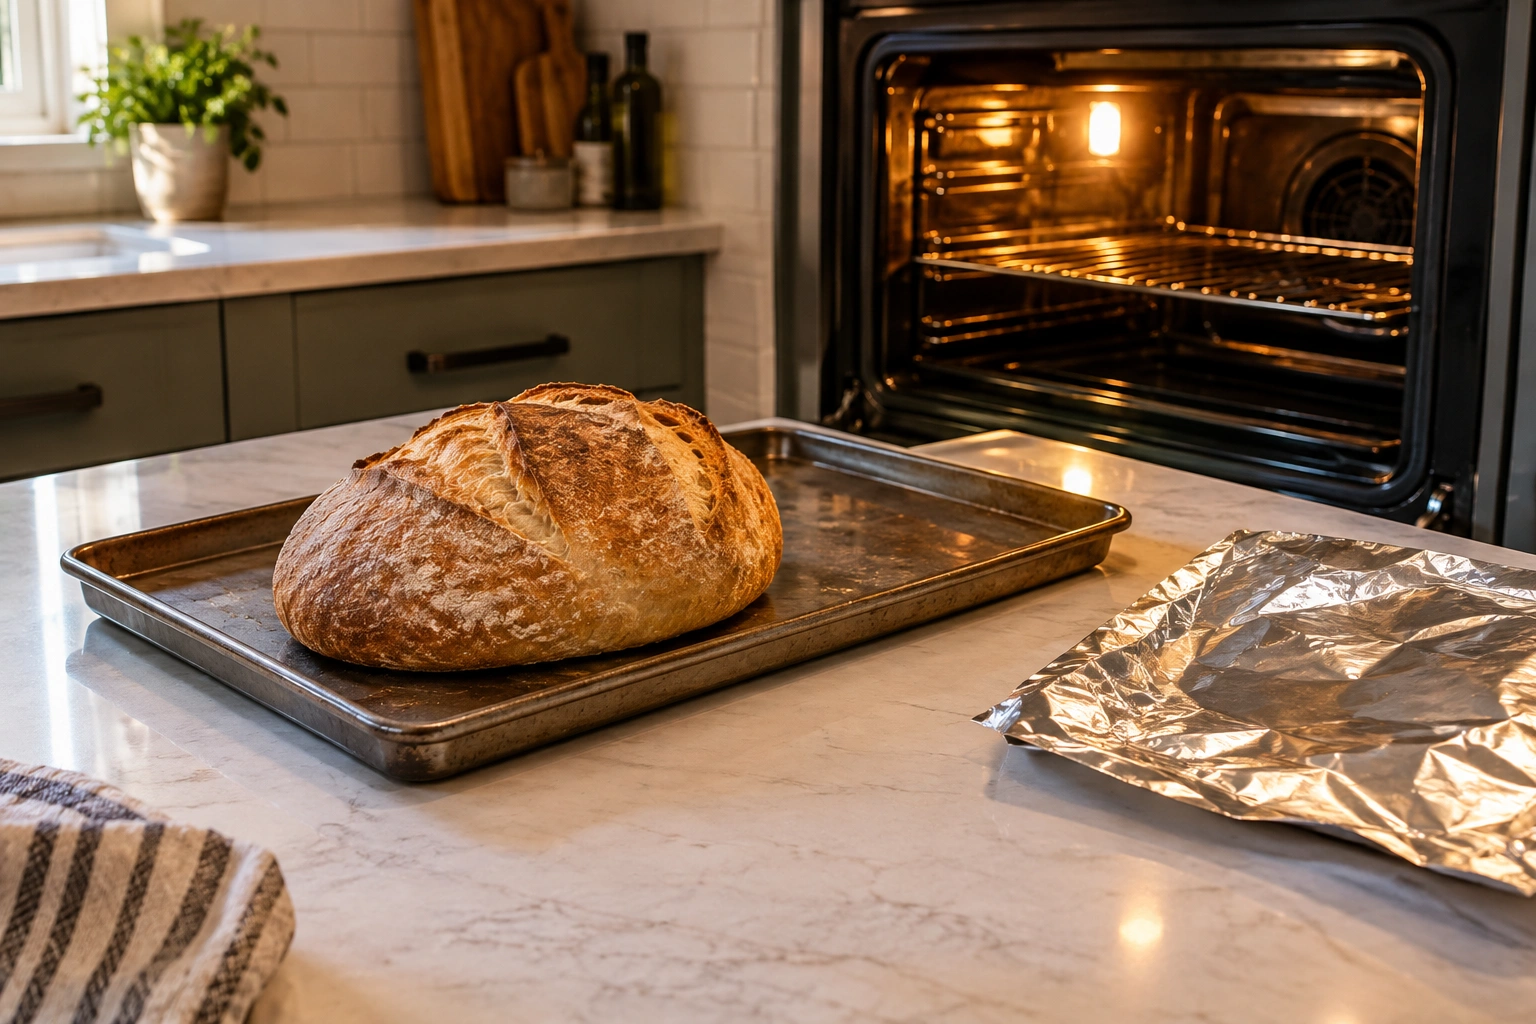
- Conventional oven or convection oven
- Baking sheet
- Foil
- Wire rack for breads you want to crisp more evenly
- Clean hands or a light spray of water if the loaf needs a moisture boost
If the bread is already sliced, you can still reheat it, but be aware that thin slices dry out faster than a whole loaf. That’s why many bakers prefer to warm the loaf first and slice afterward when possible. As Kickass Baker notes in its reheating guide, a whole loaf is less likely to turn toasted and hard than pre-sliced bread.
Choose the Right Reheating Method for Your Bread
Think about two things: the bread’s shape and the texture you want.
Use foil when you want softness
Foil traps steam around the loaf, which helps keep the interior from drying out. That makes it especially useful for:
– sandwich loaves
– dinner rolls
– bread that feels dry but still has some life left
Foil is not the best choice if your goal is a crackly crust. It softens the exterior instead.
Leave it uncovered when you want a crisper crust
Uncovered bread gets direct dry heat, which helps the crust firm up again. That works well for:
– baguettes
– artisan loaves
– sourdough boules
– bread you plan to serve immediately
The trade-off is simple: uncovered heat improves crust texture, but it can dry the crumb faster if you leave the bread in too long.
Add moisture only when the bread needs it
A light mist, a few drops of water, or briefly running the loaf under water can help revive stale bread. The goal is not to soak it. You want the surface damp, not dripping. Too much water can make the crust soggy before it has a chance to recover.
Best Oven Temperature for Reheating Bread
For a straightforward oven method, 350°F is a reliable starting point for most bread. That temperature is warm enough to heat the loaf fairly quickly without blasting the crust too hard. It’s also the temperature recommended in Kickass Baker’s reheating guide for a conventional oven.
If you’re reviving stale bread and want a softer result first, a slightly lower temperature such as 300°F can be useful, especially when the loaf is wrapped in foil for part of the time.
Conventional oven vs. convection oven
A conventional oven is the easiest place to start because the heat is steadier and less aggressive. A convection oven moves hot air around more actively, which can brown bread faster and dry it out sooner if you use the same timing you would in a conventional oven.
If you use convection, lower the temperature by about 25°F or shorten the time slightly. For example, if a recipe-style guide says 350°F in a conventional oven, start around 325°F in convection and check early.
Quick Decision Guide by Bread Type
If you want the fastest answer, use this guide.
| Bread type | Cover? | Temp | Typical time | Best approach |
|---|---|---|---|---|
| Whole loaf | Uncovered for crisp crust, foil for softer crust | 350°F | 10–15 minutes | Reheat whole, then slice |
| Sliced bread | Uncovered | 350°F | 5–7 minutes | Keep it short; slices dry out quickly |
| Rolls | Foil | 350°F | 8–12 minutes | Best for softness and even warming |
| Baguette | Uncovered | 350°F | 8–12 minutes | Helps restore a crisp crust |
| Artisan loaf | Usually uncovered | 350°F | 10–15 minutes | Warm whole, then slice |
| Frozen bread | Usually uncovered for a crusty loaf, foil if you want softness | 350°F or 300°F first | 15–25 minutes depending on size | Thaw first for small items; go straight from frozen for larger loaves if needed |
How to Reheat Bread in the Oven: Step-by-Step
Here’s the method I’d use for a typical loaf at home.
-
Preheat the oven.
Use 350°F for most bread. If the loaf is stale and you plan to use foil plus moisture, 300°F can be a better starting point. If you’re using convection, reduce the temperature by about 25°F. -
Decide on the bread type and texture.
- Whole loaf or artisan loaf: Reheat whole when possible.
- Sliced bread: Keep the time short and avoid overbaking.
- Rolls: Use foil if you want them soft.
- Baguette: Leave it uncovered for a crisper crust.
-
Frozen bread: See the frozen-bread rule below before you start.
-
Decide whether to moisten the bread.
If the bread is just day-old, you may not need any added moisture. If it feels dry or stale, lightly mist the crust or briefly dampen the loaf. The loaf should feel damp on the surface, not wet. -
Wrap or leave uncovered based on your goal.
- Wrap in foil for a softer crust.
-
Leave uncovered on a baking sheet or wire rack for a crisper crust.
-
Place the bread in the oven.
A baking sheet is fine for most loaves. A wire rack can help air circulate around the bread if you want more even crust texture. For a conventional oven, the middle rack is usually the best all-purpose position. -
Heat until warmed through.
Use the timing ranges below as a guide, then check early rather than late. Bread goes from warm to dry quickly. -
Serve promptly.
Bread tastes best right after reheating, when the crumb is still soft and the crust has not had time to toughen again.
If you’re using foil, handle it carefully when opening. Steam can escape fast, and that heat is easy to underestimate.
Reheating Times by Bread Type
Timing depends on thickness, shape, and whether the bread is wrapped.
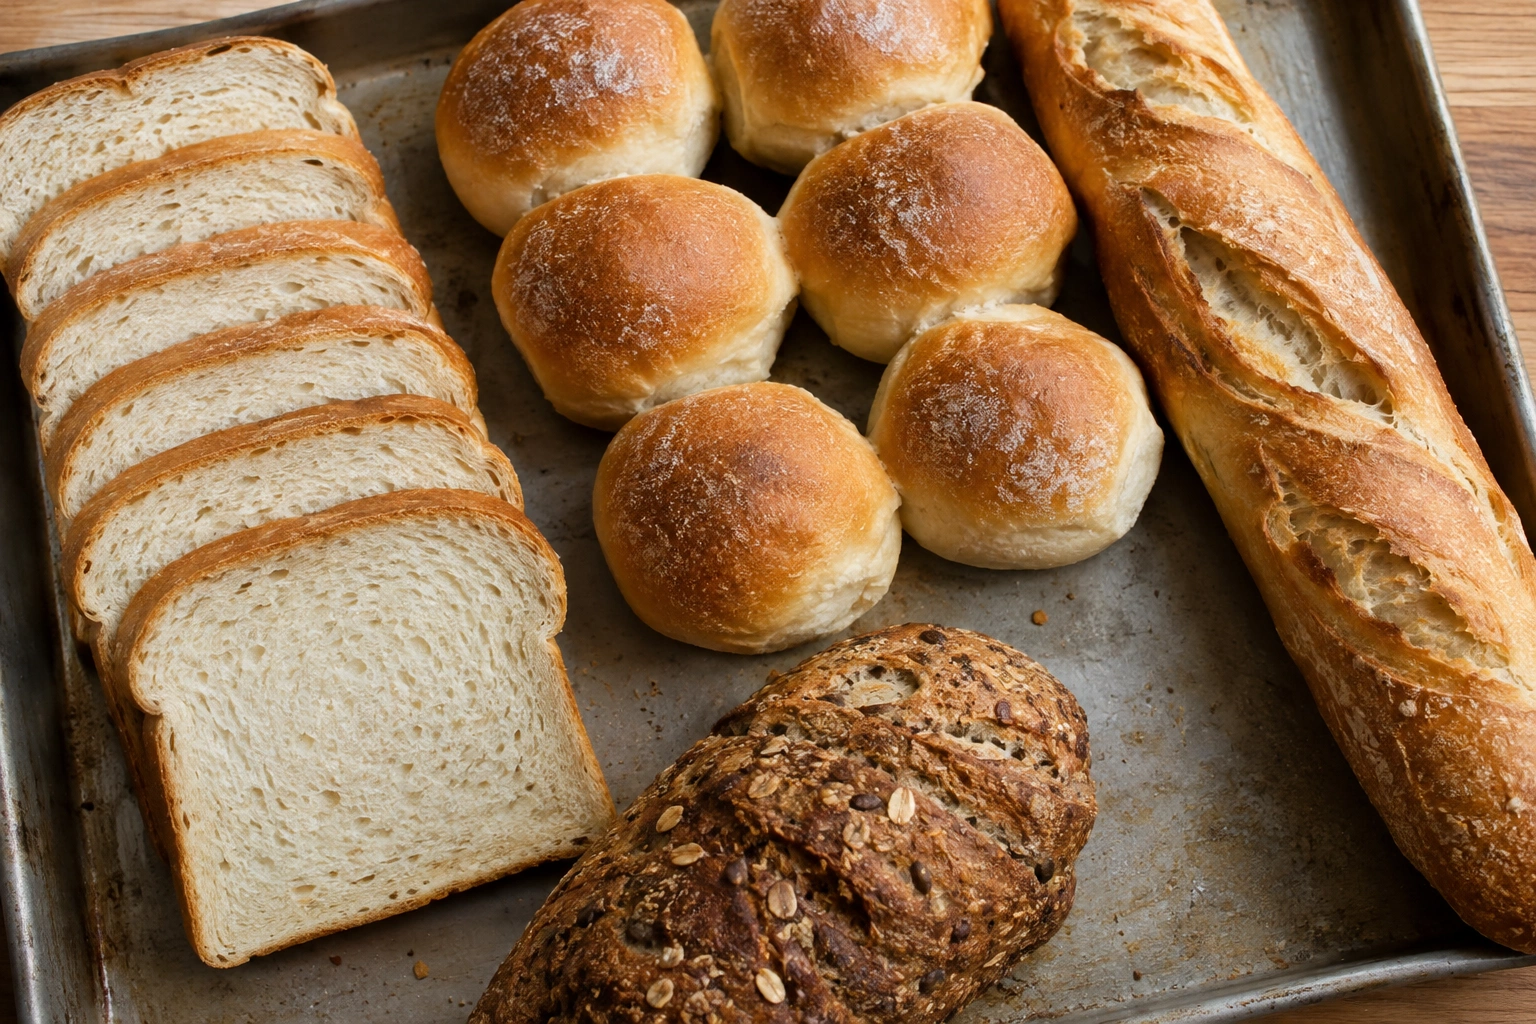
| Bread type | Temperature | Method | Approximate time | Notes |
|---|---|---|---|---|
| Whole loaf | 350°F | Unwrapped for crisp crust, or foil for softer crust | 10–15 minutes | Best reheated whole, then sliced |
| Sliced bread | 350°F | Unwrapped on baking sheet | 5–7 minutes | Watch closely; slices dry out quickly |
| Dinner rolls | 350°F | Foil for softness | 8–12 minutes | Good for serving with soup or dinner |
| Baguette | 350°F | Uncovered, optionally with a light mist | 8–12 minutes | Helps restore a crusty exterior |
| Artisan bread | 350°F | Whole loaf, usually uncovered | 10–15 minutes | Good for a crisp crust and warm center |
| Stale loaf | 300°F then brief finish | Foil first, then unwrap | 15 minutes + 5 minutes | Moisture helps revive the crumb |
| Frozen bread | 350°F | Usually wrapped or loosely covered at first | 15–20 minutes | Time varies by size and thickness |
These are practical ranges, not hard rules. A small roll may warm quickly, while a dense sourdough boule can need more time than a light sandwich loaf.
How to Keep Bread Soft or Make the Crust Crisp
This is where most reheating mistakes happen, because softness and crispness pull in opposite directions.
For a softer crust
Use one or more of these:
– wrap the bread in foil
– add a light mist of water
– use a slightly lower temperature like 300°F for the first stage
This approach is useful for rolls, sandwich bread, and loaves you want to serve with butter or alongside soup.
For a crisp crust
Use:
– an uncovered loaf
– a baking sheet or wire rack
– a short reheating window
– a brief unwrapped finish if you started with foil
If you start with foil, unwrap near the end so the crust can dry and firm up. That gives the bread a better chance of staying soft inside while regaining some texture outside.
How to Reheat Fresh, Day-Old, Stale, and Frozen Bread
Not all bread needs the same treatment.
Fresh bread
Fresh bread usually needs only a short warm-up. If it’s still soft and just cooled down, keep the oven time brief. Overheating fresh bread can make it seem older than it is.
Day-old bread
This is the easiest category to revive. A day-old loaf often responds well to a moderate oven and no more than a light moisture boost, especially if the crust has not gone fully hard.
Stale bread
Stale bread has lost more moisture, so reheating can help, but only if you give it some of that moisture back first. That’s why a dampened loaf wrapped in foil is a practical rescue method. If the bread is extremely stale, though, reheating may improve it, not fully restore it.
Frozen bread
Frozen bread can go straight into the oven if it’s a whole loaf, baguette, or rolls and you want to reheat it quickly. For smaller pieces, slices, or bread that is only lightly frozen, thawing first can help it heat more evenly.
Simple rule:
– Reheat from frozen for whole loaves, baguettes, and rolls when you want to keep moving and don’t mind a longer bake.
– Thaw first for sliced bread or smaller pieces if you want more even warming and less risk of drying the edges.
– Expect about 15–20 minutes for a smaller frozen loaf or baguette, and up to about 20–25 minutes for a larger, denser loaf, depending on thickness and your oven.
If the outside is browning too quickly before the center is warm, lower the temperature a little and give it more time.
Common Mistakes to Avoid
A few small errors can undo a good loaf fast.
- Using too much heat. High heat can brown the crust before the center is warm.
- Leaving bread in too long. Bread dries out quickly once the moisture starts to escape.
- Adding too much water. Wet bread can turn gummy or soggy before it crisps.
- Treating every bread the same. A baguette and a sandwich loaf should not be reheated the same way.
- Slicing too early. If you slice before reheating, the cut surfaces dry out faster.
- Skipping the final check. Bread can look done before it is fully warmed inside.
If you want a clean rule of thumb, use this: the denser and larger the loaf, the gentler and longer the reheating should be. Thin slices need less time but punish mistakes faster.
Troubleshooting: What the Reheated Bread Should Look Like
Use this quick check if you want to know whether the bread came out the way it should.
If you want a soft crumb
The bread should feel warm and supple, not steaming wet. If the center is soft but the crust feels tough, you likely left it uncovered too long.
If you want a crisp crust
The crust should feel dry and lightly firm, not leathery. If it softens after a few minutes, it may have been wrapped too long or cooled under foil.
If the bread is unevenly heated
The outside may be done before the middle if the oven is too hot. Lower the temperature and give the loaf more time, especially for dense or frozen bread.
If reheating didn’t fully fix the bread
Reheating can restore warmth and improve texture, but it cannot fully reverse very stale, dry, or poorly stored bread. At that point, the bread may still be usable, just not as fresh-tasting as a recently baked loaf.
Practical Examples for Common Bread Types
Warming sandwich bread for dinner
If you’re serving bread with a meal, lay the slices on a baking sheet and warm them briefly at 350°F. Keep the time short so they stay soft instead of turning into toast.
Refreshing a baguette
For a baguette, leave it uncovered so the crust can regain some snap. If the loaf feels dry, give it the lightest possible mist before it goes into the oven.
Reheating rolls for soup night
Dinner rolls usually benefit from a foil wrap. That keeps them soft and tender, which is exactly what you want when they’re going to be split and buttered at the table.
Bringing back a day-old artisan loaf
A whole artisan loaf often does best when warmed intact and sliced afterward. That approach helps the inside stay moist while the crust regains some structure.
Reviving frozen bread
Frozen bread needs a little patience. Use a moderate oven, allow enough time for the center to thaw, and avoid high heat that would overbrown the exterior before the middle is ready.
FAQ
Can you reheat bread in the oven without drying it out?
Yes. Use moderate heat, keep the time short, and wrap the bread in foil if you want a softer result.
Should bread be covered or uncovered in the oven?
Use foil or a cover for softer bread and uncovered heat for a crisper crust. Rolls and sandwich bread usually do better covered; baguettes and artisan loaves usually do better uncovered.
What rack position is best for reheating bread?
The middle rack is usually best in a conventional oven because it gives the most even heat. If your loaf is very large, make sure it has enough space around it for air to circulate.
Is convection good for reheating bread?
Yes, but use a little less heat or time. Convection can crisp bread faster, so start by lowering the temperature about 25°F or checking earlier than you would in a conventional oven.
Can reheating make stale bread taste fresh again?
It can improve the texture and warmth, especially for day-old or moderately stale bread. Very stale bread may get better, but it usually will not return to fully fresh-baked condition.
For readers who want to understand the baking side of the crust-and-crumb equation, these guides may help too: how to bake bread in a Dutch oven, baking bread without a Dutch oven, and steam oven bread for better crust and color.
The simplest takeaway is this: use moderate heat, match the method to the bread, and stop before the loaf loses its last bit of moisture. That’s how you get bread that feels freshly warmed instead of merely reheated.