
How to Reduce Yeast in Bread Without Losing Rise, Flavor, or Structure

If you’ve ever baked a loaf that smelled a little too “yeasty,” or you’ve wanted more flexibility in your baking schedule, learning how to reduce yeast in bread is a very practical skill. The goal is not simply to use less yeast for its own sake. It’s to slow fermentation enough to improve flavor, while still giving the dough enough time and strength to rise properly.
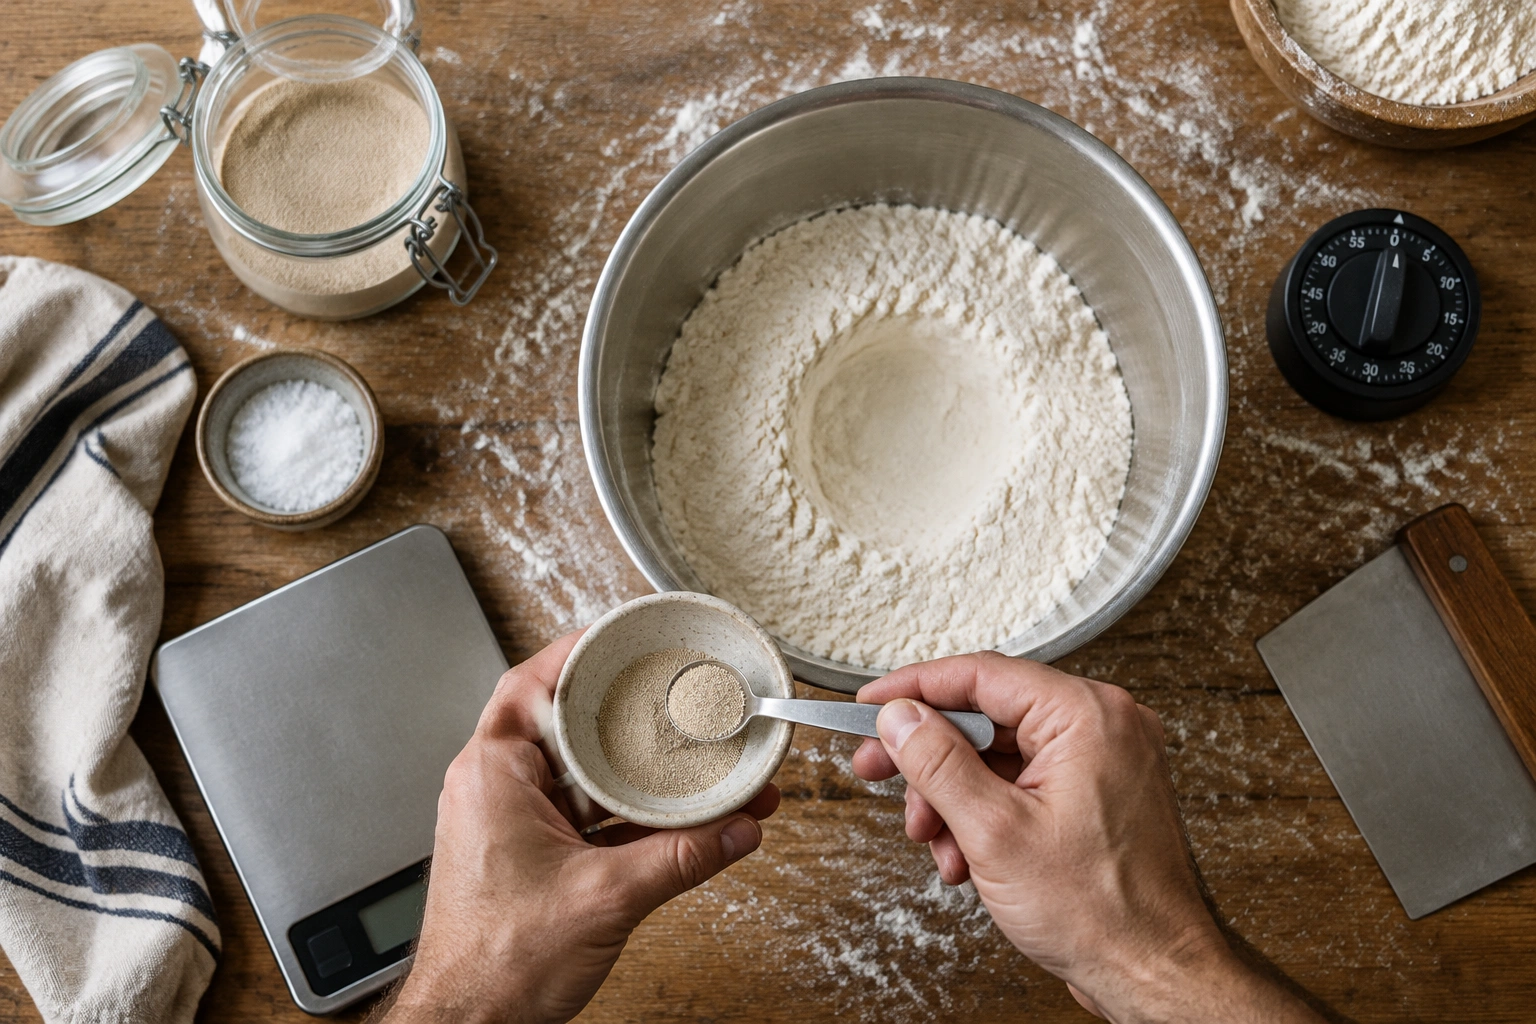
As a bread baker, I think of yeast reduction as a balancing act between three levers: time, temperature, and dough type. Change one, and the others usually need to move too. Cut yeast without adjusting anything else, and the dough may lag behind. Cut yeast and give the dough more time, though, and you often get a loaf with better aroma, a calmer fermentation schedule, and a rise that is easier to manage.
Why Bakers Reduce Yeast in the First Place
There are three common reasons to reduce yeast in a bread formula.
1. To improve flavor
Less yeast usually means a slower fermentation. That slower pace gives enzymes and fermentation byproducts more time to work on the dough. The result is often a bread with more depth and less of that blunt, one-note yeast flavor that can show up in fast-risen loaves.
2. To fit real life
Maybe you don’t want a dough that goes from mixed to baked in a couple of hours. Reducing yeast can turn a rushed schedule into something more manageable. Instead of racing the clock, you can mix dough in the morning and bake later in the day, or even the next day.
3. To gain recipe flexibility
A lower-yeast dough is often easier to schedule around. That can matter for home bakers who are juggling work, school, or family life. It also matters for culinary students learning how fermentation changes dough behavior over time.
The trade-off is simple: less yeast usually means more waiting. If you want the convenience of a same-day loaf, a major yeast reduction may not be worth it. If you want better flavor and a more forgiving schedule, it often is.
Before You Start: What You Need to Know
Not every bread recipe responds the same way to a yeast reduction. Before changing anything, check four things.
Bread type
Lean doughs—basic sandwich bread, baguettes, pizza dough, rustic loaves—usually tolerate yeast reduction better than enriched doughs. Enriched doughs contain sugar, butter, eggs, or milk, which can slow or complicate fermentation.
Yeast type
Instant yeast, active dry yeast, and fresh yeast are not measured the same way. If you reduce the amount but ignore the yeast type, you can easily overshoot or undershoot the formula.
Kitchen temperature
A warm kitchen speeds fermentation; a cool one slows it down. If your kitchen runs warm, the dough may move faster than you expect even with less yeast. In a chilly kitchen, the same dough may seem stalled.
Your timeline
This is the biggest decision point. If you have only a few hours, reduce yeast modestly. If you have overnight or a full day, you can usually cut more aggressively and let time do the work.
If you want a deeper comparison of yeast types before you adjust quantities, our guide to active dry yeast vs instant yeast is a useful companion.
Tools, Ingredients, and Timing Basics
You don’t need special equipment to reduce yeast successfully, but a few tools make the process easier:
- Digital scale, if you want accurate gram measurements
- Measuring spoons, if the recipe uses teaspoons
- A clear container or bowl for tracking rise
- A thermometer, especially if your kitchen temperature varies a lot
- A timer, though you should use it as a guide rather than a strict deadline
The mindset matters as much as the tools. With reduced yeast, the clock becomes less important than the dough itself. A dough that has doubled in volume and feels airy is ready even if the recipe’s original time estimate has passed. A dough that looks tight and dense probably needs more time, even if the clock says “done.”
For bakers who often work with packet yeast, it also helps to know the actual quantity in common packet sizes. If you need a quick refresher, see how much yeast is in a packet.
How Much Yeast Can You Safely Reduce?
This is the question most bakers really want answered. The honest answer is: it depends on the recipe and the schedule. But there are useful starting points.
King Arthur Baking recommends reducing yeast by 50 to 80 percent, beginning with a 50 percent cut and adjusting from there based on the result. They also note that for occasional bakers, the common 2 to 2 1/4 teaspoons of instant yeast can often be reduced to 1/2 to 1 teaspoon, depending on how long you want the dough to ferment before shaping and baking. In their guidance, 1/2 teaspoon can support a very long rest of about 16 to 20 hours, while 1 teaspoon can work well for an all-day or overnight rise of about 10 hours at cool room temperature. Source
A more practical way to decide is to match the reduction to the dough type and fermentation window:
- Lean doughs: start with a 25% to 50% reduction if you still want a same-day bake. If you have overnight time, a 50% to 75% reduction is often workable.
- Enriched doughs: start smaller, usually around 10% to 33% reduction, because sugar, fat, milk, and eggs already slow fermentation.
- Very sweet doughs: reduce only a little at first, or leave the yeast amount close to the original formula unless you also have a longer fermentation window.
- Very short-schedule recipes: avoid major reductions. If the dough must be mixed and baked within a few hours, cutting yeast too far can leave you with underproofed bread.
That gives us a practical framework:
| Bread type | Typical yeast reduction range | Best fermentation approach | Risk level |
|---|---|---|---|
| Lean sandwich bread | 25% to 50% to start | Same-day or overnight with longer proof | Low to moderate |
| Rustic artisan loaf | 50% to 80% | Longer bulk fermentation, often cooler | Moderate |
| Pizza dough | 50% or more | Overnight or refrigerated fermentation | Low to moderate |
| Enriched dough | 10% to 33% to start | More cautious, slower increase in time | Moderate to high |
| Very sweet dough | Small reduction only | Careful monitoring, often longer proof | High |
A good rule of thumb: the richer the dough, the smaller the yeast cut should be at first. Sugar, fat, milk, and eggs can all affect fermentation behavior, so a dramatic reduction in those formulas is more likely to cause a sluggish rise.
Yeast Type Conversions: Instant, Active Dry, and Fresh
If you’re reducing yeast, conversion matters just as much as the amount itself.
Here’s a compact conversion chart you can use before or after reducing yeast. These are approximate equivalents commonly used in home baking:
| Yeast type | Equivalent before reduction | Equivalent after 50% reduction |
|---|---|---|
| Instant yeast | 7 g | 3.5 g |
| Active dry yeast | 8.75 g | 4.4 g |
| Fresh yeast | 21 g | 10.5 g |
A simple ratio to remember:
– Instant yeast : active dry yeast : fresh yeast = 1 : 1.25 : 3
So if a recipe calls for:
– 7 g instant yeast, that is about 8.75 g active dry yeast or 21 g fresh yeast
– 1 tsp instant yeast, use about 1 1/4 tsp active dry yeast or roughly 3 times as much fresh yeast by weight
If you’re reducing yeast and switching types at the same time, convert first, then reduce. That keeps the formula easier to track and helps you avoid accidental overcorrection.
If you need a detailed side-by-side explanation of the swap, our article on active dry yeast vs instant yeast walks through the practical differences.
Step-by-Step: How to Reduce Yeast in a Bread Recipe
Here’s the process I recommend when adapting a recipe.
1. Decide what you want from the change
Are you trying to improve flavor, fit the dough into your day, or simply use less yeast because that’s what you have? Your goal determines how aggressive the reduction should be.
2. Identify the dough type
Lean doughs can usually handle a larger reduction than enriched doughs. If the recipe has eggs, butter, milk, or a lot of sugar, reduce yeast more cautiously.
3. Cut the yeast in stages
If the recipe is new to you, begin with a 50 percent reduction for a lean dough with a flexible schedule. For enriched or very sweet doughs, start with a smaller cut. This is a controlled first experiment. Once you see how the dough behaves in your kitchen, you can decide whether a larger cut makes sense next time.
4. Keep the rest of the formula unchanged
Don’t compensate by changing flour, salt, or hydration unless you have a separate reason to do so. If you change too many variables at once, you won’t know what caused the result.
5. Extend fermentation instead of forcing the dough
Once you reduce yeast, give the dough more time. That extra time may happen at room temperature, in a cooler spot, or in the refrigerator.
6. Watch the dough, not just the clock
Look for volume, texture, and gas development. A properly fermented dough should look lighter, feel more elastic, and show visible expansion.
7. Bake when the dough is ready
If the dough has not fully expanded, wait. If it has gone too far and feels fragile or overexpanded, bake sooner rather than later.
How to Adjust Bulk Fermentation and Final Proofing
This is where most yeast-reduction attempts succeed or fail.
Bulk fermentation
Bulk fermentation is the first long rise after mixing. With less yeast, this phase usually takes longer. The dough may need more time to develop gas and strength before shaping.
A useful way to think about bulk fermentation is this: the dough should become noticeably larger, smoother, and more aerated. In many breads, that means roughly doubled in volume, though some doughs are ready before that point and some are better shaped a little earlier.
Practical timing ranges
These are realistic home-baking ranges, not guarantees, but they can help you plan:
- Lean dough with a 25% to 50% yeast reduction: bulk fermentation may run about 30% to 75% longer than the original recipe, depending on temperature.
- Lean dough with a 50% to 75% reduction: it may take 1.5 to 2 times as long, and sometimes longer if the kitchen is cool.
- Enriched dough with a modest reduction: expect a slower rise, often an extra 30 minutes to several hours compared with the original schedule.
- Very sweet dough: timing can vary widely, but it often needs a noticeably longer proof and closer observation rather than a fixed clock time.
Final proof
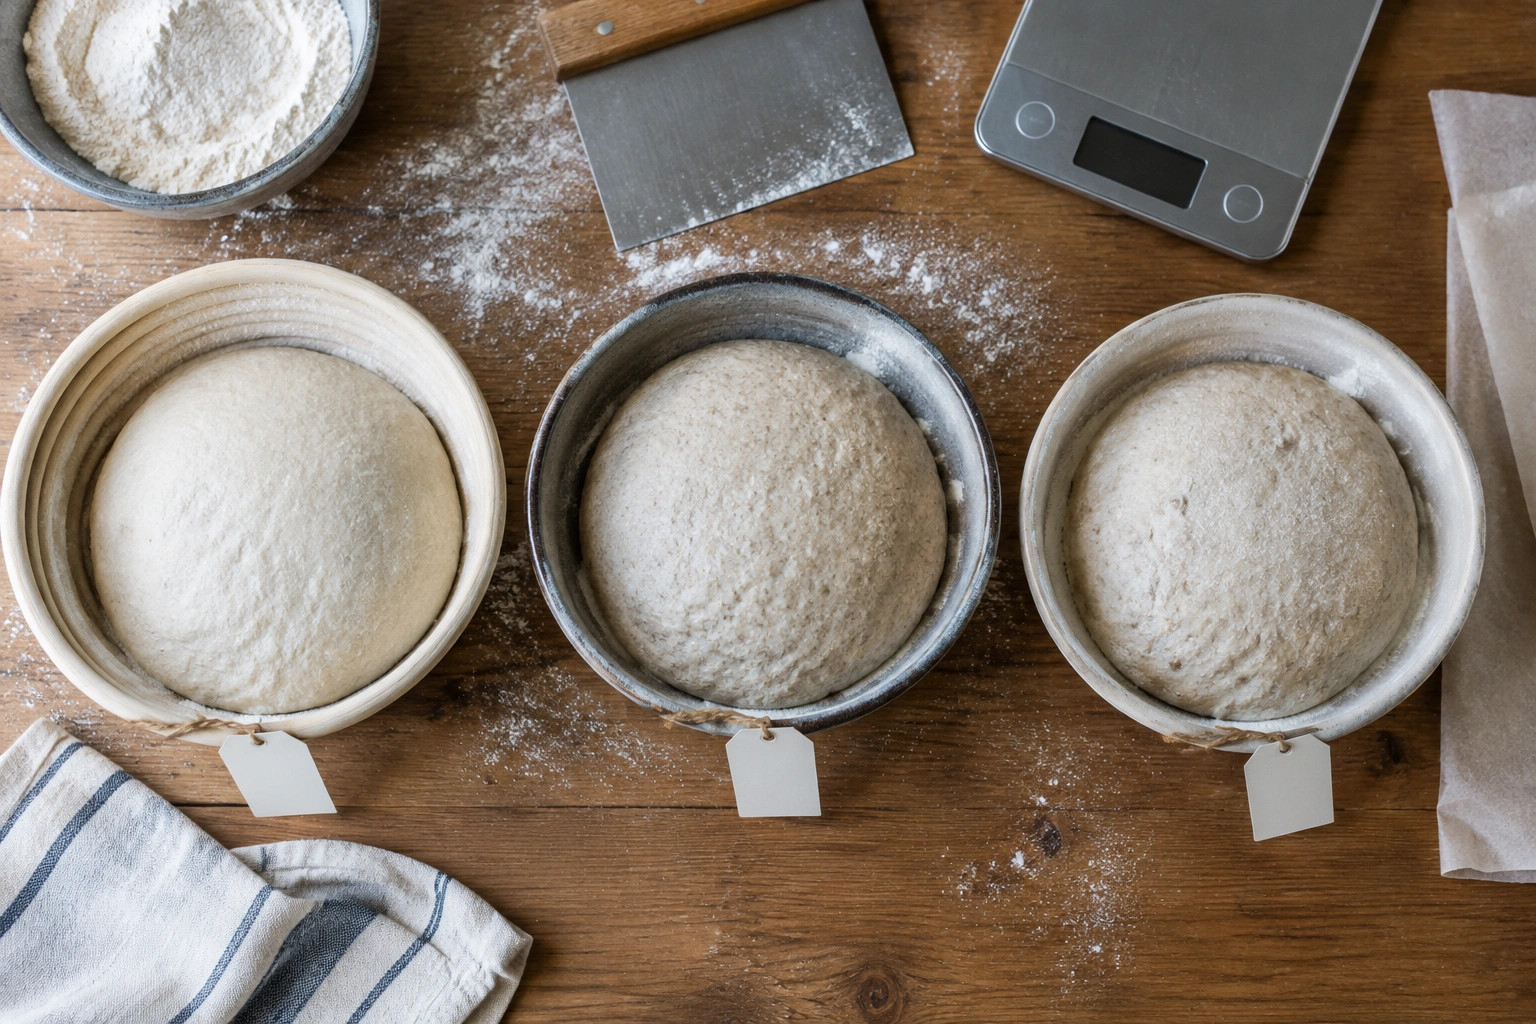
After shaping, the dough needs a second rise. Reduced-yeast doughs often need a longer final proof as well. If you shape too soon, the loaf can bake dense. If you wait until the dough becomes weak and overexpanded, it may collapse.
Signs the dough is ready
- It looks puffed rather than tight
- A gentle finger press springs back slowly
- The surface feels lighter and less dense
- The dough jiggles slightly when moved
Signs it still needs time
- It looks compact and heavy
- The finger dent fills in immediately
- The dough feels firm and under-aerated
- There are few visible gas bubbles
If you’re unsure, give it a little more time rather than baking too early. Underproofed bread is one of the most common outcomes when bakers reduce yeast but keep the old schedule.
How Temperature Changes the Result
Temperature is the hidden variable in almost every yeast decision.
Warm kitchens
Warm conditions speed up fermentation. That can be helpful if you’ve cut yeast and still want a same-day bake, but it can also push the dough too fast. In a warm kitchen, check the dough earlier than the recipe suggests.
Cool kitchens
Cooler conditions slow fermentation. That can be useful when you want more flavor development, but it also means the dough may need extra hours. If your kitchen is cool and you’ve reduced yeast, plan for a longer schedule from the beginning.
Refrigeration
Cold fermentation is one of the best tools for reducing yeast while keeping control. It slows the dough dramatically and often improves flavor. The trade-off is planning: you need to mix earlier and allow for fridge time.
One caution: if a dough contains eggs or other perishable ingredients, do not assume it can sit out indefinitely. In a discussion of low-yeast enriched dough, Artisan Bread in Five Minutes a Day notes that the USDA’s guidance is that egg-containing dough should not sit out more than 2 hours for food-safety reasons. Source
What Changes in Flavor, Crumb, and Crust
Reducing yeast does more than slow the clock.
Flavor
The most noticeable change is usually flavor. Slower fermentation often gives bread a fuller, less “yeasty” taste. That doesn’t mean every loaf gets better automatically, but it does mean the dough has more time to develop complexity.
Crumb
A reduced-yeast dough may produce a more open, even crumb when fermentation, hydration, and gluten development are all well managed. But if the dough is underfermented, the crumb may turn tight or gummy. So the benefit comes from time plus yeast reduction, not yeast reduction alone.
Crust
Longer fermentation can contribute to better browning and aroma. That said, crust quality still depends on the bake itself: oven temperature, steam, and full proofing all matter.
A recent study on white bread found that higher yeast concentration was associated with lower chewiness in that specific formula, and it identified an optimum yeast concentration and fermentation time of 2.0% and 90 minutes, respectively. That’s a useful reminder that yeast amount and fermentation time work together rather than separately, but it should not be treated as a universal rule for all breads. Source
Practical Examples of Reducing Yeast
Sandwich bread
If your usual loaf uses 2 1/4 teaspoons of instant yeast, try cutting it to 1 to 1 1/4 teaspoons and let the dough rise until it has clearly expanded, not just until the timer rings. This is a good first experiment for home bakers who want a gentler flavor without changing the recipe too much.
Pizza dough
Pizza dough is one of the easiest places to reduce yeast. A smaller amount, combined with an overnight rest in the refrigerator, often improves extensibility and flavor. The dough also becomes easier to schedule around dinner the next day.
Rustic artisan loaf
Lean artisan doughs often tolerate a larger reduction, especially if you can stretch the fermentation over a longer period. This is where a slow rise can really pay off in aroma and crust character.
Enriched dough
Brioche and similar doughs need more caution. Because eggs, butter, and sugar already slow fermentation, a large yeast cut can make the dough feel stuck. In these formulas, reduce yeast modestly first, then give the dough more time rather than assuming the same proofing schedule will work.
Practical before-and-after examples
- Lean sandwich bread: 7 g instant yeast → 3.5 g instant yeast for a moderate reduction; expect bulk fermentation and final proof to take longer, often by about 30% to 75% depending on temperature.
- Pizza dough: 7 g instant yeast → 2 to 3.5 g instant yeast if you plan an overnight or refrigerated ferment; the dough may be ready the next day rather than the same afternoon.
- Enriched dough: 7 g instant yeast → about 5 to 6 g instant yeast for a cautious first test; expect a slower rise and more variable timing.
- Very sweet dough: keep the reduction small at first, and plan to judge readiness by dough behavior rather than by a fixed clock.
Common Mistakes to Avoid
Cutting yeast without changing the schedule
This is the classic error. Less yeast means less fermentation power per hour. If you don’t adjust the timeline, the bread may underproof.
Reducing yeast too aggressively on the first try
A 50 percent cut is a sensible test point for many lean doughs. Jumping straight to a tiny fraction of the original amount can work, but it is much easier to misjudge if you don’t already know your kitchen and recipe well.
Trusting the clock more than the dough
Reduced-yeast doughs are especially sensitive to temperature and hydration. A recipe timer is only a rough estimate.
Treating enriched dough like lean dough
A rich dough is not just a lean dough with extra ingredients. It ferments differently and often needs a more conservative yeast reduction.
Confusing slow rise with dead yeast
If the dough is simply moving slowly, the yeast may be fine. Before blaming the yeast, check liquid temperature, room temperature, salt level, and freshness of the yeast itself.
Troubleshooting Slow Rise, Dense Crumb, and Weak Oven Spring
If the loaf doesn’t behave as expected, here’s how to diagnose it.
If the dough barely rises
Check temperature first. A cool kitchen or cold ingredients can slow fermentation dramatically. If the dough is warm enough and still sluggish, the yeast reduction may have been too severe for the recipe.
If the crumb is dense
Dense crumb often means the dough was baked before it had fully proofed. In other words, the issue may be timing, not yeast amount. Give the next batch more time before baking.
If the loaf has weak oven spring
Weak oven spring can come from underproofing, overproofing, or a dough that never built enough gas in the first place. Look at the dough’s feel and volume before baking. If it was tight and underexpanded, it likely needed more time. If it was fragile and overpuffed, it may have gone too far.
If the bread tastes bland after reducing yeast
Less yeast can reduce the yeasty edge, but if you also shorten fermentation too much, you may lose flavor development instead of gaining it. In that case, extend the ferment rather than increasing yeast immediately.
When Not to Reduce Yeast
There are times when a major yeast cut is not the smart move.
- When the recipe is very rich or sweet
- When the dough must be baked on a strict same-day schedule
- When you are using a formula you’ve never made before
- When the recipe already has a very small amount of yeast and little room for adjustment
- When the dough includes eggs and you cannot safely extend the room-temperature ferment
In those cases, a small reduction may still be fine, but a dramatic cut can make the bake unpredictable.
Quick Reference: Choosing the Right Reduction
Use this simple decision guide:
- Need a loaf later today? Cut yeast by about half and watch the dough closely.
- Have overnight or a full day? A larger reduction is often workable, especially in lean doughs.
- Working with enriched dough? Reduce cautiously and expect a slower rise.
- Using instant yeast in a standard home recipe? A 50 percent cut is a reliable starting point for many lean doughs.
- Want better flavor and more scheduling freedom? Combine a smaller yeast amount with cooler or longer fermentation.
If you remember only one thing, make it this: reduce yeast in bread by adjusting time and temperature along with the formula. That is what keeps the loaf rising well while improving the flavor and control you’re after.
FAQs
Can I reduce yeast in any bread recipe?
Not safely in every recipe. Lean doughs usually tolerate yeast reduction better than enriched or highly sweet doughs. The more delicate the formula, the more conservative you should be.
Will bread still rise if I use less yeast?
Yes, as long as you give it enough time and the dough conditions are favorable. Less yeast slows fermentation; it does not stop it.
Do I need to proof longer if I reduce yeast?
Usually, yes. The dough needs more time to produce enough gas and develop the structure needed for a good bake.
Does less yeast always mean better flavor?
Not automatically. Less yeast can improve flavor when fermentation is allowed to continue long enough. If you shorten the rise too much, the bread may taste underdeveloped instead.
What if my kitchen is warm or cold?
Warm kitchens speed things up, cold kitchens slow them down. If the room is warm, check the dough early. If it’s cool, plan for extra time.
How do I know whether to wait longer or add more yeast?
If the dough is slowly progressing and otherwise looks healthy, wait longer. If it remains stubbornly inactive even after enough time and the yeast is fresh, the formula may need a smaller reduction next time.
Can I reduce yeast and refrigerate the dough?
Yes, and that is often one of the best ways to control fermentation while building flavor. Just remember that chilled dough needs more time to warm up and finish proofing before baking.
What causes a strong yeasty taste?
Often it’s a fast fermentation, too much yeast for the schedule, or a dough that was baked before it had enough time to develop flavor. Reducing yeast and lengthening fermentation usually helps.
Should I change the salt when reducing yeast?
Not unless the recipe specifically needs it. Salt already affects fermentation and dough strength, so changing it at the same time can make the result harder to predict.
Is a preferment useful when I reduce yeast?
Yes. Preferments can help build flavor while reducing the amount of commercial yeast in the final dough. They do add planning steps, though, so they’re best when you want a more deliberate baking schedule.
When should I ask a professional baker for help?
If you’re working on a production formula, a highly enriched dough, or a recipe that must be scaled accurately for service, it can be worth consulting a master baker. Small yeast changes can have a bigger impact than expected in professional schedules.