
Why Bread Dough Isn’t Rising: A Practical Troubleshooting Guide for Bakers

Bread dough that won’t rise can feel like a personal insult. You mixed it carefully, waited patiently, and still ended up with a stubborn lump instead of a lively dough. The good news is that “bread dough not rising” usually has a diagnosable cause, and often a fix.
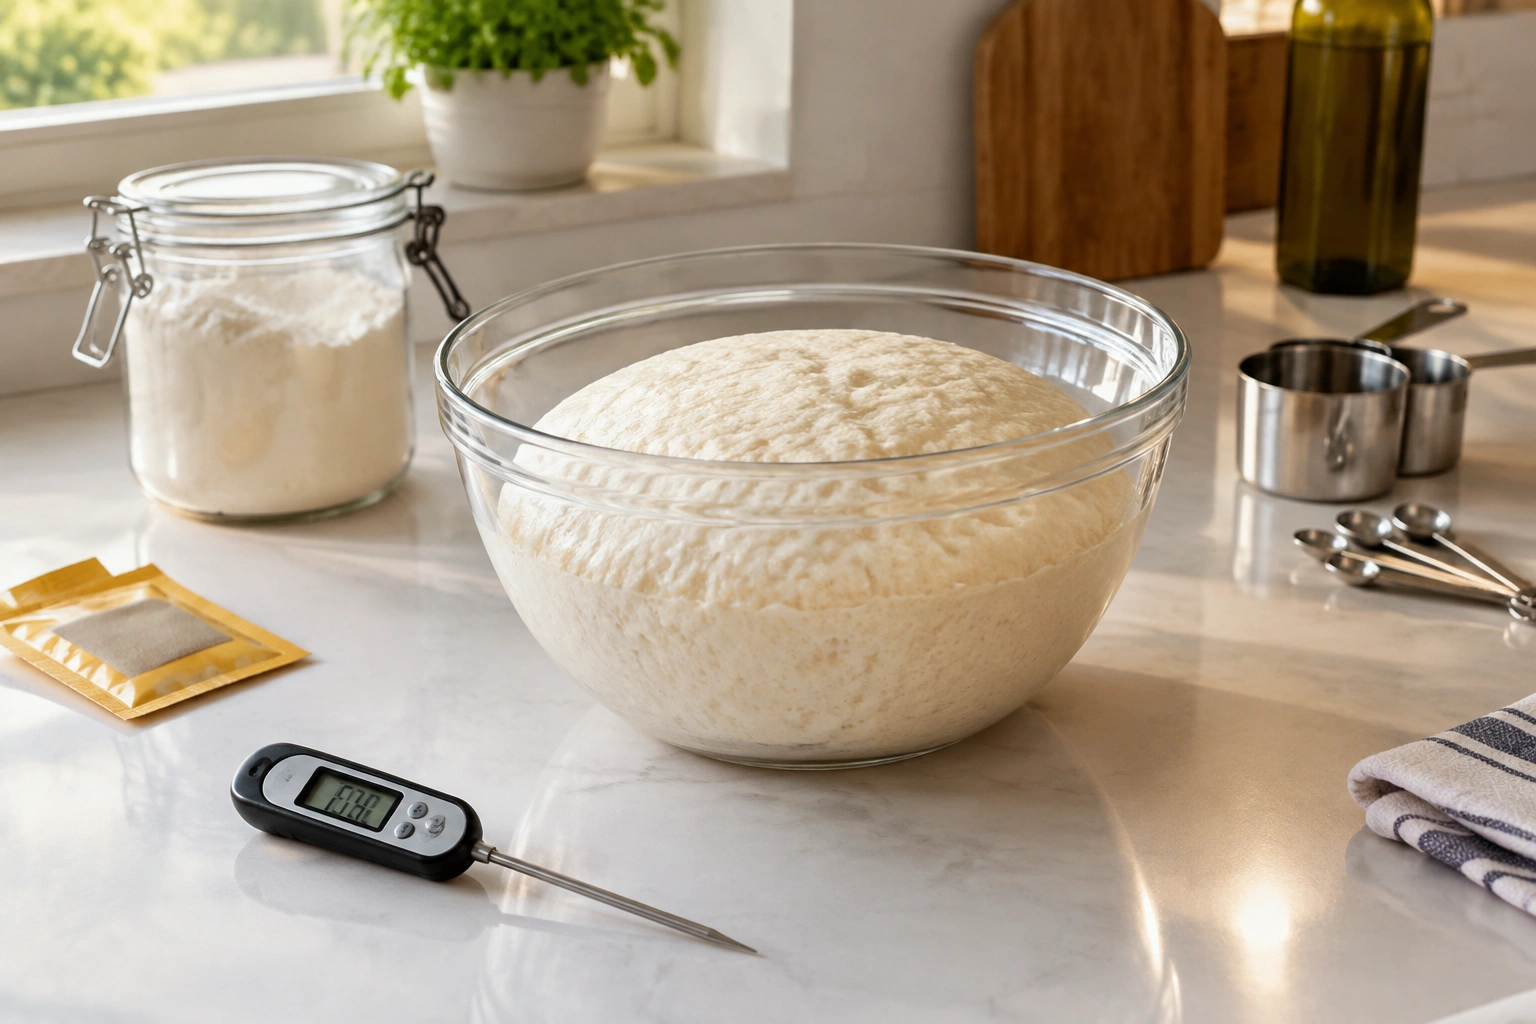
In my experience, the problem usually falls into one of five buckets: yeast, temperature, ingredient balance, gluten development, or proofing time. Once you know which bucket you’re dealing with, the next move becomes much clearer.
What a Healthy Rise Actually Looks Like
Before troubleshooting, it helps to know what you’re looking for. A properly fermenting dough doesn’t always double on a strict schedule, but it should gradually become lighter, puffier, and more elastic. Depending on the recipe and kitchen conditions, that can happen in about one to two hours in a typical home setting, though slower doughs are not automatically failed doughs.
A useful rule from King Arthur Baking is to treat patience as part of the fix: if the dough seems slow, bulk fermentation may need to be extended by 25% to 50% beyond the recipe time. That’s a practical adjustment, not a guess. King Arthur Baking’s advice on slow dough is worth keeping in mind before you assume the dough is dead.
Before You Troubleshoot, Gather the Right Clues
You’ll get a much better diagnosis if you check the dough with a few basics nearby:
- A thermometer for water and room conditions
- The yeast package, so you can check type and date
- Flour, salt, sugar, and fat amounts from the recipe
- A bowl or container with straight sides, so rise is easier to judge
- A warm, draft-free spot for proofing
That last point matters because many “dead dough” cases are really just cold dough. A chilly kitchen slows fermentation, and a dough that is simply cold can look stubborn for a while before it finally moves.
Quick Troubleshooting Flow
If you want the fastest path to a fix, start here:
- No rise at all: test the yeast first
- Some rise, but slow: check the dough temperature and give it more time in a proper proofing range
- Dense or stiff dough: assess flour and hydration
- Weak or tear-prone dough: assess kneading and gluten development
- Puffy, then collapsed dough: suspect overproofing
That order helps you avoid the most common mistake: waiting on dough that needs a different fix.
Step 1: Check Whether the Yeast Is Active
If the dough never rises at all, yeast is the first thing I’d inspect.
A simple yeast check
If you’re using active dry yeast, it’s usually best to activate it separately first unless the recipe specifically says to mix it straight into the dough. Follow the package or recipe directions and look for signs of life. You want to see some foaming or bubbling, along with a yeasty smell. If nothing happens after the expected activation period, the yeast may be inactive, old, or damaged.
Instant yeast is generally designed to be mixed directly into the dry ingredients and then combined with the rest of the dough. Some recipes still call for proofing it separately, but that is usually a recipe choice rather than a requirement. If you’re unsure, follow the formula you’re using.
Dead yeast vs. slow yeast
These are not the same problem.
- Dead or inactive yeast: little to no bubbling, no rise, dough stays flat
- Slow yeast: some activity, but rise takes longer than expected
If the yeast test shows no activity, the fastest fix is usually to remake the dough with fresh yeast. Waiting longer won’t revive yeast that’s already inactive.
Step 2: Check the Dough Temperature and Proofing Environment
Temperature is one of the biggest reasons dough stalls. Yeast works more slowly when the dough is cold, and it can be damaged if the water was too hot.
Water that is too hot or too cold
A good proofing range for most home bread dough is roughly 75°F to 85°F (24°C to 29°C). That’s warm enough to support fermentation without pushing the dough into an overheated zone.
Cold dough usually isn’t ruined; it’s just slow. If your dough is below that range, it may simply need more time.
Too much heat is a different problem. Water or surroundings that are excessively hot can injure or kill yeast, which means the dough may never rise properly no matter how long you wait.
Proofing location
A dough does not need a special proofing chamber to rise, and it can often rise on the counter in a reasonable amount of time. That said, if your kitchen is cold, a warmer corner can help. The goal is steady warmth in that 75°F to 85°F (24°C to 29°C) range, not heat blasting from an oven or radiator.
A practical decision rule:
- Dough is cold and sluggish: give it more time in a slightly warmer place
- Dough was exposed to very hot water or heat: suspect damaged yeast and test before waiting too long
Step 3: Review the Ingredient Balance
Sometimes the dough is rising, but the formula is working against it.
Too much flour
This is one of the most common home-baking mistakes. Extra flour makes dough stiffer and drier, which makes it harder for yeast gases to expand the dough. If the dough feels tight, dense, and hard to stretch, it may not be truly “dead” — it may simply be overfloured.
This is where accurate measuring matters. Scooping flour heavily with the cup can pack in more than the recipe intended, and a dough that started out too dry may never have a chance to become airy.
If you want a deeper look at how flour and water interact, our guide to bread dough hydration explains why dough texture changes so much with small measurement shifts.
Too much salt
Salt strengthens flavor and helps control fermentation, but too much can slow yeast activity. It can also become a problem if it sits directly against the yeast before mixing. If your recipe was measured inaccurately, or if you used a salty ingredient without adjusting the formula, that may be enough to delay rise.
For a focused breakdown, see our guide on how much salt to use in bread dough.
Sugar and fat
Sugar and fat both affect fermentation and dough structure. In enriched doughs, rise is often slower than in lean doughs because the formula is more crowded with tenderizing ingredients. That doesn’t mean the dough is broken; it means it may need more time and a gentler proof.
A useful comparison:
- Lean dough: usually rises more quickly and predictably
- Rich dough: often rises more slowly and needs more patience
Step 4: Assess Kneading and Gluten Development
Even with active yeast, dough won’t rise well if it can’t trap gas.
Why gluten matters
Gluten forms the elastic network that holds fermentation gases inside the dough. If the dough is underkneaded, it may feel slack, tear easily, or spread instead of holding shape. In that case, yeast can be working, but the dough still looks flat because it cannot retain the bubbles.
The windowpane test
A common check is the windowpane test. Stretch a small piece of dough gently. If it stretches thin enough to let light through before tearing, the gluten is usually developed enough for many bread doughs.
If it tears quickly and feels rough or weak, kneading may be the issue.
Underkneaded dough vs. dead yeast
This comparison is useful:
- Dead yeast: no fermentation signs, no gas, no lift
- Underkneaded dough: some fermentation may happen, but the dough won’t hold the gas well
If the dough smells active but still feels dense and tears easily, I’d look at kneading before blaming the yeast.
Step 5: Decide Whether the Dough Is Underproofed, Overproofed, or Just Slow
This is where many bakers get tripped up. A dough that looks unchanged is not always a failed dough.
Underproofed dough
Underproofed dough usually hasn’t had enough time to expand. It may feel tight, spring back quickly when pressed, and look smaller than expected. The fix is often simple: give it more time.
Overproofed dough
Overproofed dough has gone too far. It may look very puffy at first, then collapse or feel fragile and weak. Once the structure has overexpanded, the dough often can’t recover fully.
Just slow
Sometimes the dough is simply moving at a slower pace because the room is cool, the dough is rich, or the yeast needs more time. In that case, the best fix is usually patience, not a dramatic intervention.
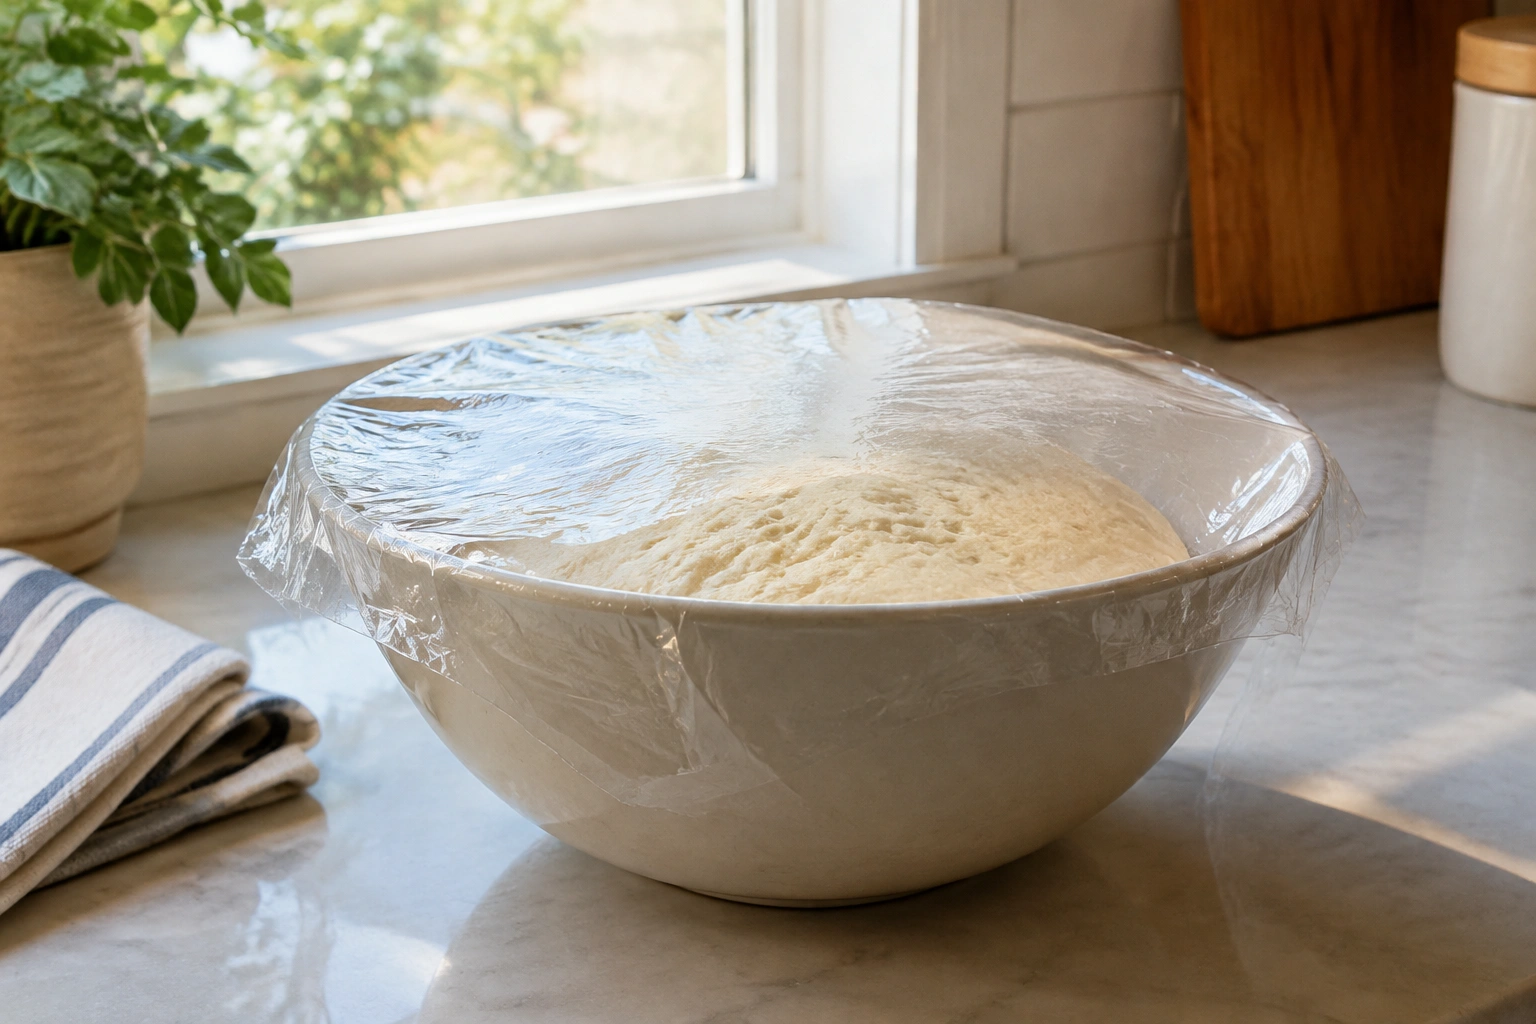
Here’s a quick comparison table:
| Problem | What it looks like | Likely cause | Best next move |
|---|---|---|---|
| Dead yeast | No bubbles, no rise, flat dough | Inactive or damaged yeast | Remake with fresh yeast |
| Slow dough | Some activity, but delayed rise | Cold dough, rich formula, or time needed | Wait longer in a warmer spot |
| Underproofed dough | Tight, springy, not expanded enough | Not enough fermentation time | Continue proofing |
| Overproofed dough | Puffy, fragile, may collapse | Too much proofing time | Bake if salvageable or restart if structure is gone |
| Underkneaded dough | Weak, tear-prone, poor shape | Insufficient gluten development | Knead more, then reassess |
How to Rescue Dough That Is Not Rising
If the dough is merely slow, you may still save it. Use this order so you don’t waste time on the wrong fix.
Step 1: Check for a yeast problem first
If the dough has no rise at all, test the yeast. If the yeast shows zero activity after a proper test, the batch usually needs to be remade.
Step 2: If there is some rise, adjust temperature and timing
If the dough is cold or just slow, move it to a slightly warmer spot and give it more time. A dough in the proper proofing range may still need patience, especially if the recipe is enriched or your kitchen is cool.
Step 3: If the dough is dense or stiff, assess flour and hydration
If the dough feels tight, dry, or heavy, the issue may be too much flour or too little water. In that case, the fix is usually in the formula, not in waiting longer.
Step 4: If the dough is weak or tear-prone, assess kneading
If the dough rises but won’t hold shape, it may need more gluten development. Knead a little longer, then reassess with the windowpane test.
Step 5: If the dough is puffy and then collapses, suspect overproofing
A dough that has already collapsed from overproofing usually won’t recover just by waiting. If the structure is gone, it’s often better to restart than to keep hoping it will spring back.
When to Start Over Instead of Saving It
Sometimes the kindest move is to cut your losses.
Restart if:
- The yeast test shows no activity after a proper test
- The dough smells spoiled or looks discolored
- Mold is present
- The dough was clearly overheated and never fermented
- The dough has collapsed and shows no structural recovery
A dough that is just slow is worth waiting on. A dough that is inactive or spoiled is not.
Common Mistakes That Make Dough Seem Dead
A lot of “failed” dough is actually a misunderstanding.
Premature judgment
Many bakers check too early, especially in a cold kitchen. If the recipe says one hour and your kitchen is cool, the dough may simply need longer.
Too much flour during kneading
This can make the dough stiff enough to resist expansion. It feels like a rise problem, but it’s really a hydration problem.
Water that was too hot
This can injure yeast before fermentation even starts.
Assuming all dough problems are yeast problems
Not every flat dough has dead yeast. Sometimes the issue is gluten, temperature, or an enriched formula that rises more slowly.
Practical Examples: What the Troubleshooting Looks Like in Real Life
Scenario 1: The dough never foams
You mixed active dry yeast with water, but nothing bubbled. The dough stays flat after the first rise period. That points toward inactive yeast or water that was too hot. The practical fix is to test the yeast separately and remake the dough if it fails.
Scenario 2: The kitchen is cold and the dough is sluggish
The dough rises a little, but not much. It feels active and smells pleasantly yeasty. In this case, the dough probably isn’t broken. Give it more time and move it to a slightly warmer place.
Scenario 3: The dough feels stiff and dense
You added extra flour because the dough felt sticky. Now it barely expands. That’s often a hydration issue, not a yeast issue. Next time, aim for the recipe’s moisture level and resist adding flour too early.
How to Prevent Rising Problems Next Time
A few habits make a big difference:
- Store yeast properly and check dates before baking
- Measure flour carefully instead of packing it into the cup
- Use water that is warm, not hot
- Watch the dough, not just the clock
- Adjust for cold kitchens by allowing more time
- Develop enough gluten before judging the dough
- Treat enriched doughs as slower by nature
If you want a reliable bread routine, our beginner guide to making bread dough from scratch is a good companion piece for getting the basics consistent.
When to Consult a Master Baker
If you’ve tested the yeast, checked the temperature, reviewed the formula, and the dough still behaves unpredictably, a master baker can help you diagnose the issue faster than trial and error. That’s especially useful if you’re working with repeated failures, unfamiliar flour, or a formula that behaves differently from batch to batch.
FAQ
Why is my bread dough not rising?
The most common reasons are inactive yeast, cold dough, too much flour, too much salt, weak gluten development, or not enough proofing time.
How do I know if my yeast is dead or just slow?
If there is no foaming or visible activity in a yeast test, the yeast may be inactive. If there is some activity but the dough rises slowly, it may just need more time or warmth.
Can I still save dough that hasn’t risen?
Yes, if the yeast is active and the dough is simply slow or cold. If the yeast is inactive, the dough usually needs to be remade.
How long should bread dough take to rise?
It varies by recipe, ingredient balance, and kitchen temperature. Some doughs rise in one to two hours, while slower doughs may need more time.
What’s the difference between underproofed and overproofed dough?
Underproofed dough hasn’t expanded enough and still feels tight. Overproofed dough has expanded too far, often becoming fragile or collapsed.
Should I keep dough in a warm place?
A gently warm spot can help, but extreme heat is risky. The goal is steady, moderate warmth rather than a hot environment.
Can too much salt stop dough from rising?
Too much salt can slow fermentation and make rise less reliable. It’s a factor worth checking if the dough seems sluggish.
Why did my dough rise once and then stop?
It may have overproofed, cooled down, or run into a structure problem such as weak gluten. The dough’s feel and appearance will help narrow it down.
Can I bake dough that never doubled in size?
Sometimes, yes — if it has enough fermentation and structure to bake safely. But if the dough is inactive or structurally weak, the result will usually be dense.
How do I prevent this problem next time?
Use fresh yeast, measure accurately, avoid hot water, and judge proofing by the dough’s behavior rather than the clock alone.