
Baking Soda and Vinegar Cleaning Solution for Easy Cleaning
A baking soda and vinegar cleaning solution is useful for loosening light grime, freshening sinks, and cleaning many non-porous baking surfaces. It works best in sequence, not as a stored mixture, and it should not replace sanitizing or stronger cleaners when those are needed.
A baking soda and vinegar cleaning solution can help lift common kitchen messes, loosen stuck-on residue, and freshen baking spaces without harsh fumes. It is not a miracle cleaner, but used correctly, it can be a practical option for sheet pans, sinks, prep areas, and other non-porous surfaces.
- Best use: Good for light to moderate residue on safe kitchen surfaces.
- Method: Apply baking soda first, then vinegar, then rinse well.
- Limit: Not a sanitizer and not ideal for heavy grease or burnt buildup.
- Safety: Avoid bleach, natural stone, cast iron, and sensitive specialty finishes.
- Finish: Dry surfaces fully to prevent white residue and water spots.
What a Baking Soda and Vinegar Cleaning Solution Actually Does in the Kitchen
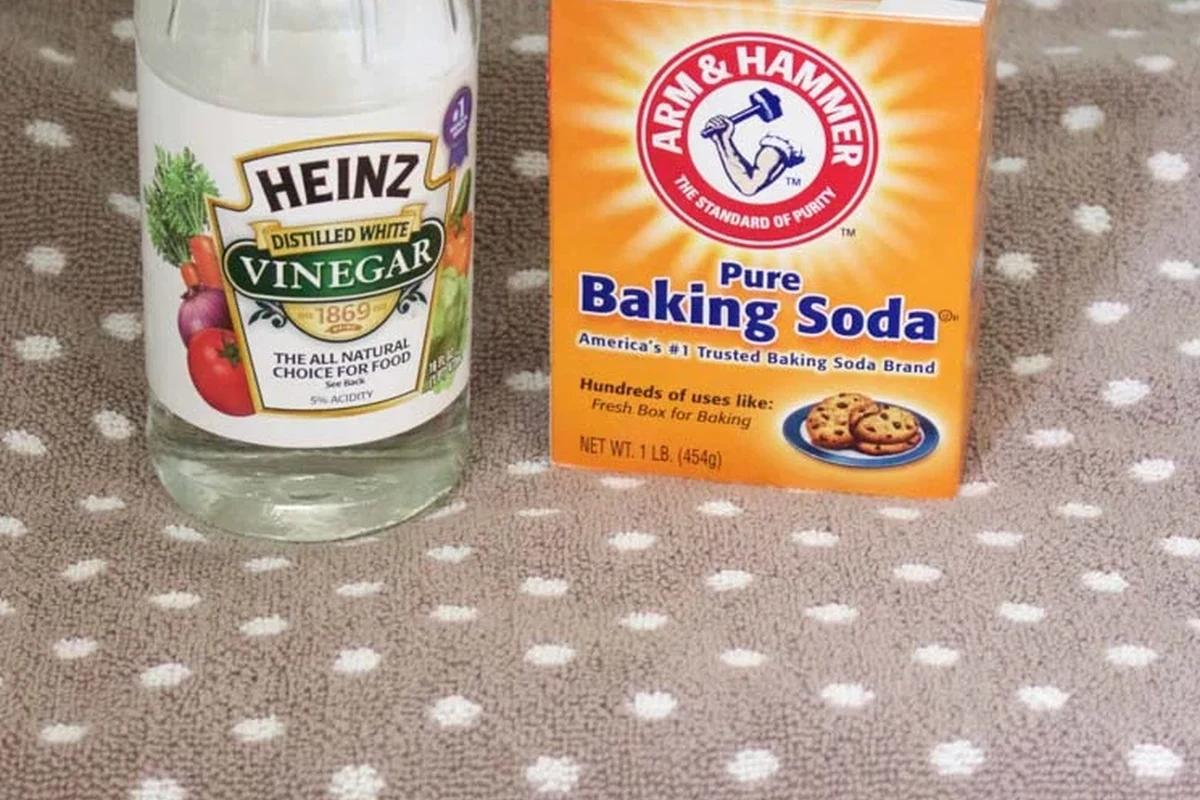
In a baking kitchen, this DIY cleaner is best understood as a quick reaction that helps break up grime, not as a powerful disinfectant. The fizzing comes from an acid-base reaction between baking soda and vinegar, which can help dislodge loose food particles and make scrubbing easier. For a simple science explanation, see our guide to the baking soda and vinegar reaction explained simply.
How the fizzing reaction helps loosen grime
When baking soda and vinegar meet, they bubble and foam briefly. That movement can help lift soft residue from pan corners, sink edges, and textured baking tools. The reaction itself does not “eat through” heavy grease, but it can make dried-on messes easier to wipe away after a short soak or paste treatment.
The fizzing is most useful right when the ingredients combine. Once the reaction settles, the remaining liquid is mostly water with dissolved salts, so the cleaning action depends more on soaking and wiping than on ongoing bubbling.
Where this DIY cleaner works well on baking tools and surfaces
This cleaner is often useful on stainless steel sinks, glass bakeware, metal sheet pans, and other hard, non-porous surfaces. It can also help with light grease, flour dust, sugar syrup spots, and odor buildup in prep areas. If you are also dealing with drain odors, our guide on clean drains with vinegar and baking soda explains where that method fits best.
Where it falls short compared with commercial cleaners
It is less effective on heavy grease, baked-on carbon, and thick layers of burnt sugar than a purpose-made degreaser. It also does not reliably sanitize food-contact surfaces on its own. For that reason, bakeries and home kitchens should treat it as a cleaning aid, not a replacement for approved sanitation steps when sanitation is required.
- Uses common pantry ingredients
- Helps loosen light grime and residue
- Useful for many non-porous kitchen surfaces
- Weak on heavy grease and burnt buildup
- Not a substitute for sanitizing
- Can leave residue if not rinsed well
Best Uses for a Baking Soda and Vinegar Cleaning Solution in Baking Spaces
In pastry classrooms and home kitchens, this cleaner is most helpful when the mess is annoying but not extreme. Think of it as a middle-ground option for routine cleanup, especially when you need something simple that will not damage common kitchen surfaces. For odor control in other areas, readers sometimes also use baking soda for smoke odors, but kitchen cleanup still needs the right surface-safe method.
Cleaning baking sheets, muffin tins, and cake pans
Sheet pans and muffin tins often collect a mix of grease, flour, and browned sugar. A baking soda paste or a short vinegar-assisted soak can help soften those spots before scrubbing. Cake pans benefit most when the residue is light and the finish is sturdy, such as plain metal or glass.
Freshening sinks, drains, and prep areas
Stainless sinks and non-porous counters are common targets because they tolerate gentle abrasion and quick rinsing. The solution can help remove dull film, sticky splashes, and lingering odors from prep work. For drains, the method may help with smell and loose buildup, but it is not a cure for clogs or plumbing problems.
Handling oven splatters, sticky residue, and burnt-on spots
For oven splatters, the solution is best on light to moderate messes after the oven has cooled completely. Sticky residue from sugar, jam, or syrup often responds better than hard carbonized buildup. If the mess is deep inside the oven, our article on baking soda and vinegar cleaning ovens goes into more detail on when this approach is realistic.
Examples of when pastry students and home bakers reach for it
Pastry students may use it after a class session to clean flour dust from counters, remove batter drips from pans, or freshen a sink before the next station rotation. Home bakers often reach for it after roasting fruit, making caramel, or finishing a batch of sticky buns. It is especially handy when the cleanup job is small, the surface is safe, and you want a low-cost option.
Ingredient Roles, Ratios, and Mixing Method for Safe Cleaning
The most important rule is simple: baking soda and vinegar work best in sequence, not as a long-lasting mixed bottle on the shelf. Once combined, they neutralize each other quickly, so storing the blend usually gives you little benefit. If you want to understand why some baking ingredients behave differently in recipes, our article on using baking soda instead of baking powder safely shows how ingredient purpose matters.
Why baking soda and vinegar should be used in sequence, not as a long-lasting blend
Baking soda is mildly abrasive and alkaline, which helps scrub and lift grime. Vinegar is acidic and can help cut mineral film and loosen some residue. Used one after the other, they can help with different parts of the mess; mixed too early, they mostly cancel each other out and lose much of their cleaning value.
Common measurement approaches for paste, spray, and soak methods
For a paste, many people start with enough baking soda and a little water to make a spreadable texture, then follow with a light vinegar spritz or wipe. For a spray, dilute vinegar with water if the surface is sensitive to stronger acidity, then use baking soda separately as a light scrub. For a soak, use warm water with either ingredient in a targeted way rather than trying to keep both active in one container.
Exact ratios depend on the job. A thicker paste works better on stuck residue, while a diluted vinegar wipe is usually better for freshening counters and sinks.
Water dilution and surface-specific mixing guidance
Water helps control both abrasion and acidity. On glass and stainless steel, a mild dilution is often enough for routine cleanup. On delicate finishes, start with the gentlest method possible and test a small hidden spot first, since surface coatings, manufacturer instructions, and wear levels can change the result.
What not to combine with this solution
Do not mix vinegar with bleach or any cleaner that contains bleach. That combination can release dangerous fumes. Also avoid combining random cleaners in the same bucket unless the label specifically says it is safe, because some products can react badly or reduce each other’s cleaning power.
Never use vinegar with bleach, and never assume a homemade cleaner is safe for all materials. When in doubt, check the care instructions for the pan, appliance, or countertop before using any acidic or abrasive cleaner.
Step-by-Step Cleaning Methods for Common Baking Equipment
Good cleaning is about matching the method to the mess. A light residue on a glass dish needs a different approach than burnt sugar on a dark sheet pan. The steps below focus on common baking equipment that can usually handle gentle scrubbing and rinsing.
Method for sheet pans and roasting trays
Let the pan cool fully, then brush off crumbs, flour, and loose grease. This prevents the paste from turning muddy too quickly.
Spread a thin layer over the stained area. Focus on corners, edges, and browned spots rather than coating the entire pan heavily.
Lightly spritz or dab vinegar over the paste so it fizzes. Let the reaction work briefly, then scrub with a non-scratch pad.
Wash away all residue, then dry completely to prevent spotting or water marks.
Method for silicone mats, metal pans, and glass bakeware
Silicone mats should be cleaned gently, because rough scrubbing can shorten their useful life. Metal pans can usually handle a bit more abrasion, but avoid harsh pads on coated finishes. Glass bakeware is often the easiest to rinse clean, though a final wipe is still important if the surface feels slick or chalky.
Use a mild baking soda paste and a soft sponge. Rinse well so no powder remains in the textured surface.
Use paste on stained areas only, then follow with a vinegar wipe if needed. Avoid aggressive scrubbing on nonstick coatings.
Use a short soak or targeted paste for baked-on spots. Warm water usually helps release residue faster.
Method for sinks, counters, and non-porous prep surfaces
Start by clearing food scraps and wiping away loose crumbs. Apply baking soda as a light scrub, then wipe with a vinegar-damp cloth or spray if the surface allows it. For busy prep areas, work in small sections so the cleaner does not dry before you can rinse it away.
How to rinse, dry, and finish without leaving residue
Rinsing matters as much as scrubbing. If baking soda stays behind, it can leave a white film that looks like dust. Finish with clean water and a dry cloth, especially on stainless steel, glass, and dark pans where residue shows easily.
Always let hot pans and ovens cool before cleaning. Steam, splashes, and sudden contact with cold liquid can cause burns or warp some cookware.
Materials, Compatibility, and Safety Considerations
Not every baking surface tolerates the same cleaner. What works on a stainless sink may be a bad choice for stone counters or specialty cookware. The safest habit is to match the cleaner to the material, then verify the manufacturer’s care guidance when available.
Which surfaces tolerate baking soda and vinegar well
In general, stainless steel, glass, ceramic, and many plain non-porous surfaces handle this cleaner well when used gently. These materials are common in baking spaces because they are easy to wipe down and do not absorb liquids. Still, finish quality matters, so older or scratched surfaces may need a gentler touch.
When to avoid use on natural stone, cast iron, anodized aluminum, or specialty finishes
Avoid vinegar on natural stone such as marble or limestone, because acid can etch the surface. Cast iron should not be soaked with acidic cleaner, since it can strip seasoning and encourage rust. Anodized aluminum and specialty coated finishes may also react poorly, so check the care label before using any abrasive or acidic method.
The surface looks dull, etched, or cloudy after cleaning.
The cleaner may have been too acidic, too abrasive, or left on too long. Rinse immediately, dry well, and switch to a gentler cleaner that matches the material.
Ventilation, gloves, and splash safety in busy kitchens
Good airflow helps clear vinegar odor and keeps a cramped kitchen more comfortable. Gloves are useful if your skin is sensitive or if you are cleaning for a long stretch. In a pastry lab, keep bottles labeled and avoid spraying near eyes, open flames, or electrical equipment.
Food-contact cleanup rules for baking environments
For food-contact surfaces, remove all visible cleaner residue before using the area again. That means a clean water rinse and a dry wipe, not just letting the surface air-dry and hoping for the best. If a surface is used for raw eggs, raw flour, or other high-risk ingredients, follow your kitchen’s sanitation policy and recognized food safety guidance such as USDA or FDA recommendations.
Common Mistakes That Make the Cleaning Solution Less Effective
Most problems with this cleaner come from timing, surface choice, or overuse. A small adjustment often makes the difference between a helpful cleaning step and a messy, chalky result. The same kind of careful measurement matters in baking too, which is why ingredient ratios and timing are so important in the kitchen.
Mixing too early and losing the active fizz
If you combine baking soda and vinegar in advance, the reaction happens immediately and then fades. By the time you are ready to clean, much of the active fizz is already gone. Use them in sequence at the sink or work area so the reaction happens on the mess, not in the bottle.
Using too much abrasive baking soda on delicate surfaces
A heavy layer of baking soda can scratch or haze delicate finishes if you scrub hard. This is especially true on coated pans, glossy surfaces, and anything with a specialty finish. Start with a small amount and increase only if the surface can handle it.
Expecting it to sanitize rather than clean
Cleaning removes soil, but sanitizing reduces microbes to a safer level. Those are different jobs. A baking soda and vinegar cleaning solution can help with visible grime, but it should not be treated as a food-safety shortcut.
Skipping a final rinse and leaving white residue behind
White streaks are usually leftover baking soda, not a sign that the cleaner “kept working.” They can make pans look dusty and counters feel gritty. A quick rinse with clean water and a dry cloth usually solves the problem.
- Apply the ingredients in sequence
- Rinse and dry after cleaning
- Test delicate surfaces first
- Mixing with bleach or unknown cleaners
- Using it on stone or cast iron
- Leaving residue on food-contact surfaces
How This DIY Cleaner Compares With Other Easy Cleaning Options
The best cleaner depends on the mess, the material, and how much effort you want to spend. In many baking spaces, the simplest option is also the best one, especially for everyday cleanup. For larger cleanup jobs, a stronger or more specialized method may save time and protect your cookware.
Comparison with dish soap and warm water for everyday messes
Dish soap and warm water are often the first choice for fresh grease and light residue. They are usually gentler than a baking soda scrub and easier to rinse away. For daily cleanup, soap and water may be all you need, especially on pans that are not heavily stained.
Comparison with commercial degreasers for heavy buildup
Commercial degreasers are designed for thicker grease and more stubborn buildup. They can be faster on oven grime or old pan residue, though they may require more careful ventilation and label reading. When the mess is serious, a degreaser may be more efficient than repeated DIY scrubbing.
Comparison with steam or heat-based cleaning methods
Steam and heat can soften dried-on messes before wiping. That approach works well for some ovens, appliances, and sealed surfaces, but it must be used carefully to avoid burns or damage. Heat-based methods are often helpful as a first step, while a cleaner like this can finish the job afterward.
Soap is best for fresh messes, the baking soda and vinegar cleaning solution is useful for light to moderate residue, and commercial degreasers are better for heavy buildup.
Choosing the right option based on mess type and surface
For a fresh spill on a safe surface, start with dish soap and warm water. For sticky residue, dull film, or light stains, this DIY cleaner can be a practical next step. For baked-on grease, specialty finishes, or anything that needs sanitation, choose the product or process that the surface and the food-safety task actually require.
Final Recommendation for Bakers, Students, and Home Kitchens
For most baking spaces, a baking soda and vinegar cleaning solution is best when you need a low-cost way to loosen light grime, freshen a sink, or help with routine cleanup on safe surfaces. It is especially useful for sheet pans, glass bakeware, stainless sinks, and prep areas that need a gentle but useful scrub.
When a baking soda and vinegar cleaning solution is the best choice
Choose it when the mess is moderate, the surface is compatible, and you are trying to avoid stronger fumes or chemicals. It works well as a first pass before rinsing and drying, especially in busy kitchens where quick cleanup matters. If you want a broader overview of ingredient behavior, our article on the reaction itself can help you understand what the fizz is really doing.
When to skip it and use a different cleaner instead
Skip it on natural stone, cast iron, anodized aluminum, and specialty finishes unless the manufacturer says it is safe. Also skip it when you need disinfection, strong degreasing, or a product made for a specific appliance or surface. In those cases, the right cleaner is the one that matches the material and the mess.
Simple recap for keeping baking spaces clean, safe, and efficient
Use baking soda and vinegar in sequence, rinse well, and keep expectations realistic. That approach gives you a practical cleaning tool without overpromising what it can do. For bakers, students, and home cooks, the smartest cleanup routine is the one that is gentle on equipment, safe for food-contact areas, and effective enough to keep the kitchen ready for the next batch.
The baking soda and vinegar cleaning solution is a smart choice for light to moderate kitchen cleanup on compatible surfaces, especially when you want a simple, low-cost option. For heavy grease, delicate materials, or sanitation needs, choose a different cleaner and follow the surface care instructions.
Frequently Asked Questions
No, that is usually not helpful because the reaction happens quickly and then loses strength. It is better to use them in sequence at the time you clean.
It may be too abrasive for some nonstick finishes, especially if you scrub hard. Check the pan’s care instructions first and use the gentlest method possible.
No, it is mainly a cleaner, not a sanitizer. For food-contact sanitation, follow the kitchen’s approved method and recognized food safety guidance.
Rinse the surface again with clean water and wipe it dry with a clean cloth. The residue is usually leftover baking soda.
Yes, if the material and finish can handle gentle scrubbing. Let the part cool first, then clean, rinse, and dry it well.
Vinegar is acidic and can etch stone surfaces like marble or limestone. That can leave dull marks that are hard to remove.

