
Baking Soda Cleaning Grease Fast Easy Kitchen Tips
Baking soda can clean light to moderate kitchen grease quickly when used as a damp sprinkle or soft paste. It works best on safe surfaces and is less effective than a degreaser on heavy baked-on buildup.
Baking soda cleaning grease is one of the simplest ways to handle everyday kitchen buildup without reaching for a harsh product first. It works best on light to moderate grease, especially when you use the right amount of moisture, enough contact time, and a gentle scrubbing motion.
- Best use: Fresh splatters, greasy film, and routine kitchen wipe-downs.
- Surface safety: Works on many common finishes, but test delicate materials first.
- Technique matters: Use enough moisture, gentle pressure, and a proper rinse.
- Main limit: Heavy baked-on grease may need a stronger cleaner.
Baking Soda Cleaning Grease: Why It Works on Kitchen Buildup
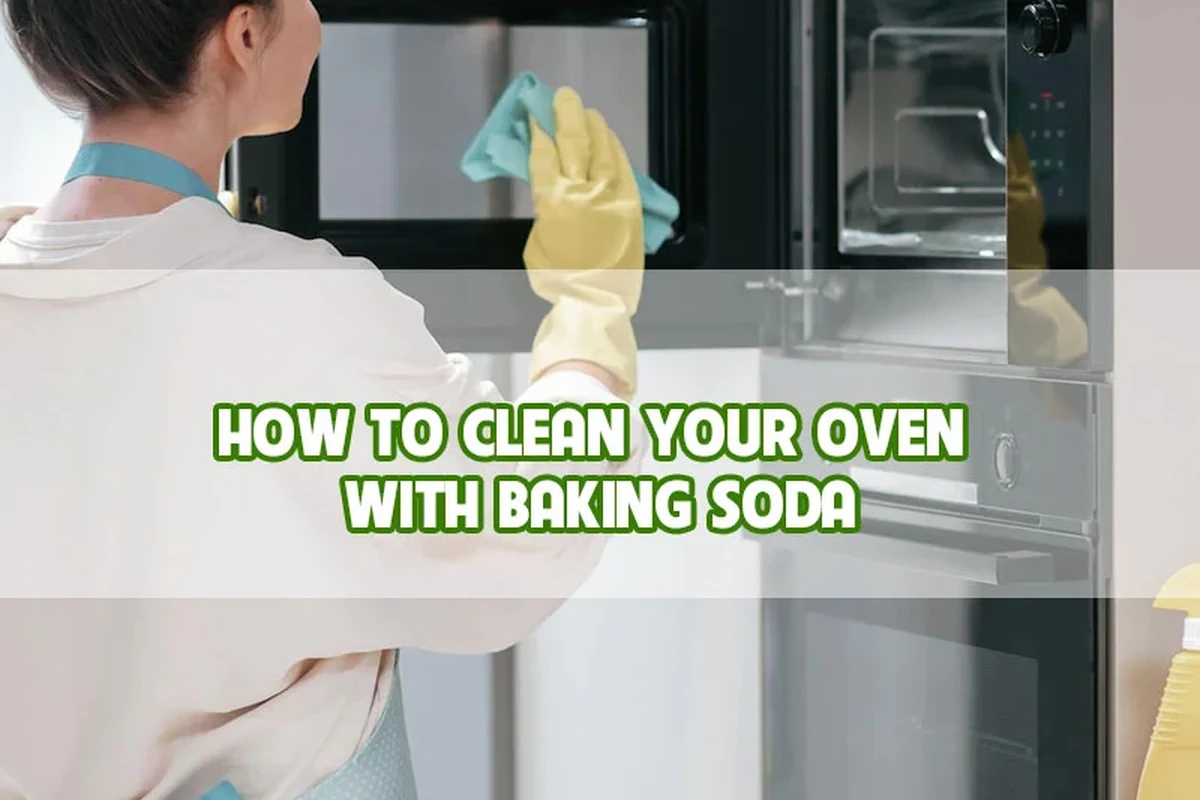
Baking soda helps with greasy messes because it is mildly abrasive and slightly alkaline. That means it can loosen stuck-on residue, help break up oily film, and reduce the lingering smell that often hangs around after cooking.
The science behind baking soda’s mild abrasive and deodorizing action
When you sprinkle baking soda on a damp surface or turn it into a paste, the fine crystals act like a soft scrub. They can lift grease without scratching many common kitchen surfaces, as long as you do not scrub too hard or use it on delicate finishes.
Its deodorizing effect is another reason it is useful in the kitchen. Grease often carries odors from garlic, onions, fish, and frying oil, and baking soda can help neutralize some of that smell instead of just covering it up.
Baking soda is not a true solvent for heavy grease, but its texture and mild alkalinity make it a practical helper for routine kitchen cleanup.
What kinds of grease it handles best: stovetops, backsplashes, pans, and cabinets
This method usually works fastest on fresh splatters, fingerprints mixed with oil, and the thin film that builds up around cooking areas. It is especially useful on stovetops, backsplash tile, cabinet handles, pan exteriors, and the edges of sinks where grease and dust collect together.
For thick, baked-on residue, baking soda can still help, but it may need more time and a second pass. If the mess has been heated over and over, such as around an oven door or range hood, you may need a stronger cleaner or a longer soak.
Best Surfaces and Materials to Clean Safely with Baking Soda
Before you scrub, think about the surface finish. Baking soda is helpful on many kitchen materials, but the same gentle grit that makes it effective can also dull or mark sensitive surfaces if you overdo it.
Stainless steel, ceramic, enamel, glass, and sealed countertops
Baking soda is usually a good match for stainless steel sinks, ceramic tile, enamel-coated cookware, glass oven doors, and sealed countertops. These surfaces can often handle a light paste or a damp sprinkle, especially when you wipe in small circles and rinse well afterward.
If you are cleaning stainless steel, follow the grain when possible to reduce visible streaks. For glass and sealed counters, use a soft cloth and avoid heavy pressure so you do not leave haze behind.
Surfaces to avoid or test first: aluminum, natural stone, and delicate finishes
Test first on aluminum, natural stone, painted cabinets, lacquered wood, and any surface with a special coating. Baking soda can leave a dull patch on some finishes, and repeated scrubbing can wear down protective layers over time.
Natural stone countertops often need cleaners made for stone. If you are unsure about the finish, check the manufacturer’s care instructions before using any abrasive powder.
How to Use Baking Soda Cleaning Grease Fast: Step-by-Step Kitchen Method
The best method depends on how much grease you are facing. A dry sprinkle works for light dust-and-oil film, a paste is better for stuck residue, and a damp cloth application is useful when you want faster coverage with less mess.
Dry sprinkle, paste, and damp cloth methods for different mess levels
Best for light grease on counters, cabinet edges, and sink rims. Sprinkle lightly, let it sit on the dampened area, then wipe away.
Best for medium grease on stovetops, pans, and backsplash spots. Mix baking soda with a little water until it looks like soft toothpaste.
Best for quick wipe-downs on handles and smooth surfaces. Put a small amount on a wet cloth and clean in short passes.
Recommended measurements and contact time for light, medium, and heavy grease
For light grease, start with about 1 to 2 teaspoons of baking soda on a damp cloth or surface and wipe after 1 to 3 minutes. For medium grease, make a spreadable paste with enough water to hold together and let it sit for 5 to 10 minutes before scrubbing.
For heavier buildup, apply the paste more generously and allow up to 15 minutes, but do not let it dry completely on the surface. If the paste dries, re-wet it before scrubbing so you do not need extra force.
Contact time depends on the age of the grease, the room temperature, and the surface material. A warm kitchen and a fresh splatter usually clean faster than a cool surface with old residue.
Scrubbing technique, rinse process, and drying for a streak-free finish
Use a soft sponge, nylon scrub pad, or microfiber cloth and work in small circles. Let the baking soda do the work instead of pressing hard, because too much force can scratch polished finishes or push residue into corners.
After scrubbing, wipe with a clean damp cloth to remove all powder. Then dry the area with a microfiber towel so you do not leave streaks, especially on stainless steel, glass, and glossy tile.
If a greasy spot still feels slick after the first wipe, repeat the paste step instead of scrubbing harder. A second gentle round usually works better than one aggressive pass.
Common Baking Soda Cleaning Mistakes That Reduce Results
Most disappointing results come from using baking soda in a way that is too dry, too heavy, or too rough. A small adjustment in moisture or pressure can make the difference between a clean surface and a chalky residue.
Using too little moisture or too much product
If the baking soda is too dry, it will not spread well and may simply fall off the surface. If you use too much, you may end up with a thick layer that is harder to rinse and can leave a powdery film.
The goal is a thin, workable coating. For most kitchen jobs, less product and better contact are more effective than piling on extra baking soda.
Scrubbing too aggressively on coated or polished surfaces
Strong scrubbing can dull polished chrome, soft plastics, painted wood, and some appliance finishes. If a surface is shiny or coated, start with the gentlest method and stop as soon as the grease lifts.
Always let hot pans, burners, and oven parts cool before cleaning. Applying water or paste to hot surfaces can create steam, burns, or uneven cleaning results.
Expecting baking soda to replace degreasers on baked-on grease
Baking soda is a useful maintenance cleaner, but it is not always the fastest choice for thick, carbonized grease. If the residue has been baked onto a surface for weeks or months, a commercial degreaser or a dedicated oven cleaner may work better.
If you want a related deep-clean method for ovens, see our guide to baking soda and vinegar cleaning ovens. For drain-related cleanup, the method is different, so it helps to follow the right approach for the job.
Practical Kitchen Examples: Where Baking Soda Works Fastest
In everyday use, baking soda shines on small, repeated messes that build up around cooking and prep areas. It is not usually the fastest all-purpose degreaser, but it is very practical for routine kitchen care.
Greasy stovetop splatters after cooking
Stovetop splatters are one of the best uses for baking soda because the grease is often still fresh. Sprinkle a little on a damp cloth or make a thin paste, then wipe the area before the residue hardens.
If the splatter includes sugar or sauce, remove the sticky layer first so the baking soda can reach the oily film underneath. This keeps the cloth from dragging the mess across the surface.
Oven door smudges, range hoods, and microwave interiors
Oven door fingerprints, range hood film, and microwave splashes often respond well to a gentle baking soda paste. These spots usually need a little dwell time because the grime is thin but stubborn.
For microwaves, use a barely damp cloth and avoid flooding vents or controls. For range hoods, check the manufacturer’s instructions before using any abrasive cleaner on filters or coated surfaces.
If your cleaning routine also includes odor control in the kitchen, our article on baking soda for smoke odors explains another common use for the same ingredient.
Sticky cabinet handles, backsplash splatter, and greasy sink edges
Cabinet handles and sink edges collect a mix of oil, dust, and fingerprints, so they often clean up quickly with a damp baking soda cloth. Backsplashes are another good target, especially around the cooking zone where oil mist settles over time.
For small household cleanup beyond the kitchen, readers often use similar powder-based methods in other areas too, such as in our guide on baking soda carpet cleaning. The principle is similar, but the surface care rules are different.
When to Pair Baking Soda with Other Cleaning Ingredients
Sometimes baking soda works best as part of a simple cleaning routine instead of standing alone. Warm water, a little dish soap, or careful use of vinegar can improve results depending on the type of grease and the surface involved.
Using warm water, dish soap, or vinegar carefully and when each helps
Warm water helps soften greasy film and makes the baking soda easier to spread. A drop or two of dish soap can help lift oil because dish soap is designed to break up fats and rinse them away.
Vinegar can help with mineral film and some residue, but it is not a magic grease remover. If you use vinegar, do so carefully and only on surfaces that can handle it, since acid can affect stone, grout, and some finishes.
For readers who want to understand that reaction better, our explainer on the baking soda and vinegar reaction covers what the fizz does and does not do during cleaning.
Situations that call for a stronger commercial degreaser instead
Choose a stronger product when grease is thick, old, or baked on, especially in ovens, vent filters, fryer areas, or commercial-style kitchens. If you need speed more than a gentle scrub, a degreaser may save time and reduce repeated wiping.
Also switch methods if the surface is sensitive and the baking soda leaves haze, scratches, or a residue you cannot easily remove. In that case, the cleaner should fit the material, not just the stain.
Safety notes on mixing products and ventilating the kitchen
Do not mix cleaning products unless the label specifically says it is safe. Even common household ingredients can create irritating fumes or reduce cleaning performance when combined in the wrong way.
Keep the kitchen ventilated when cleaning around burners, ovens, and range hoods. Open a window if possible, avoid inhaling powders, and keep all cleaners away from food-prep areas and open containers of food.
Storage, Safety, and Cost-Saving Tips for Regular Kitchen Cleaning
Baking soda is inexpensive compared with many specialty cleaners, which is one reason it stays popular for routine kitchen maintenance. A small amount used regularly is often more effective than waiting for buildup to become heavy.
How to store baking soda for freshness and easy access
Store baking soda in a sealed container in a dry cabinet so it stays free-flowing and ready to use. If you keep a separate container for cleaning, label it clearly so it is never confused with food-use baking soda.
Moisture is the main enemy of a usable powder. If it clumps or smells stale, replace it rather than trying to force it into cleaning service.
Gloves, ventilation, and keeping powders away from food-prep areas
Wear gloves if you have sensitive skin or if you are cleaning for a long time. Even gentle cleaners can dry out hands with repeated use, especially in a busy kitchen routine.
Keep the powder away from cutting boards, flour bins, and open ingredients. Wipe food-prep surfaces thoroughly after cleaning so no residue remains where it could affect taste or texture.
Budget-friendly cleaning routine for weekly maintenance and deep cleans
A simple weekly routine works well: wipe fresh splatters right away, clean handles and backsplash spots with a damp baking soda cloth, and save paste treatments for the stubborn areas. This prevents grease from hardening into a bigger job later.
For deeper cleaning, make a short list of the surfaces that need attention most often, such as the stove, microwave, sink rim, and cabinet pulls. That keeps the process fast and helps you use only as much product as you need.
- Cheap and easy to keep on hand
- Gentle on many common kitchen surfaces
- Useful for light grease and odor control
- Slower on heavy baked-on grease
- Can leave residue if not rinsed well
- Not ideal for every finish or material
Final Verdict: Is Baking Soda the Right Grease-Cleaning Choice for Your Kitchen?
For everyday kitchen cleanup, baking soda is a smart first choice when you want a simple, low-cost method for light-to-moderate grease. It works especially well for quick maintenance on stovetops, backsplashes, handles, sinks, and other areas that collect a thin oily film.
Best-use recap for quick cleanup, maintenance, and light-to-moderate grease
If you use it with the right moisture level, a short rest time, and a gentle wipe, baking soda can clean grease fast enough for regular home use. It is most effective when the mess is fresh and the surface is safe for mild abrasion.
Signs it is time to switch methods for speed, strength, or sensitive surfaces
Switch to another cleaner when the grease is old, thick, or baked on, or when the surface is delicate and needs a non-abrasive product. If you are cleaning stone, polished finishes, or heavily soiled oven parts, matching the cleaner to the material will usually give you better results with less risk.
Used well, baking soda is not a miracle cleaner, but it is a dependable kitchen staple. For many homes, that makes it one of the easiest ways to keep grease from taking over the room.
Frequently Asked Questions
Start with a light sprinkle or 1 to 2 teaspoons on a damp cloth for small spots. For thicker grease, make a spreadable paste and use only enough to coat the area.
It can help loosen baked-on grease, but it is usually slower than a commercial degreaser. For very old or heavy buildup, a stronger cleaner may work better.
Yes, it is usually safe on stainless steel and glass when used gently with a soft cloth. Avoid aggressive scrubbing and always rinse or wipe away residue.
You can use them carefully, but the fizz is not a powerful grease remover by itself. Warm water and a little dish soap are often more useful for greasy kitchen surfaces.
Test first on aluminum, natural stone, painted cabinets, and delicate finishes. Baking soda can dull some surfaces or leave a visible haze if it is scrubbed too hard.
Use a thin layer, wipe with a damp cloth, and dry the surface afterward. Too much powder or too little rinsing is the most common reason for residue.

