
How to Stretch Pizza Dough Without Tearing, Shrinking, or Losing the Rim

If you’ve ever pulled on pizza dough only to watch it snap back like a rubber band, you’re not alone. The good news is that stretching dough is less about force and more about timing, relaxation, and handling. Once you understand what the dough is telling you, shaping it becomes much easier.
The direct answer: dough should generally be stretched at room temperature after resting, not cold from the fridge. Cold dough is usually too tight and resistant, so let it warm up first if it has been refrigerated.
I like to think of pizza dough as a living thing with a short memory. If the gluten is tight, it resists. If the dough has warmed and relaxed, it opens up with very little drama. That’s why the best stretching method is the one that respects the dough’s condition first, then shapes it second.
What You Need Before You Start
Before you touch the dough, get your setup ready. A calm, organized workspace prevents the most common problems: sticking, tearing, and overhandling.
Here’s the basic kit:
- A proofed dough ball at the right stage of fermentation
- A clean work surface
- Bench flour, semolina, or both
- A pizza peel or sheet pan if you’ll transfer the dough
- Your hands, lightly floured if needed
- A bench scraper for cleanup and gentle lifting
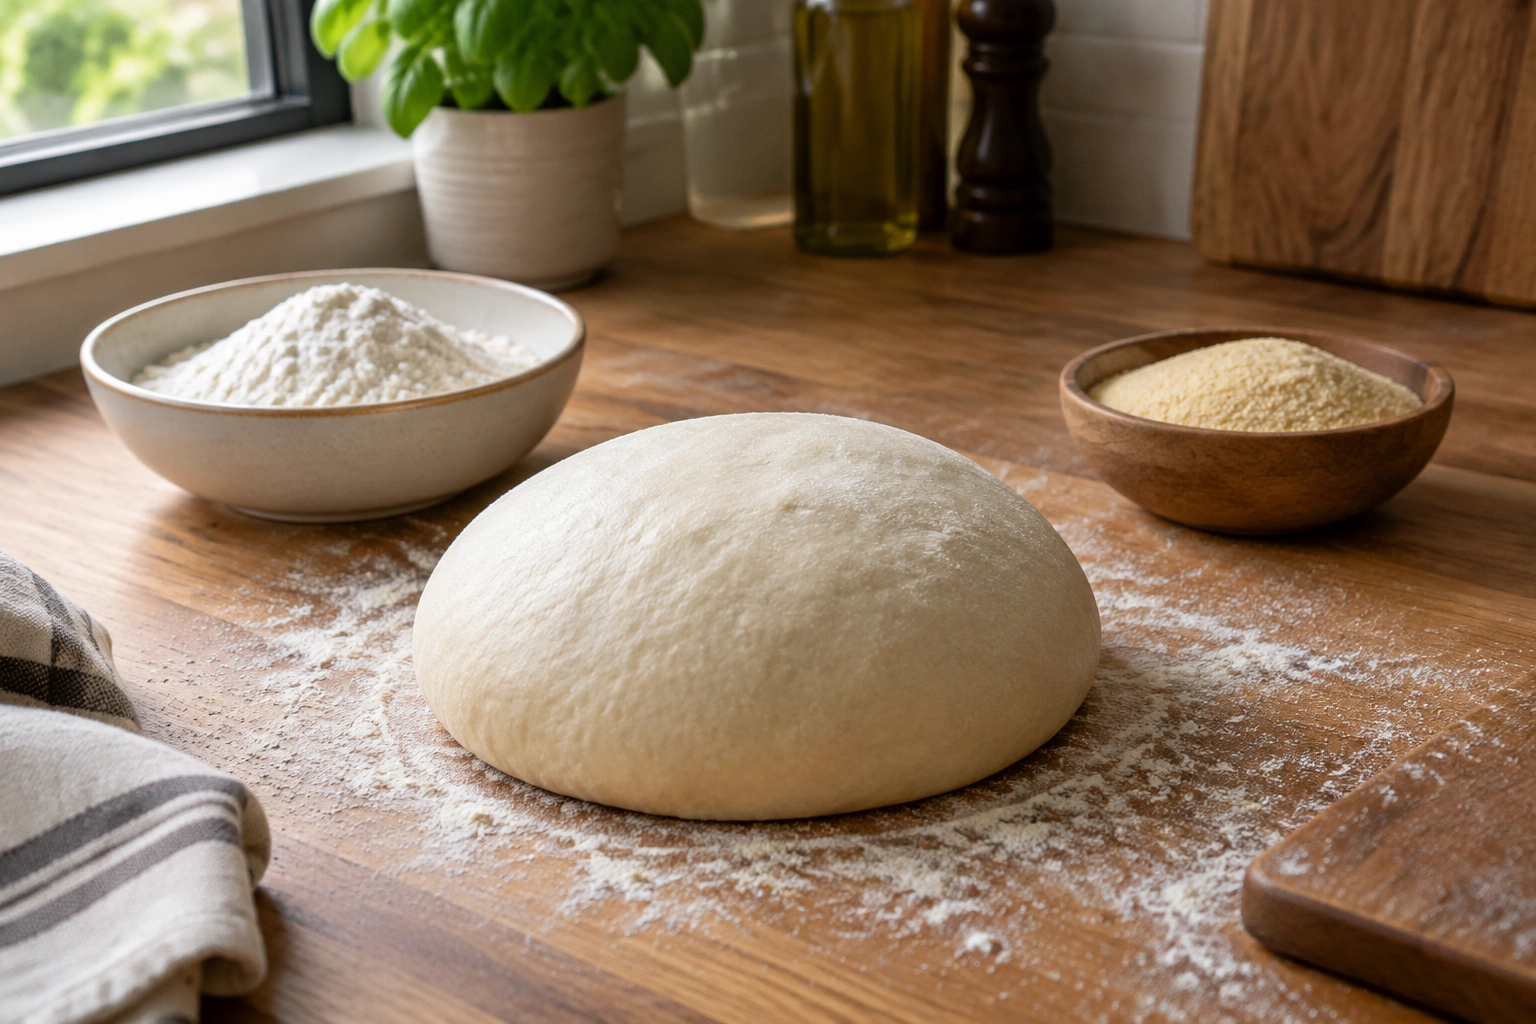
The dough itself matters just as much as the tools. A dough ball that is too cold, too tight, or under-rested will fight back. A dough that has relaxed properly should feel extensible: it stretches, but it still has enough strength to hold shape.
If you’re still building dough strength earlier in the process, this guide on the stretch and fold method can help you understand how gluten develops before shaping.
How to Tell When Pizza Dough Is Ready to Stretch
Readiness is more useful than a clock. Two dough balls can sit for the same amount of time and behave very differently depending on room temperature, hydration, fermentation, and flour type.
A dough is usually ready to stretch when it shows these signs:
- It feels relaxed, not spring-loaded
- It has warmed up enough to bend without cracking
- It looks slightly puffy rather than dense or tight
- It holds its shape as a ball, but doesn’t resist every touch
- When you press it gently, the indentation returns slowly rather than snapping back instantly
- When lifted, it spreads a little under its own weight instead of holding a stiff dome
The best clue is how it behaves under light pressure. If you press the dough and it immediately tightens, it needs more resting time. If it feels slack and fragile, it may be overproofed or too warm.
King Arthur Baking notes that after preshaping, dough is often left on the counter for 10 to 15 minutes so the gluten can relax, which makes shaping easier and reduces spring-back. That short rest can make a big difference when the dough is being stubborn.
Let the Dough Warm and Relax First
Cold dough is harder to stretch because the gluten network is tighter. Letting it sit at room temperature before shaping usually makes the dough easier to handle and less likely to shrink back.
The goal here is not to let the dough get sloppy. You want it warm enough to relax, but still cool enough to handle cleanly.
A practical rule:
- If the dough was refrigerated, give it time on the counter before shaping
- If it keeps snapping back, rest it again for a few minutes and try once more
- If it feels soft but still elastic, that’s usually the sweet spot
This resting period is not wasted time. It’s what turns a tight dough ball into a workable base.
Step-by-Step: How to Stretch Pizza Dough by Hand
There are several ways to stretch pizza dough, but they all rely on the same principle: press first, then stretch gently. Pulling too early is what causes tears and uneven thickness.
1. Lightly flour the work surface
Use just enough bench flour to keep the dough from sticking. Too much flour can dry the surface and make the dough harder to seal or shape later. If you want a little extra glide without a heavy flour coat, a small amount of semolina works well too.
2. Place the dough ball down and press from the center outward
Pressing rather than pulling at the beginning is the right instinct. Flatten the dough with your fingertips, working from the center outward and leaving the outer edge slightly thicker.
You’re not trying to make the final pizza shape yet. You’re just opening the dough into a disk.
3. Keep the dough moving
Turn the dough a little as you press so it doesn’t stick in one spot or form a lopsided oval. Keeping the dough moving helps it stay round as you work.
4. Lift the dough carefully
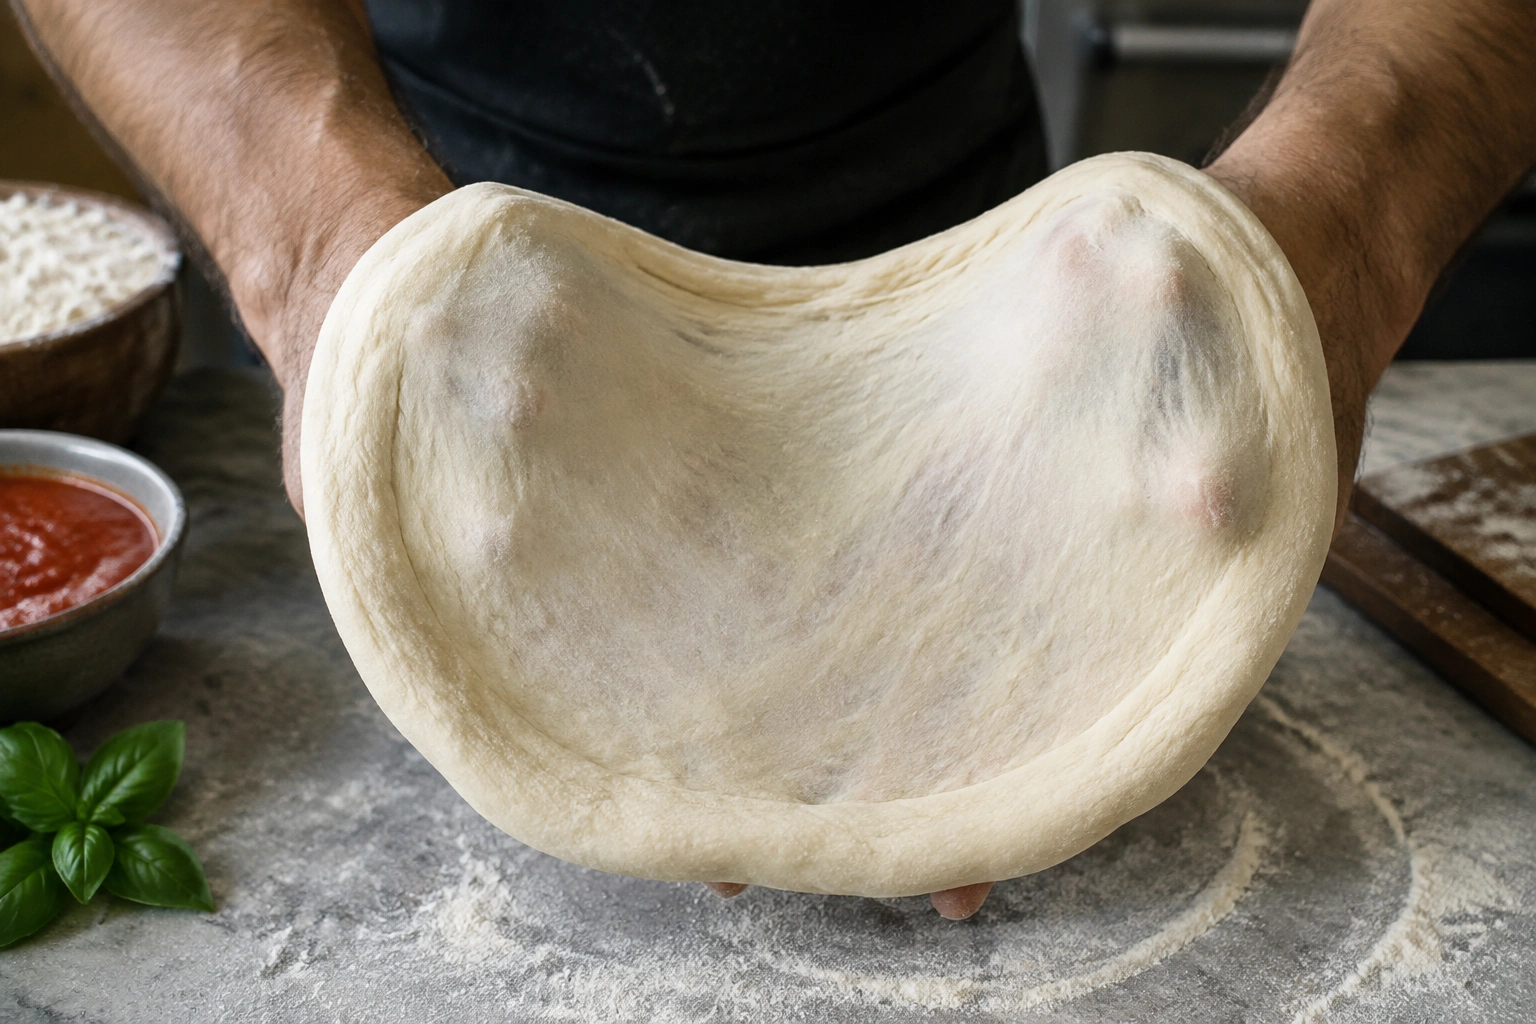
Once the dough is wider and more flexible, pick it up with both hands and let gravity help. Hold it over the backs of your hands or across your knuckles, and gently rotate it as you stretch.
If the dough starts thinning too quickly in one area, stop and rotate. Uneven stretching is usually a sign that one section is being pulled harder than the rest.
5. Stop before it feels fragile
A good pizza base should feel thin but not paper-thin in the center. If you can nearly see through a spot while holding it up to the light, you’re probably too close to a tear.
At this stage, the dough should look round, feel even, and still have some structure.
How to Keep the Center Thin and the Rim Thicker
The rim, or cornicione, is where the oven spring happens. If you flatten it too much, you lose that lift. If you leave the center too thick, the pizza can bake unevenly and feel doughy in the middle.
The simplest way to preserve the rim is to avoid pressing the outer edge during the first flattening stage. Think of the dough in two zones:
- Inner area: stretch and thin this more
- Outer ring: handle gently so it stays puffier
When you’re pressing out the dough, stop your fingers short of the edge. Then, when you lift and rotate the dough, let the center stretch more than the rim. That creates a base that bakes with a lighter edge and a more balanced middle.
If you want a very airy rim, be even gentler. If you’re making a style that needs a more even profile, you can stretch a bit farther toward the edge, but don’t crush all the gas out of the outer ring.
Flour, Semolina, or Oil: What to Use to Prevent Sticking
Each option has trade-offs, and the best choice depends on how the dough behaves.
| Option | Best for | Pros | Trade-offs |
|---|---|---|---|
| Flour | Most standard doughs | Easy to find, familiar, helps release dough | Too much can dry the surface and add excess flour to the base |
| Semolina | Slightly sticky dough, peel work | Reduces sticking well, adds a little texture | Can feel gritty if overused |
| Oil | Some pan-style handling situations | Helps prevent sticking in certain setups | Can make the dough surface slippery and harder to shape cleanly |
For most hand-stretched pizza, I prefer a light dusting of flour or semolina over oil. Oil can be useful in some dough-handling setups, but it changes the feel of the dough and can make shaping less precise. Flour is the most forgiving; semolina is the better choice when the dough needs extra release but you don’t want to bury it in flour.
If your dough is very sticky, don’t dump more and more flour onto it. That usually creates a dry, dusty surface while the center stays tacky. Use a little, then reassess.
Hand Stretching vs. Rolling Pin vs. Tossing
Different methods solve different problems.
| Method | Best for | Airiness | Control | Main downside |
|---|---|---|---|---|
| Hand stretching | Most home pizza dough | High | Good | Takes a little practice |
| Rolling pin | Very stubborn or uneven dough | Lower | Very high | Can flatten gas bubbles and make the crust denser |
| Tossing | Confident shapers who want speed | High | Moderate | Easy to overdo and tear thin spots |
If your goal is a lighter crust, hand stretching is usually the best default because it preserves more of the dough’s internal structure. A rolling pin is a useful fallback when the dough is too tight or you need exact shape control, especially for beginners. If you do use a rolling pin, keep it to a last-resort pass or two rather than repeated heavy rolling, so you flatten the dough as little as possible. Tossing is a skill, not a requirement. It can be fun, but it’s not necessary to make excellent pizza.
If you want to learn the rolling-pin approach for pizza or other doughs, this guide to rolling dough evenly is a helpful companion.
Common Mistakes That Ruin Pizza Dough
Most stretching problems come from a small number of habits.
Stretching dough straight from the fridge
Cold dough resists. It shrinks back, tears more easily, and feels harder to control.
Using too much flour
Excess flour can dry the surface and make the dough less pliable. It can also leave a powdery layer that interferes with sealing or browning.
Pulling instead of pressing
If you grab the dough and yank, the gluten tightens and the dough springs back harder.
Flattening the rim
The edge needs structure. If you press it down like the center, you lose the puff that gives pizza its better texture.
Overhandling the dough
Every extra squeeze or re-roll tightens the dough and makes it less cooperative. If the dough is resisting, resting is usually smarter than fighting it.
Troubleshooting: What to Do If the Dough Shrinks Back, Tears, or Feels Too Sticky
This is where good dough handlers separate themselves from frustrated ones.
If the dough keeps shrinking back
The gluten is still tight. Set the dough down and let it rest for 5 to 10 minutes, then try again. Don’t keep forcing it. Repeated pulling only makes the problem worse.
If the dough tears
Stop immediately. If the tear is small, pinch it gently back together and let the dough rest for a minute before continuing. If the hole is near the center and the dough is otherwise strong, you can often patch it without starting over.
If the dough tears in several places or feels weak all over, it may be overproofed or too thin in spots. At that point, restarting can be the better option.
If the dough is too sticky
Use a little more flour or switch to semolina. Lift the dough carefully rather than dragging it across the counter. If it’s sticking badly, the surface may be too wet or under-floured, but don’t bury it in dry flour all at once.
If the dough is too tight or elastic
That usually means it needs more resting time. Give the gluten a chance to relax, then resume shaping. If the dough is still very tight after resting and keeps resisting, it may simply need more proofing before it will shape well.
If the dough is uneven
Uneven thickness often comes from stretching harder on one side than the other. Rotate the dough more often and use lighter pressure near the thick spots instead of trying to fix everything in one pull.
Practical Examples for Different Dough Problems
Here are a few realistic situations and the best response.
A dough ball just out of the fridge
Let it sit at room temperature before shaping. If it still feels stiff after that, give it a little more time rather than forcing it open.
A sticky dough that clings to the counter
Dust the surface lightly with semolina or flour, lift instead of drag, and keep your hands clean and dry. If you use too much flour, the dough can become dry on the outside while staying sticky underneath.
A dough that keeps snapping back
That’s a rest problem, not a strength problem. Let it relax, then continue.
A beginner trying to make a 12-inch pizza
Press the dough into a disk first, keep the outer edge thicker, and stop stretching the moment the base reaches the size you need. A slightly smaller, even round is better than a larger one with thin patches.
When to Troubleshoot the Dough Formula
If your dough repeatedly tears, turns slack and weak, or behaves wildly different from batch to batch, it’s worth looking at the dough formula and fermentation process rather than only the stretching step. Check whether the flour, hydration, mixing, or proofing time needs adjustment. Sometimes the stretch problem starts long before the dough reaches the counter.
Quick Recap: The Easiest Way to Stretch Pizza Dough Successfully
Here’s the short version to keep in mind:
- Let cold dough warm up and relax first
- Press before you pull
- Keep the dough moving so it stays round
- Leave the rim thicker than the center
- Use only enough flour or semolina to prevent sticking
- If the dough resists, rest it again
- If it tears, stop and patch it gently
As a final rule of thumb: if the dough still feels tight and springy, give it more time; if it feels relaxed, slightly puffy, and easy to extend, it’s ready to shape. Stretching pizza dough becomes much easier once you stop treating it like a race. The dough usually tells you what it needs. Listen to that, and shaping gets a lot more predictable.