
How to Knead Dough in a Food Processor Without Ruining the Texture

If you’ve ever wished bread dough could come together faster, a food processor can be a very useful tool. Used well, it mixes and kneads small to medium batches quickly, which is especially handy for pizza dough, basic sandwich bread, and dinner rolls. Some baking guides, including America’s Test Kitchen, describe it as one of the fastest ways to knead dough.
The catch is that a food processor is less forgiving than hand kneading. It can overwork dough quickly, warm it up, or strain if the batch is too large. So the goal is not “run it longer until it looks perfect.” The goal is to stop at the moment the dough becomes cohesive, elastic, and smooth enough to finish with a brief rest.
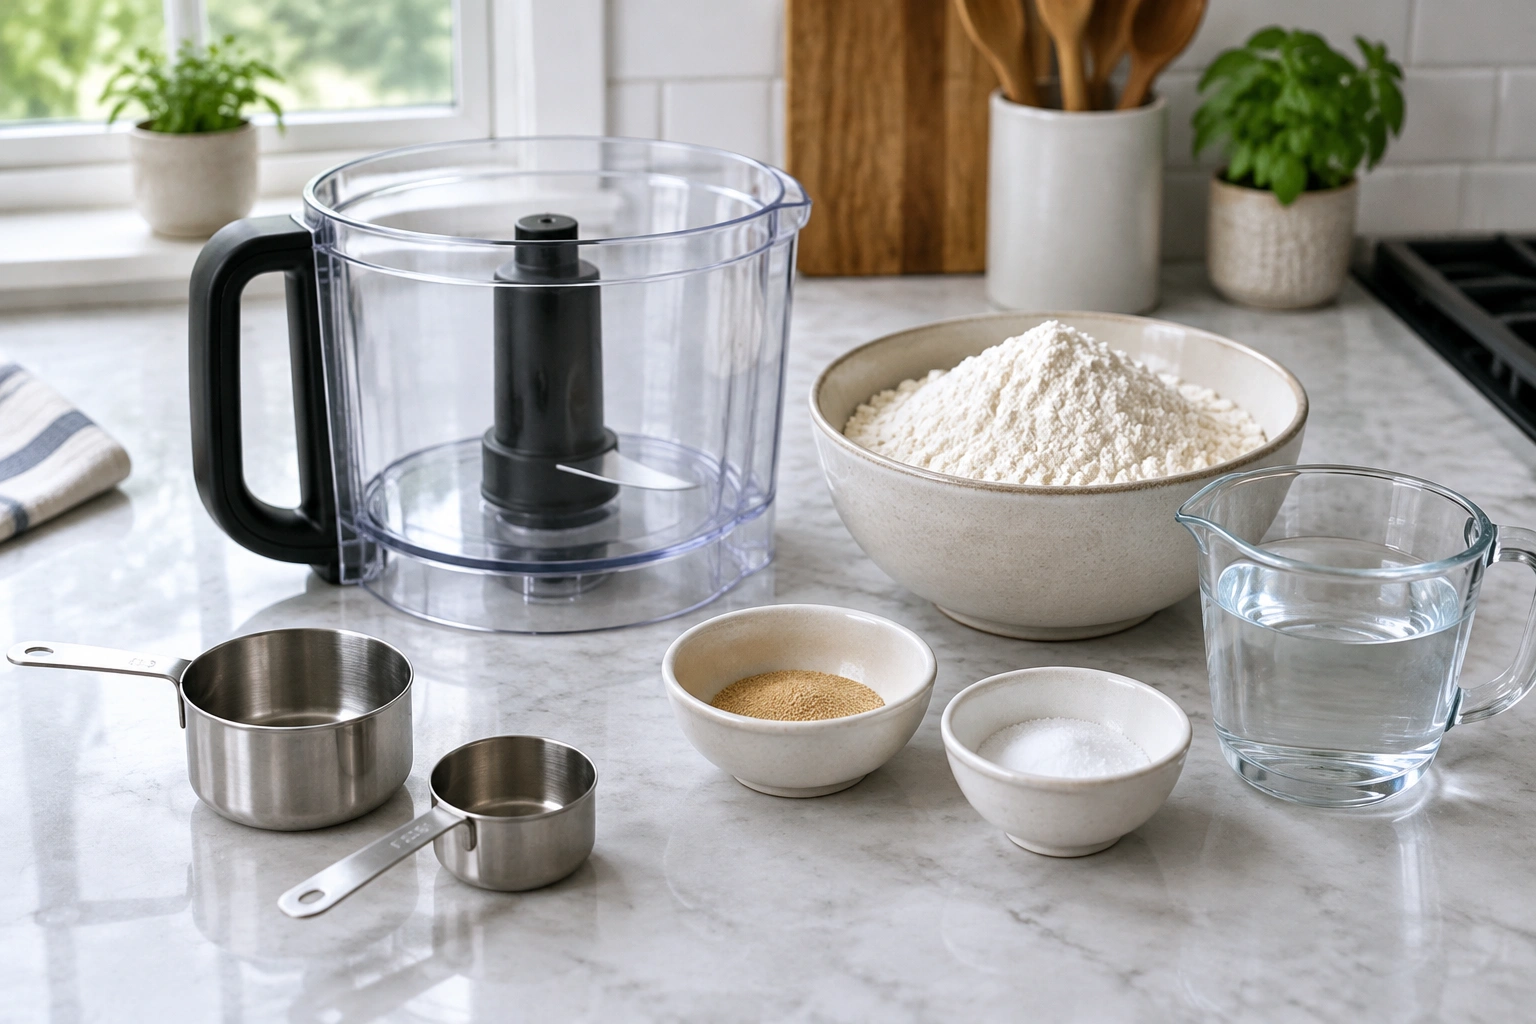
Can You Knead Dough in a Food Processor?
Yes — for the right dough, and with the right expectations.
A food processor works best on straightforward yeast doughs that need moderate gluten development. Think lean doughs and many everyday enriched doughs in small batches. It is less ideal for very delicate doughs, very large batches, or formulas that need long, gentle mixing.
The big advantage is speed. The trade-off is control. Hand kneading gives you more tactile feedback; a stand mixer gives you more capacity and a wider processing window. A food processor sits in the middle: fast, compact, and efficient, but easy to overdo if you walk away.
What You Need Before You Start
Before you pour in flour, check three things: processor size, blade choice, and dough style.
A processor that is too small will force the dough to ride up the blade or overload the motor. As a practical rule, look for at least a 7-cup bowl for bread dough, and a 10- to 12-cup processor is often more comfortable for small to medium batches. If your machine struggles with heavy mixtures or has a low-wattage motor, keep the batch modest or choose another method. KitchenAid’s guide to mixing and kneading in a food processor follows a basic pattern: add dry ingredients, prepare the yeast, then add the wet ingredients.
Most food processors come with two blades, metal and plastic, and some manufacturers recommend the plastic blade for bread doughs. The metal blade can also work, but it may generate more heat. That matters because warmer dough can affect rise and texture.
Here’s a practical way to think about setup:
| Decision point | Better choice | Why it matters |
|---|---|---|
| Small to medium batch | Food processor | Fast mixing without long kneading |
| Large batch | Stand mixer or hand kneading | Less risk of overloading the bowl |
| Basic lean dough | Food processor | Builds gluten quickly |
| Very delicate dough | Hand kneading | More control, less mechanical stress |
| Plastic blade available | Often the safer bread-dough choice | Usually gentler on the dough |
| Metal blade only | Usable, but watch heat closely | Can work faster and run warmer |
If you want a deeper refresher on gluten development and dough feel, our guide to how to knead bread dough pairs well with this method.
Best Doughs and Doughs to Avoid
The best candidates are doughs that need a quick, efficient knead and aren’t overly soft or heavily enriched. Pizza dough is the classic example. Many sandwich breads and dinner rolls also work well if the batch is reasonable.
A simple decision rule helps here: if the dough would normally be kneaded for a moderate amount of time by hand and does not rely on extreme delicacy, it is probably a candidate. If the dough is very sticky, very rich in butter and eggs, or meant to stay especially tender, the processor may be the wrong tool.
Good fits
- Pizza dough
- Basic sandwich bread dough
- Dinner roll dough
- Small batches of lean yeast dough
Poor fits
- Very large batches
- Extremely soft or slack doughs
- Doughs that need very gentle handling
- Some highly enriched doughs where careful mixing matters more than speed
The reason is simple: the processor develops gluten aggressively. That is useful when you want structure, but not ideal when you want minimal handling.
How to Knead Dough in a Food Processor: Step by Step
The method is straightforward, but the timing matters.
1) Add the dry ingredients first
Put flour, salt, and any dry yeast ingredients into the bowl. If your recipe uses instant yeast, it can usually go in with the dry ingredients. If it uses active dry yeast, dissolve or bloom it in warm liquid first if the recipe calls for that, then add it with the wet ingredients.
2) Pulse to combine
Use short pulses to distribute the dry ingredients evenly. This avoids flour pockets and helps the dough hydrate more evenly once the liquid goes in.
3) Add the liquid gradually
With the machine running or pulsing, add the wet ingredients in a steady stream. Don’t dump everything in at once if your recipe is unfamiliar. A little restraint here gives you more control over hydration.
If the dough seems dry and crumbly, add a teaspoon or two of water at a time. If it looks too wet, resist the urge to bury it in flour immediately. Give it a few more pulses first; many doughs tighten up fast once gluten starts forming.
4) Watch for the dough to gather
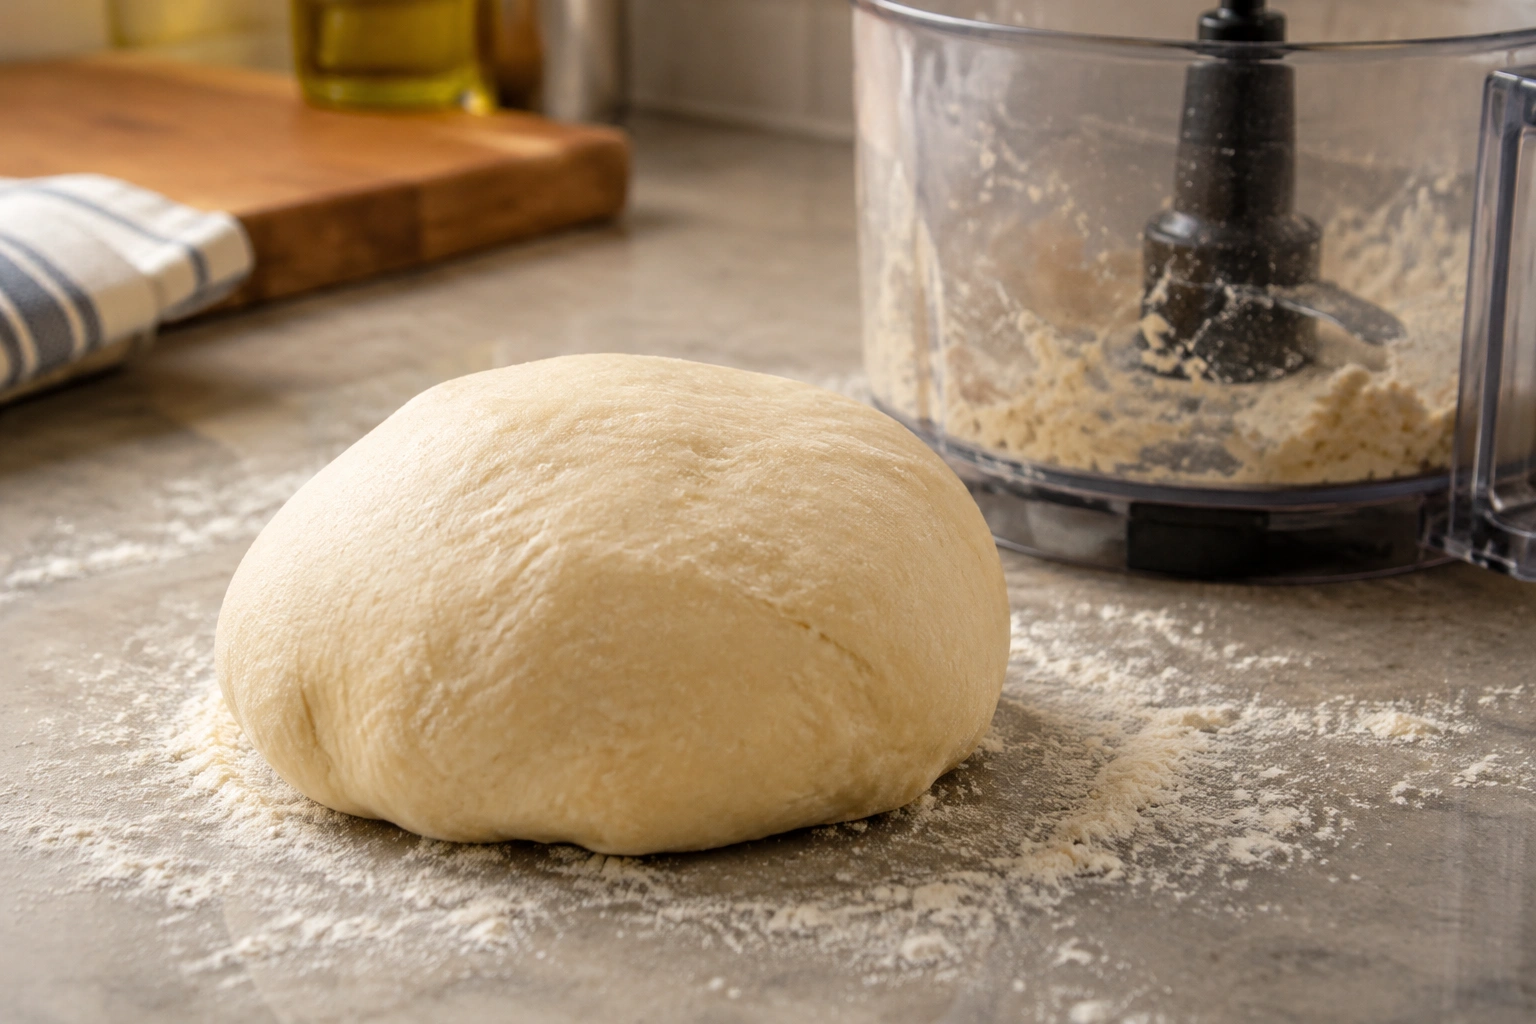
The dough should begin to clump, then come together into a rough mass. Depending on the dough and bowl shape, it may form one ball or split into two. That is normal. In some processors, the dough will slap lightly against the sides before it finishes.
5) Pulse in short bursts
Use short bursts rather than one long run. This is the safest way to control gluten development and reduce heat buildup. You are looking for cohesion, not perfection.
6) Stop as soon as it looks elastic and smooth
Once the dough clears the sides fairly well, feels springy, and has a more unified surface, stop. If it is still a little rough, that is fine. For many doughs, a short rest finishes the job; a brief hand-knead is optional only if the dough still feels shaggy or uneven after resting.
7) Rest before shaping or proofing
Let the dough rest briefly after processing. That pause helps the gluten relax, which makes shaping easier and prevents the dough from fighting back.
How to Tell When the Dough Is Properly Kneaded
Do not rely on the clock alone. With a food processor, dough can go from underdeveloped to overworked quickly.
Look for these signs:
- The dough forms a cohesive mass instead of loose crumbs
- It pulls away from the bowl well enough to move as a unit
- The surface looks smoother, though not necessarily perfectly satin-like
- It feels elastic when gently pressed
- It does not tear immediately when stretched a little
A useful test is a small stretch. If the dough stretches some without breaking instantly, you are close. If it feels tight, dry, or rubbery, it may have gone too far. If it still looks shaggy and falls apart, it needs a little more processing or a brief rest followed by a few more pulses.
How Long to Process Dough and When to Stop
The honest answer is that time matters less than texture. Still, the processing window is usually short.
For many doughs, the kneading phase is usually about 30 seconds to 2 minutes of total processing, often in several short bursts rather than one long run. That is exactly why a food processor is efficient — and why it can overdo the job so fast.
A practical approach:
– Use short pulses first
– Check the dough frequently
– Stop the moment it becomes cohesive and elastic
– Avoid letting the machine run continuously for long stretches
If the dough looks smooth, springs back lightly when pressed, and is clearing the bowl in a single mass, it is usually ready. If the processor bowl or motor starts to feel warm, that is another reason to stop.
Common Mistakes and How to Fix Them
Adding too much flour too early
This is one of the easiest ways to make tough dough. Flour often looks dry before it has fully hydrated. If you add too much at the first sign of stickiness, the dough can become stiff and hard to shape.
Fix: Pause and let the dough mix a little longer before adding more flour. If it is still too sticky after a few pulses, add flour in very small amounts.
Adding too much liquid
A dough that is too slack will smear around the bowl and refuse to gather.
Fix: Add flour a teaspoon or tablespoon at a time, depending on batch size, and pulse briefly between additions.
Using the wrong blade
Some manufacturers recommend a plastic blade for dough, while the metal blade can run hotter.
Fix: If your processor includes a dough or plastic blade, use that first for bread dough.
Overprocessing
This is the classic food processor mistake. The dough can become too warm and too tight.
Fix: Stop earlier than you think, then let the dough rest. If it still needs a little more development, return it for a few short pulses.
Trying too large a batch
A batch that is too big will not move freely and may strain the motor.
Fix: Reduce the recipe or switch to a stand mixer or hand kneading.
Troubleshooting Sticky, Dry, Warm, or Climbing Dough
If the dough is sticky
Sticky dough is not always a problem. Many bread doughs start sticky before gluten develops.
If it stays sticky after several pulses:
– Check whether the recipe hydration is naturally high
– Add flour very gradually
– Give the dough a brief rest, then pulse again
If the dough is dry and crumbly
Dry dough often means the flour has not fully absorbed enough liquid.
If it looks sandy or broken:
– Add liquid a teaspoon at a time
– Pulse briefly after each addition
– Stop as soon as it forms a clump
If the dough feels warm
Warm dough can happen when the processor runs too long or the blade generates friction.
If that happens:
– Stop immediately
– Let the dough rest before continuing
If the dough climbs the blade
This usually means the batch is too small, too dry, or the processor is not moving the dough effectively.
If it climbs and stops mixing:
– Scrape down only after unplugging the machine
– Add a small amount of liquid if the dough is too stiff
– Consider a larger bowl or a different method
Food Processor vs Hand Kneading vs Stand Mixer
Each method has a place.
| Method | Best for | Main advantage | Main drawback |
|---|---|---|---|
| Food processor | Small to medium batches, fast kneading | Very quick | Easy to overprocess |
| Hand kneading | Delicate control, learning dough feel | Maximum feedback | Slower and more physical |
| Stand mixer | Larger batches, longer mixing | Good capacity and consistency | Takes more space and cleanup |
Choose a food processor when speed matters and the recipe is compatible. Choose hand kneading when you want tactile control or the dough is delicate. Choose a stand mixer when you need more capacity or a gentler long mix without constant attention.
A food processor can be better than a stand mixer for a quick, small batch on a weeknight. It is usually not the best tool for big bakery-style batches.
Practical Examples and Recipe Adaptation Tips
Pizza dough
Pizza dough is one of the easiest conversions. Use the processor to bring the dough together quickly, then stop once it forms a smooth mass. If the recipe normally calls for a longer knead by hand, do not try to “match” that time in the machine. The processor works faster.
Sandwich bread
For sandwich bread, the key is not to overdo the processing. A dough that is slightly rough when it leaves the bowl can often finish nicely during its first rest.
Dinner rolls
Small batches of roll dough are a good fit, especially if the formula is not overly rich. Keep an eye on warmth, because soft doughs can become sticky if the processor runs too long.
If you are adjusting a hand-kneaded recipe, make only one change at a time. Slight flour or liquid adjustments are normal, but large changes can throw off the dough’s balance. If you want to understand why hydration changes the feel so much, see our guide to bread dough hydration.
Cleanup and Machine Care After Dough
Unplug the machine before removing the dough or cleaning near the blade. That is non-negotiable.
Dough residue tends to cling to the bowl, lid, and blade. Let the dough scraps dry slightly if needed, then remove them carefully before washing. Avoid forcing sticky dough deeper into the blade area with your fingers; a flexible scraper is safer.
If your machine struggled or vibrated unusually, give it a proper break before the next batch. A food processor is a workhorse, but it still has limits.
When to Consult a Master Baker
If your dough keeps turning out dense, tearing, or overly sticky even after careful adjustments, the issue may be in the formula rather than the method. A master baker can help you evaluate flour strength, hydration, fermentation timing, and whether the dough is even a good candidate for machine kneading.
That kind of troubleshooting is especially useful if you are adapting a favorite recipe for production-style efficiency or culinary school practice.
FAQ
Can you knead any bread dough in a food processor?
No. It works best for basic yeast doughs in small to medium batches. Very delicate, very large, or highly enriched doughs are usually better handled another way.
What blade should I use?
If your processor includes a dough or plastic blade, that is often the safer choice for bread dough. A metal blade can work, but it may create more heat.
How do I know when to stop?
Stop when the dough is cohesive, elastic, and pulling away from the bowl well enough to move as one mass. If it looks smooth but still slightly rough, that is usually fine.
Can a food processor overwork dough?
Yes. That is one of the main risks. The machine develops dough quickly, so short bursts and frequent checks are the safest approach.
Do I need to proof the dough differently?
No special proofing method is required just because you used a food processor. What matters is the dough’s final condition, temperature, and fermentation time.
Is a food processor better than a stand mixer?
Not universally. It is faster for small batches, but a stand mixer is usually better for larger quantities or longer mixing windows.
How do I know if my recipe is a good fit?
If it is a straightforward yeast dough that normally needs moderate kneading and the batch size fits comfortably in your processor, it is probably a good candidate. If the dough is very soft or the machine feels overloaded, choose a different method.