Cleaning a toilet with vinegar and baking soda works best for light grime, odor, and routine upkeep. It is not a cure-all, so stubborn mineral buildup or plumbing odors may need a stronger solution.
Cleaning a toilet with vinegar and baking soda is a simple DIY method that can help with light grime, mild odor, and some surface buildup. It is useful for routine bathroom care, but it works best when you understand what the ingredients can and cannot do.
- Best use: Good for routine toilet freshening and light surface cleaning.
- How it works: Vinegar helps loosen some residue, while baking soda supports odor control and mild scrubbing.
- Main limit: Hard-water rings, rust, and worn surfaces often need a stronger cleaner.
- Safety rule: Never mix this method with bleach, ammonia, or other cleaners.
Why Vinegar and Baking Soda Are Popular for Toilet Cleaning
Vinegar and baking soda are popular because they are inexpensive, easy to find, and feel like a natural cleaning option. They also create a visible fizz, which makes the process seem active and satisfying, even though the fizz itself is not the whole cleaning power.
What each ingredient does in the bowl, stains, and odor control
Vinegar is acidic, so it can help loosen some mineral residue and reduce odor in the bowl. Baking soda is mildly abrasive and can help lift surface soil while also absorbing odors.
When they are combined, they react and foam. That reaction can help spread the mixture across the bowl, but it does not create a strong, lasting cleaning solution on its own. For best results, one ingredient should usually have time to sit on the surface before scrubbing.
The fizz from vinegar and baking soda is mostly carbon dioxide gas. It looks dramatic, but the real cleaning still comes from contact time, scrubbing, and the vinegar’s acidity on certain deposits.
When this method makes sense for routine cleaning versus deep cleaning
This method makes sense for weekly or between-use maintenance when the toilet is generally in good shape. It can freshen the bowl, help with light staining, and make a bathroom smell cleaner without using a heavy chemical cleaner.
For deep cleaning, hard-water rings, rust, or thick mineral scale often need a stronger descaler or a longer soak. If the toilet has not been cleaned in a while, vinegar and baking soda may be a first step, not the final answer.
What You Need Before You Start: Tools, Safety, and Surface Checks
Before you begin, gather a few basic tools and check the toilet surface. A small amount of preparation makes the job easier and helps prevent splashing or accidental damage.
Measuring amounts, scrub brushes, gloves, and optional add-ons
For a standard bowl, many people start with about 1 cup of vinegar and 1/2 cup of baking soda. That is usually enough for light to moderate cleaning without making a mess.
A toilet brush is the main tool for the job, and rubber gloves help protect your hands from grime and cleaner residue. If you want extra cleaning power, a pumice stone made for toilets can sometimes help with mineral rings, but only if the bowl material is safe for it and the product directions allow it.
Toilet materials and finishes that need extra caution
Most standard porcelain toilets handle vinegar and baking soda well, but specialty finishes can be more delicate. If your toilet has an unusual coating, decorative trim, or manufacturer-specific finish, check the care instructions before scrubbing aggressively.
Be careful with any surface that is already worn, scratched, or dull. Harsh scrubbing can make old stains look worse by exposing the rough surface underneath.
Safety notes for ventilation, splashing, and mixing with other cleaners
Open a window or run the bathroom fan if possible. Even though vinegar is a common household ingredient, the smell can be strong in a small space.
Important
Never mix vinegar and baking soda with bleach, ammonia, or other commercial cleaners. Mixing cleaners can create unsafe fumes or reduce cleaning performance, so keep one method at a time and rinse well before switching products.
If you need to clean the toilet with another product later, flush thoroughly and wait before adding anything else. This is a simple safety habit that prevents accidental chemical reactions.
Step-by-Step: Cleaning a Toilet with Vinegar and Baking Soda the Right Way
The best results come from using the ingredients in the right order and giving them time to work. The goal is to loosen buildup first, then scrub it away, then flush and inspect the result.
Flush the toilet so the bowl is as clean as possible before you start. Pour about 1 cup of white vinegar around the inside of the bowl, aiming under the rim and along the waterline.
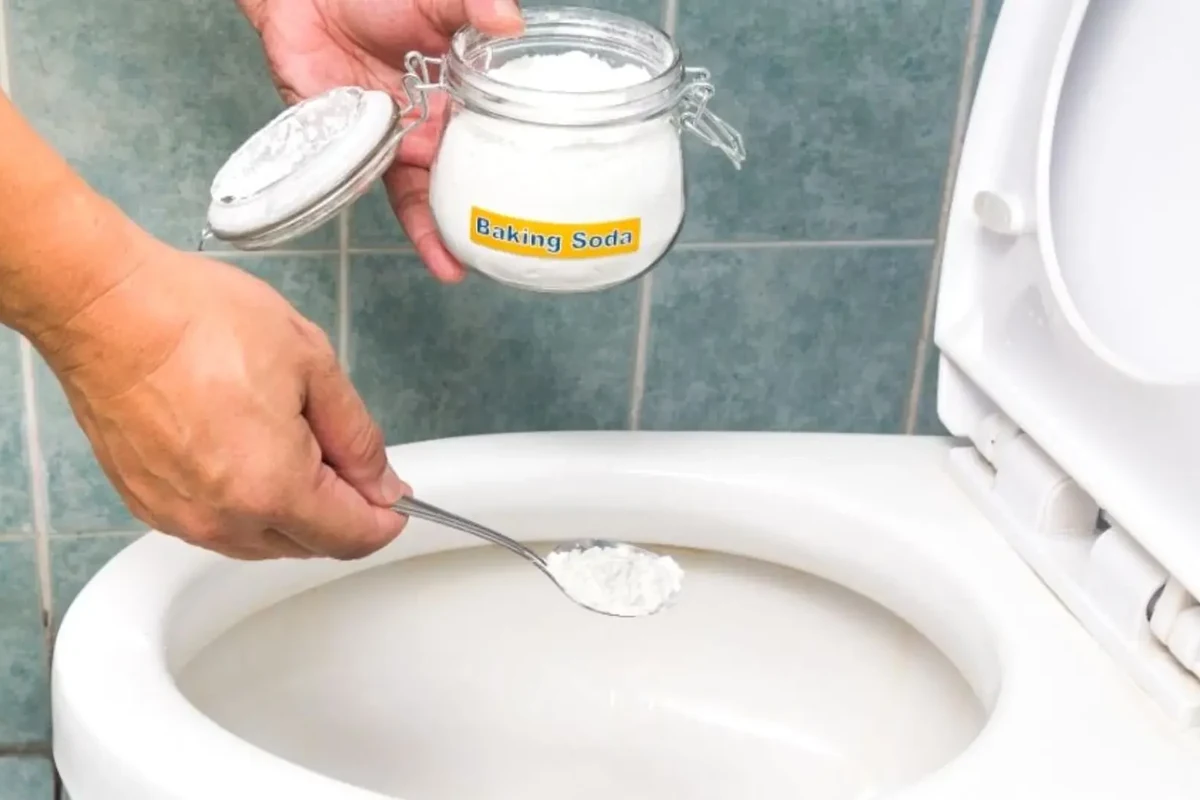
Sprinkle about 1/2 cup of baking soda into the bowl. The mixture will fizz, which helps spread the cleaner, but do not rush to scrub right away.
Allow the solution to sit for at least 10 to 15 minutes for light cleaning. For more buildup, a longer soak of 20 to 30 minutes may help before scrubbing.
Use the toilet brush to scrub under the rim, around the waterline, and down into the bottom of the bowl. Focus on stained areas with steady pressure rather than fast, light passes.
Flush the toilet to rinse away loosened residue. If stains remain, repeat the process or move to a stronger cleaner if the mark looks like mineral scale or rust.
Preparing the bowl and applying the ingredients in the correct order
Start with vinegar, because it needs direct contact with the stain or mineral deposit to do its work. Adding baking soda afterward creates the reaction in the bowl rather than in the measuring cup, where the fizz would be wasted.
This order also helps distribute the cleaner into the curved areas of the bowl. That matters because grime often collects under the rim and along the waterline where brushes can miss small spots.
How long to let the mixture sit for buildup and stains
Short contact time is fine for freshening a bowl that is already fairly clean. If you are dealing with visible residue, give the mixture more time before scrubbing so the vinegar can soften the deposit.
Do not leave the mixture in the bowl overnight unless the toilet manufacturer’s care instructions allow it. Long soaks are sometimes helpful, but they are not always necessary and can be messy if the bowl is used by others.
Scrubbing techniques for the bowl, rim, and waterline
Use firm, circular scrubbing on the sides of the bowl and shorter strokes under the rim. The waterline often needs the most attention because it is where mineral buildup and residue collect.
If the brush is too soft, it may move the cleaner around without removing the film. If it is too stiff, it can splash more than you want, so keep the motion controlled and steady.
Flushing and checking the result after cleaning
After flushing, inspect the bowl in good light. Look at the waterline, the underside of the rim, and the bottom curve of the bowl.
If you still see a dull ring or patchy discoloration, that tells you the stain may not be simple grime. In that case, repeat the process once or switch to a cleaner designed for the specific problem.
Best Ratios, Timing, and Technique for Different Toilet Messes
There is no single perfect ratio for every toilet. The right amount depends on how dirty the bowl is, how much mineral buildup you have, and whether you are cleaning for maintenance or recovery.
Light maintenance cleaning versus mineral deposits and hard-water rings
For light maintenance, a smaller amount of vinegar and baking soda is often enough. The goal is to refresh the bowl and remove surface grime before it becomes a bigger problem.
For mineral deposits and hard-water rings, the method may need more contact time and repeated scrubbing. Vinegar can help soften some scale, but heavy buildup often needs a dedicated descaler or a stronger approach.
If your home has hard water, toilet rings may come back quickly even after a good cleaning. In that case, prevention matters as much as the cleaning method itself.
How much vinegar and baking soda to use for a standard toilet bowl
A common starting point is about 1 cup of vinegar followed by 1/2 cup of baking soda. That amount is usually enough to coat the bowl without overflowing the fizz.
If the bowl is larger or the buildup is heavier, you can increase the amount slightly, but more is not always better. Too much product can foam over the rim and make cleanup harder.
When repeating the process helps and when it will not be enough
Repeating the process can help if the first round loosened some residue but did not remove it fully. A second round is especially useful for mild odor, thin grime, or a light ring that is starting to fade.
It will not be enough when the stain is caused by rust, deep limescale, or a worn glaze. If the surface itself is damaged, cleaner alone cannot restore the finish.
Common Mistakes That Make This Method Less Effective
Most problems with this method come from expectations, not from the ingredients themselves. Vinegar and baking soda can help, but they are not a replacement for proper technique.
Using too much product too quickly
Dumping in a large amount of baking soda and vinegar at once can create a fast fizz that looks impressive but does not clean better. The reaction happens quickly, which can waste the ingredients before they have time to work on the stain.
Use measured amounts and let the mixture sit. That gives the cleaner a chance to contact the bowl instead of disappearing into foam.
Expecting fizz alone to replace scrubbing
The fizz is only part of the process. It may help lift loose particles, but it does not scrub away stuck-on residue by itself.
If you want a clean bowl, you still need a brush and a little pressure. Think of the fizz as support, not the main event.
Keep the toilet brush and cleaning cloths away from food-prep areas, and wash your hands after cleaning. Bathroom cleaning tools should stay separate from kitchen tools to avoid cross-contamination.
Mixing vinegar and baking soda with bleach or commercial cleaners
Never combine this DIY method with bleach, ammonia, or another cleaner in the same bowl. Even if the bowl looks empty, residue can still react with a new product.
If you decide to switch products, flush well and rinse the bowl first. When in doubt, use one cleaner at a time and follow the product label.
Ignoring stains caused by rust, limescale, or worn surfaces
Some toilet stains are not just dirt. Rust, limescale, and old mineral deposits can leave orange, brown, or chalky marks that do not respond well to a mild DIY mix.
Worn porcelain can also trap discoloration because the surface is no longer smooth. In those cases, the stain may look cleaner after scrubbing but never fully disappear.
Practical Examples: When This DIY Method Works Best
This method is most useful when you want a simple, budget-friendly way to keep a toilet fresh. It is not the strongest cleaner available, but it is often enough for everyday upkeep.
Freshening a guest bathroom before company arrives
If a guest bathroom needs a quick refresh, vinegar and baking soda can help remove light odor and surface film. It is a practical option when you want the bowl to look and smell cleaner without a long cleaning session.
For best results, clean the bowl, wipe the seat and exterior separately, and empty the trash can too. A clean toilet bowl alone does not make the whole bathroom feel fresh.
Maintaining a family bathroom between deeper cleanings
In a busy home, toilets often need more than a weekly wipe but less than a full deep clean. This method fits well between bigger cleaning days because it can keep buildup from getting ahead of you.
That is especially helpful if you already use a stronger cleaner sometimes and want a gentler maintenance routine on other days. It can also reduce how often you need to deal with heavy scrubbing.
Handling mild odor and surface grime in a budget-friendly way
For mild odor, baking soda can help absorb smells while vinegar helps neutralize some residue that contributes to the problem. The result is usually a fresher bowl, not a perfume-like scent.
If you are trying to keep cleaning costs low, this is one of the simplest ways to maintain a bathroom with ingredients you may already have in the pantry. If you want to compare it with other household cleaning uses, see our guide on baking soda vinegar cleaning ovens for a similar contact-time approach on kitchen surfaces.
When to Choose a Different Cleaner or Call for a Deeper Fix
Sometimes the toilet needs more than a DIY mix. Knowing when to switch methods saves time and prevents repeated scrubbing that does not solve the real issue.
Signs of stubborn mineral buildup, biofilm, or discoloration
If the stain feels rough, looks chalky, or comes back quickly after cleaning, mineral buildup is likely part of the problem. A slippery or slimy film may point to biofilm, which can also need a stronger cleaner and more thorough scrubbing.
Dark, uneven discoloration that does not change after repeated cleaning may be permanent staining or surface wear. In that case, the bowl may be clean even if it does not look brand new.
Situations where commercial descalers or enzyme cleaners may perform better
Commercial descalers are often better for hard-water scale because they are formulated to break down mineral deposits more aggressively. Enzyme cleaners can also be useful for organic residue and odor control in some situations.
If you choose a commercial product, read the label carefully and follow the manufacturer’s directions. That is especially important in bathrooms, where mixing cleaners or using the wrong product on the wrong surface can create problems.
When toilet parts, seals, or plumbing issues are the real problem
Sometimes the smell is not coming from the bowl at all. A worn wax ring, a leaking seal, or a plumbing vent issue can cause persistent odor that no cleaner will fix.
If water level changes, leaks, or recurring sewer smells show up, cleaning is not the main solution. That is the point to inspect the toilet parts or call a plumber.
Final Verdict: Is Cleaning a Toilet with Vinegar and Baking Soda Worth It?
Yes, cleaning a toilet with vinegar and baking soda is worth it for light maintenance, mild odor, and surface grime. It is affordable, easy to use, and a good option when you want a simple routine without harsh products.
Who should use this method and who should skip it
This method is a good fit for beginners, budget-conscious households, and anyone doing regular upkeep. It is also useful when you want a gentler cleaning option between deeper bathroom cleanings.
Skip it as your only solution if the toilet has heavy hard-water scale, rust, biofilm, or a plumbing-related odor. In those cases, a stronger cleaner or a repair is more effective.
How to fit it into a simple bathroom cleaning routine
The easiest way to use this method is as part of a short weekly bathroom reset. Clean the bowl, wipe the seat and exterior, and check the waterline before buildup has time to harden.
If you want more background on the science behind the reaction, our guide on the baking soda and vinegar reaction explained simply is a helpful companion read. For another related cleaning use, you can also look at clean drains with vinegar baking soda fast and easy to see where the same ingredients work well and where they need support.
Use vinegar and baking soda for routine toilet freshening and light buildup, but rely on scrubbing and the right cleaner for tougher stains. It is a smart, low-cost method when you want simple maintenance, not a miracle fix.
Frequently Asked Questions
A common starting point is about 1 cup of vinegar and 1/2 cup of baking soda for a standard bowl. You can adjust slightly for larger bowls or heavier buildup, but too much at once can create messy foaming.
Pour the vinegar in first, then add the baking soda. That helps the reaction happen in the toilet bowl instead of in a container, where the fizz would be wasted.
Let it sit for about 10 to 15 minutes for light cleaning. For more buildup, 20 to 30 minutes may help before you scrub the bowl.
They may help soften light hard-water buildup, but strong mineral rings usually need more time or a dedicated descaler. If the ring is rough or chalky, this DIY method may not be enough by itself.
No. Never mix them with bleach, ammonia, or other cleaners, and flush well before switching products.
You can use this method for routine maintenance as needed, such as weekly or between deeper cleanings. If stains keep returning quickly, a stronger cleaner or a plumbing check may be necessary.
