Baking Soda and Salt Trick That Actually Works
Yes, the baking soda and salt trick works for light cleaning, odor control, and gentle scrubbing on durable kitchen surfaces. It is not strong enough for heavy grease, burnt sugar, or delicate finishes.
The baking soda and salt trick can work well for light kitchen cleanup, especially when you need a simple, low-cost way to lift residue, reduce odors, and loosen surface grime. It is not a miracle cleaner, but in the right situation it is still one of the most useful old-school methods in a baking kitchen.
- Best use: Light residue, mild odors, and routine kitchen cleanup.
- Main limit: It is not a true degreaser or disinfectant.
- Safe approach: Use a soft sponge and test delicate surfaces first.
- Mixing tip: Start with more baking soda than salt for gentler scrubbing.
- Smart choice: Switch to dish soap or a specialty cleaner for tougher messes.
What the Baking Soda and Salt Trick Actually Is in 2026
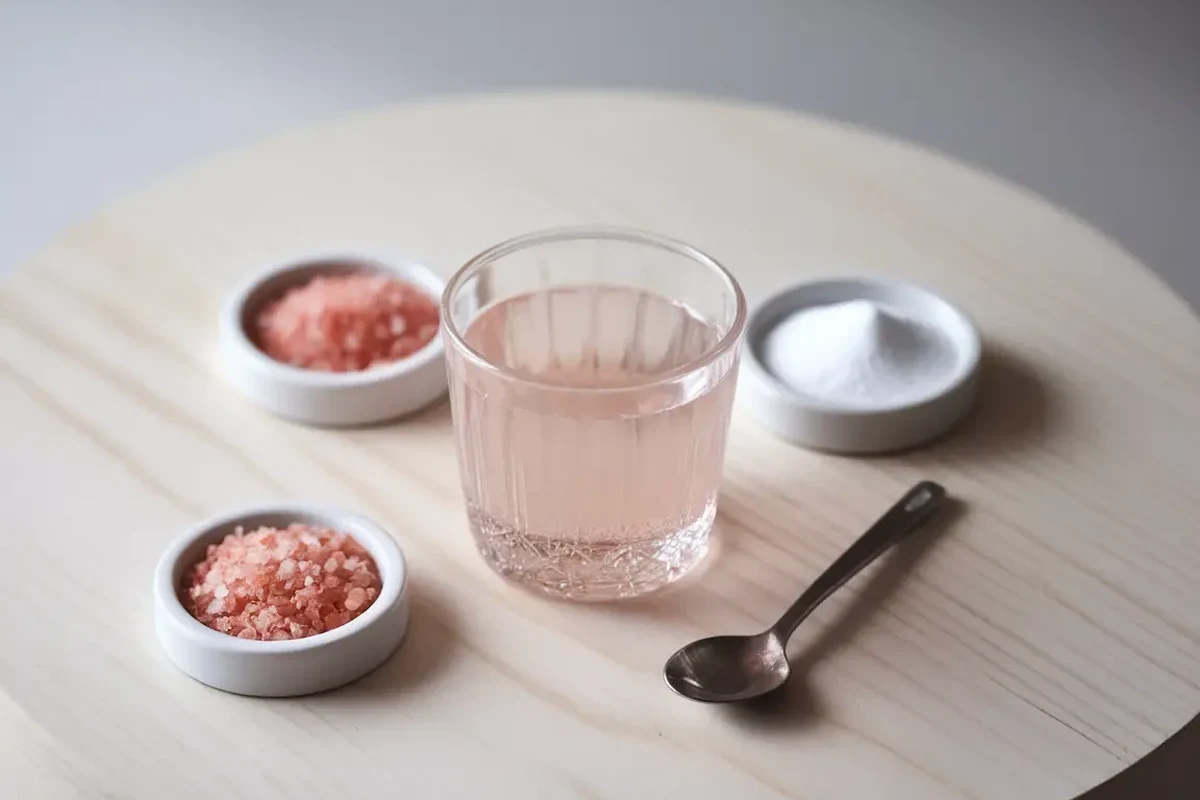
The baking soda and salt trick is a basic cleaning method that combines sodium bicarbonate with table salt to help remove stuck-on messes and absorb odors. In most kitchens, people use it as a dry sprinkle, a light paste, or a gentle scrub for surfaces that can handle mild abrasion.
It keeps trending because it is inexpensive, easy to store, and familiar. Many home bakers also like that it can be used quickly after a baking session, before residue has time to harden into a tougher cleanup job.
Why this old-school household fix keeps trending again
Simple cleaning methods often come back when people want fewer products under the sink. Baking soda and salt are both common pantry items, so the trick feels practical for everyday spills, flour dust, pan residue, and faint odors.
It also fits modern kitchens that are trying to avoid harsh smells or overly aggressive cleaners on food-contact surfaces. That said, convenience does not mean universal effectiveness, so the result depends on the type of mess and the surface you are cleaning.
What baking soda and salt can and cannot realistically do
Baking soda can help neutralize some odors and loosen light residue. Salt adds a little abrasion, which can help physically dislodge grime that is sitting on top of a surface.
What it cannot do is replace a true degreaser, deep stain remover, or sanitizer. If you are dealing with heavy grease, burnt sugar, or a surface that needs disinfection, you will usually need a better-matched product or method.
Baking soda works best as a mild cleaner because it is slightly alkaline and gently abrasive, which makes it useful for light soil without being as harsh as many scrubbing powders.
How the Baking Soda and Salt Trick Works on Common Baking Messes
This trick works through three simple effects: mild alkalinity, gentle abrasion, and moisture control. Baking soda helps loosen some residues and odors, while salt can help physically lift material off the surface when you rub lightly.
For bakers, that combination is especially helpful after floury prep, sticky batter drips, or a pan that has a thin film of baked-on residue. It is less effective when the mess has chemically changed into a tougher layer, such as dark caramelized sugar.
How alkalinity, abrasion, and moisture control help with stains and odors
Baking soda is mildly alkaline, so it can help shift acidic odors and loosen some food soils. Salt adds texture, which gives your sponge or cloth a little extra scrubbing power without immediately reaching for something harsher.
The dry form can also help absorb moisture from damp spots, which matters when you are trying to reduce lingering smells in containers or bowls. That is why the trick often feels most effective on fresh, light messes rather than old, dried-on buildup.
Where the trick performs best: sinks, pans, counters, and drains
This method is most useful on stainless steel sinks, baking pans with light residue, countertops that allow gentle scrubbing, and drains that need a freshening step. It can also help with prep bowls, cutting boards, and storage containers that smell faintly of butter, onion, or spice.
For drain care, it is best treated as a maintenance step rather than a fix for a clogged line. If you want a deeper explanation of that approach, see our guide on clean drains with vinegar and baking soda.
Where it fails: grease buildup, burnt sugar, and delicate finishes
Heavy grease usually needs a surfactant, such as dish soap or a dedicated degreaser, because oil does not respond well to mild powder scrubbing alone. Burnt sugar and caramelized residue are even harder because they bond tightly to the pan surface once heated.
Delicate finishes are another limitation. Polished stone, some coated pans, and soft plastics can scratch or dull if you use too much salt or scrub too hard.
Always check the manufacturer’s care instructions for cookware and countertop materials before using any abrasive cleaner. When in doubt, test a small hidden area first, especially on nonstick coatings, natural stone, or specialty finishes.
Best Ratios, Measurements, and Mixing Methods for Safe Use
There is no single perfect ratio because the right mix depends on the surface and the mess. For most light cleaning jobs, a small amount of baking soda with a smaller amount of salt is enough to create a useful scrub without turning the mixture too rough.
Typical baking soda to salt proportions for cleaning tasks
A common starting point is about 2 parts baking soda to 1 part salt for general cleanup. If the surface is soft or polished, use less salt so the mixture stays gentler.
For odor control in containers or bowls, you may not need a paste at all. A dry sprinkle of baking soda with a light dusting of salt can be enough before wiping clean with warm water.
If you are cleaning a larger surface, mix only what you need. Dry ingredients keep well when stored properly, but a damp mixture can clump and lose the even texture that makes the trick easier to use.
Dry paste versus wet paste: when each method makes sense
A dry mix works well when you want mild abrasion and odor absorption at the same time. It is especially useful for sinks, pans, and lightly stained prep surfaces.
A wet paste makes more sense when you need the mixture to cling to a vertical or curved area. Add just enough water to make a spreadable paste, but not so much that it turns runny and loses scrubbing power.
How to test on small areas before full application
Before cleaning an entire pan or counter, test the mixture on a hidden corner or small patch. Let it sit briefly, wipe it away, and check for dulling, scratching, or residue.
This matters more on coated or polished surfaces than on plain stainless steel. A short test can save you from making a small cleanup problem into a surface-care problem.
- Confirm the surface is food-safe and abrasion-tolerant.
- Use a soft sponge or cloth first, not a hard scrub pad.
- Keep the mixture away from open cuts and eyes.
- Rinse thoroughly after cleaning food-contact areas.
Step-by-Step Uses for Baking Pans, Countertops, and Kitchen Surfaces
For most baking tasks, the trick works best as a gentle first-pass cleaner. It helps remove the easy layer of mess so you can decide whether you need a second round with soap, a degreaser, or a specialty cleaner.
Cleaning stainless steel, glass, and ceramic without scratching
Start with a light sprinkle or thin paste, then wipe in small circles using gentle pressure. Stainless steel usually tolerates this well, but glass and ceramic still benefit from a soft cloth rather than a rough pad.
Rinse and dry after cleaning so you do not leave a chalky film. If water spots are a concern, drying promptly matters as much as the cleaning step itself.
Removing light odors from prep bowls, cutting boards, and storage containers
For bowls and containers, sprinkle a little baking soda with a pinch of salt, add a small amount of warm water, and let it sit for a few minutes before washing. This can help with lingering smells from butter, vanilla, garlic, onion, or spices.
On cutting boards, keep the scrubbing light and rinse thoroughly. For odor-focused cleanup, our related guide on baking soda for smoke odors shows how odor absorption works in another common household setting.
Dealing with stuck-on residue after baking sessions
For pans with light baked-on bits, let the pan cool first, then cover the residue with the mixture and a little warm water. Give it time to soften the surface layer before wiping.
If the residue is still stubborn, repeat once rather than scrubbing harder. A second gentle pass is usually safer than one aggressive scrub, especially on nonstick or coated bakeware.
Use a light sprinkle or paste, depending on the surface and how much residue is present.
Give the mixture a few minutes to loosen light grime and odor before wiping.
Use a soft sponge or cloth with small circles and minimal pressure.
Remove all residue so food-contact surfaces stay clean and chalk-free.
Common Mistakes That Make the Trick Less Effective
Most failures come from using the mixture too aggressively or expecting it to do the job of a stronger cleaner. The trick is useful, but only when matched to the right type of mess.
Using too much salt on soft or polished surfaces
Salt is the abrasive part of the mix, so more salt does not automatically mean better cleaning. On polished or soft surfaces, too much salt can leave micro-scratches or a dull finish.
If you are unsure, start with more baking soda than salt and use lighter pressure. The goal is to lift residue, not grind it off.
Assuming the mixture replaces degreasers or disinfectants
This trick is not a true degreaser, and it is not a substitute for a disinfectant when sanitation is needed. It can help remove visible soil, but it does not guarantee germ removal or deep grease breakdown.
For food safety questions, follow recognized guidance from the USDA or FDA and the directions on the product label you are using. That is especially important for cutting boards, raw-ingredient spills, and surfaces that touched raw egg or meat.
Scrubbing too aggressively and causing surface damage
Hard scrubbing can create more problems than the original mess. This is a common issue with coated bakeware, glossy finishes, and some countertop materials.
If the residue is not lifting, switch methods instead of increasing pressure. Dish soap, soaking, or a specialty cleaner may be the better next step.
- Use a soft sponge or cloth first.
- Test on a hidden spot before full use.
- Rinse and dry food-contact surfaces well.
- Using heavy pressure on delicate finishes.
- Mixing the trick into a harsh all-purpose routine.
- Leaving gritty residue on prep surfaces.
Safety, Storage, and Surface Compatibility in a Modern Kitchen
Kitchen cleanup should be simple, but it still needs to be safe. The main concerns here are surface compatibility, chemical mixing, and keeping dry ingredients clean and usable.
Which materials are usually safe and which need extra caution
Stainless steel, many ceramic surfaces, and some durable sinks usually handle this trick well when used gently. Glass may be okay too, but it still benefits from a soft cloth and light pressure.
Use extra caution on natural stone, nonstick coatings, painted surfaces, and anything with a protective finish. If the manufacturer says to avoid abrasives, follow that guidance.
When to avoid mixing with vinegar, bleach, or commercial cleaners
Do not mix baking soda and salt with bleach or other cleaners unless the product instructions specifically say it is safe. Mixing cleaners can create unwanted reactions or reduce cleaning performance.
Vinegar is often paired with baking soda in home cleaning, but the reaction mainly creates fizz and short-lived movement. If you want to understand that better, see our guide on the baking soda and vinegar reaction explained simply. For drain cleanup, our article on baking soda vinegar cleaning ovens also shows where that combo is useful and where it is not.
Keep cleaning powders away from hot pans, open flames, and wet electrical areas. Let bakeware cool before cleaning, and never use abrasive scrubbing on a hot surface.
How to store baking soda and salt so they stay dry and usable
Store both ingredients in tightly closed containers away from steam and sink splashes. Humidity can cause clumping, which makes the mixture harder to measure and less pleasant to use.
If baking soda has absorbed strong odors from storage, it may still be useful for cleaning, but not ideal for baking. For more on freshness and replacement timing, see our guide on whether baking soda expires.
When the Baking Soda and Salt Trick Is Worth Using Versus Better Alternatives
This trick is worth keeping around because it is cheap, fast, and good for light cleanup. It is especially helpful when you want a simple first step before moving to stronger products.
Best use cases for budget-friendly everyday cleanup
Use it for fresh spills, mild odors, light residue on pans, and routine sink cleanup. It is also useful when you want to avoid strong scents near food prep areas.
That makes it a practical option for bakers who clean as they go. A quick wipe after mixing batter or shaping dough can prevent a bigger cleanup later.
When enzyme cleaners, dish soap, or specialty products work better
Dish soap is usually better for grease because it is designed to break up oil. Enzyme cleaners can be better for certain organic residues, and specialty products are often the right answer for burnt-on deposits or delicate materials.
If the mess is heavy, old, or sticky enough to feel tacky after wiping, the baking soda and salt trick may only help as a first pass. In that case, use the product that matches the soil instead of forcing the pantry method to do everything.
- Low-cost and easy to find
- Good for light odors and residue
- Gentle when used with care
- Not strong enough for heavy grease
- Can scratch delicate finishes if overused
- Not a substitute for disinfecting
Practical examples from home kitchens and baking workstations
A mixing bowl with butter film may only need a short soak and a light scrub with the mixture. A stainless sink with flour paste around the drain can also respond well to a quick sprinkle and wipe.
By contrast, a baking sheet with dark caramelized spots usually needs soaking, soap, or a dedicated cleaner. If you are comparing everyday kitchen cleanup methods, our article on baking soda in laundry benefits is another good example of how this ingredient works best when matched to the right job.
Final Verdict: Does the Baking Soda and Salt Trick Actually Work?
Yes, the baking soda and salt trick actually works for light cleaning, odor control, and gentle scrubbing. It is best seen as a practical helper, not a universal cleaner.
Who should rely on it and who should skip it
Home bakers, renters, and anyone looking for a low-cost daily cleanup method can rely on it for simple jobs. People cleaning heavy grease, burnt sugar, polished stone, or nonstick surfaces should be more cautious and may need a better option.
How to choose the right cleaning method for your kitchen routine
Start by asking what kind of mess you have: odor, grease, baked-on residue, or simple dust and film. Then match the cleaner to the problem, use the least aggressive method that works, and verify surface-care instructions when the material is delicate.
Used that way, the baking soda and salt trick earns its place in a modern kitchen. It is not flashy, but for the right cleanup task, it is still dependable.
The baking soda and salt trick is worth using for light, routine kitchen cleanup, especially on durable surfaces and fresh messes. Skip it for heavy grease, delicate finishes, or any job that clearly needs a stronger cleaner or sanitizer.
Frequently Asked Questions
A common starting point is 2 parts baking soda to 1 part salt for general cleaning. Use less salt on delicate or polished surfaces.
Use caution with nonstick pans because salt can scratch coatings if you scrub hard. Check the manufacturer’s care instructions and test a small area first.
It can help with light surface residue, but it is not a true degreaser. Dish soap or a dedicated degreasing cleaner usually works better for heavy grease.
It is usually safe to combine them for some cleaning tasks, but the fizzing reaction is short-lived and not always more effective. Never mix cleaners with bleach or other products unless the label says it is safe.
Keep both ingredients dry in tightly sealed containers away from steam and splashes. Humidity can cause clumping and make the mix harder to use.
Skip it for burnt sugar, heavy grease, delicate finishes, and any surface that the manufacturer says should not be abraded. Use a better-matched cleaner when the mess is too tough for a mild scrub.